🎉 Up to 70% Off Selected ItemsShop Sale
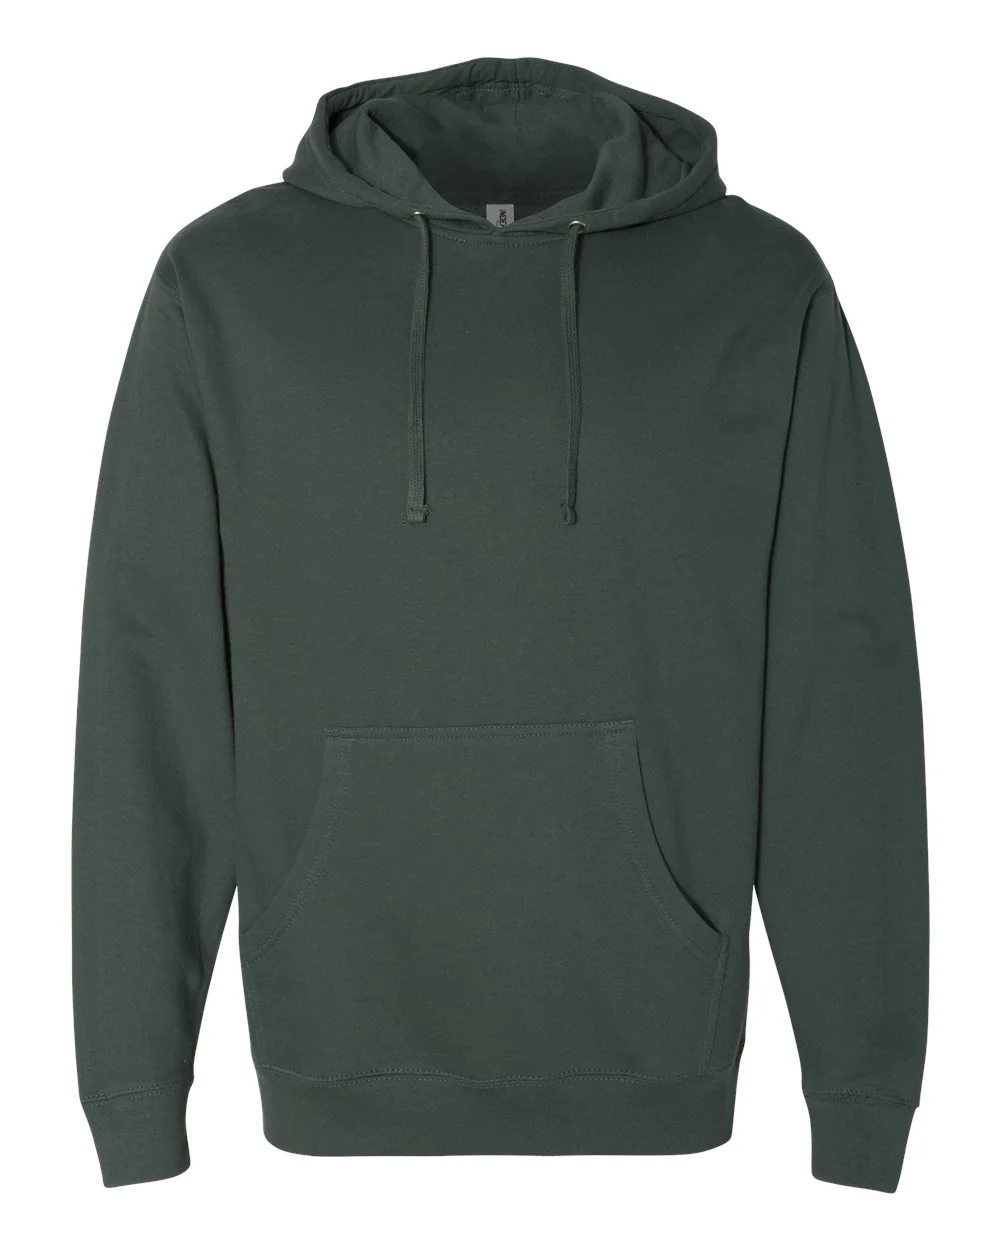
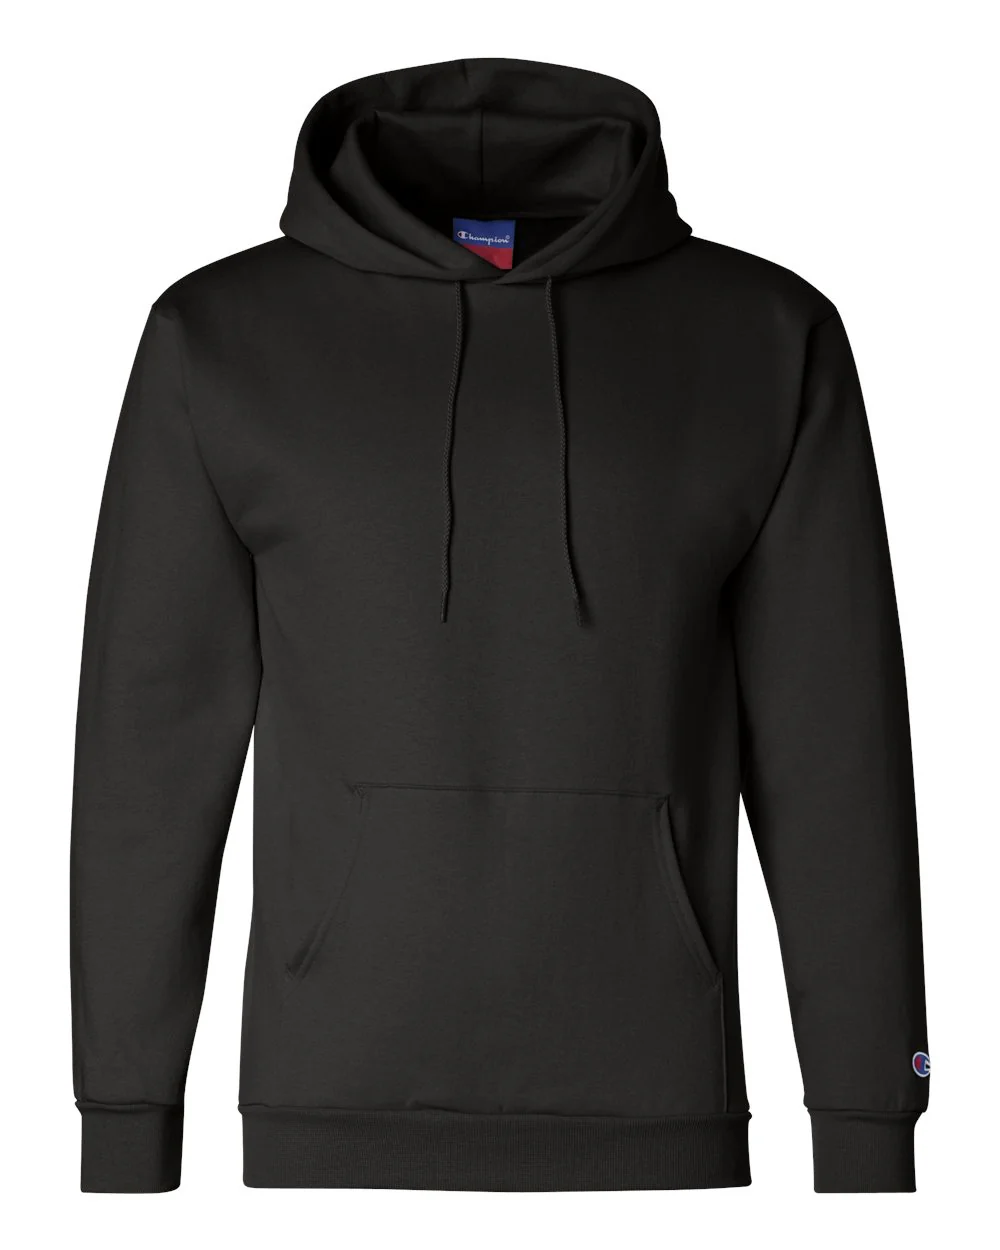
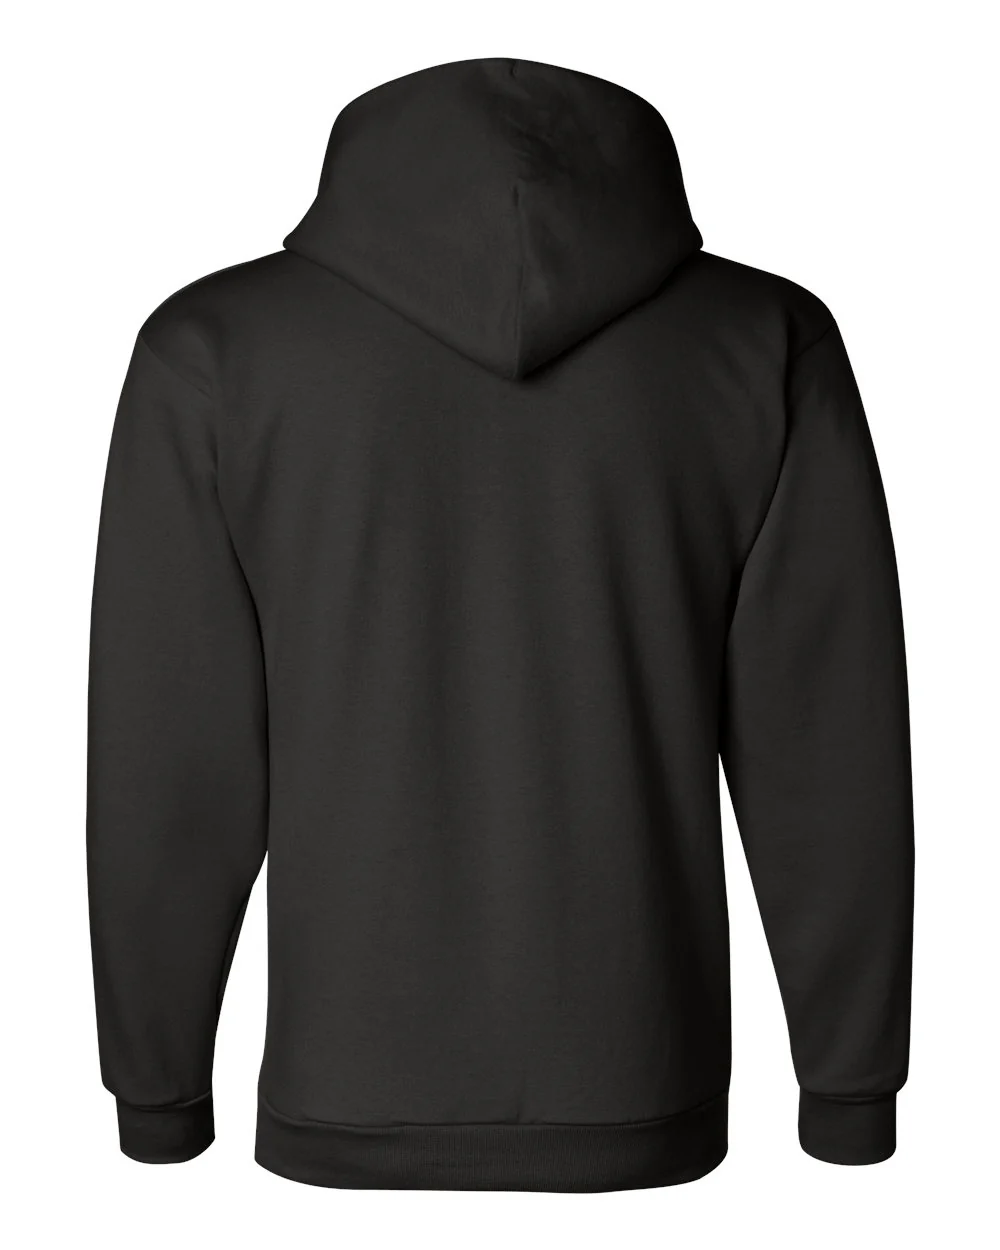
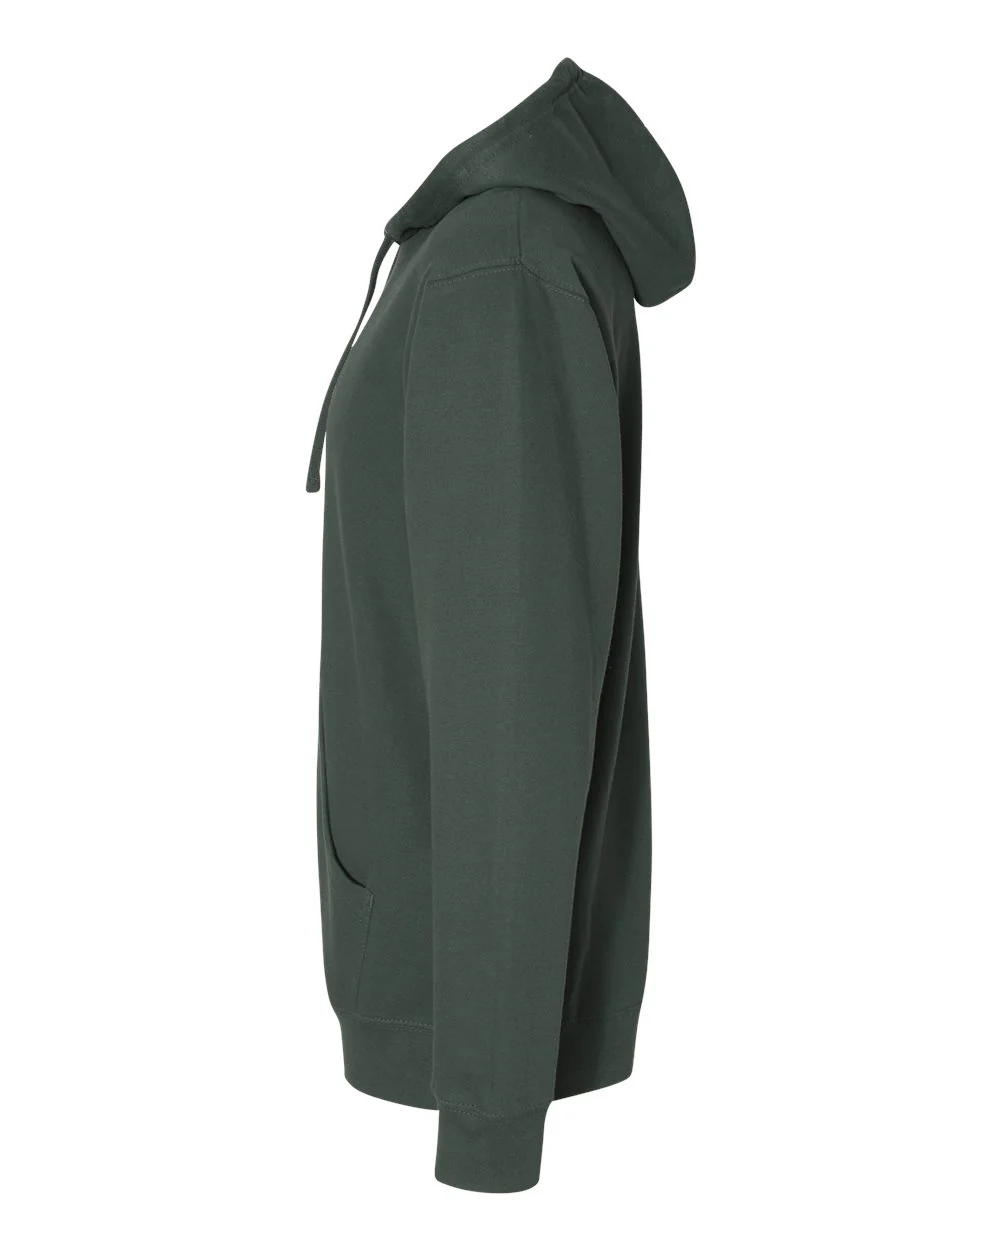
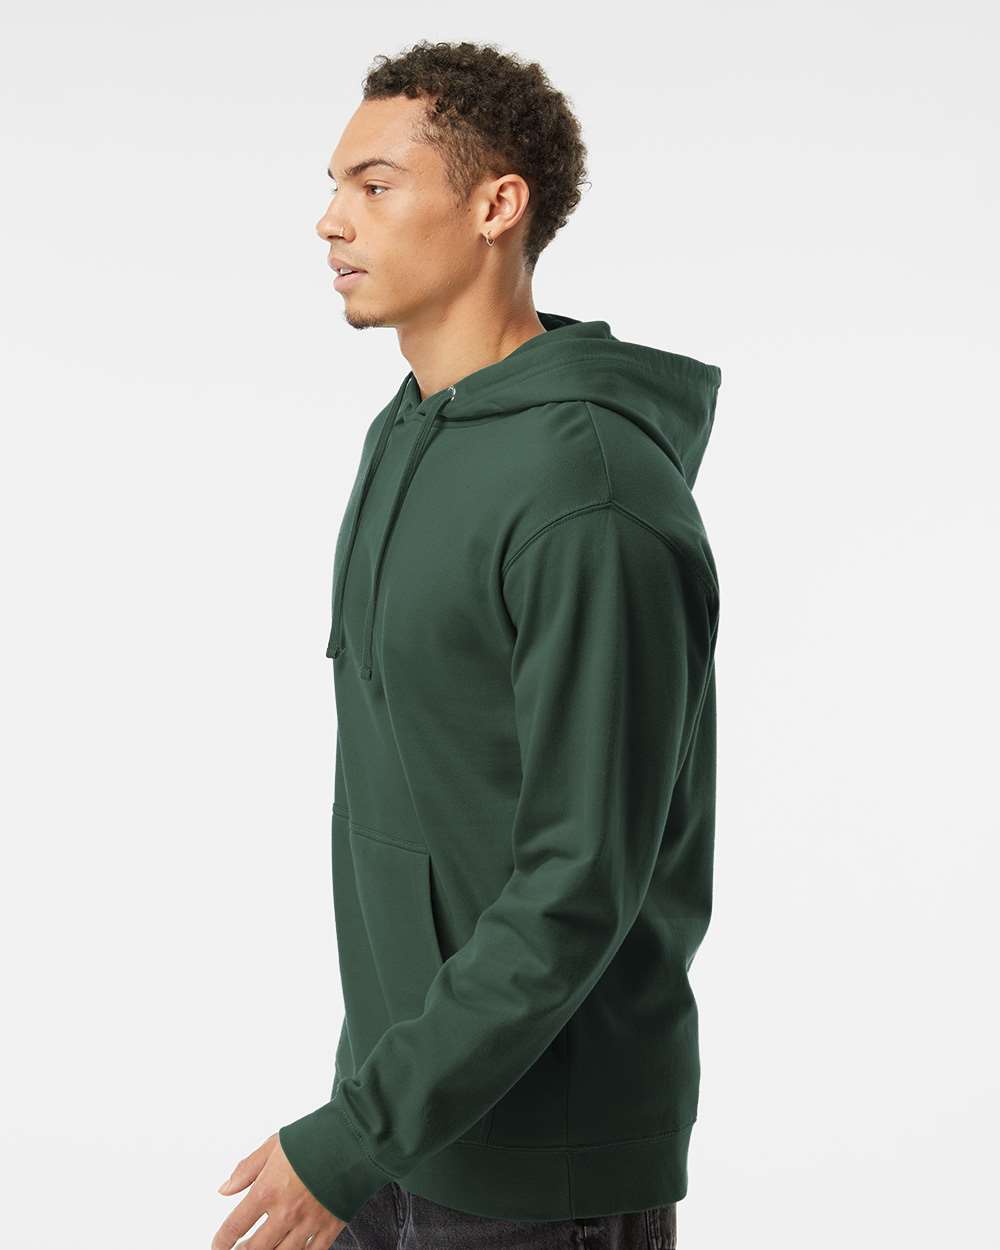
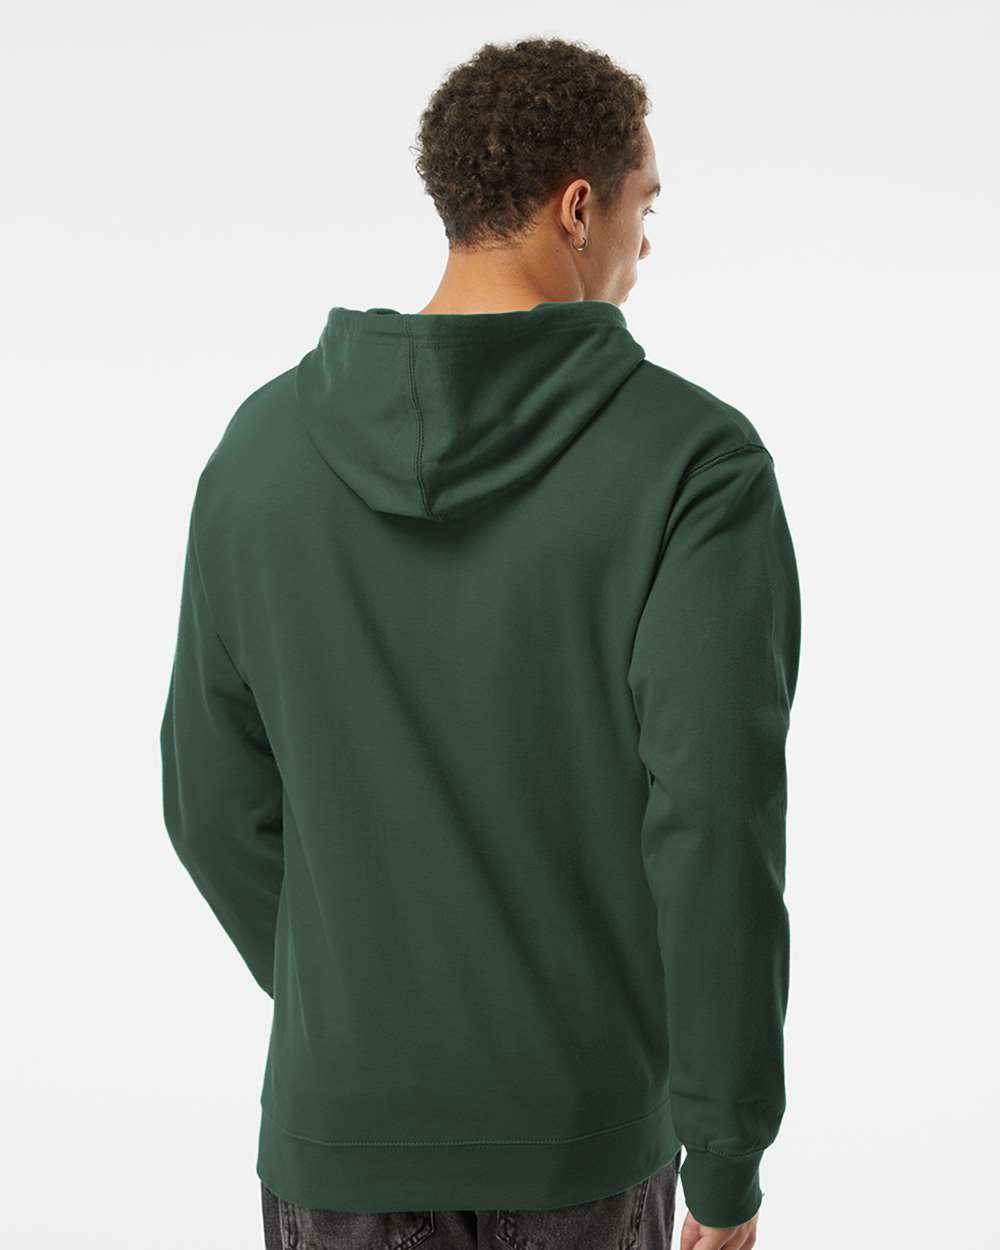
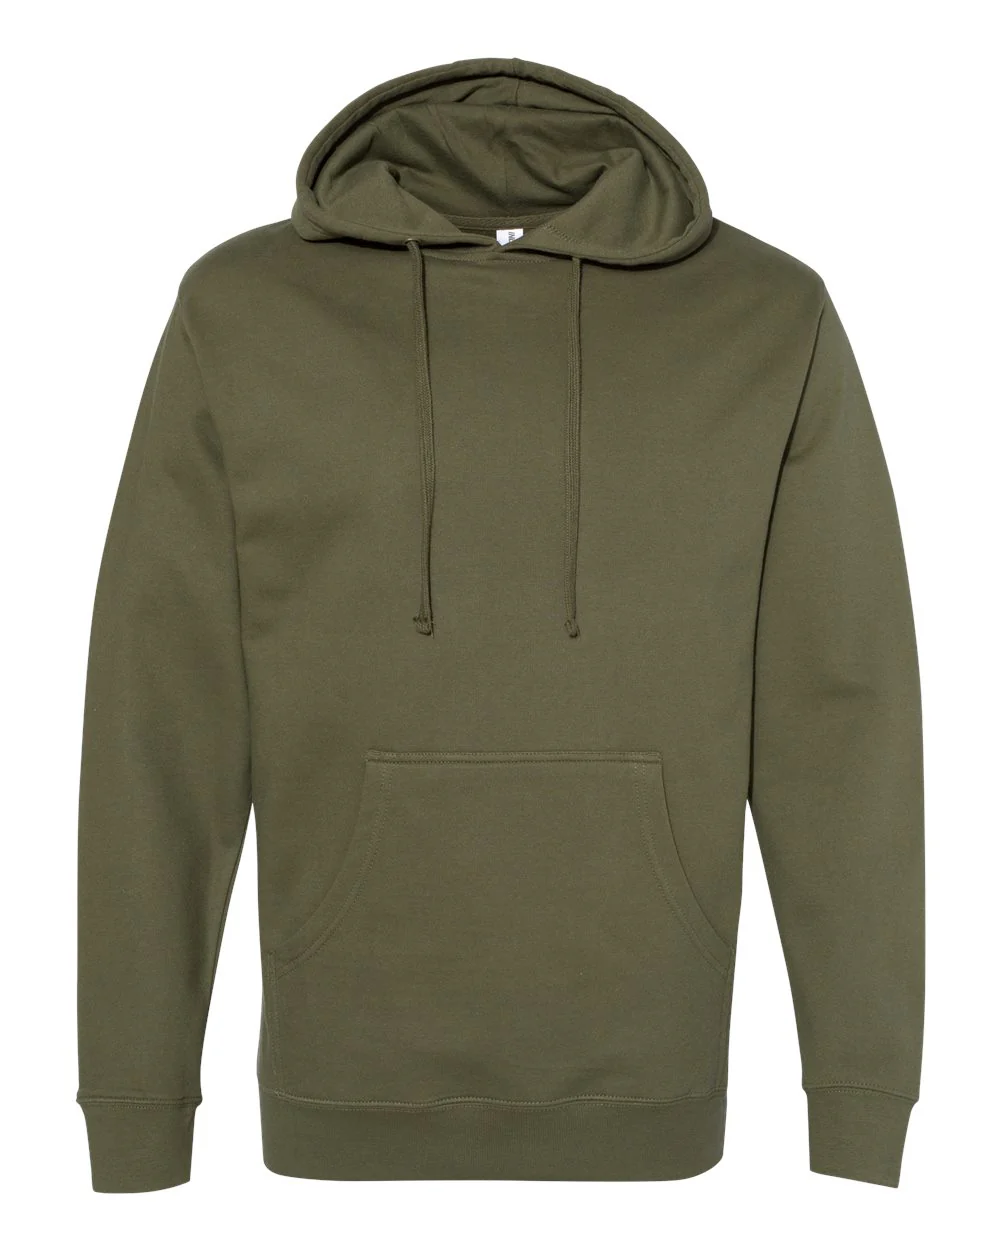
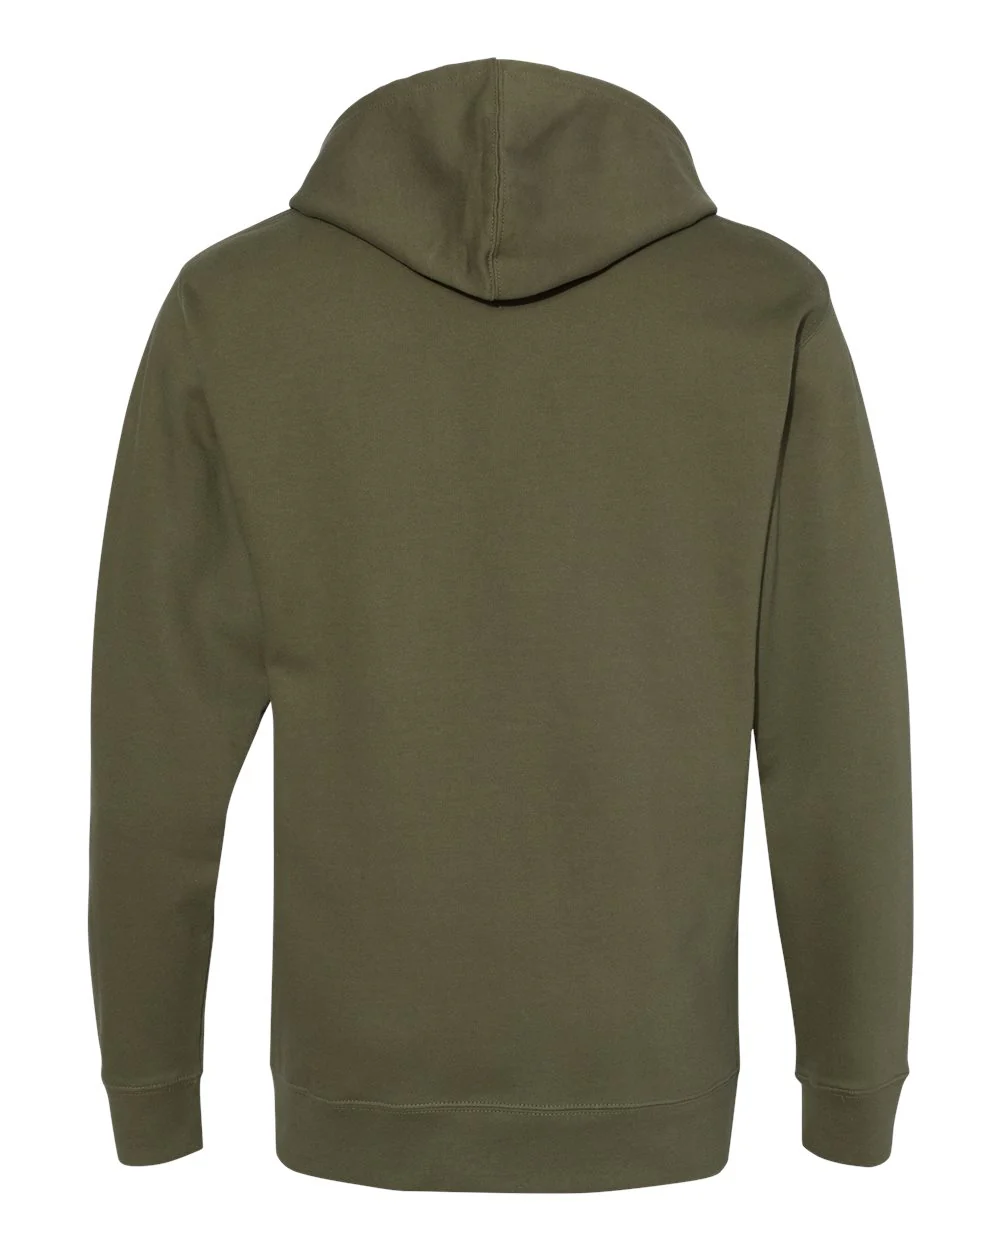
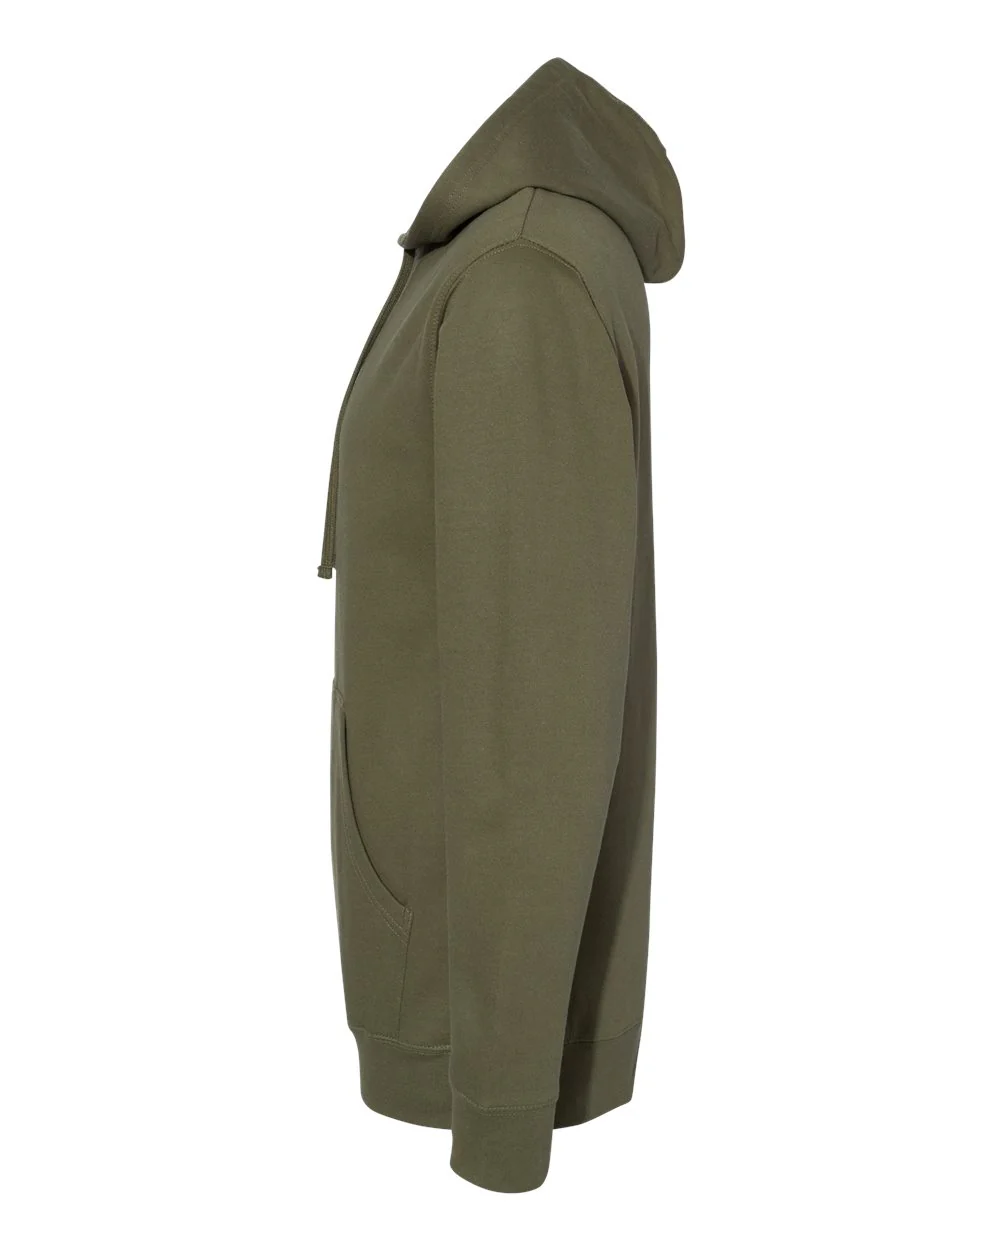
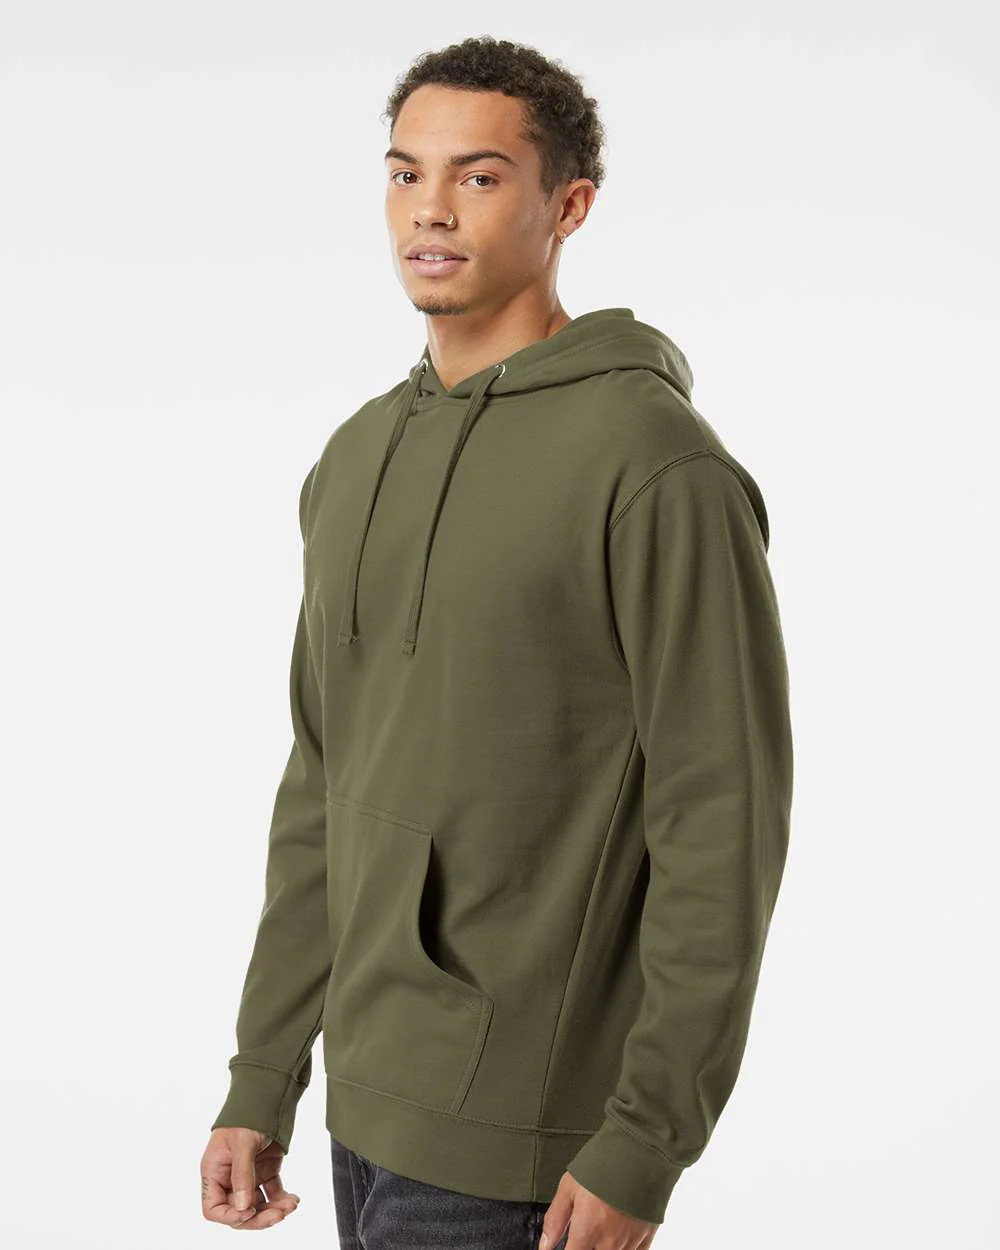
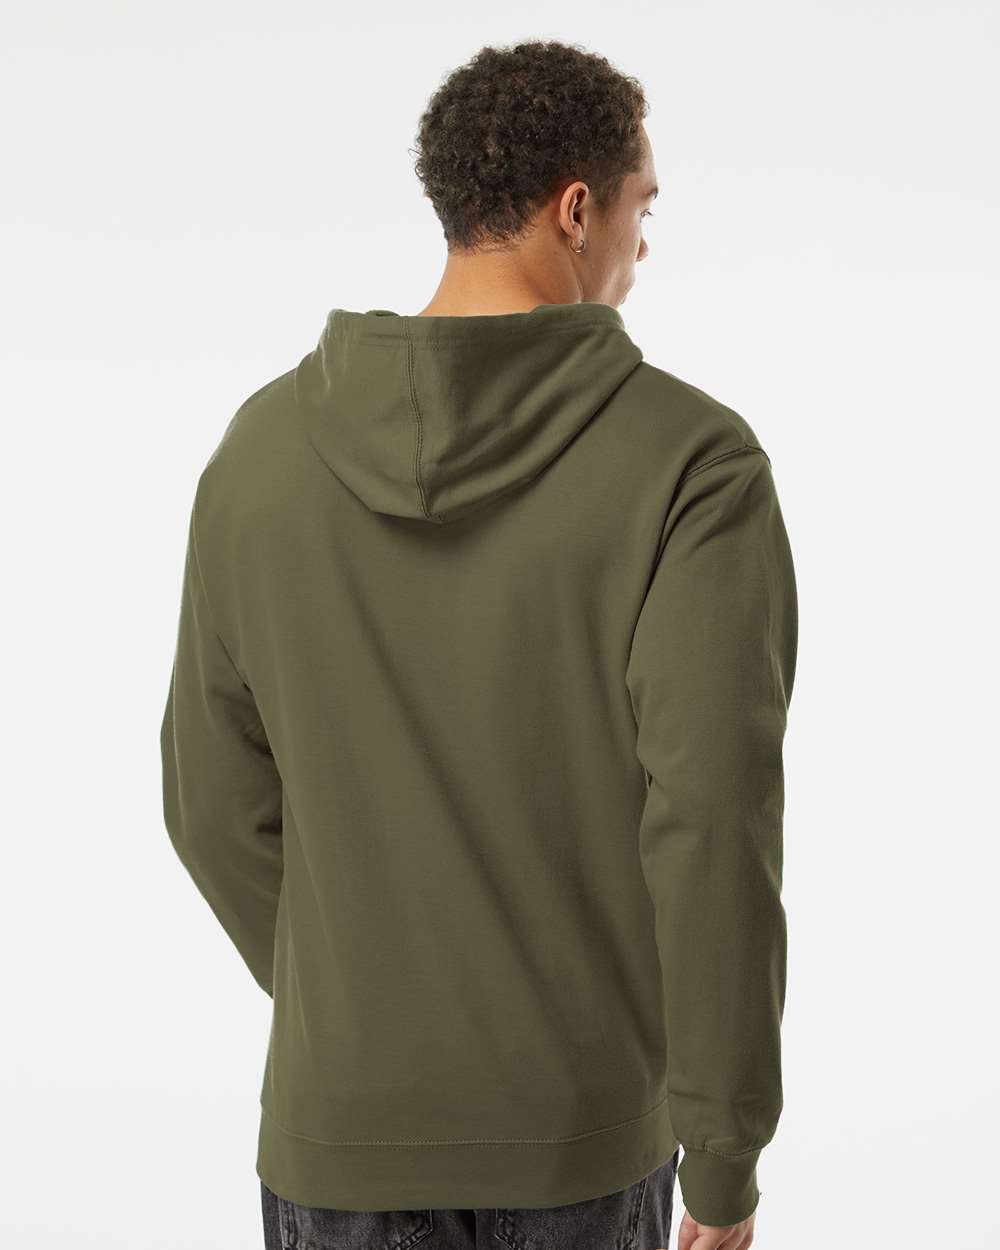
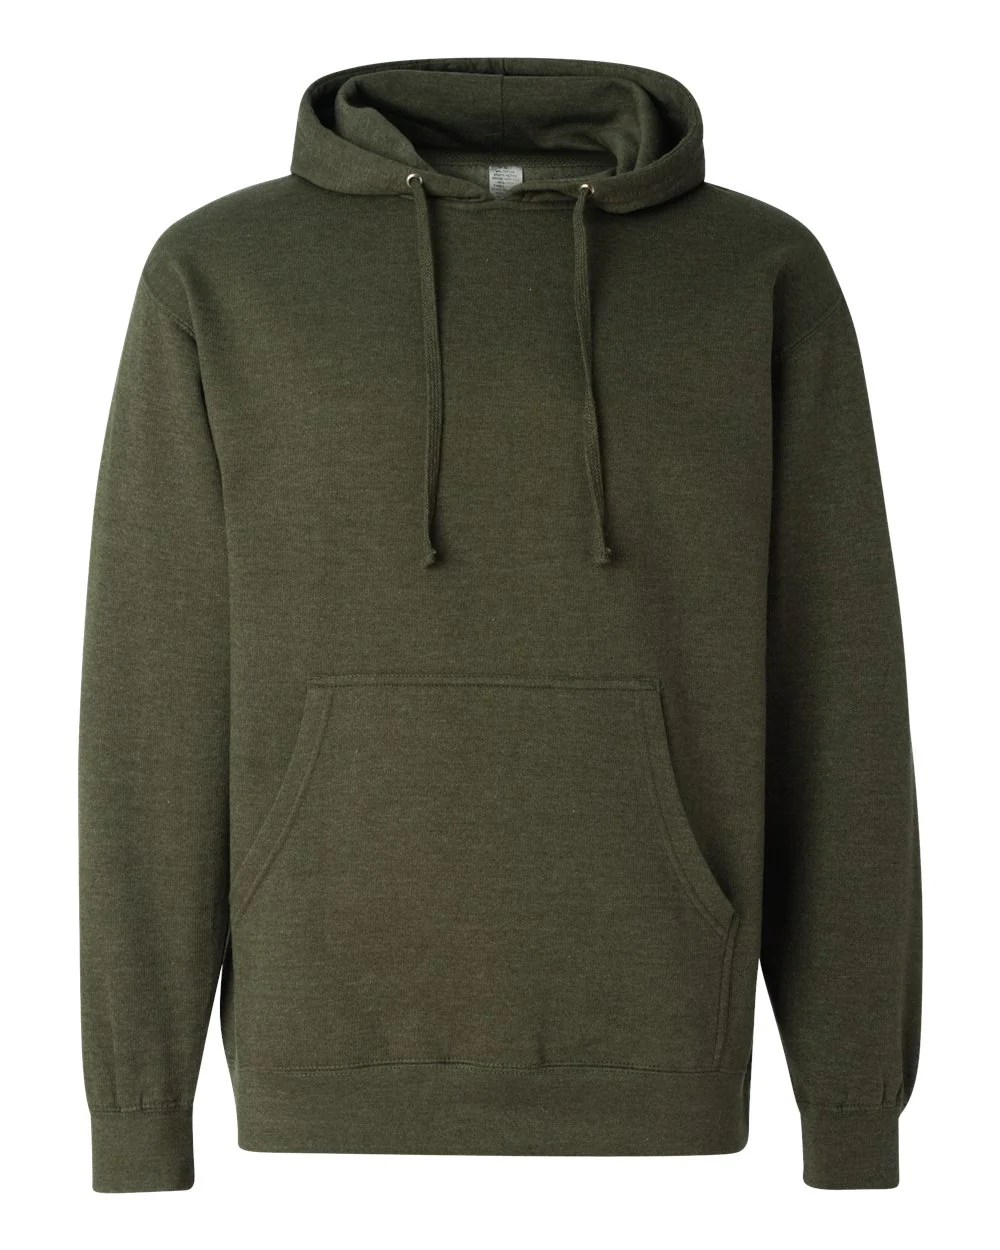
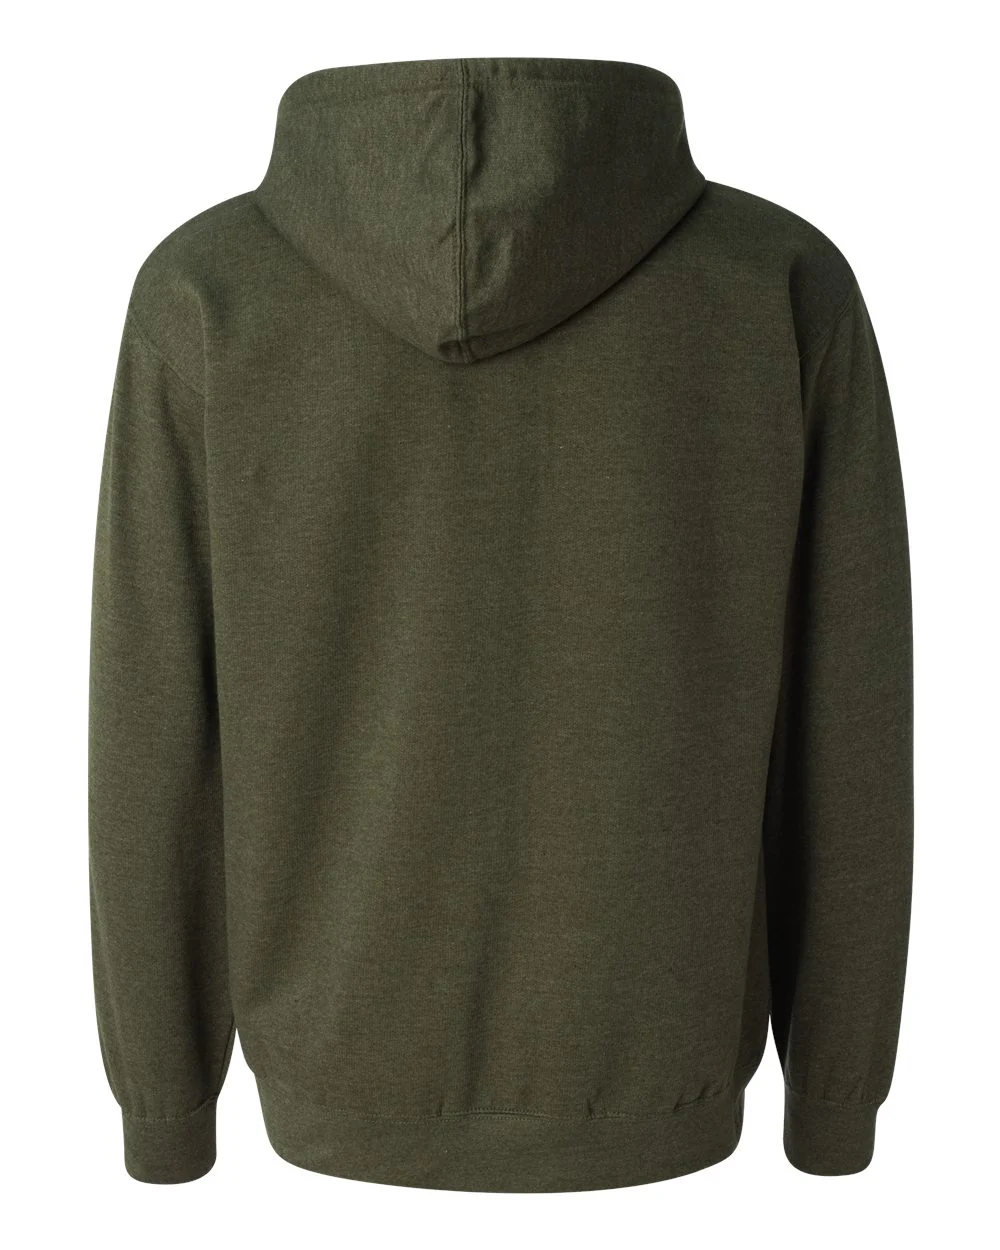
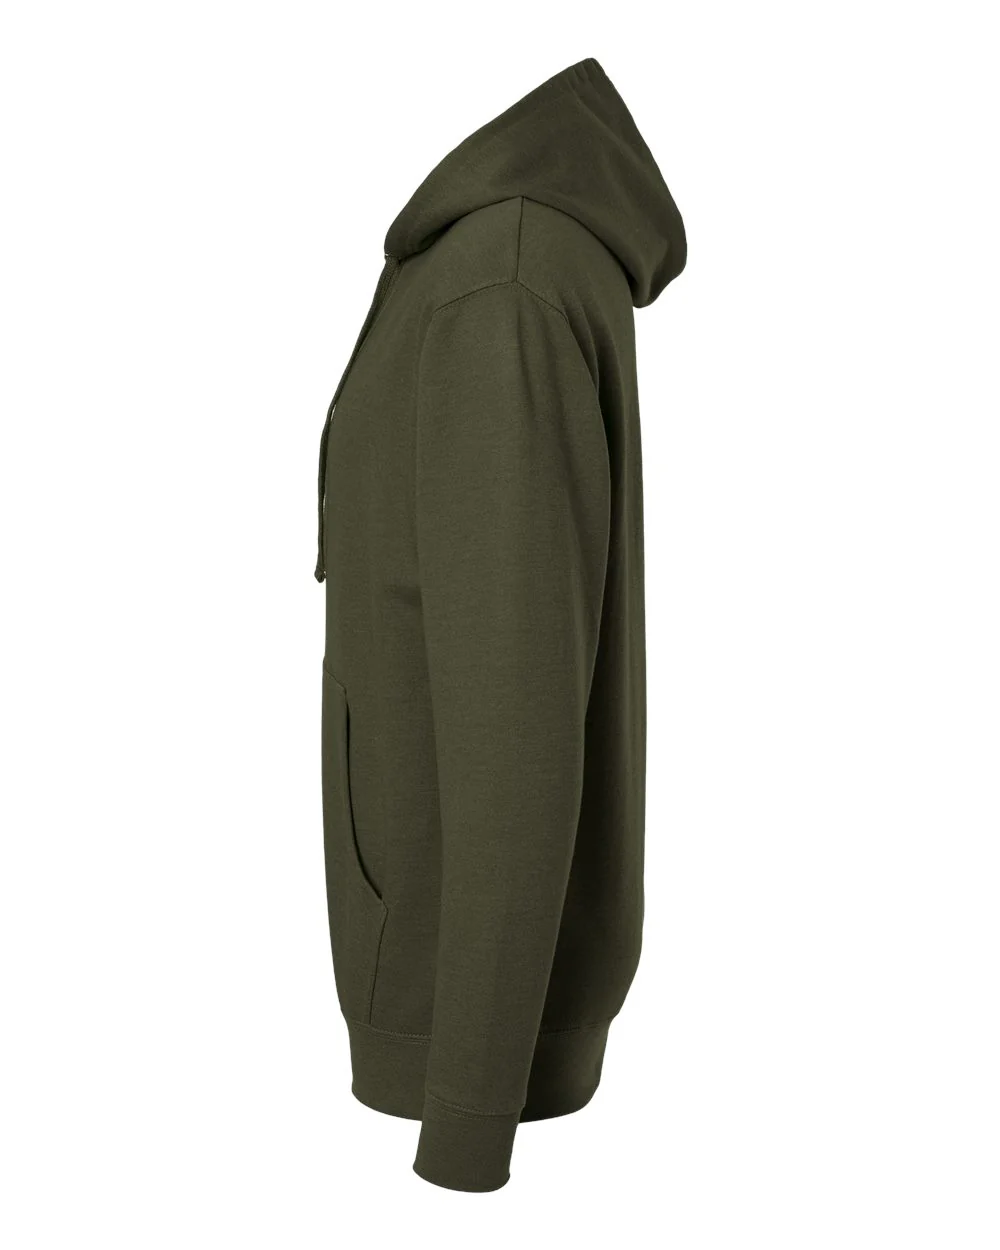
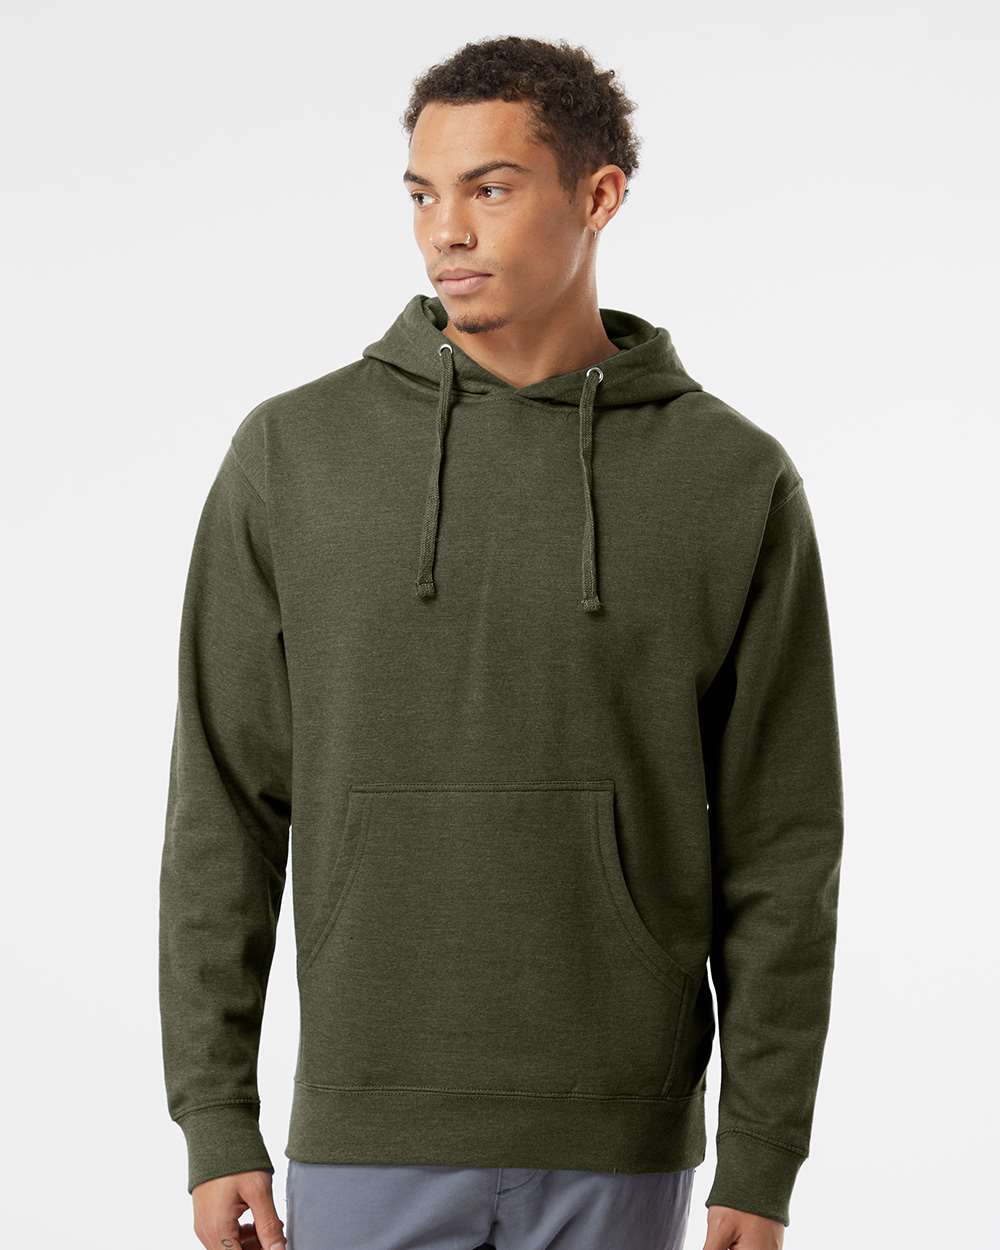
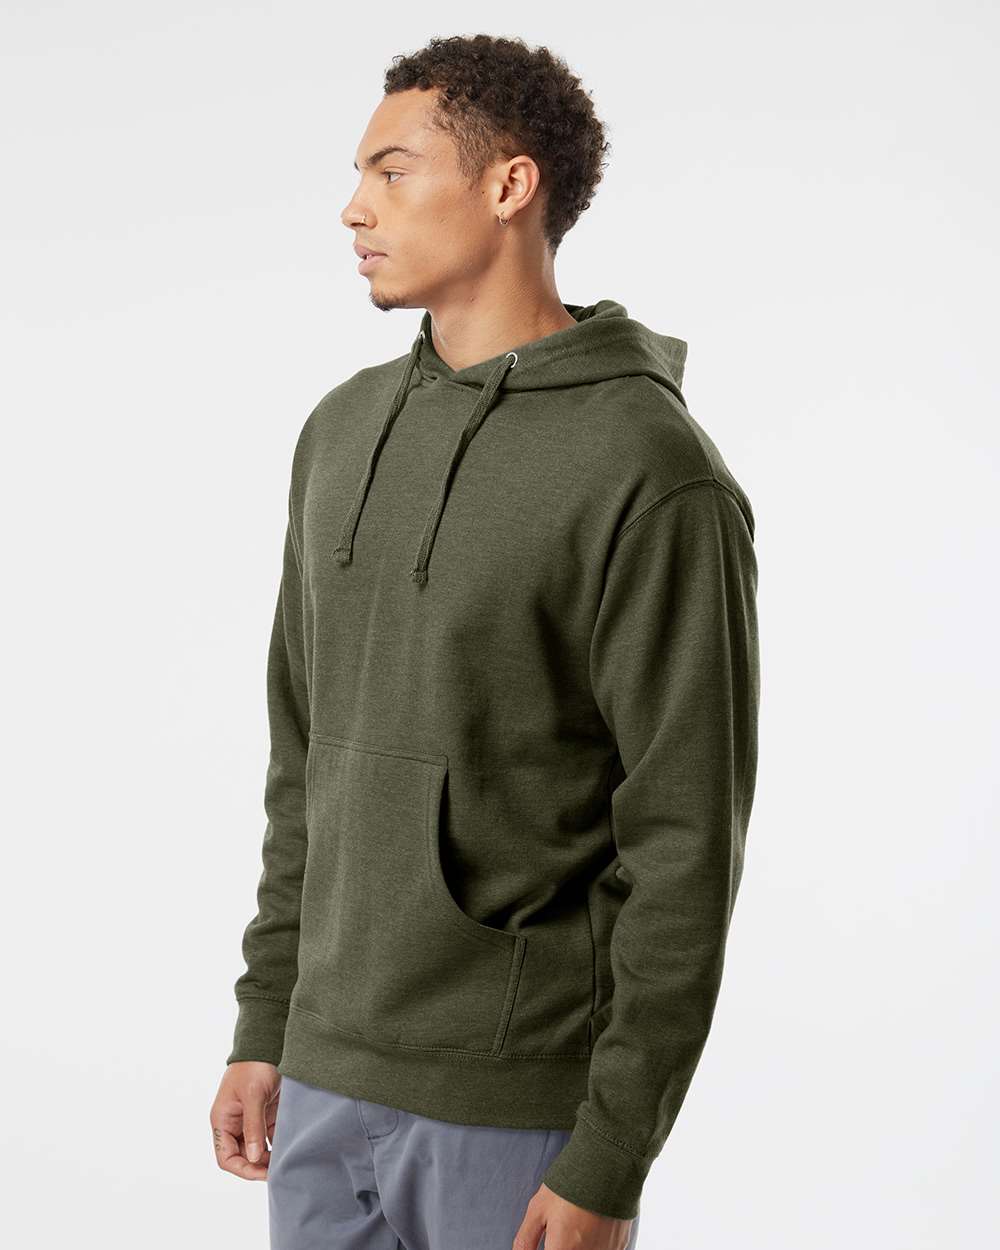
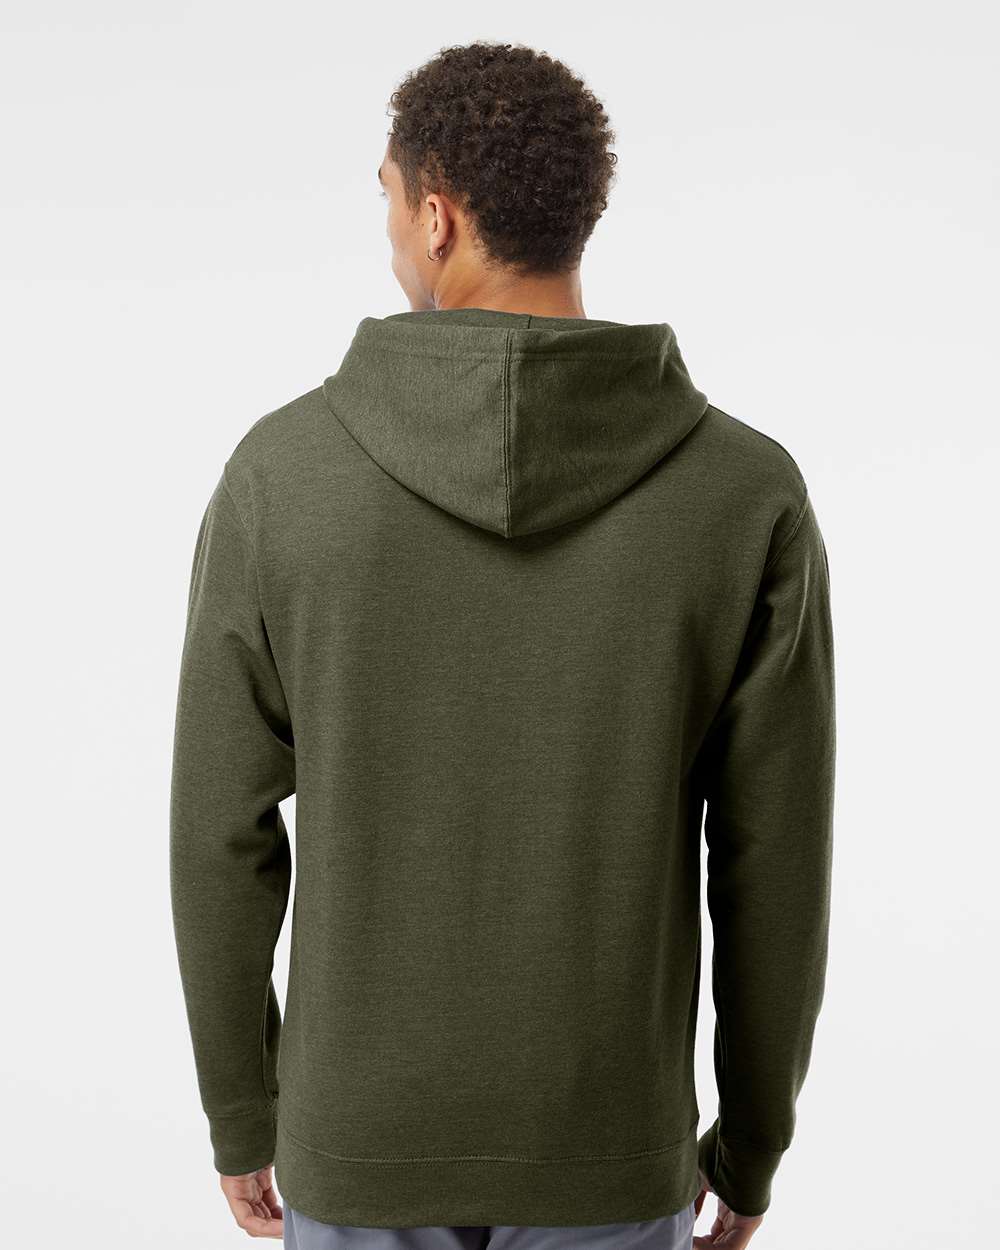
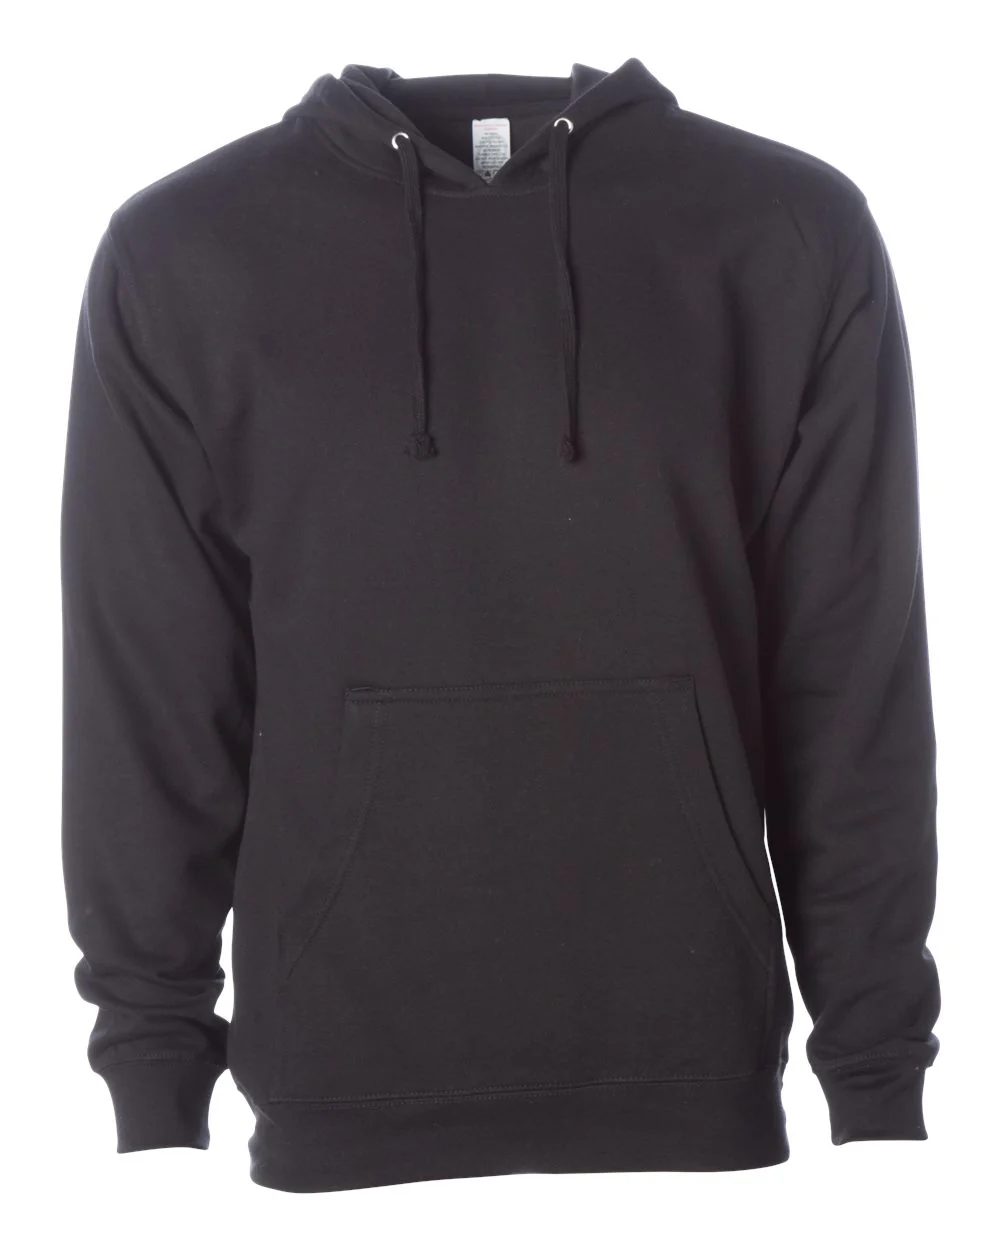
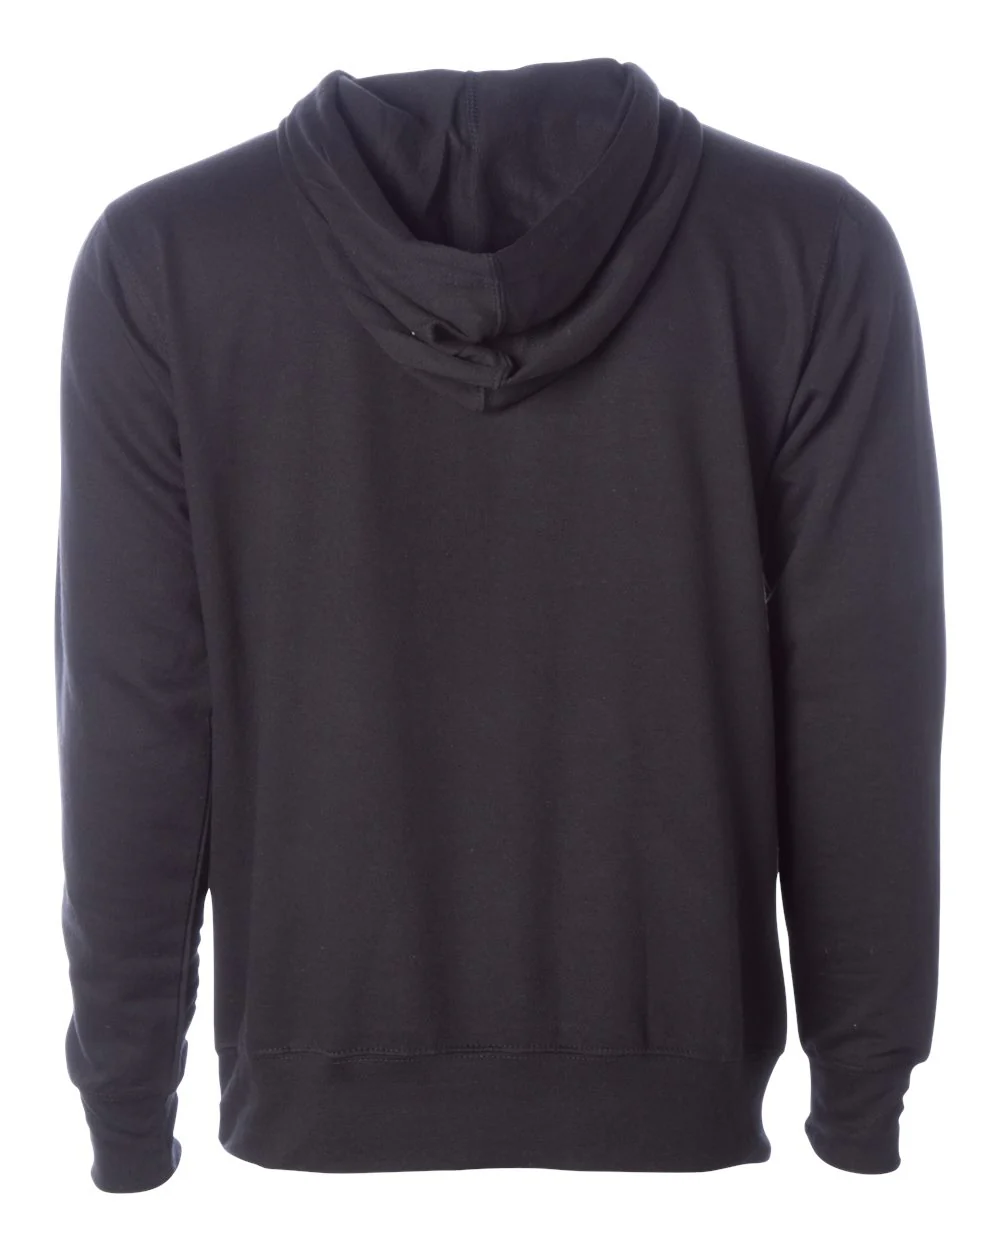
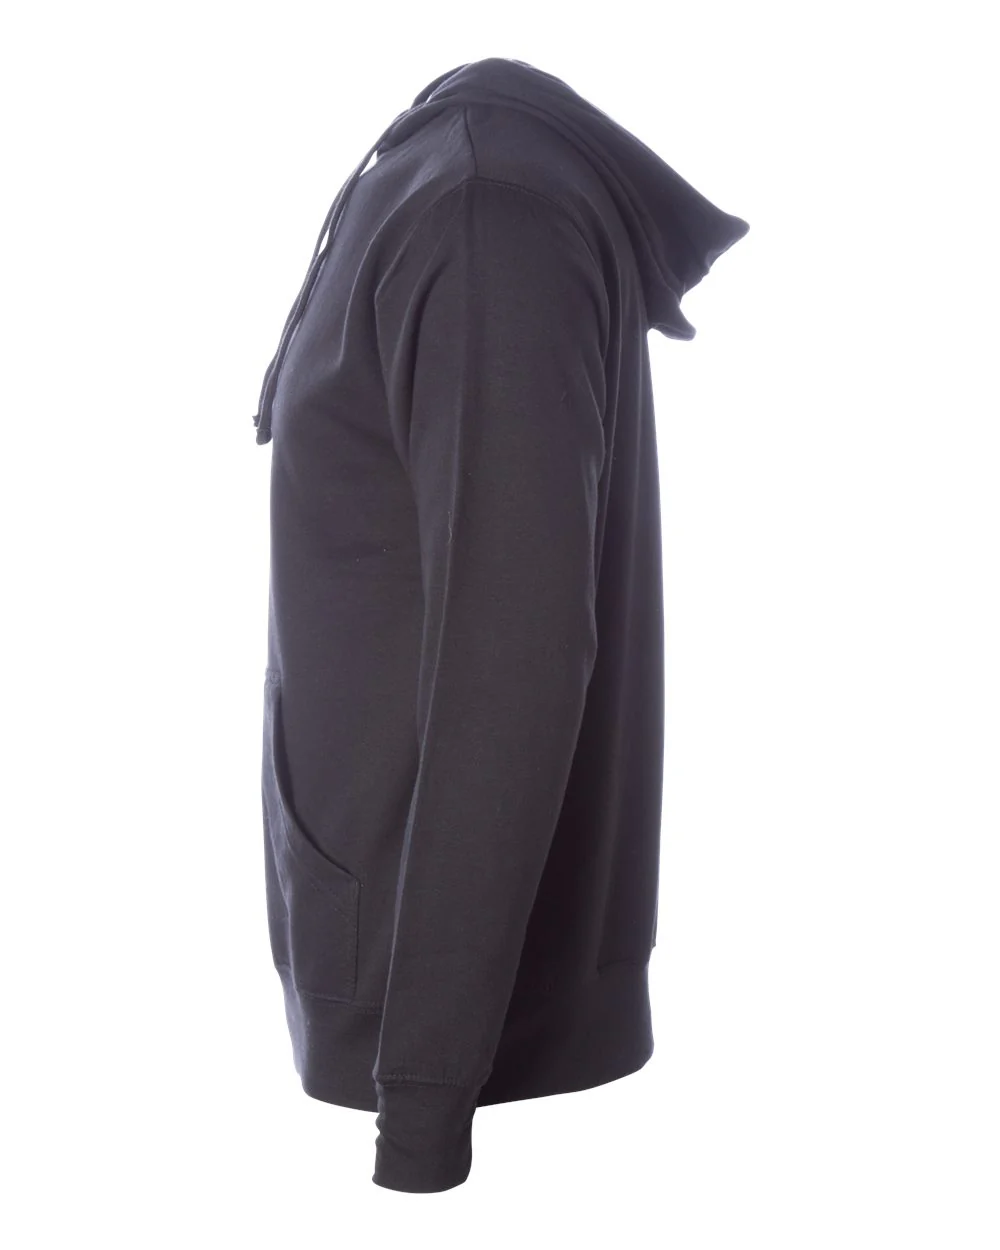
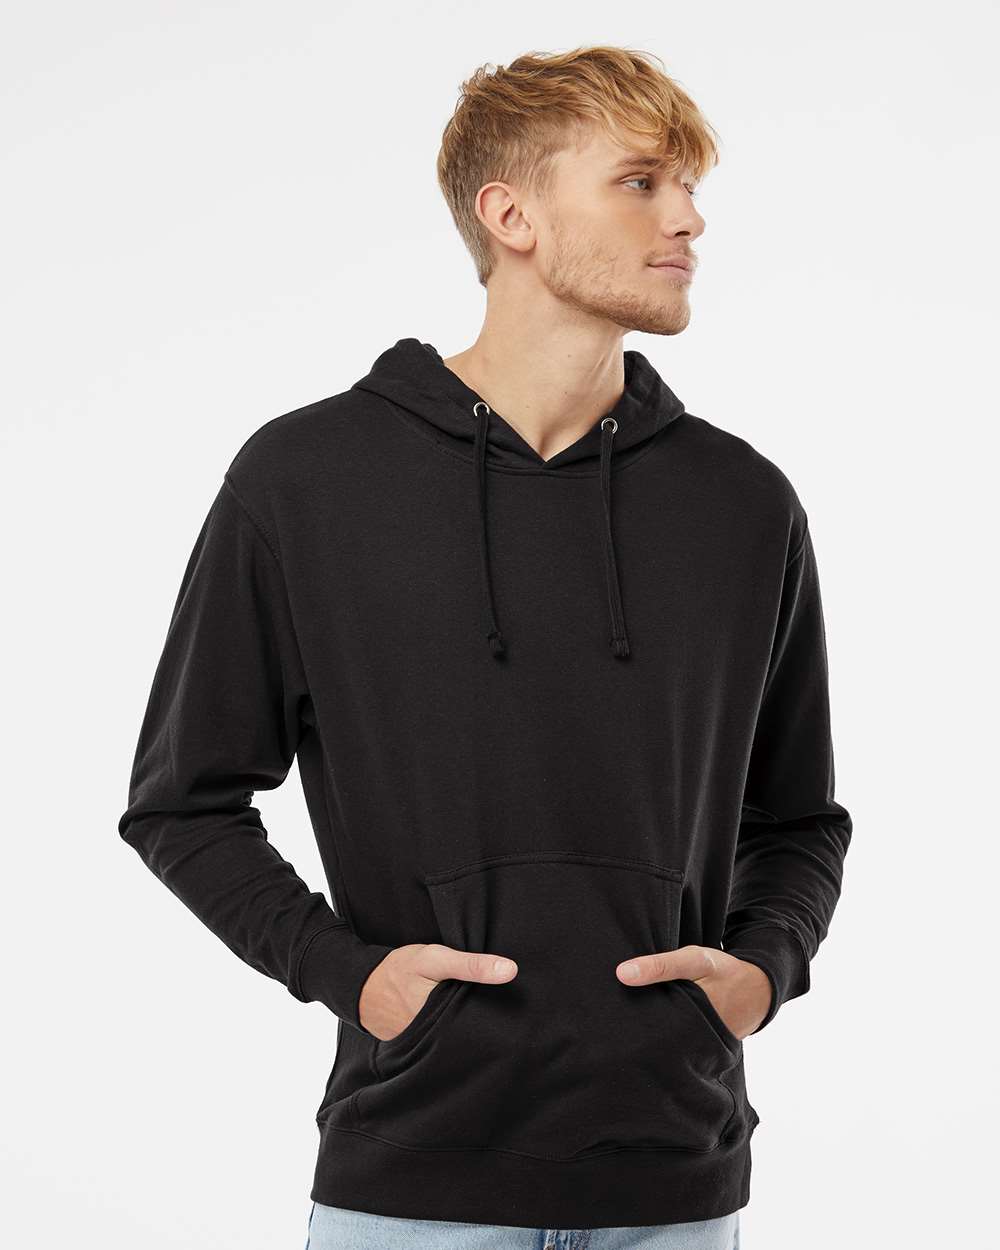
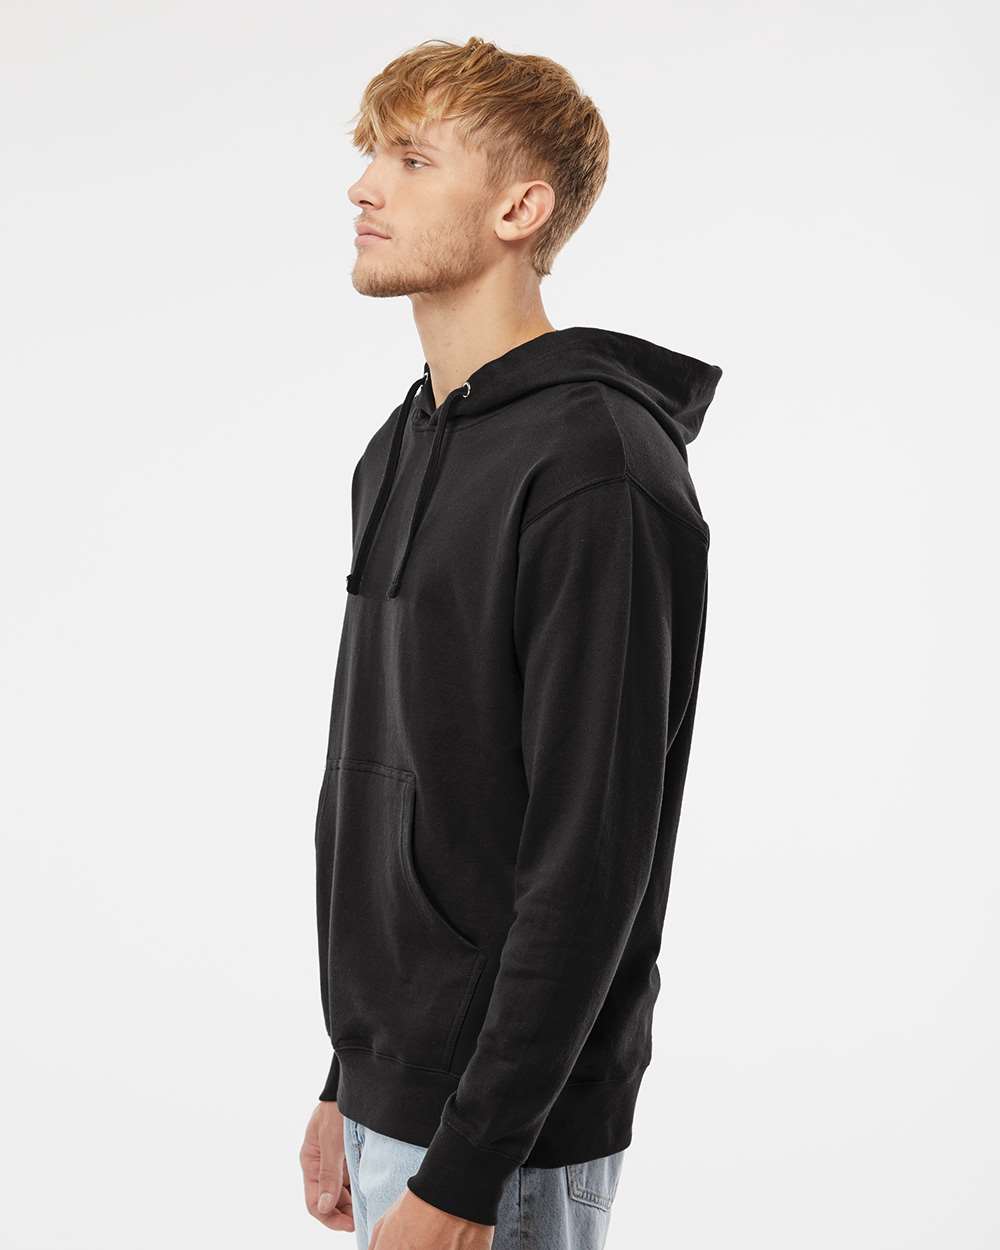
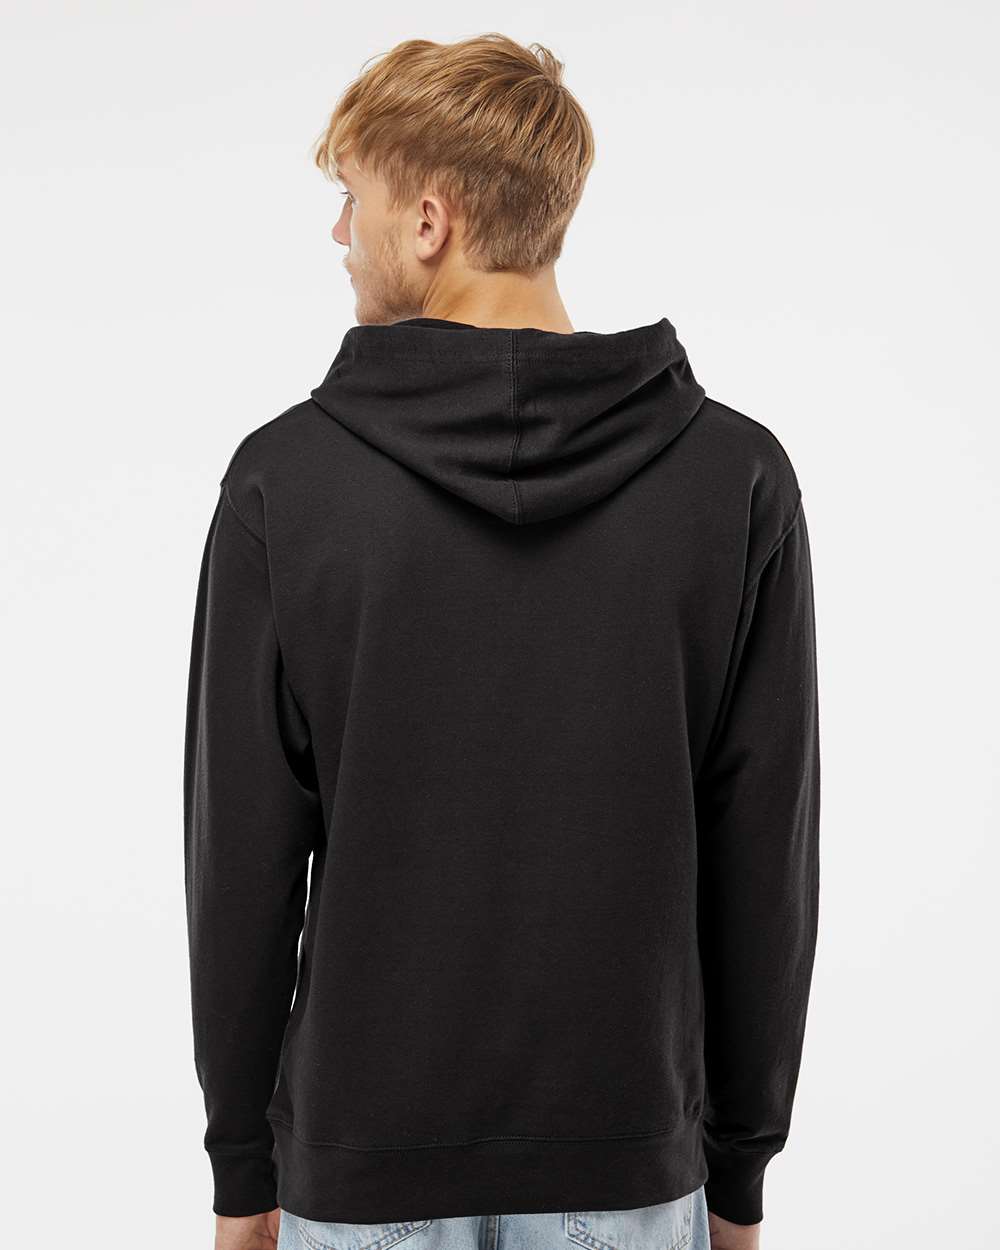
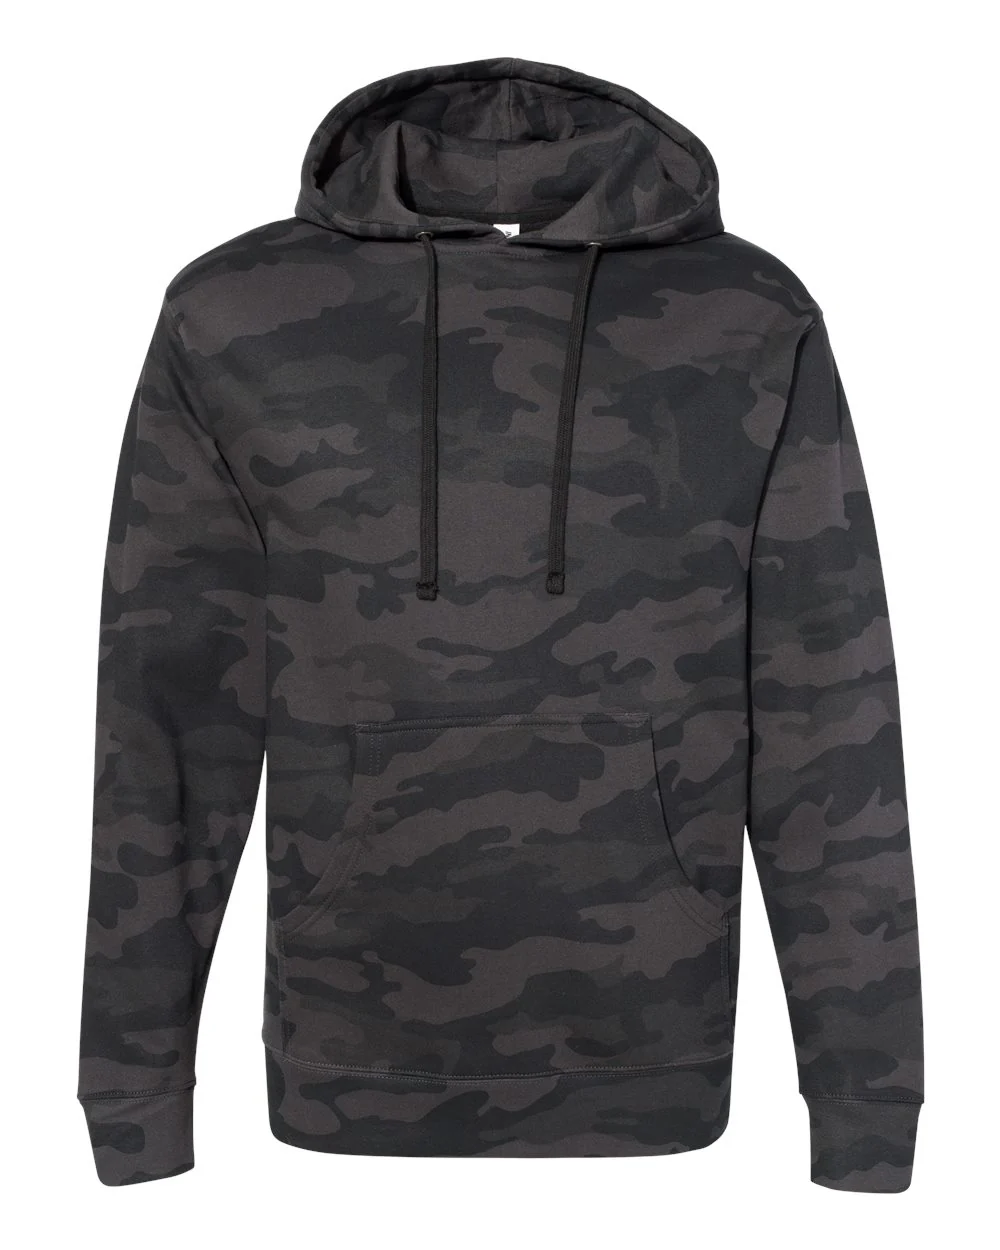
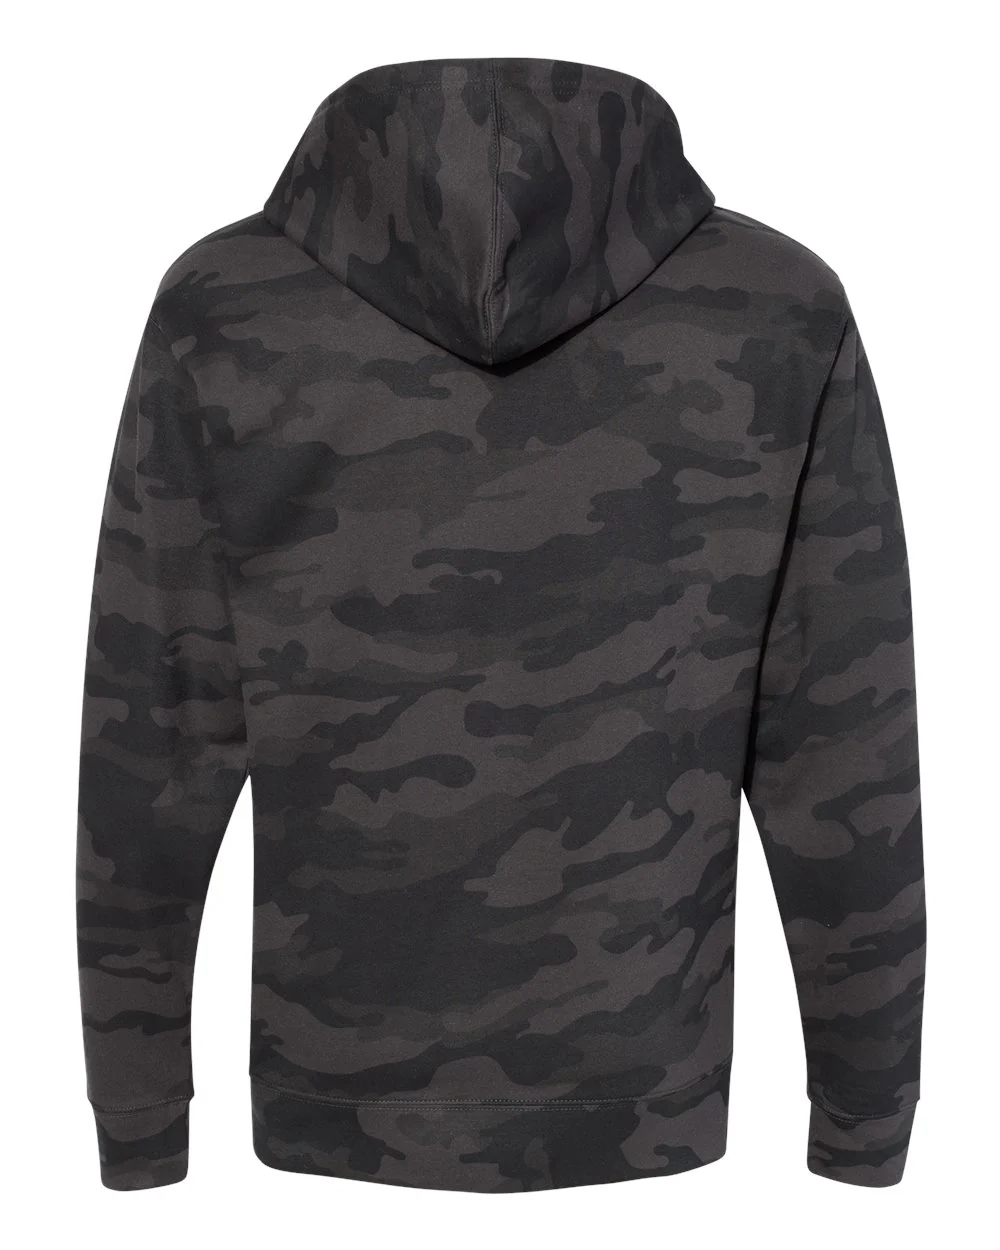
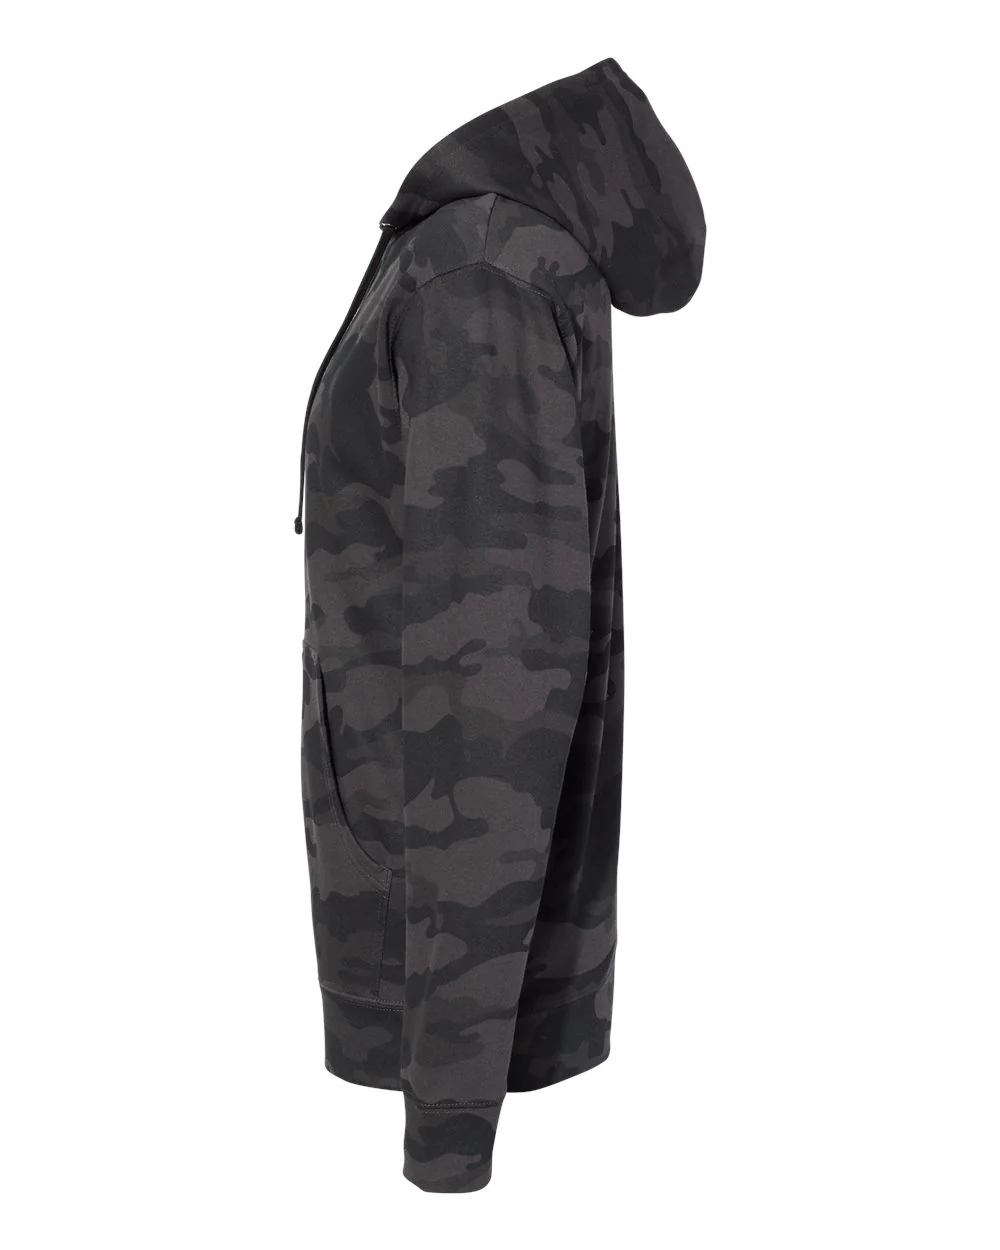
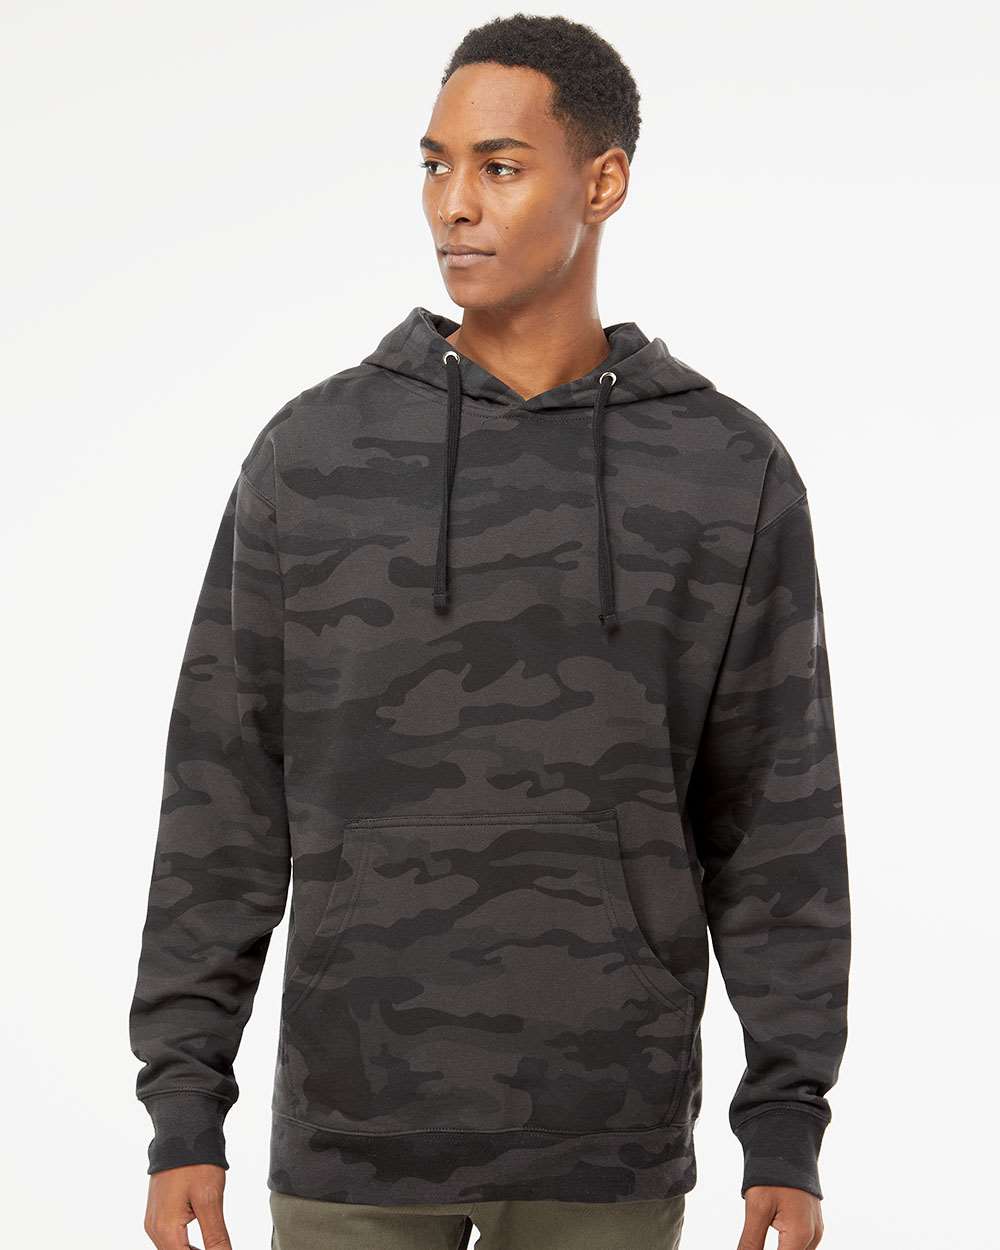
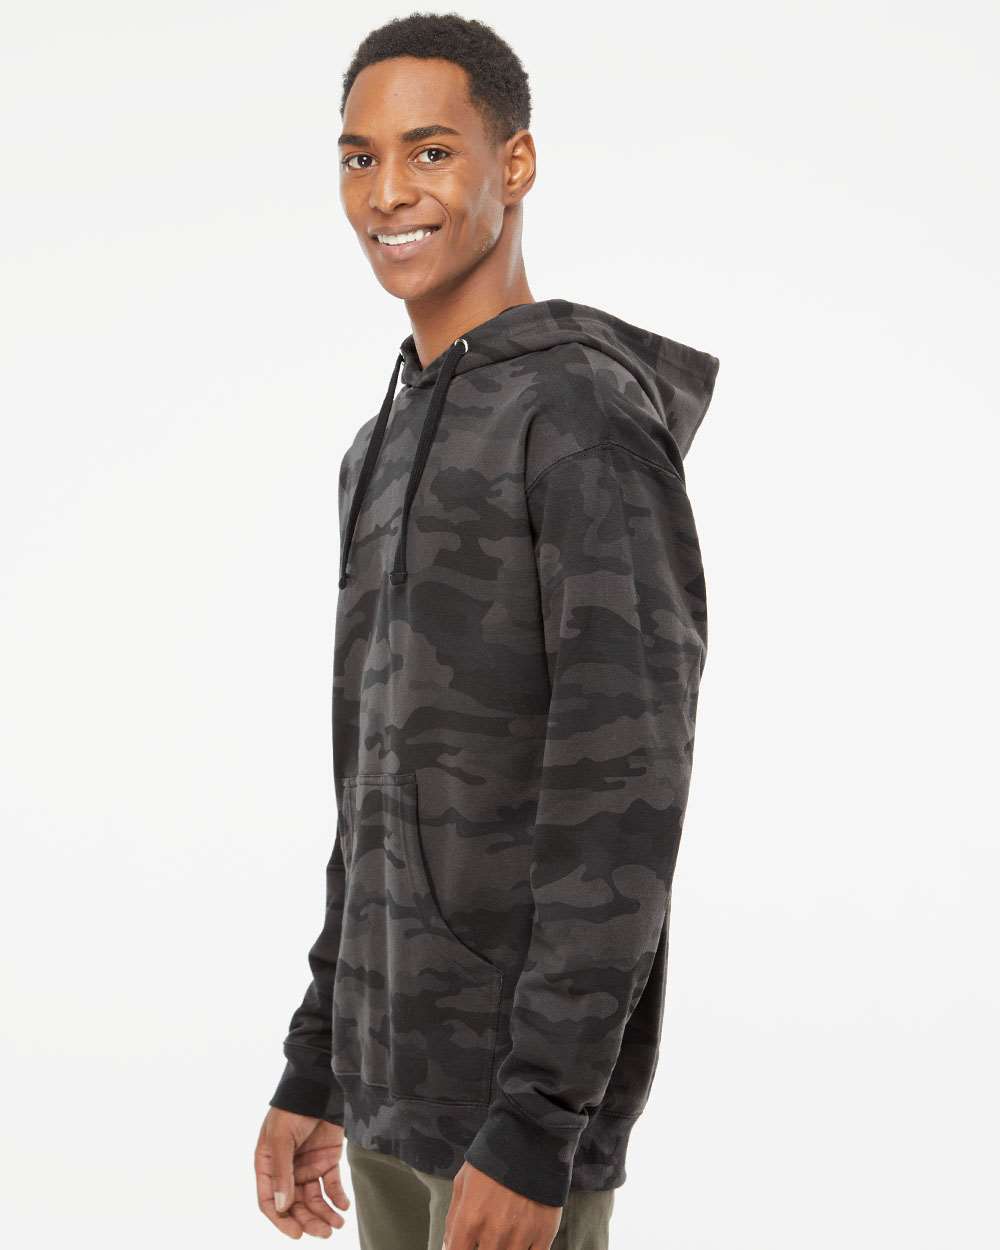
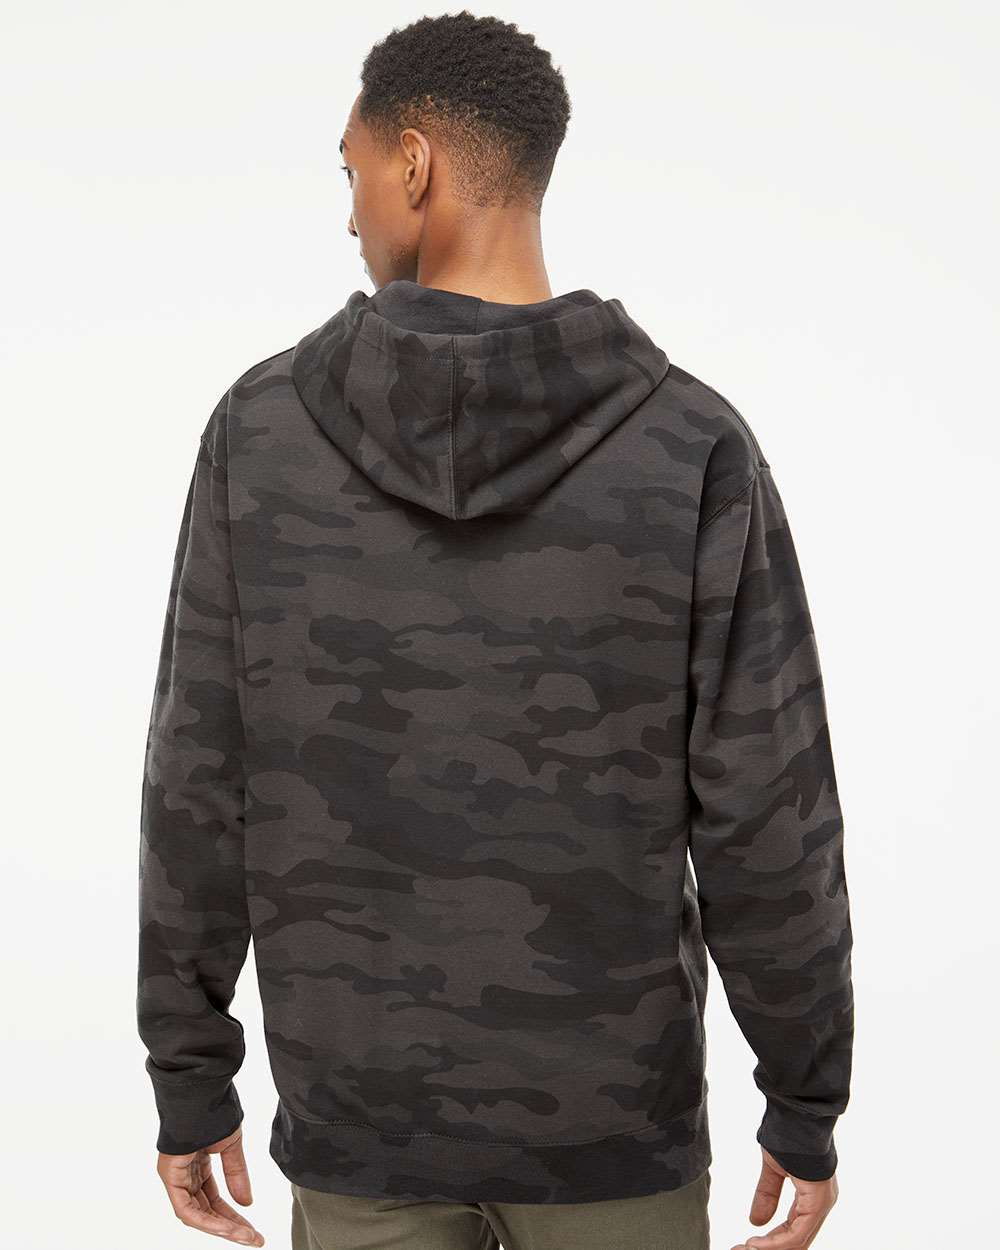
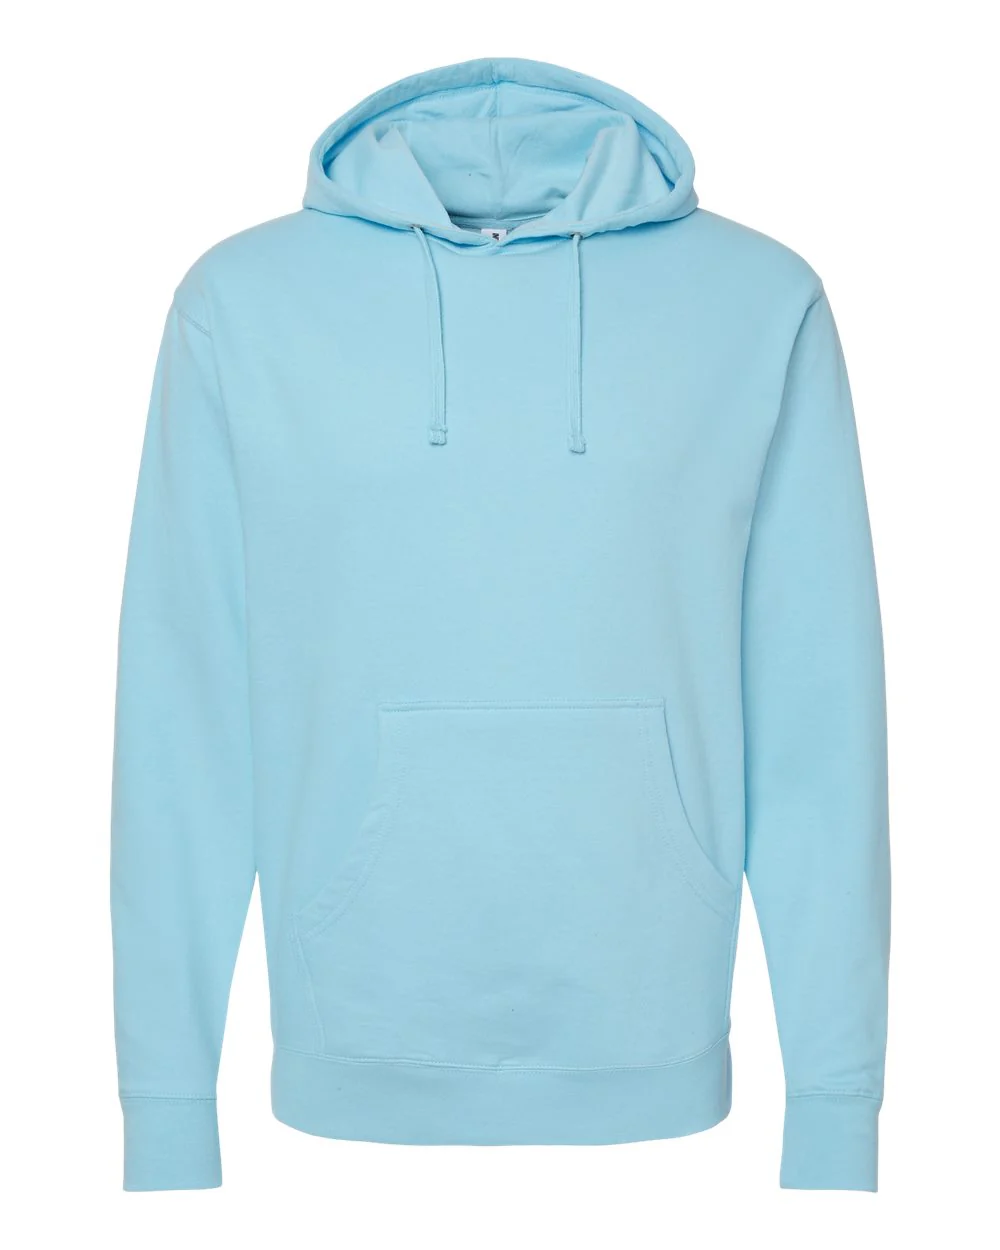
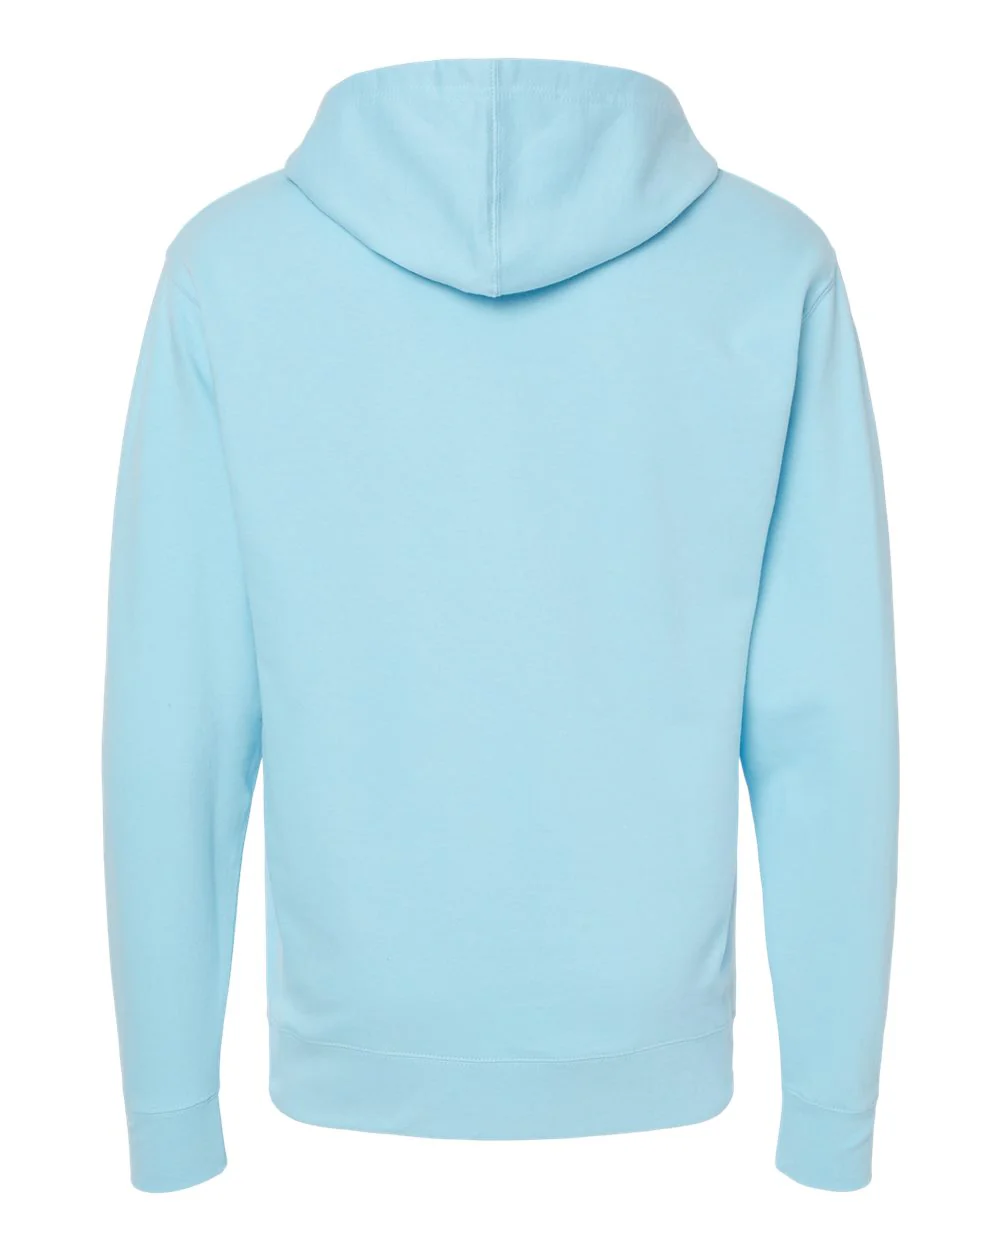
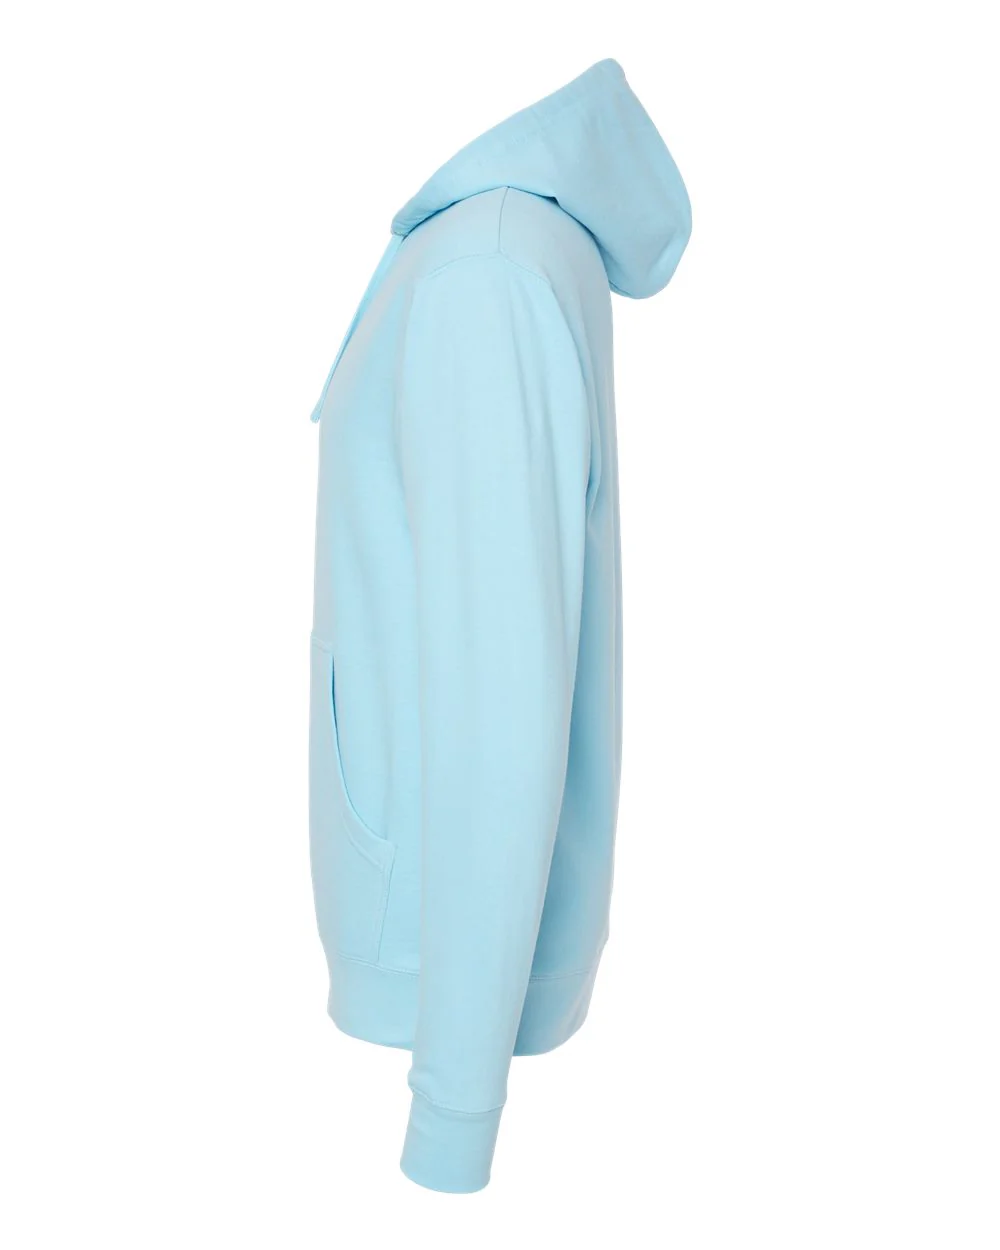
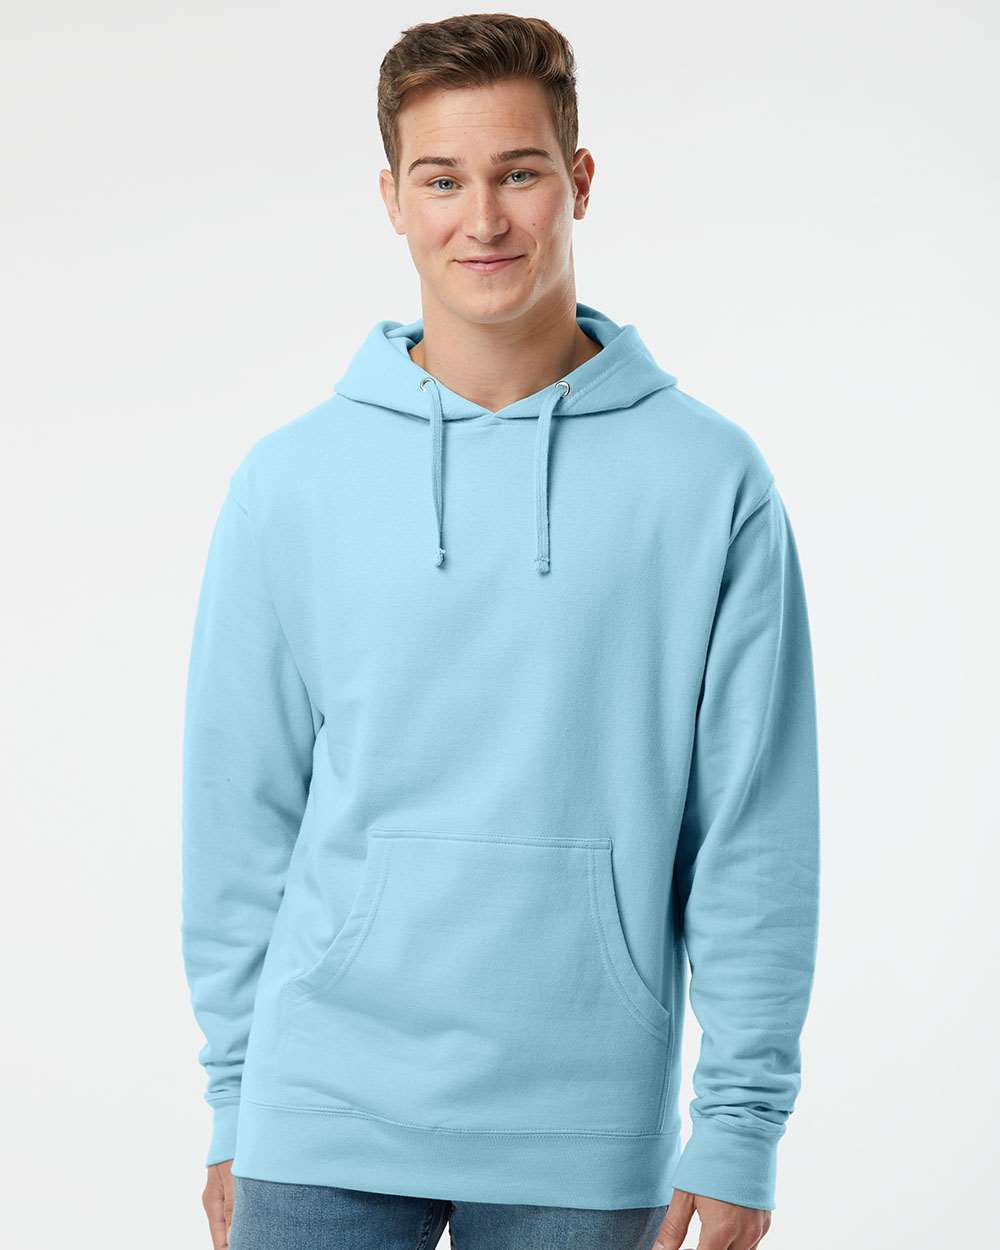
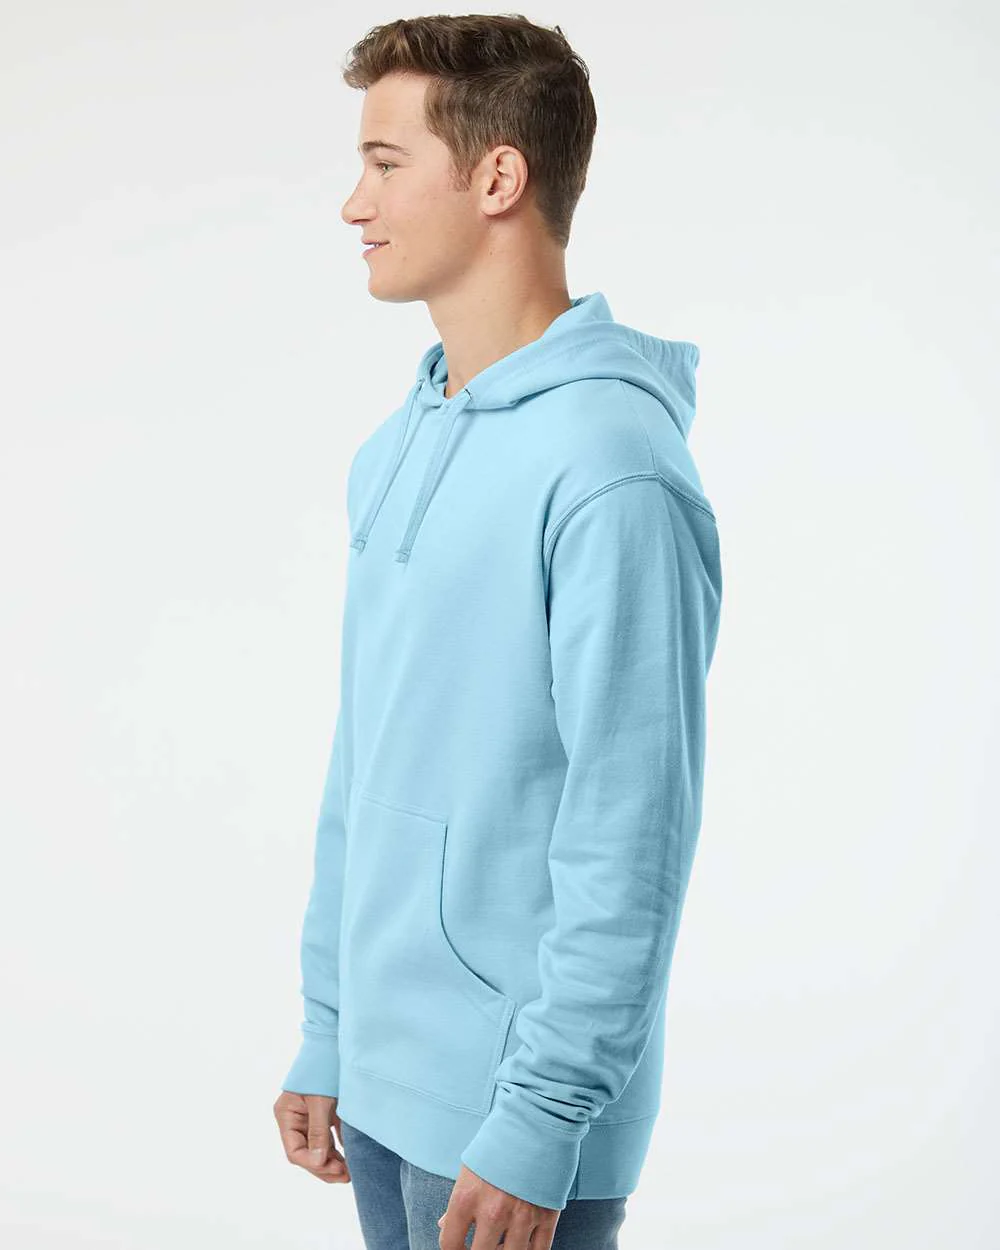
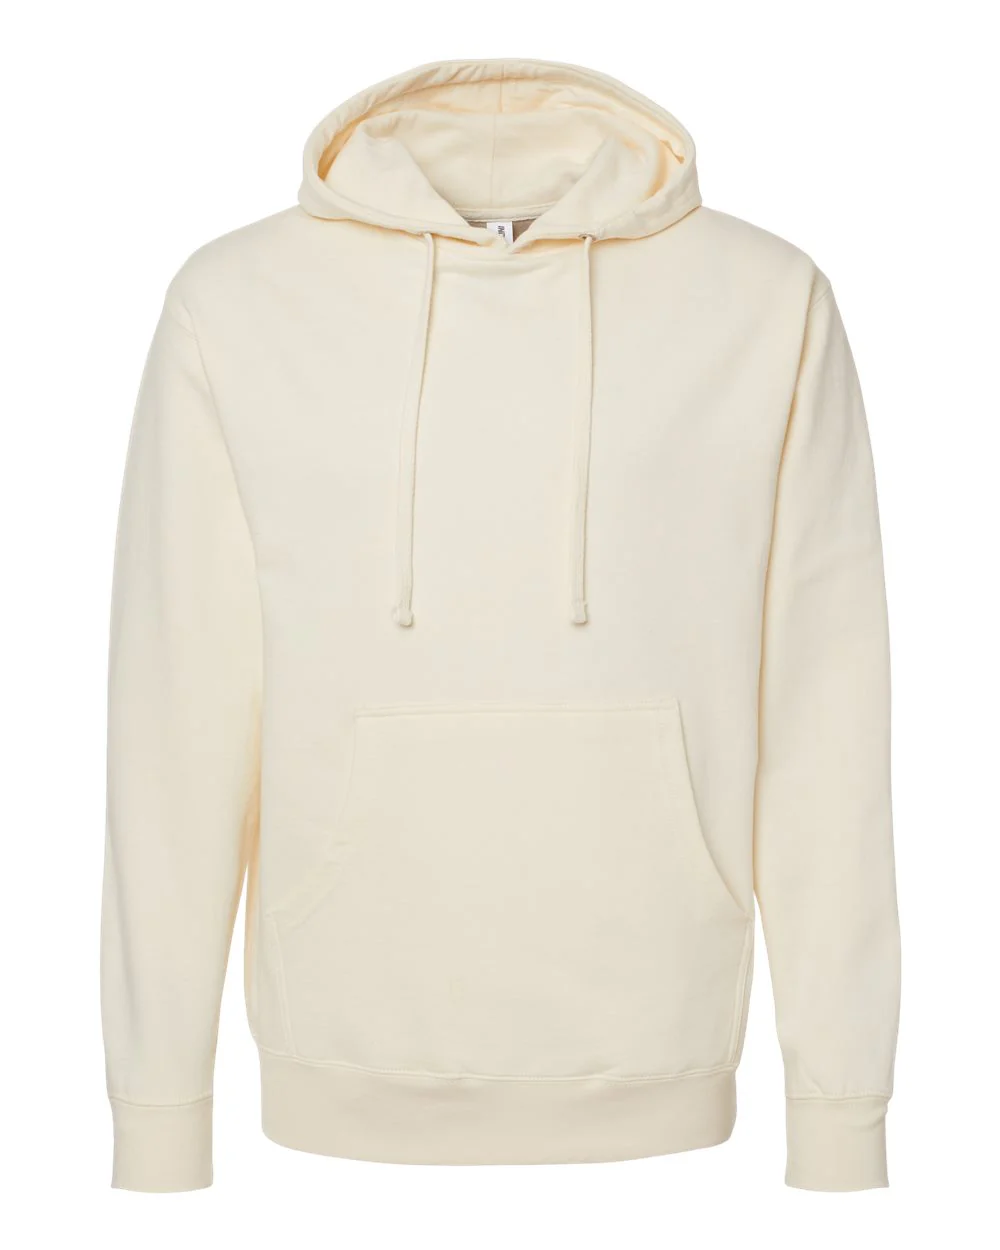
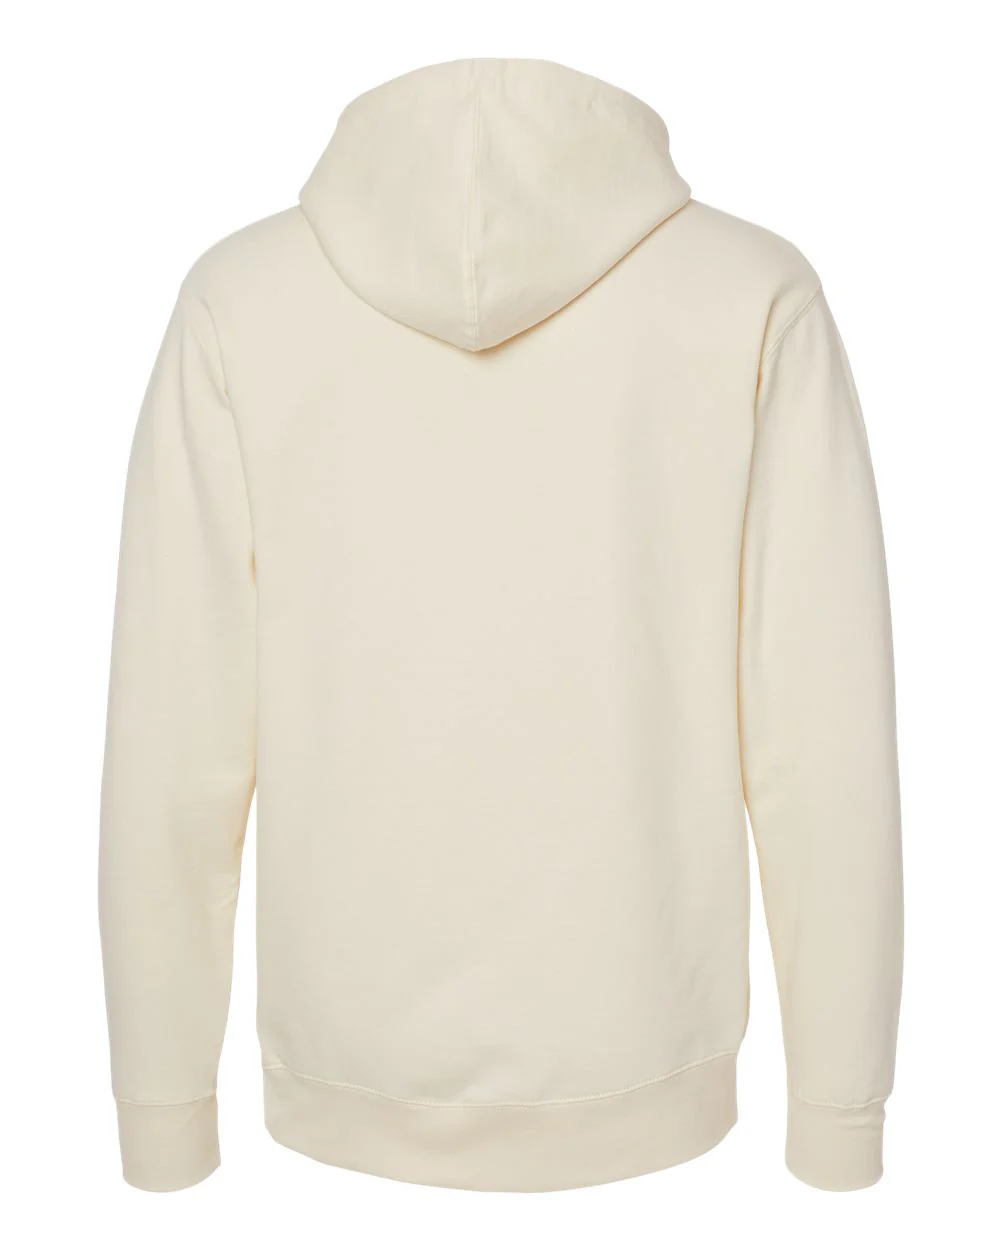
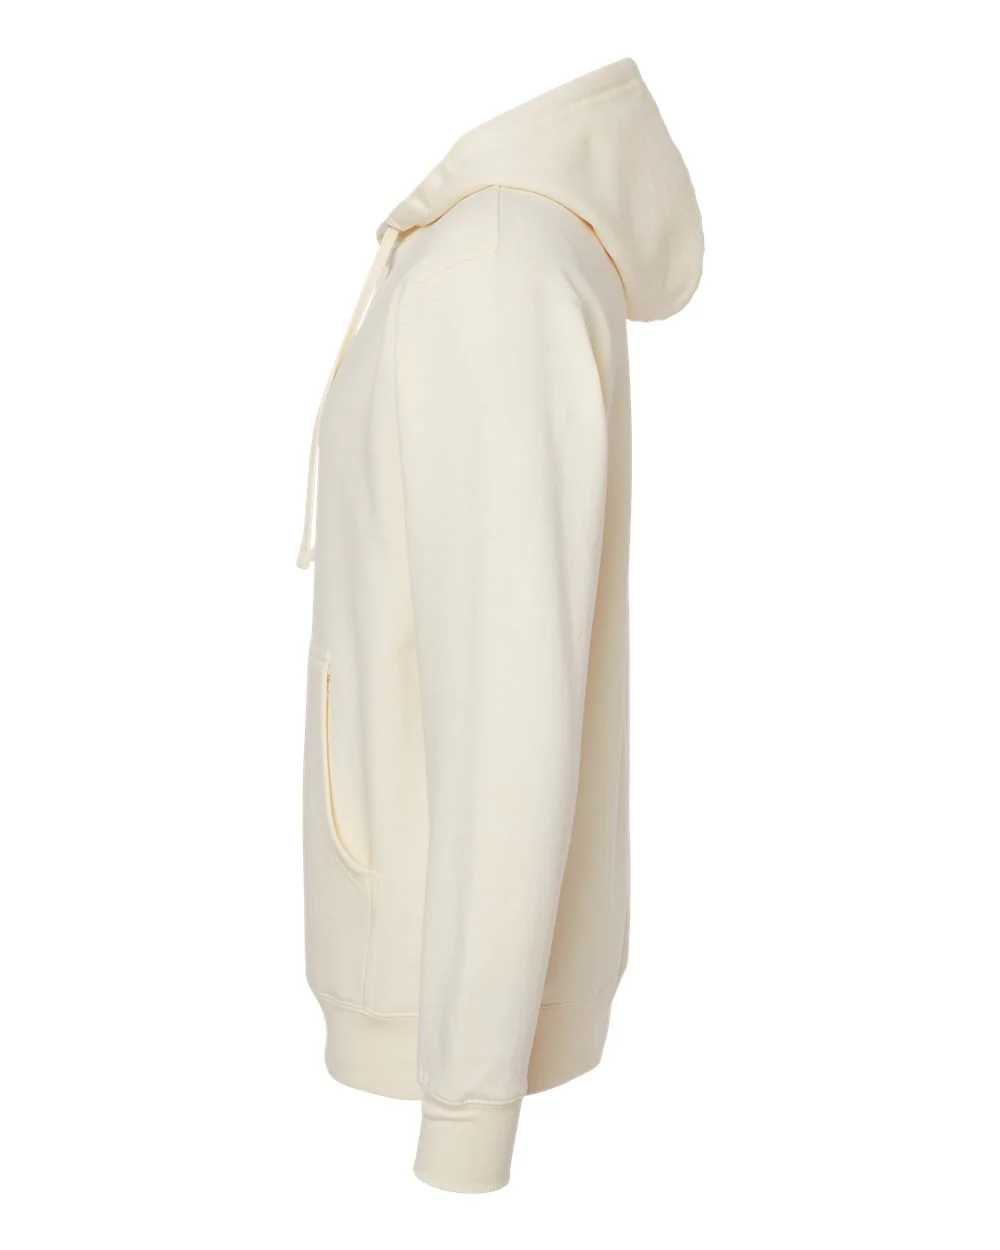
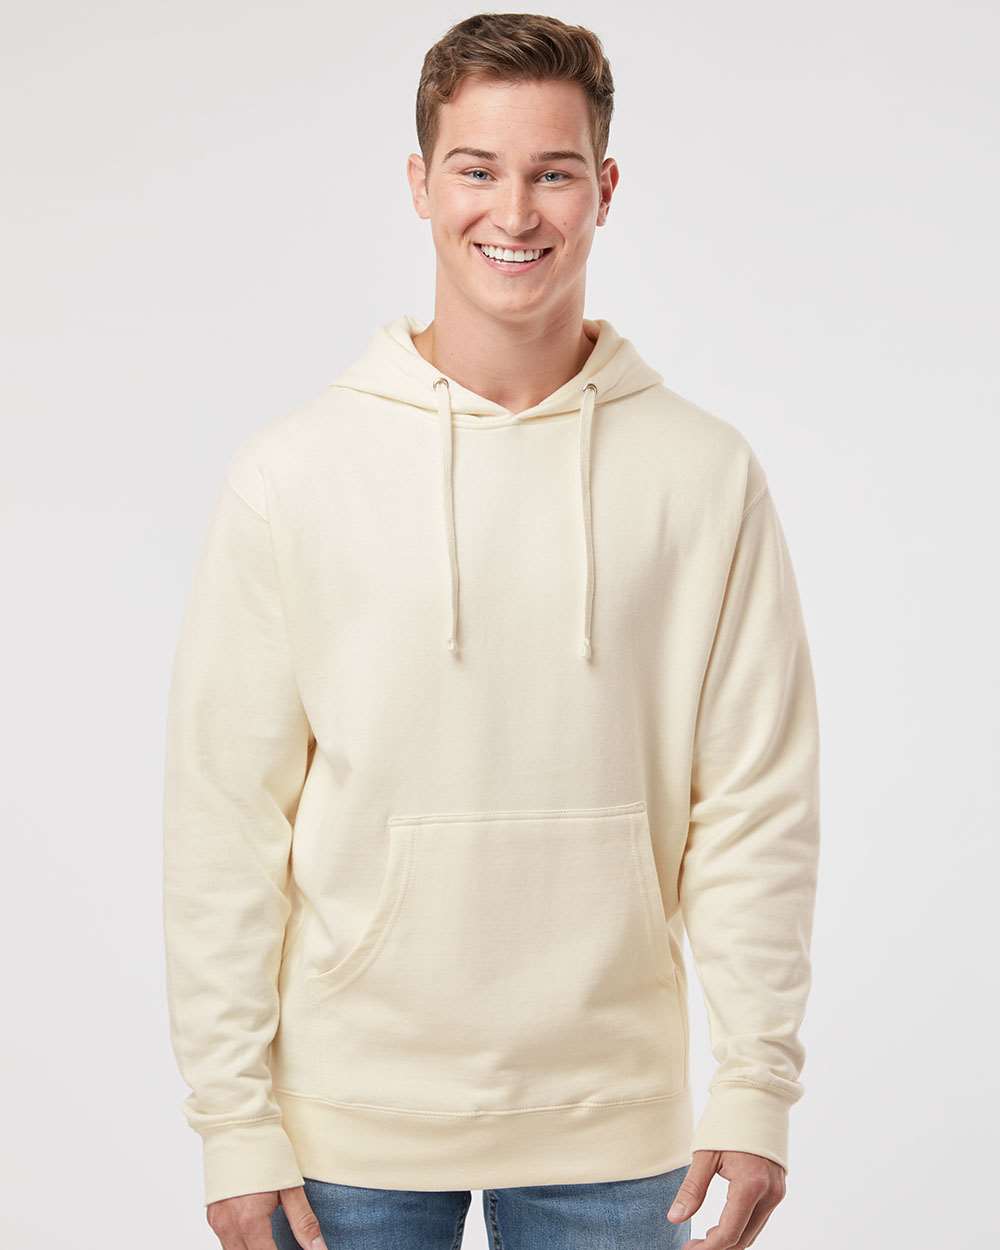
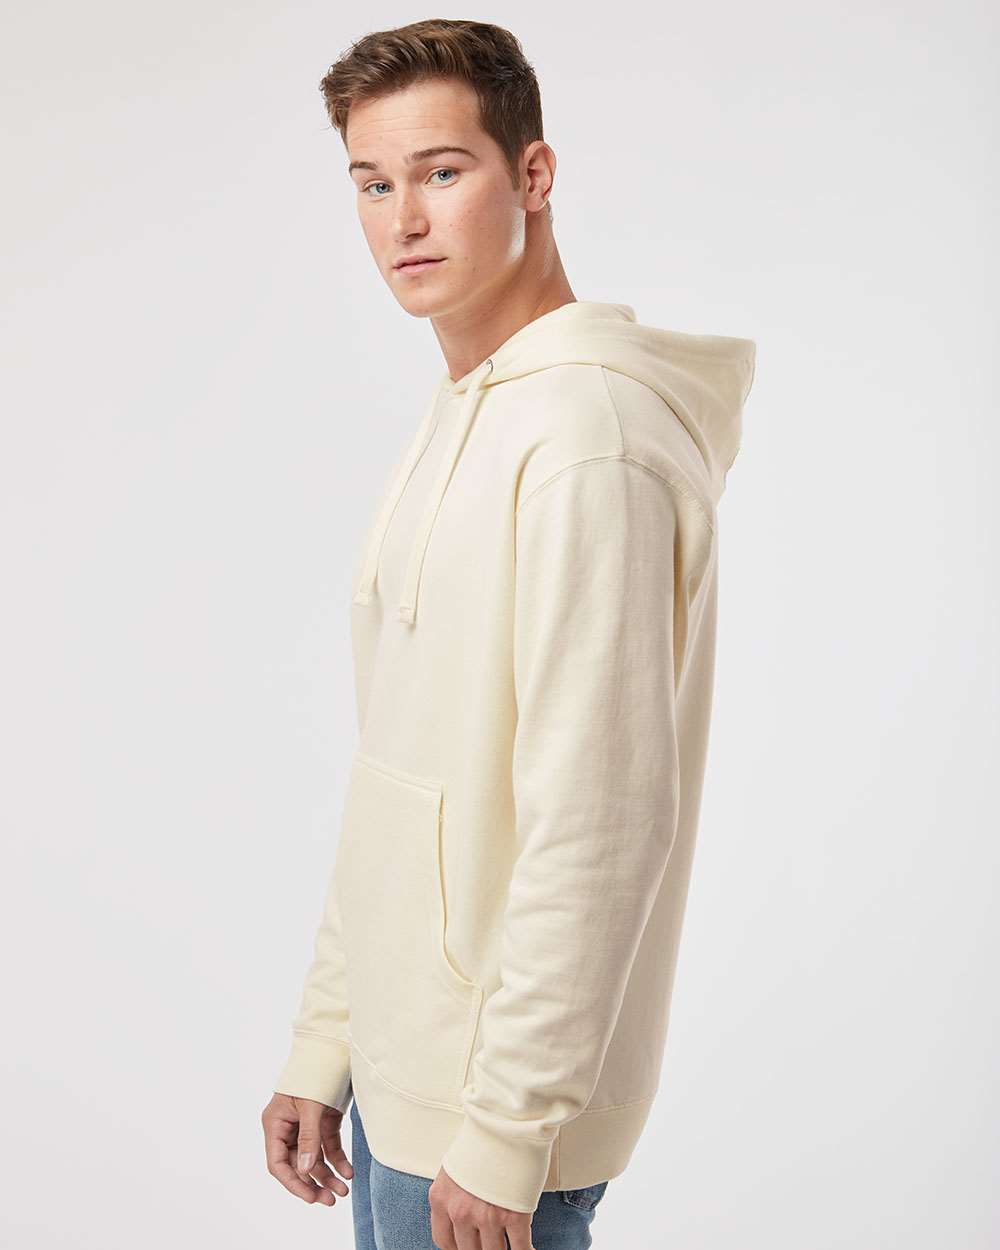
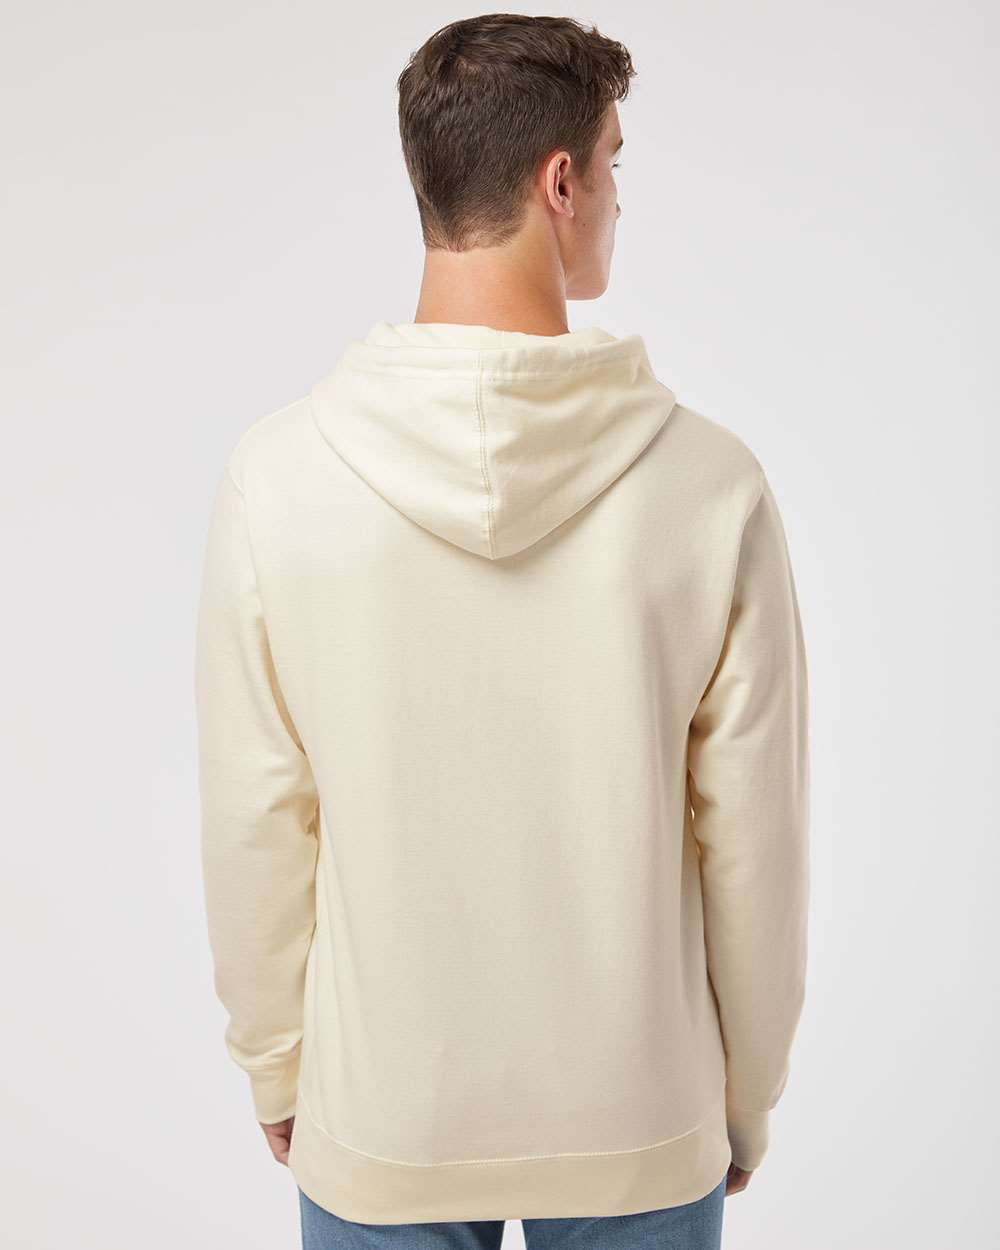
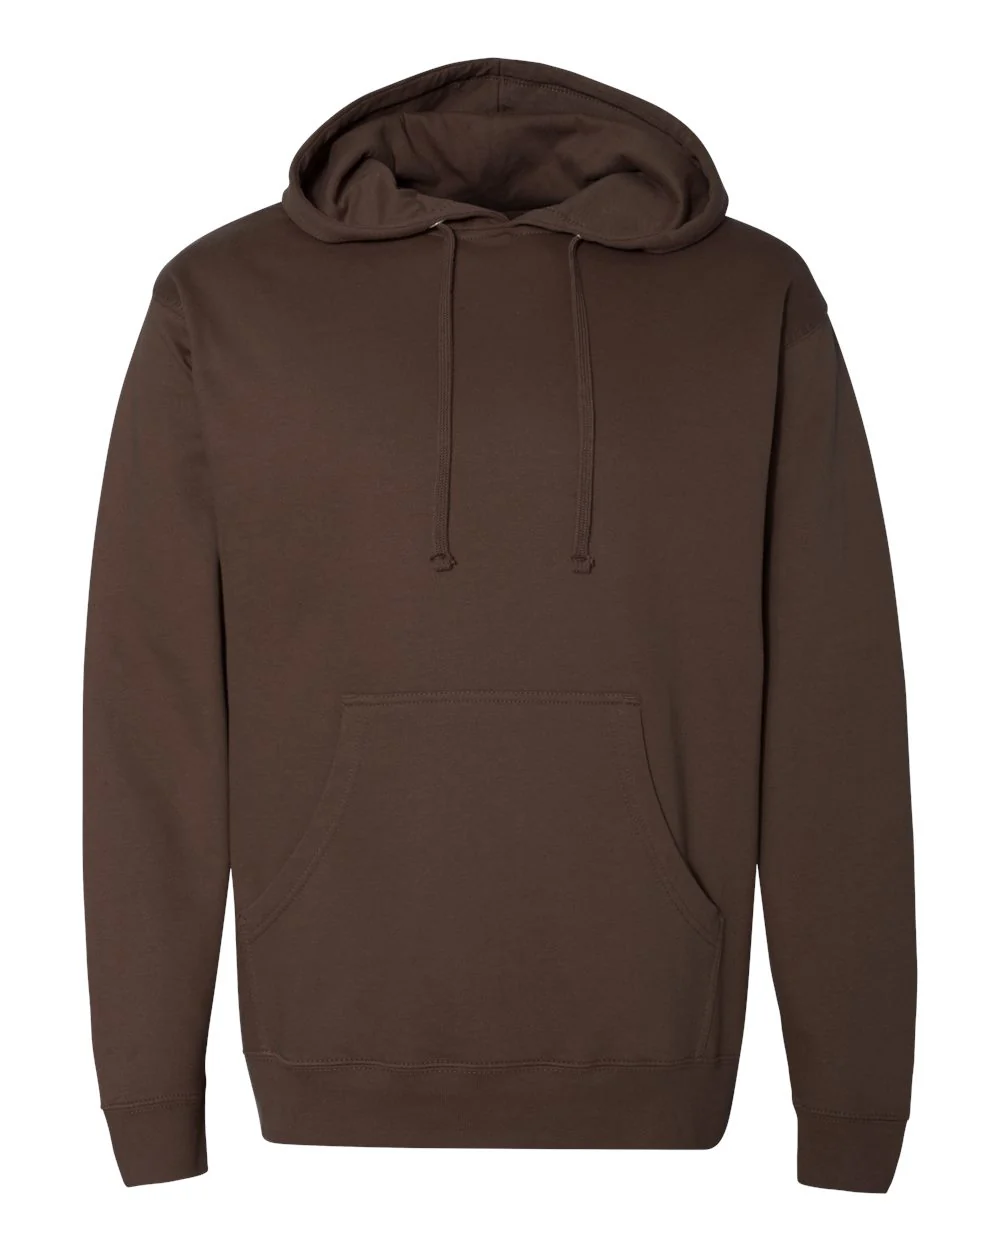
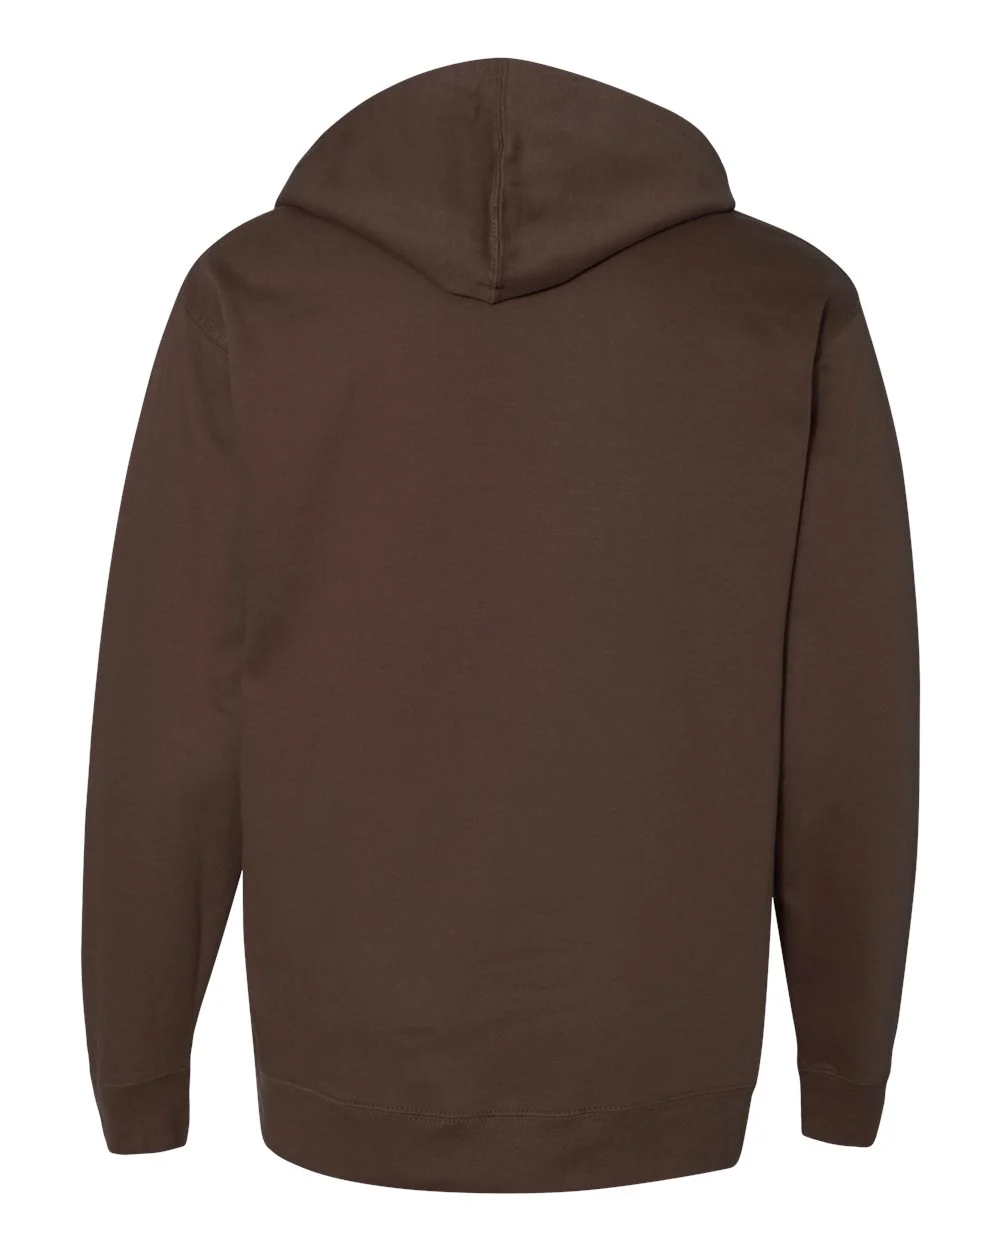
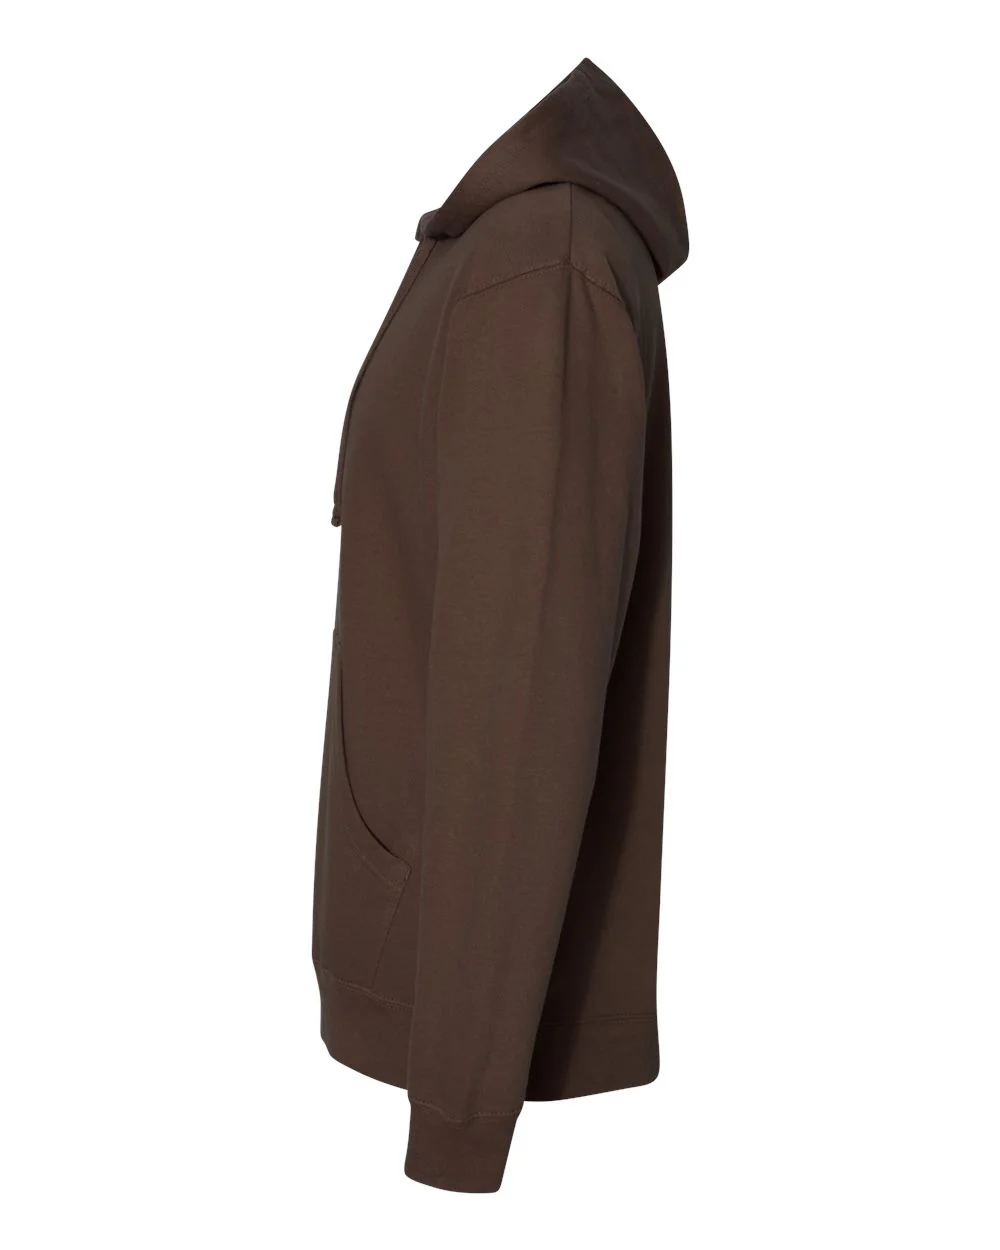
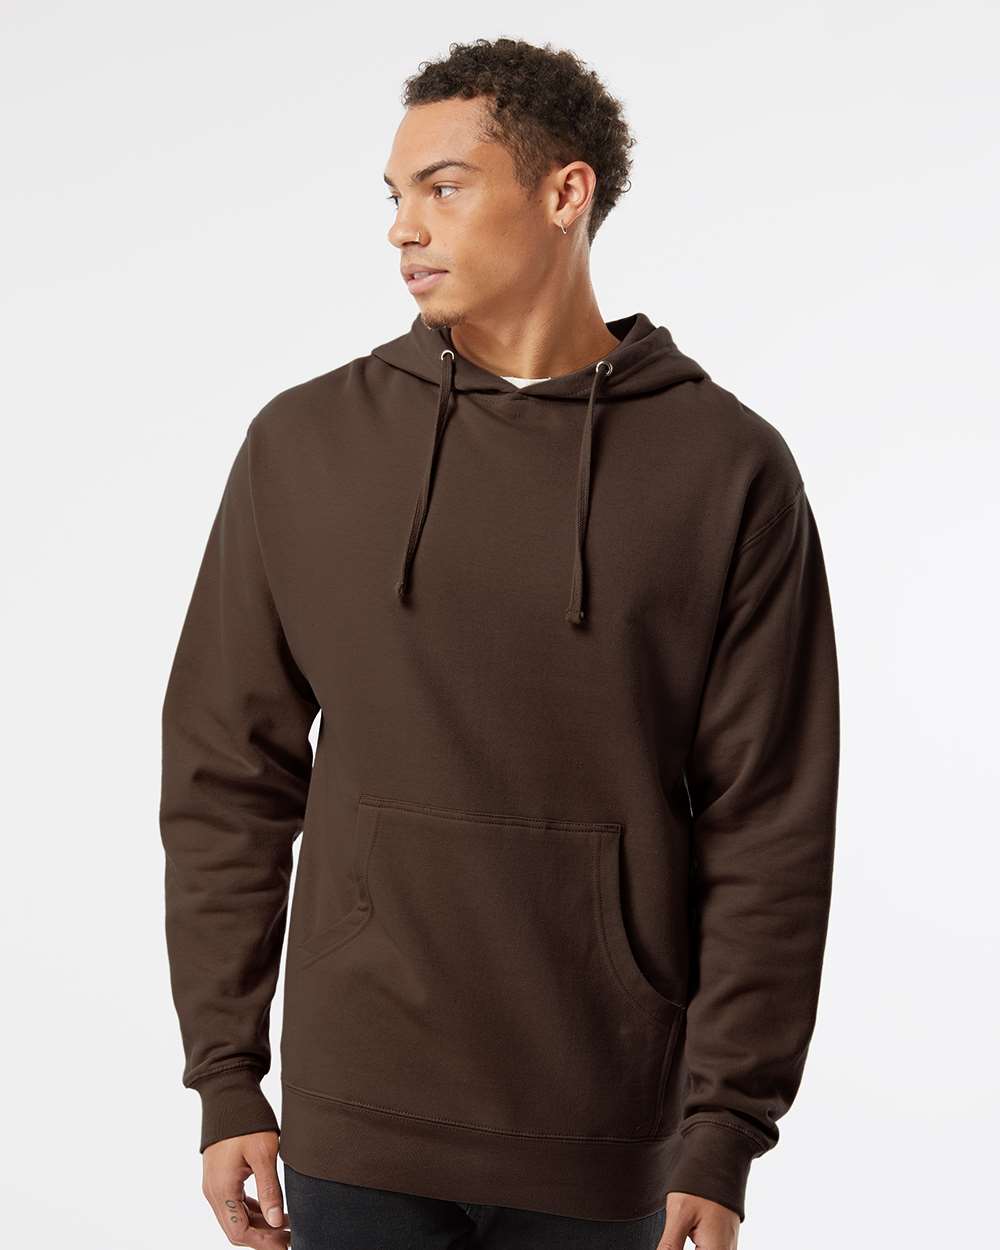
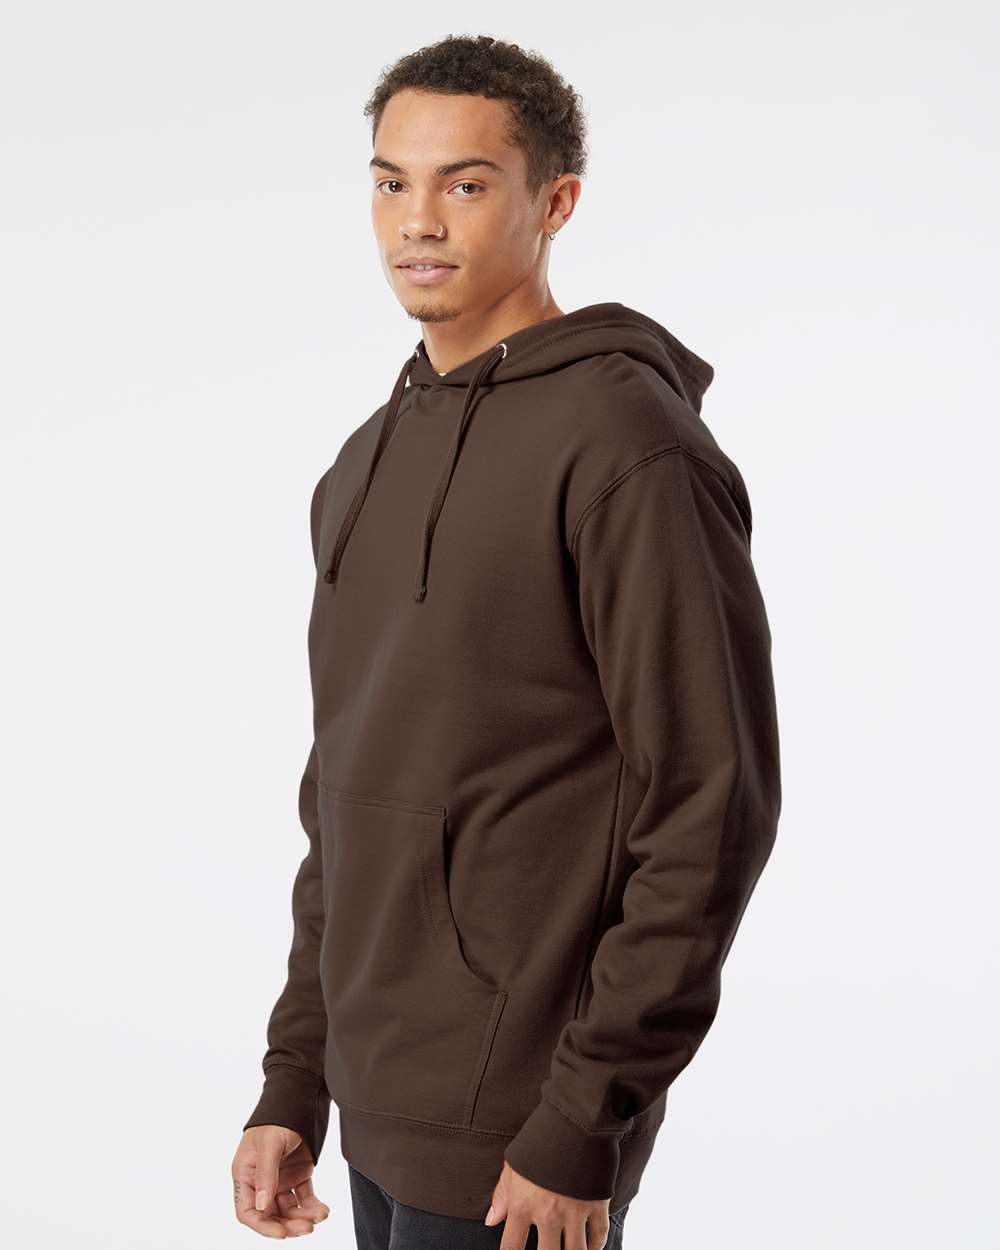
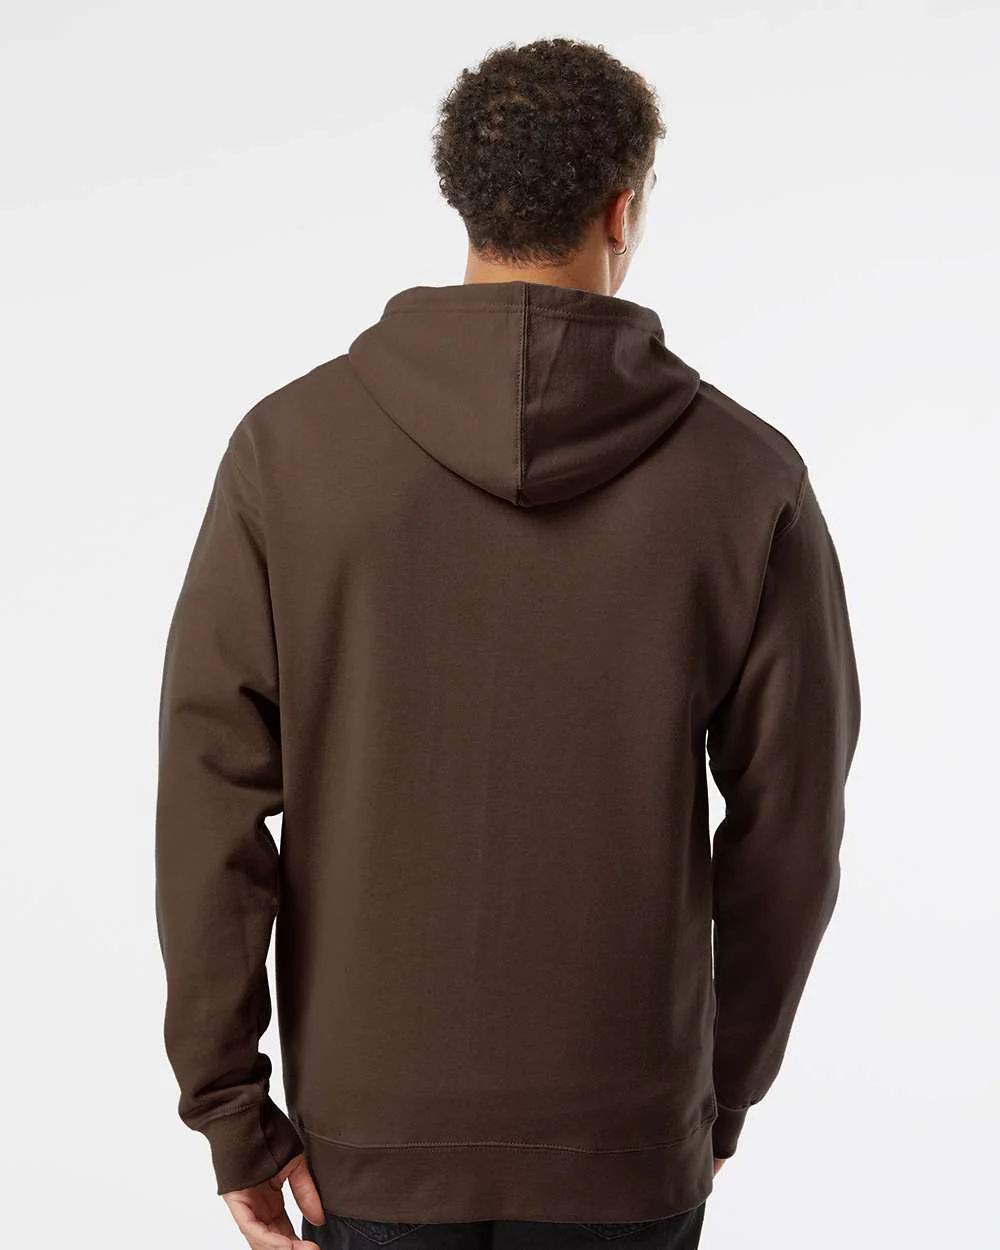
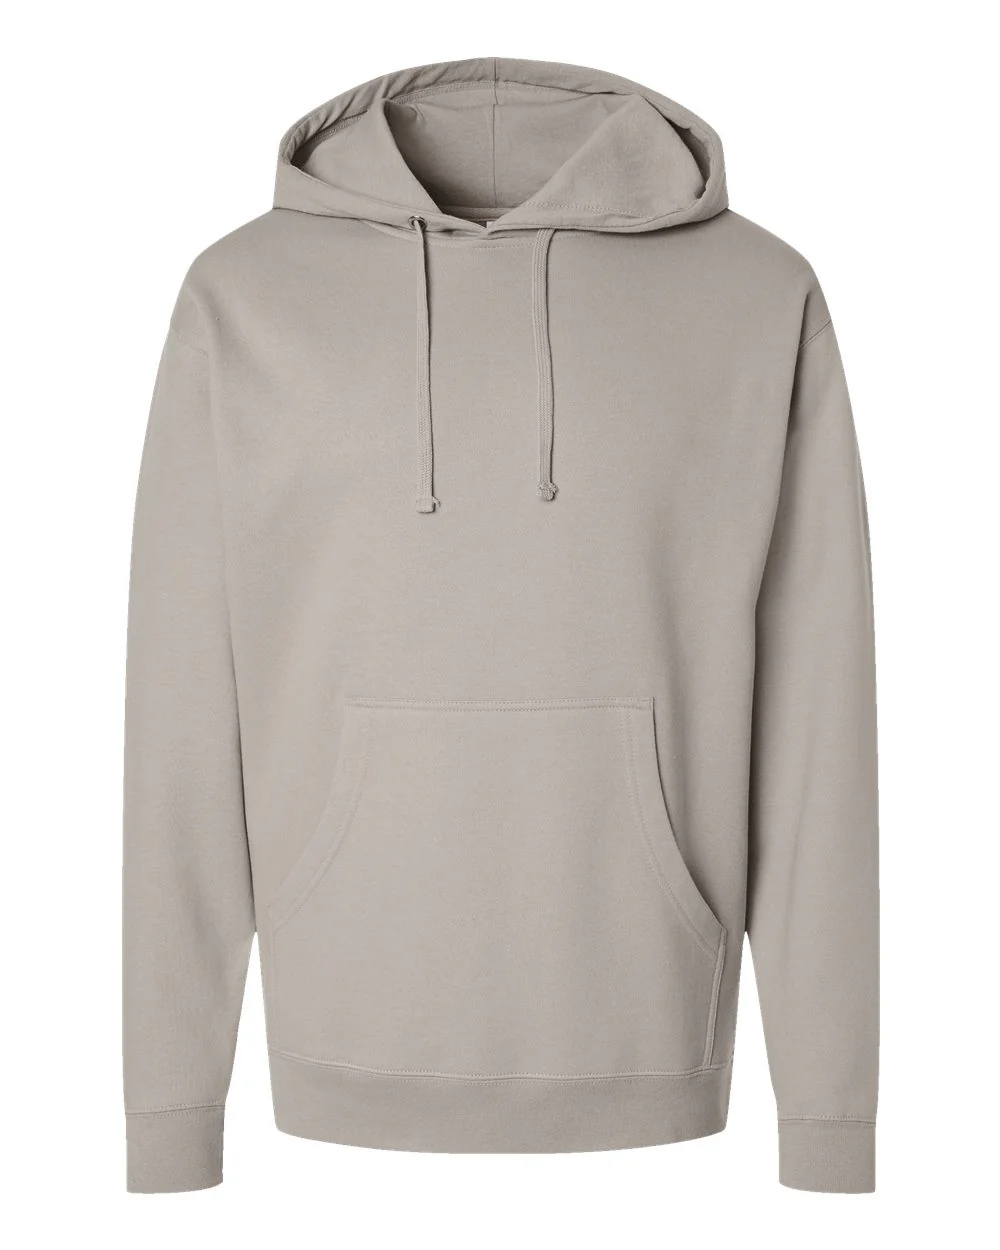
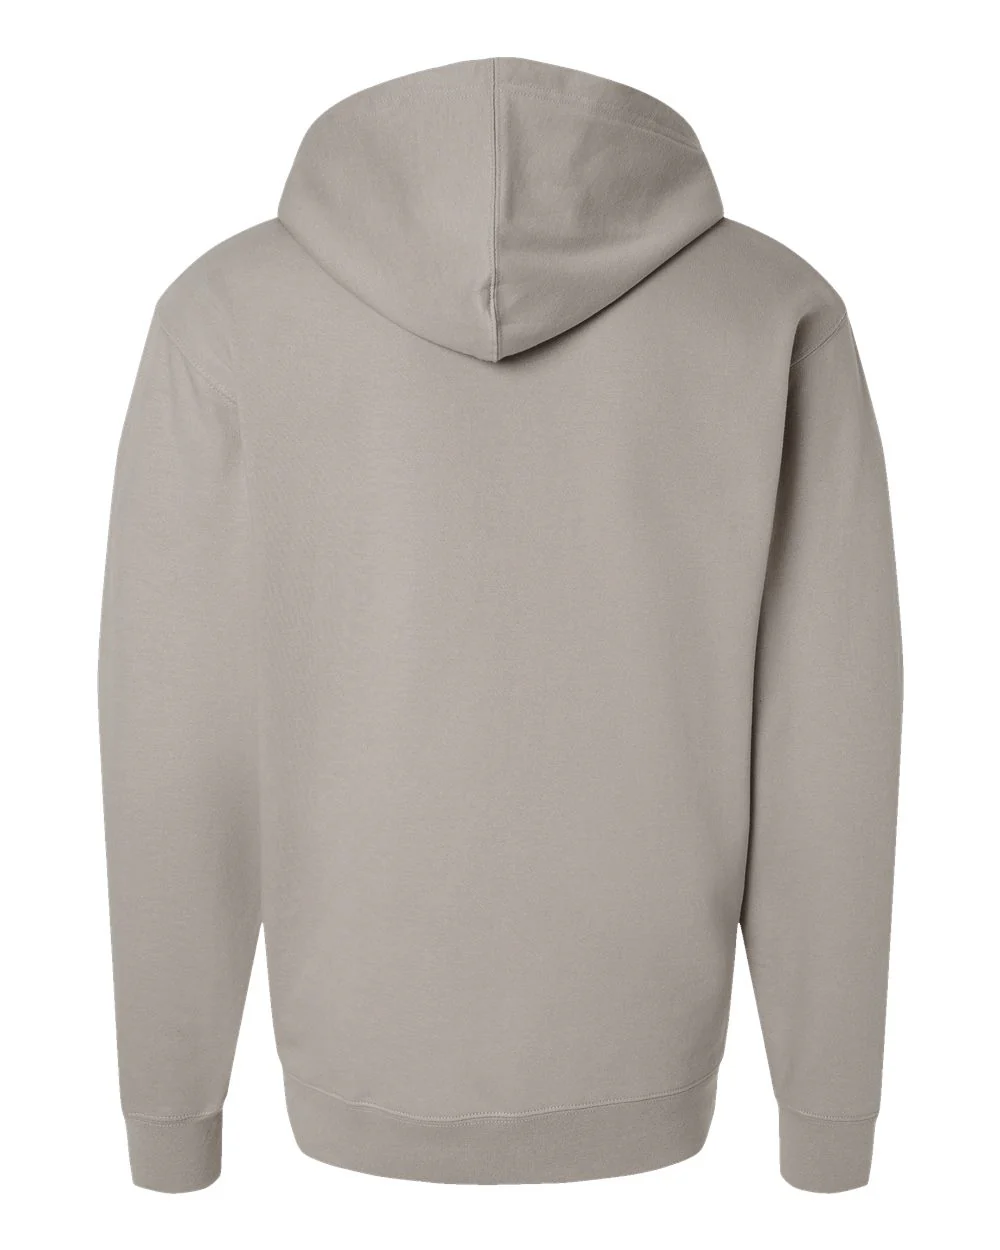
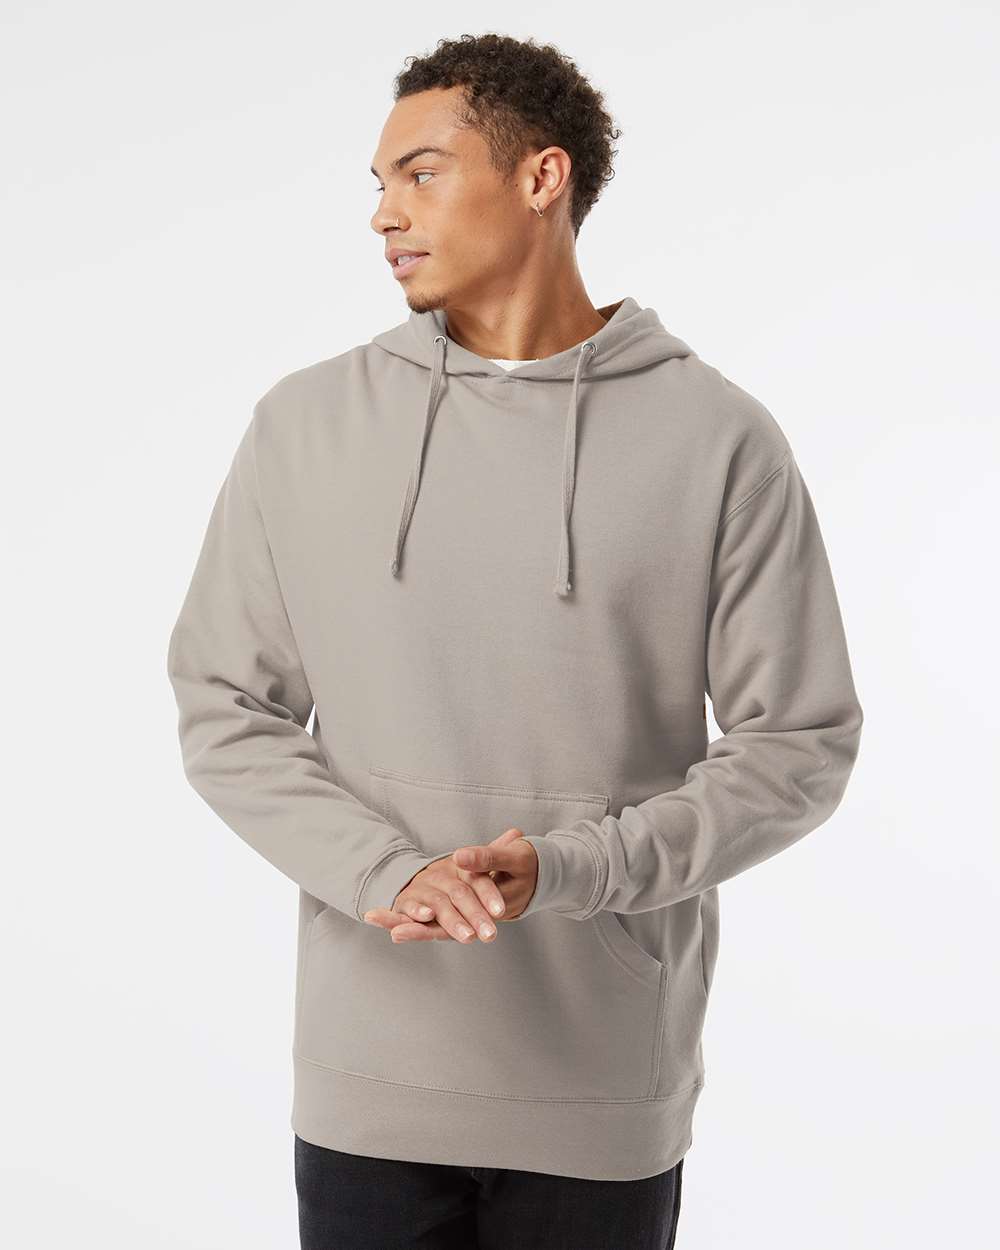
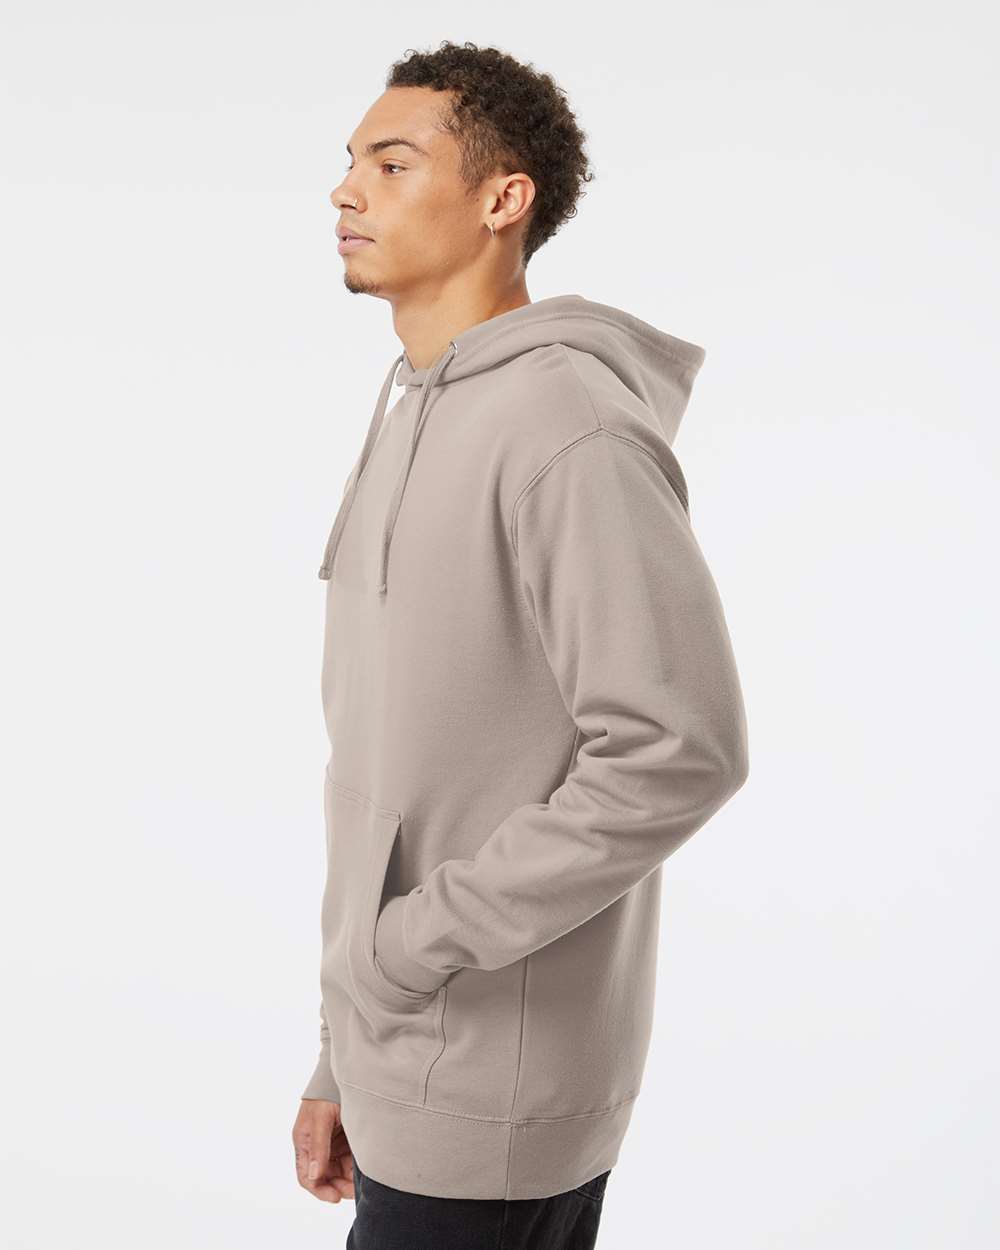
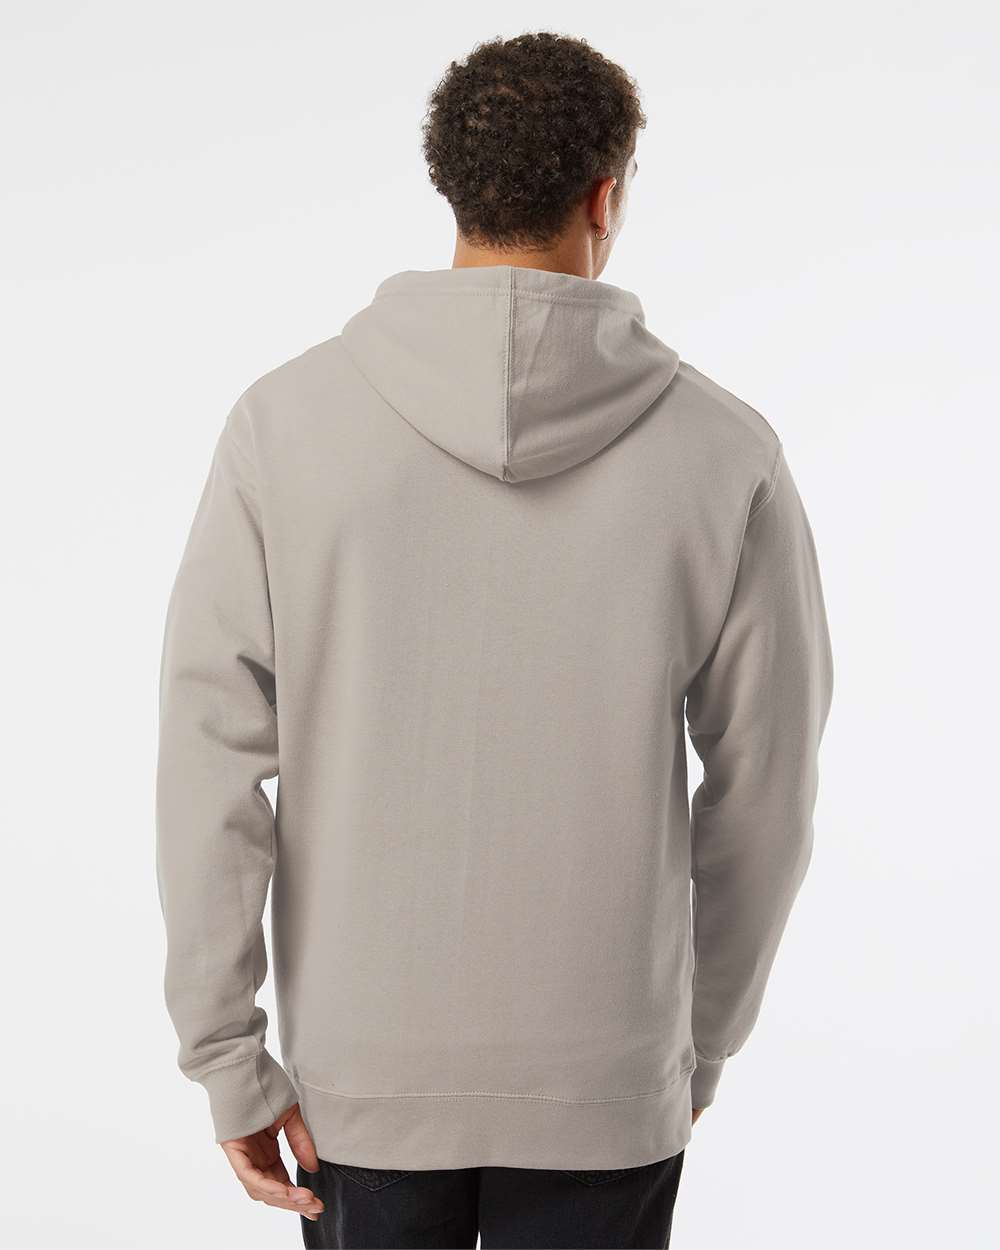
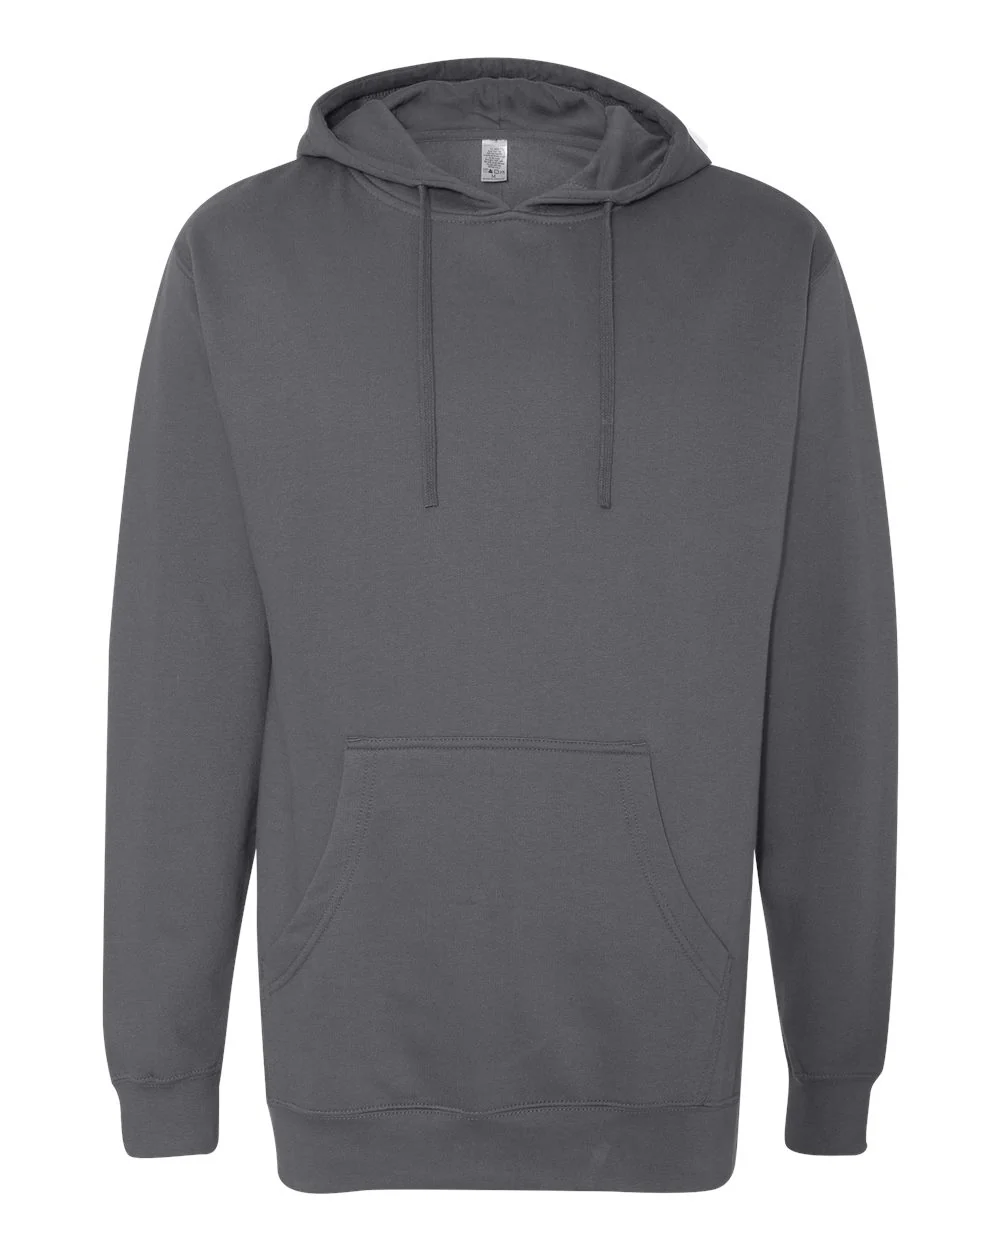
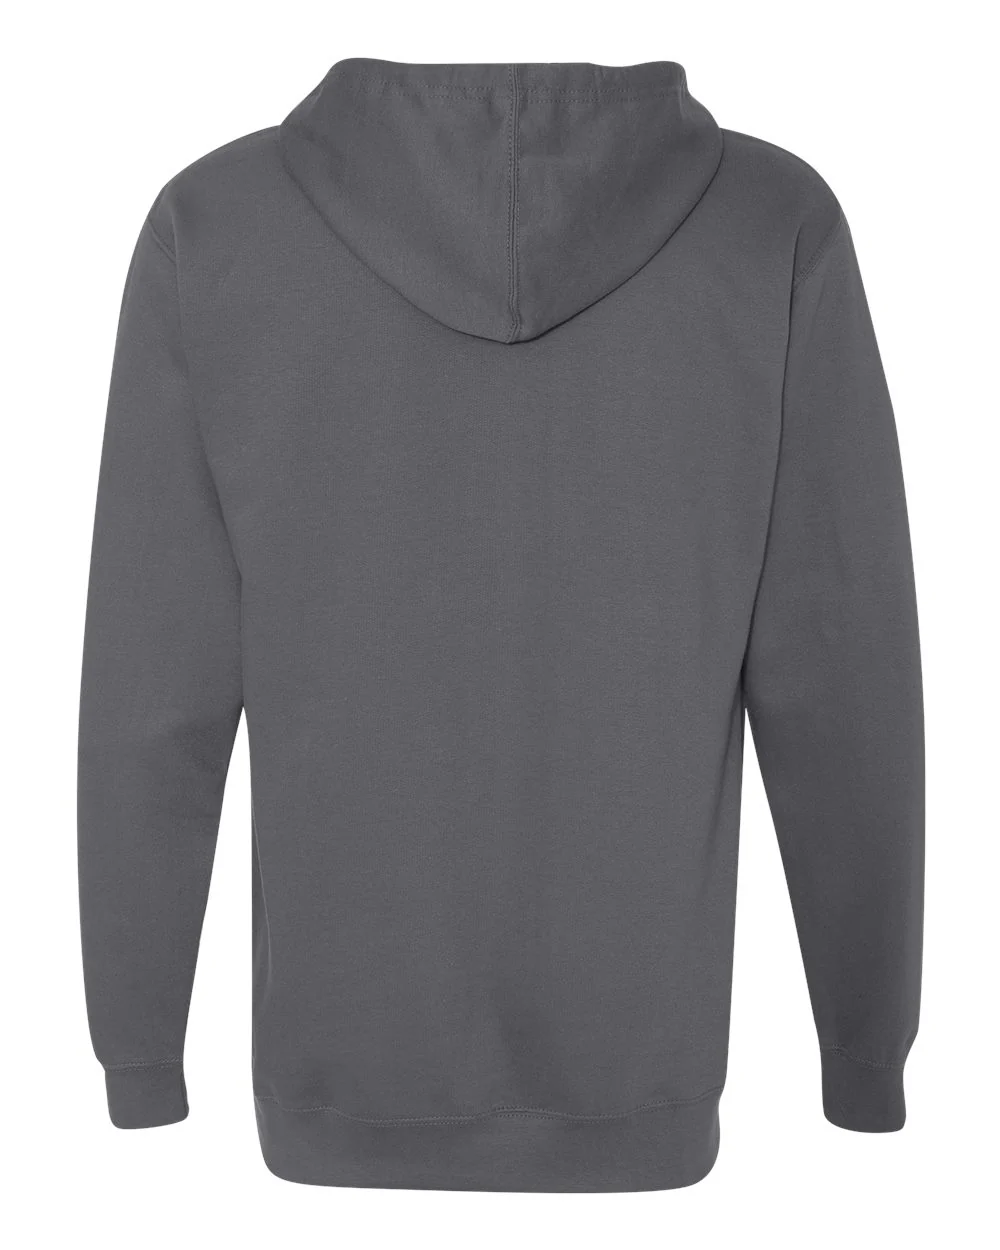
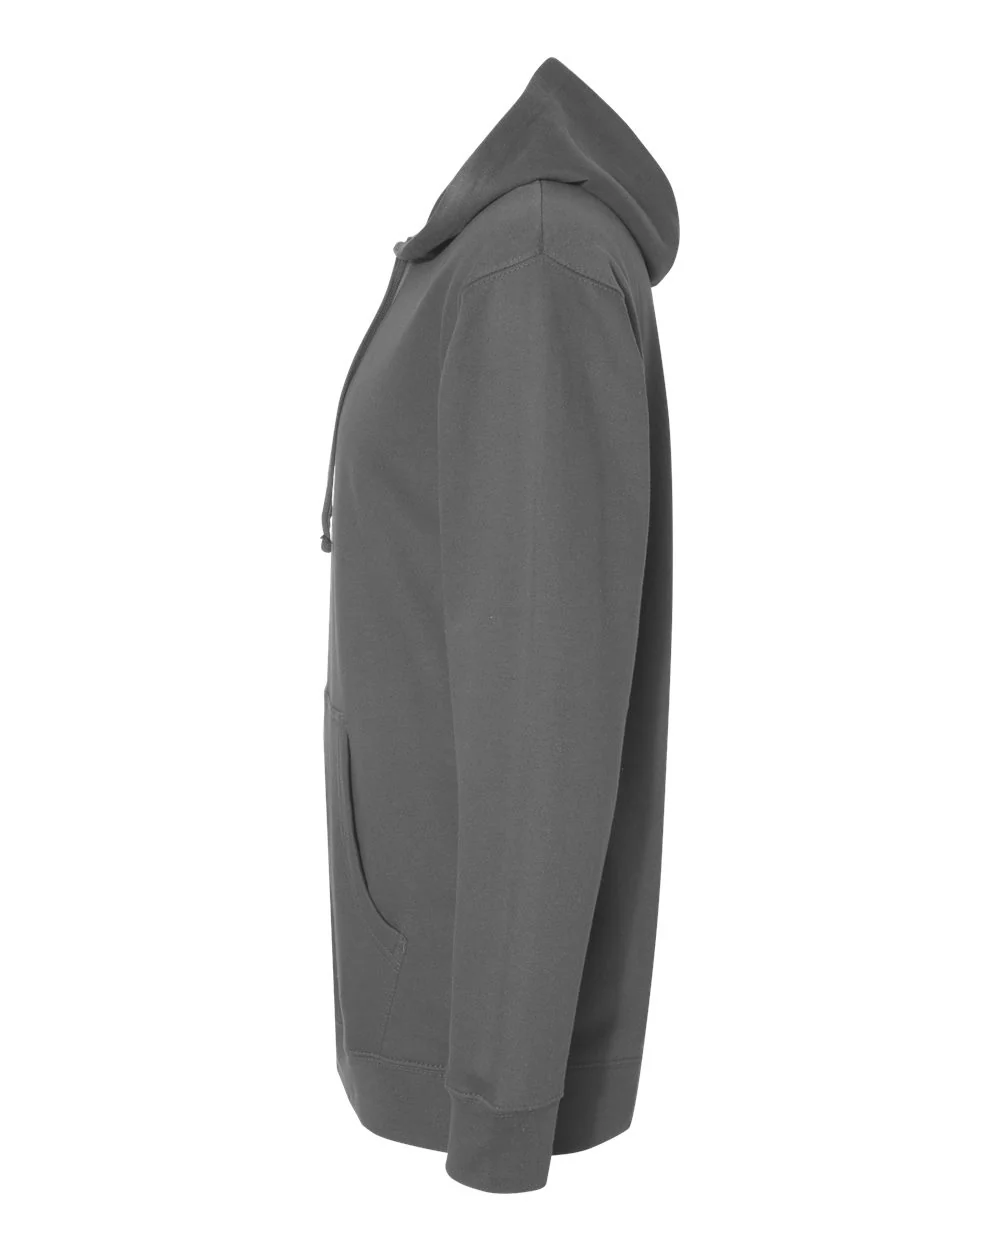
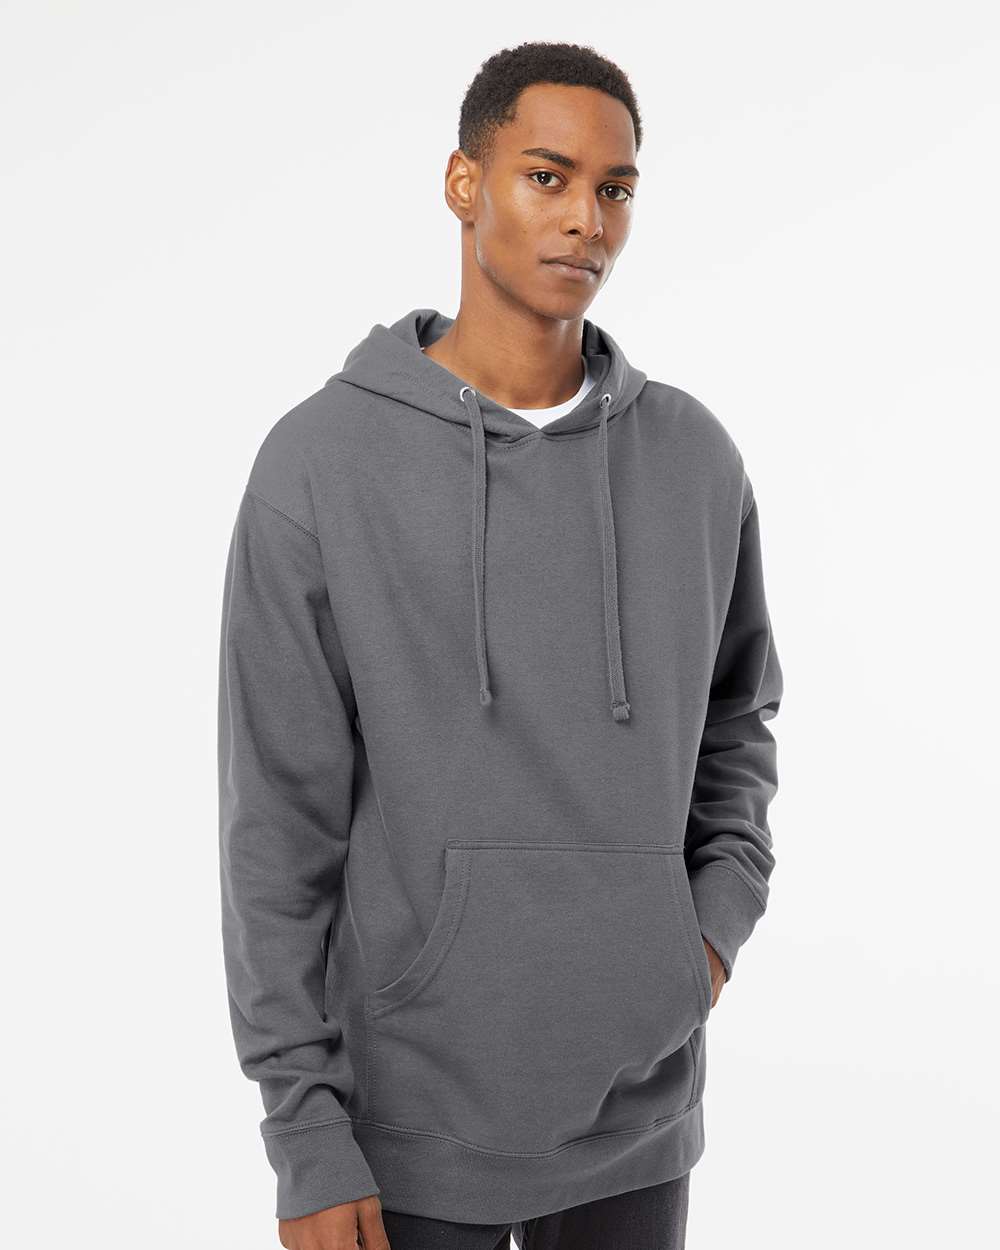
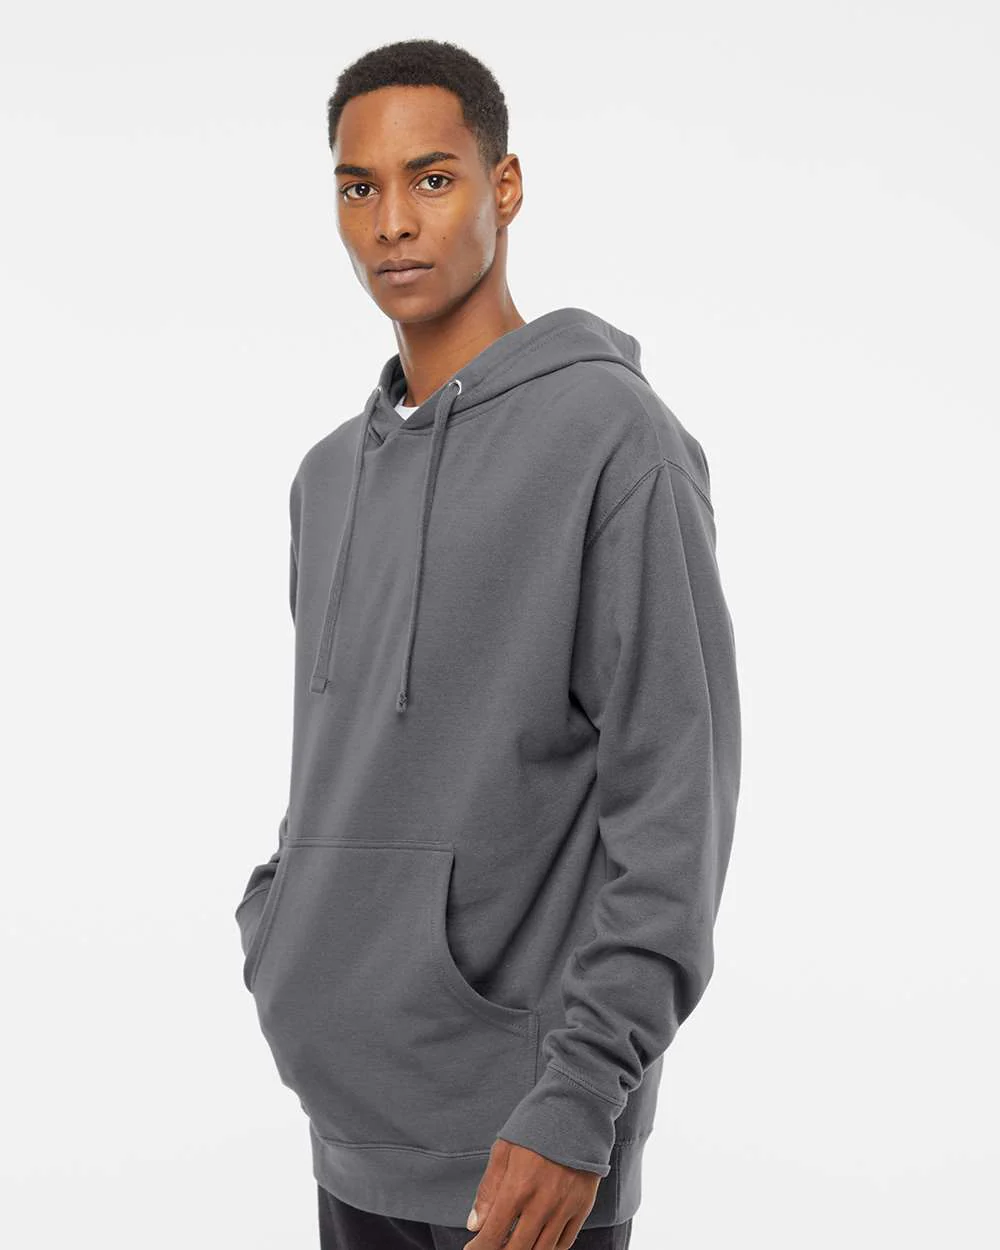
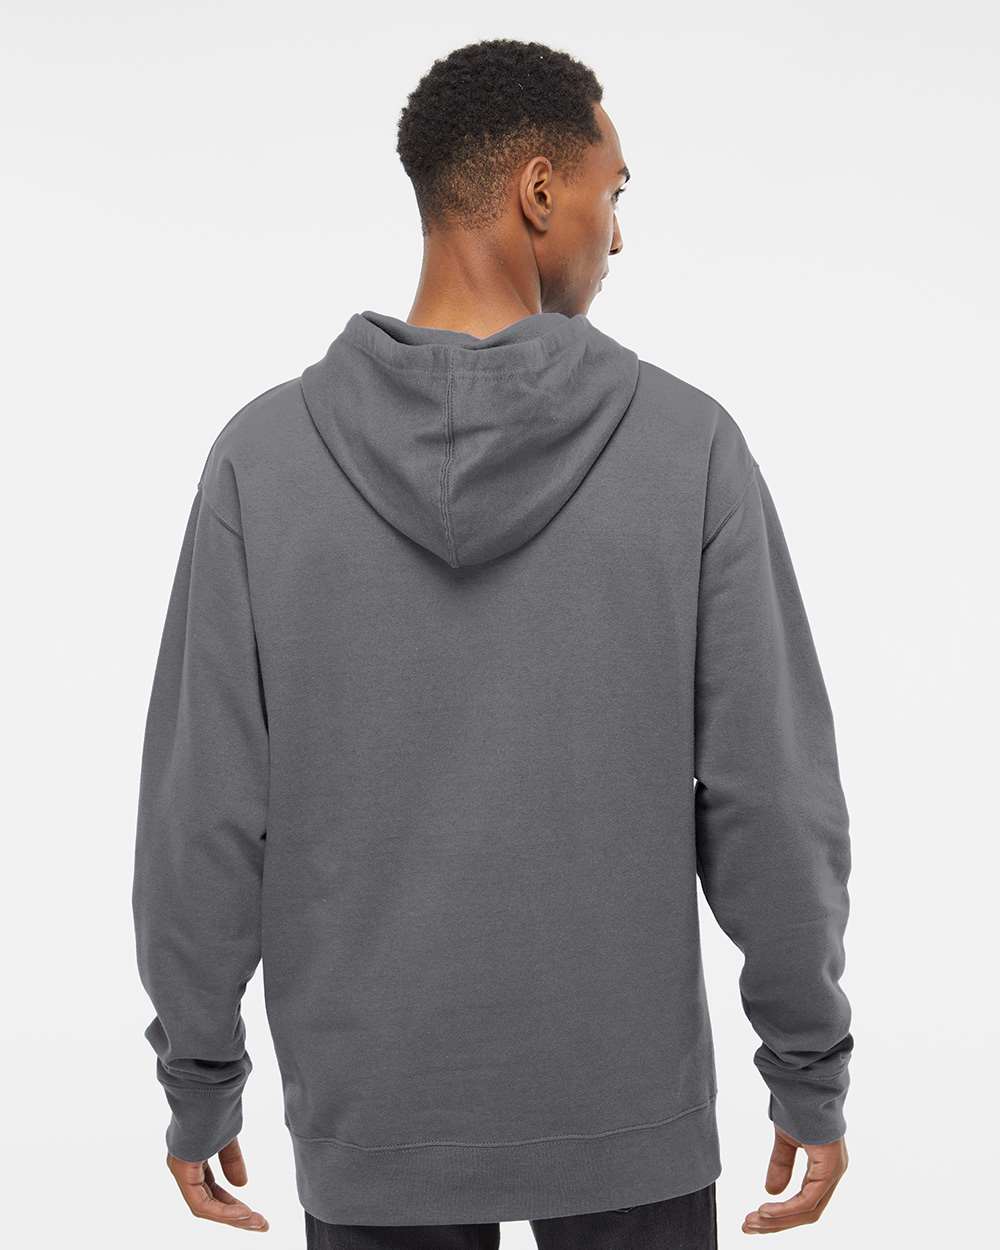
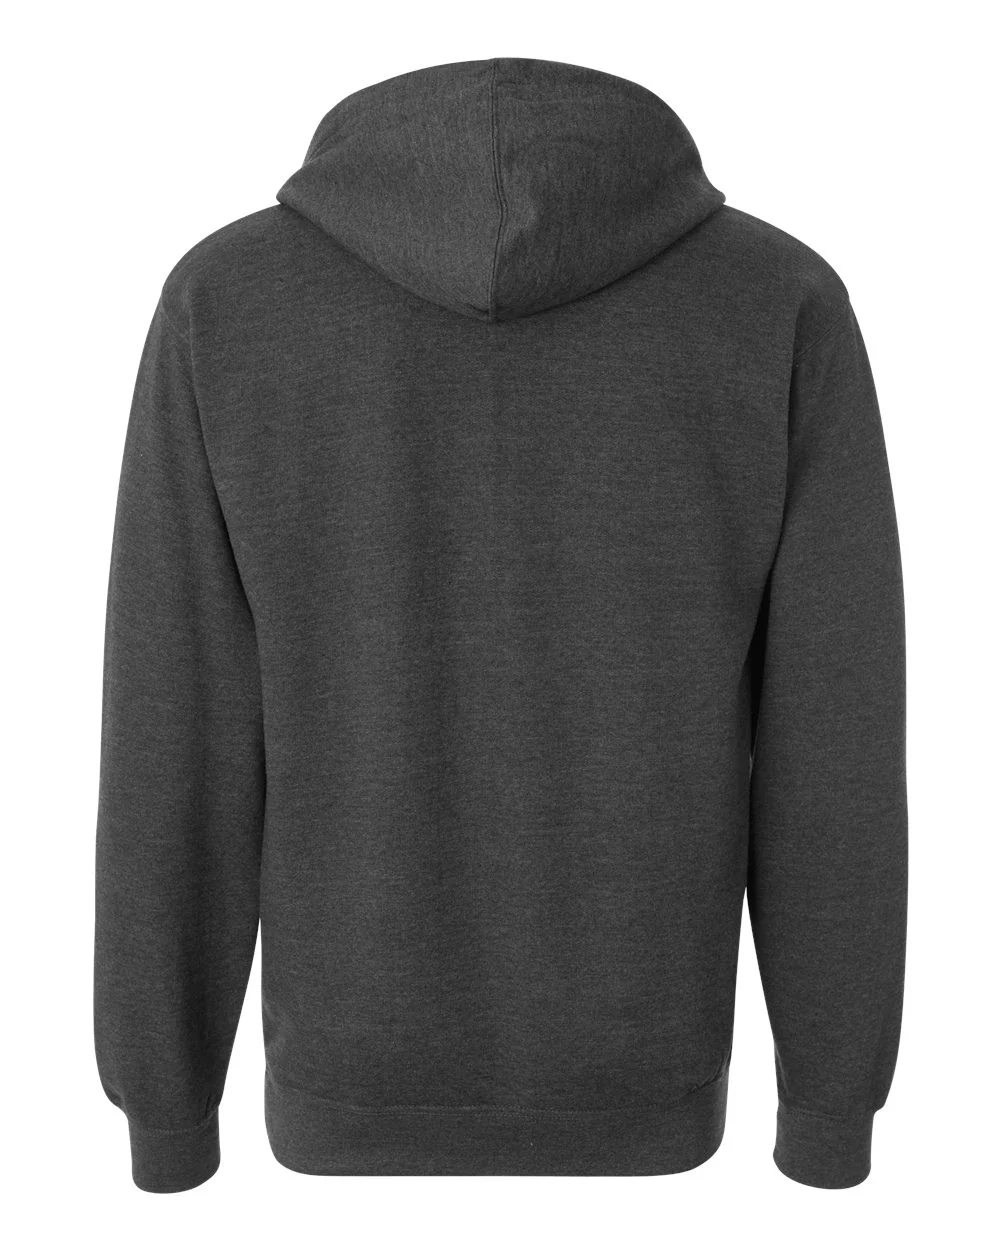
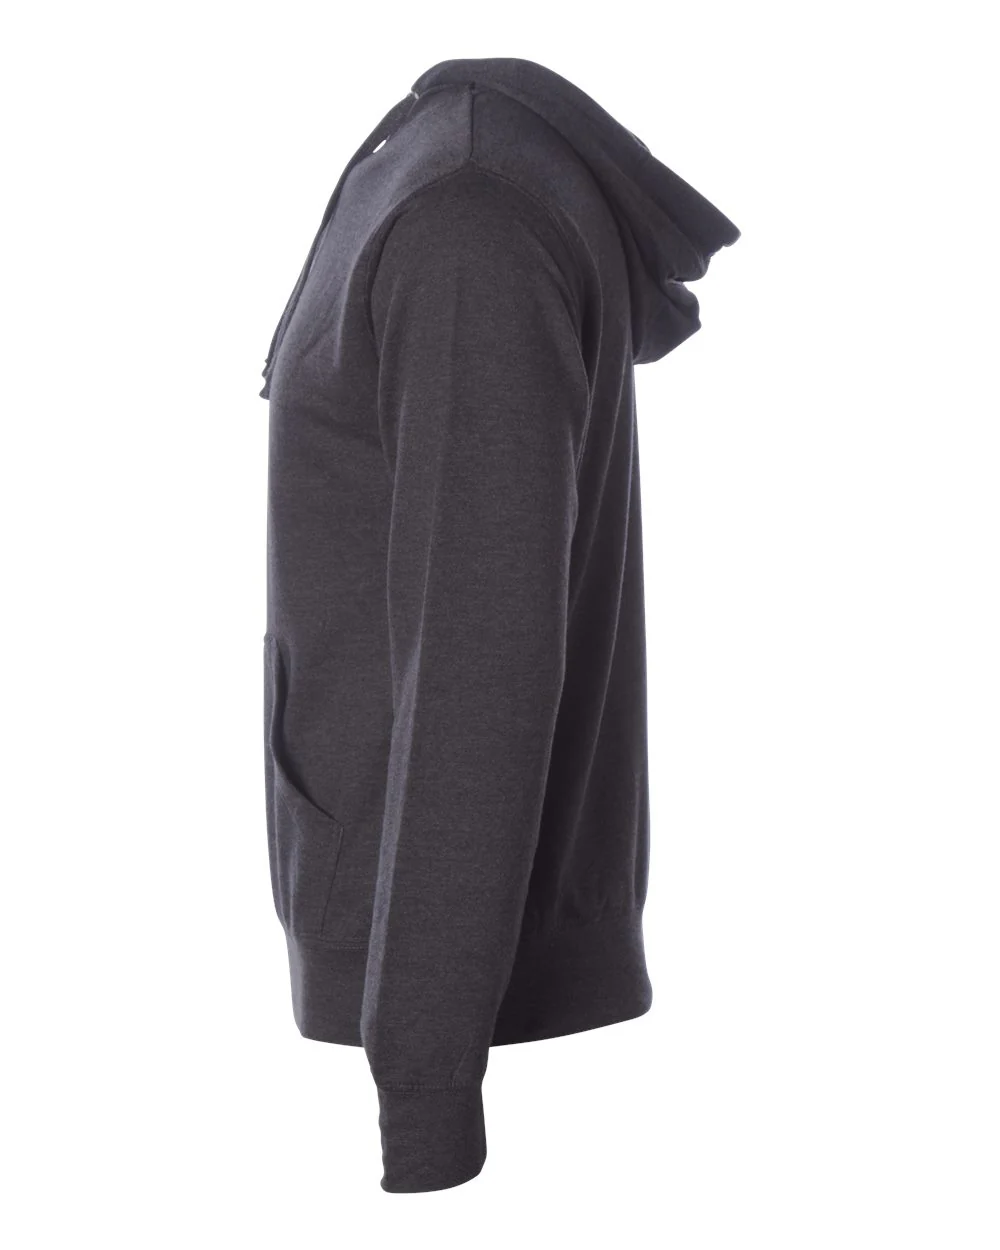
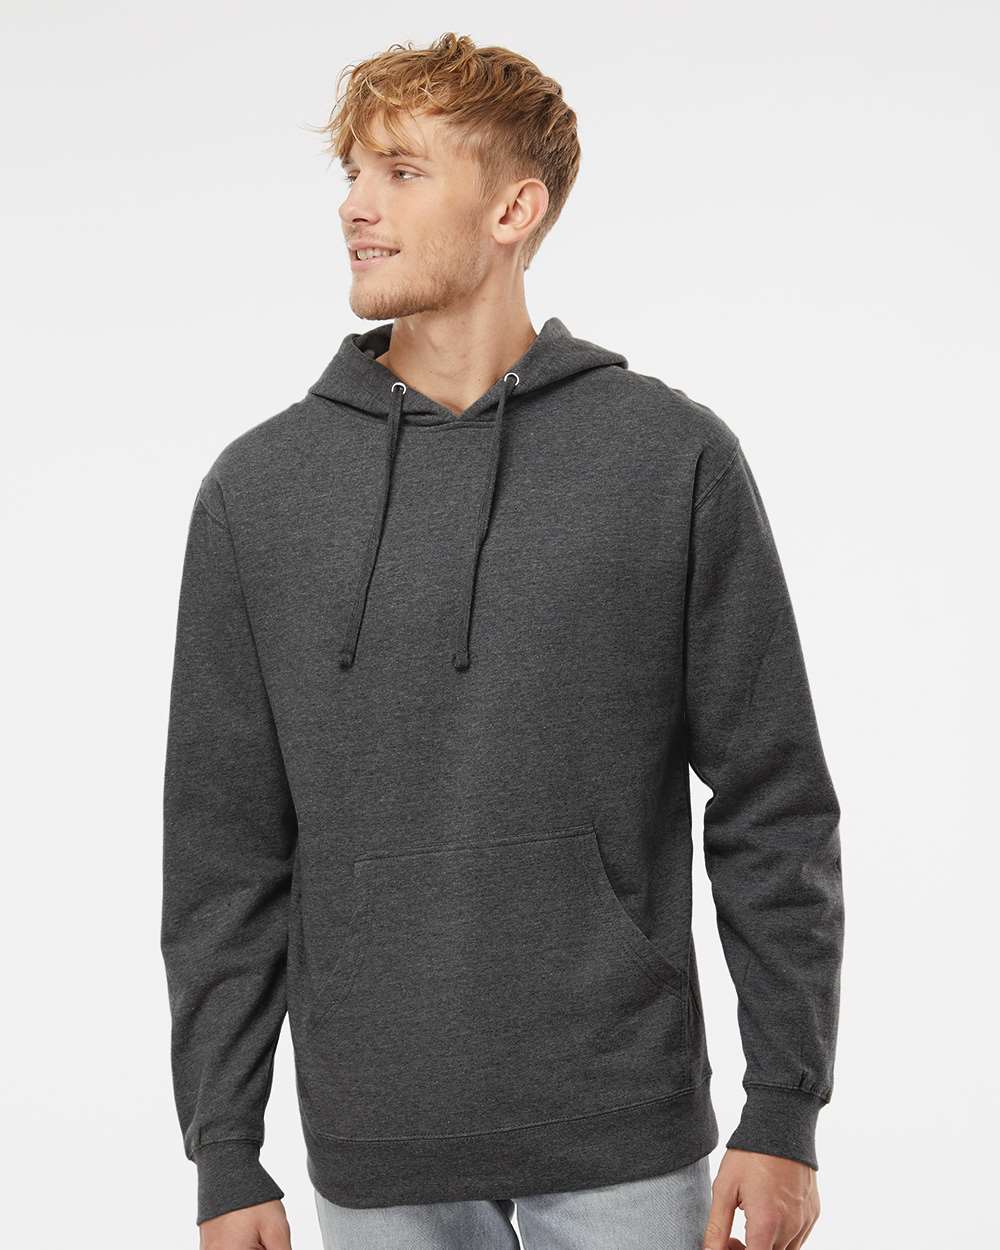
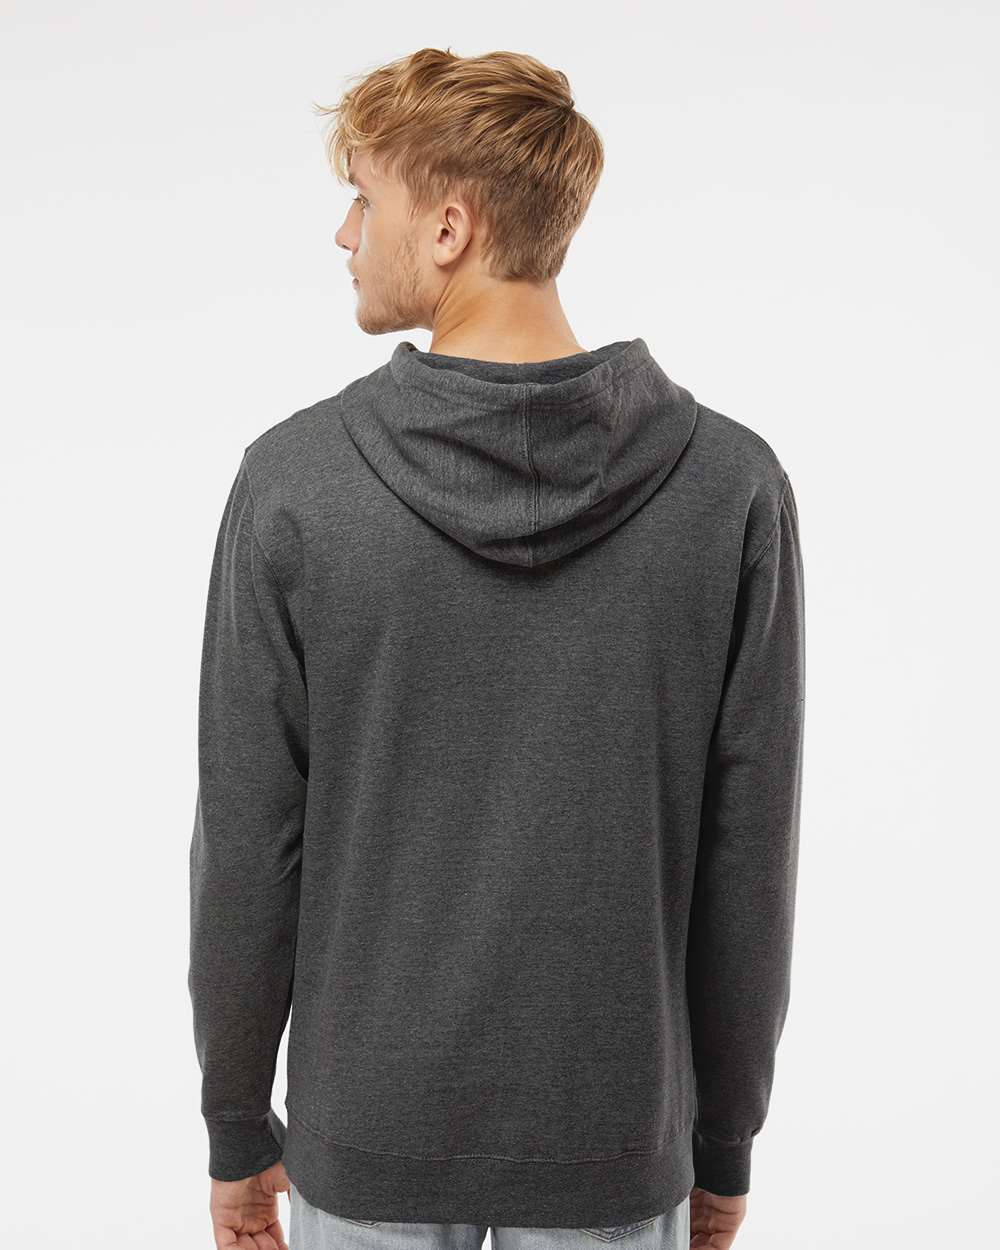
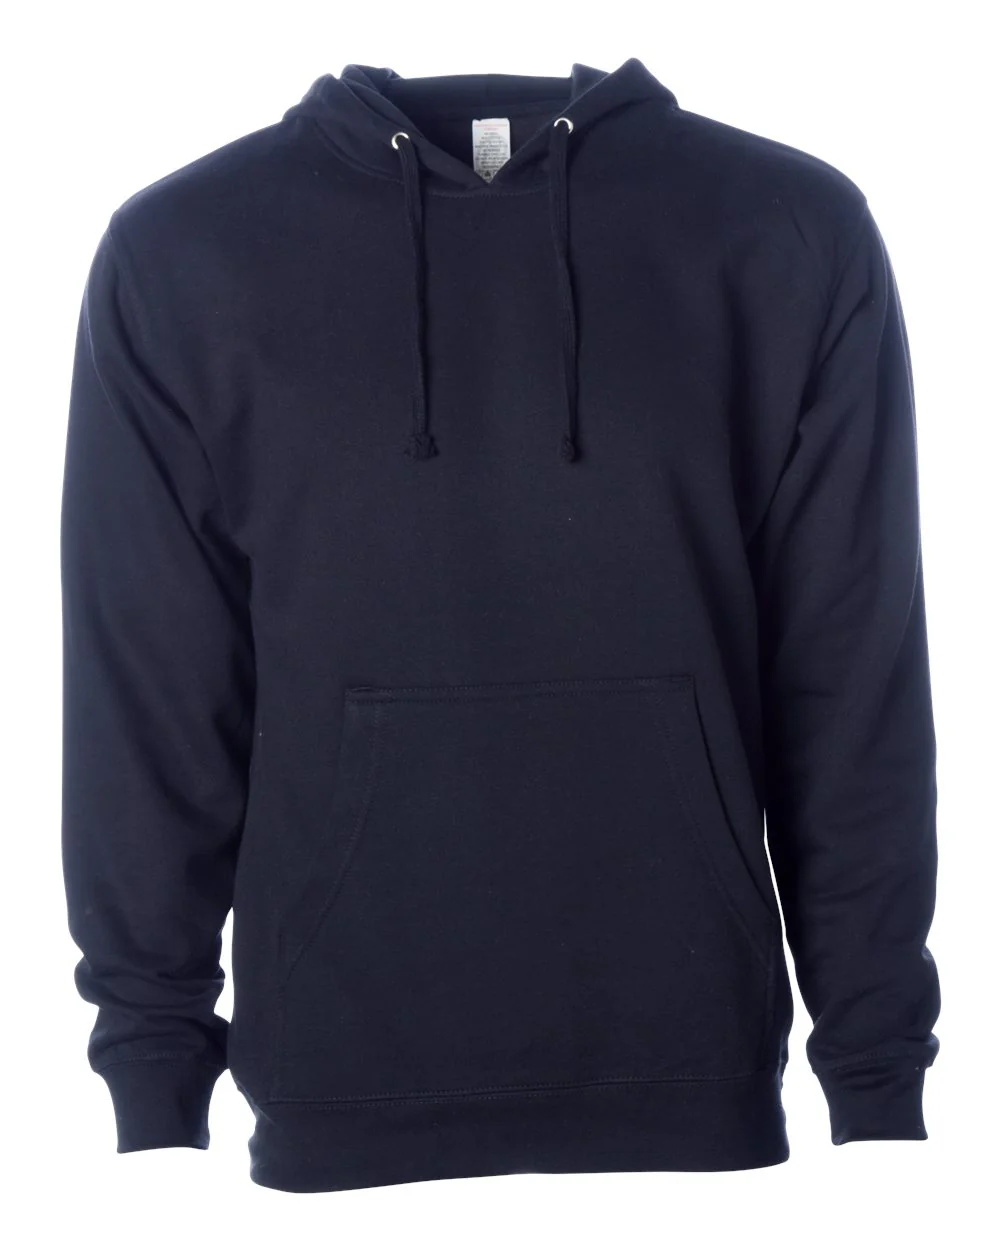
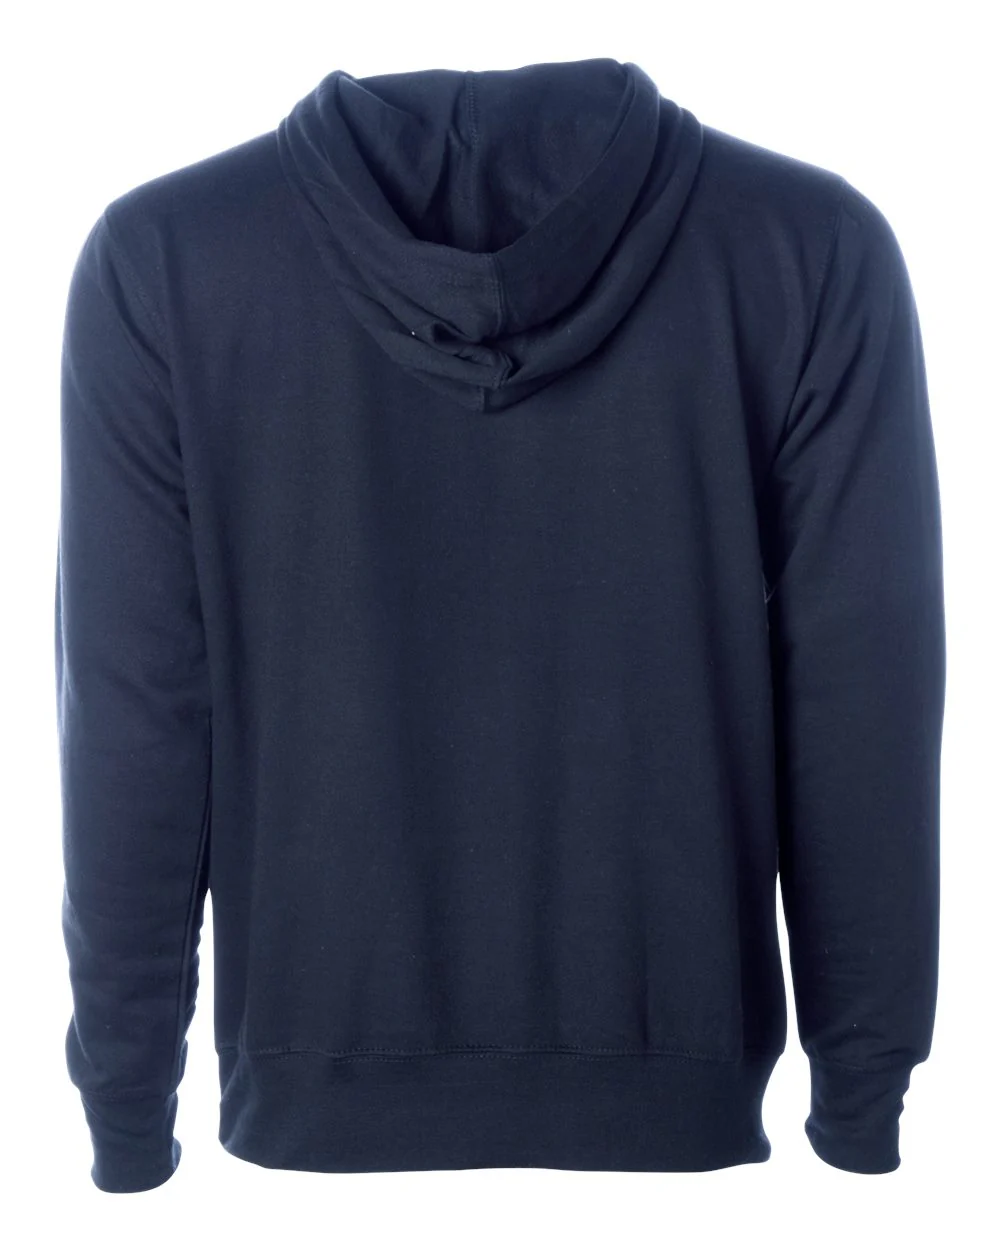
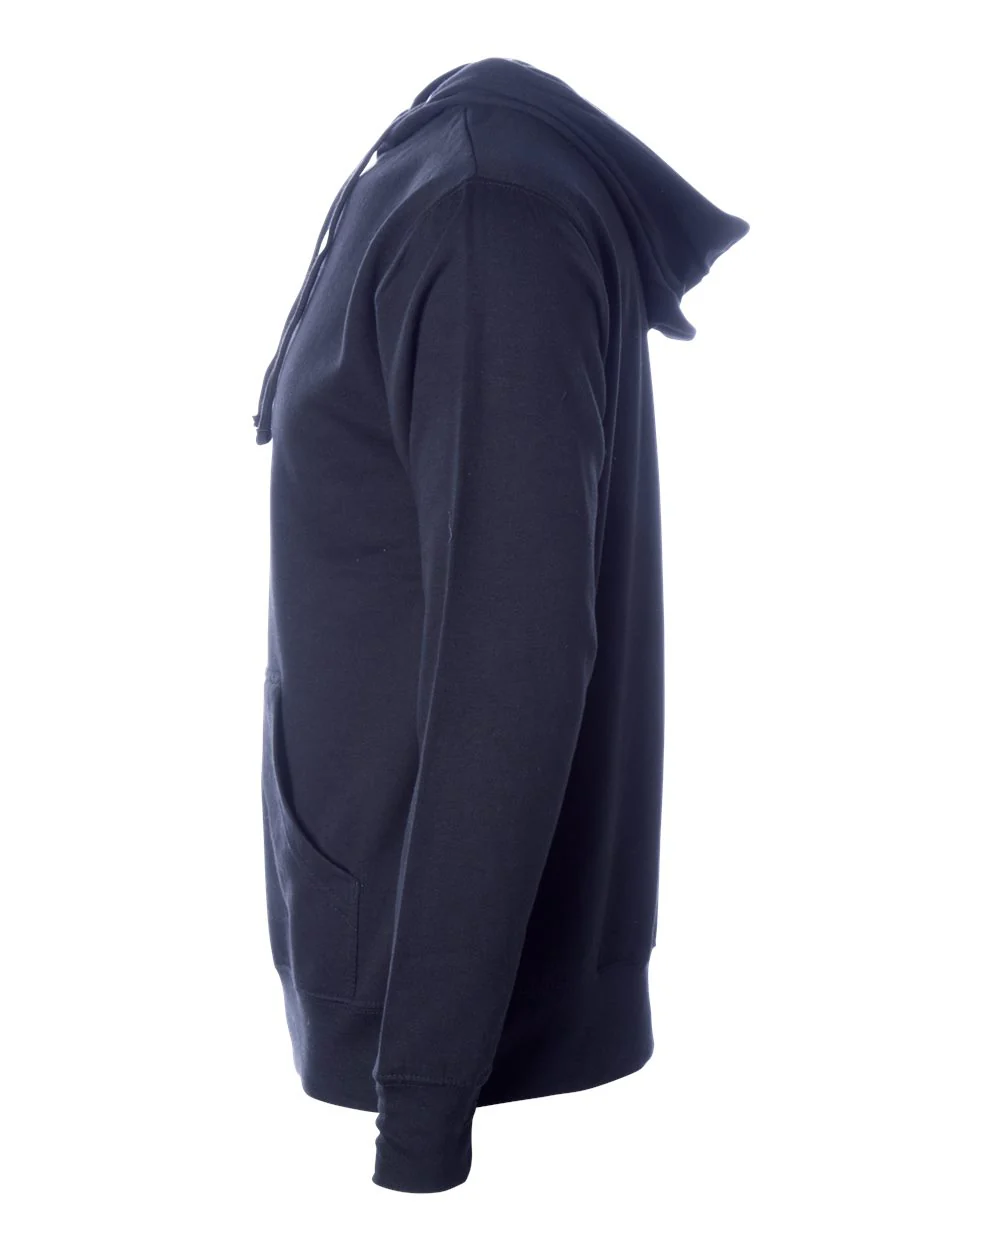
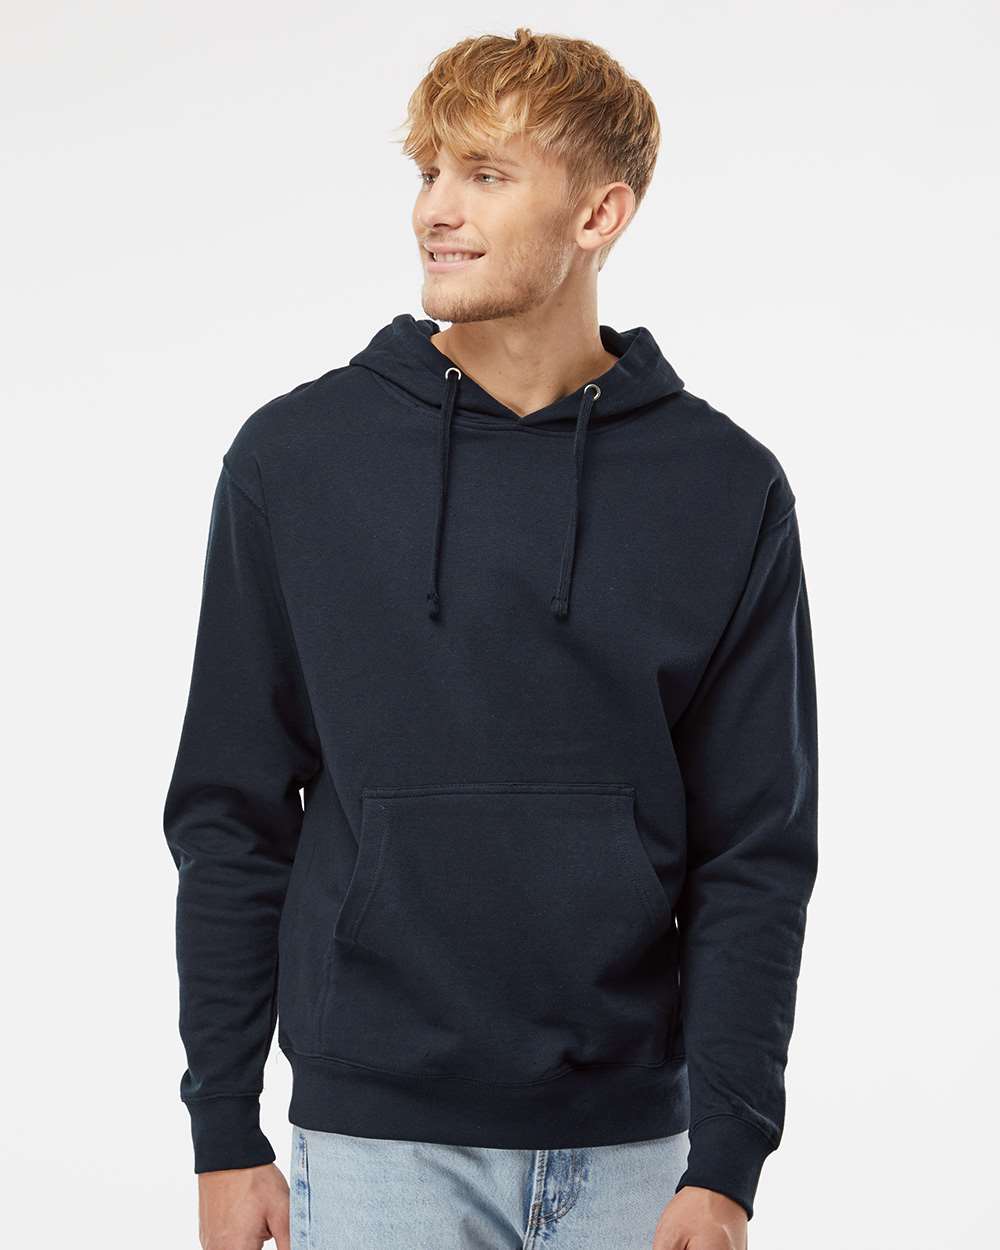
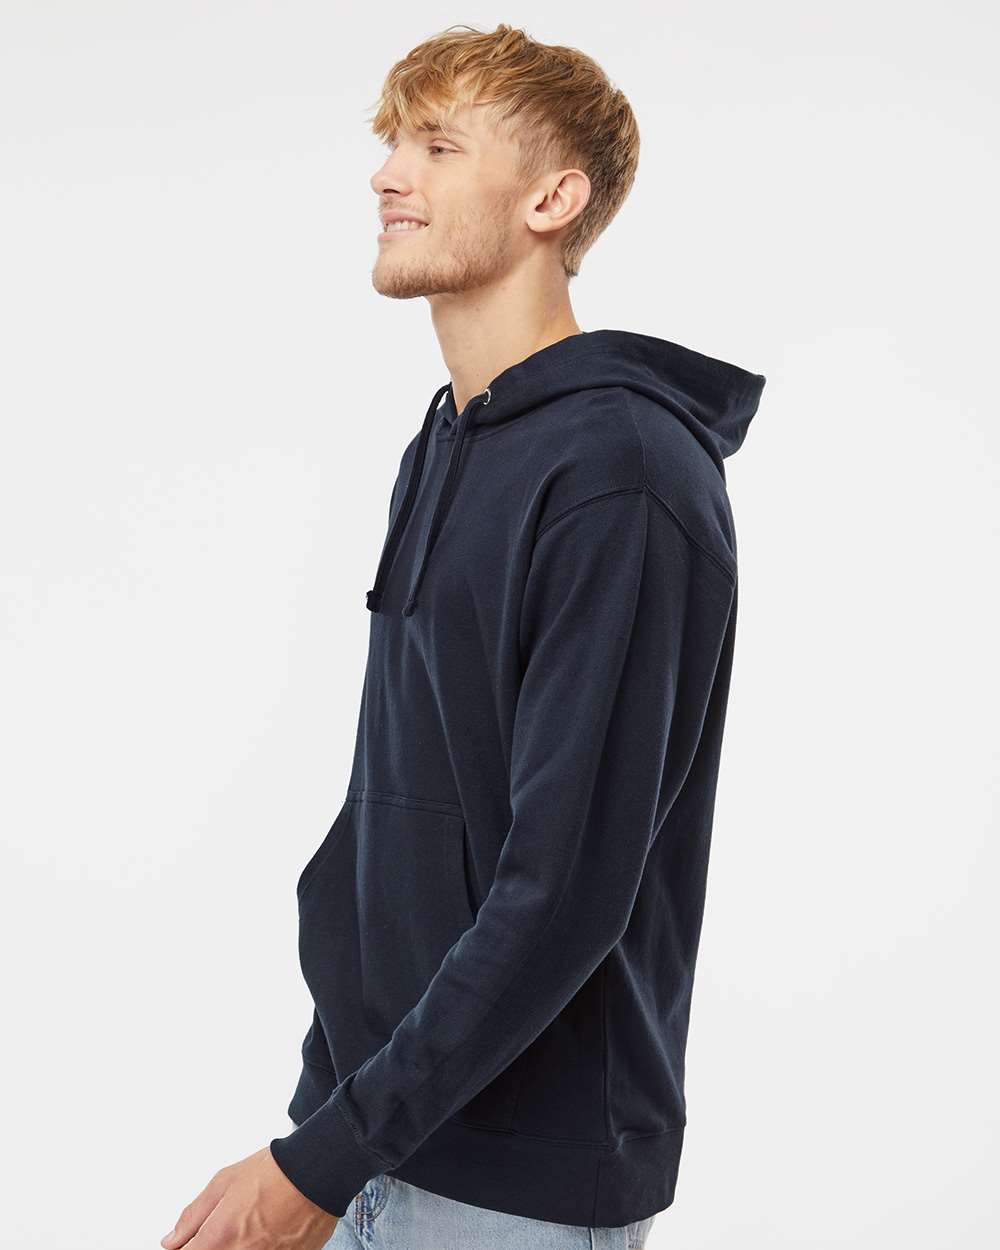
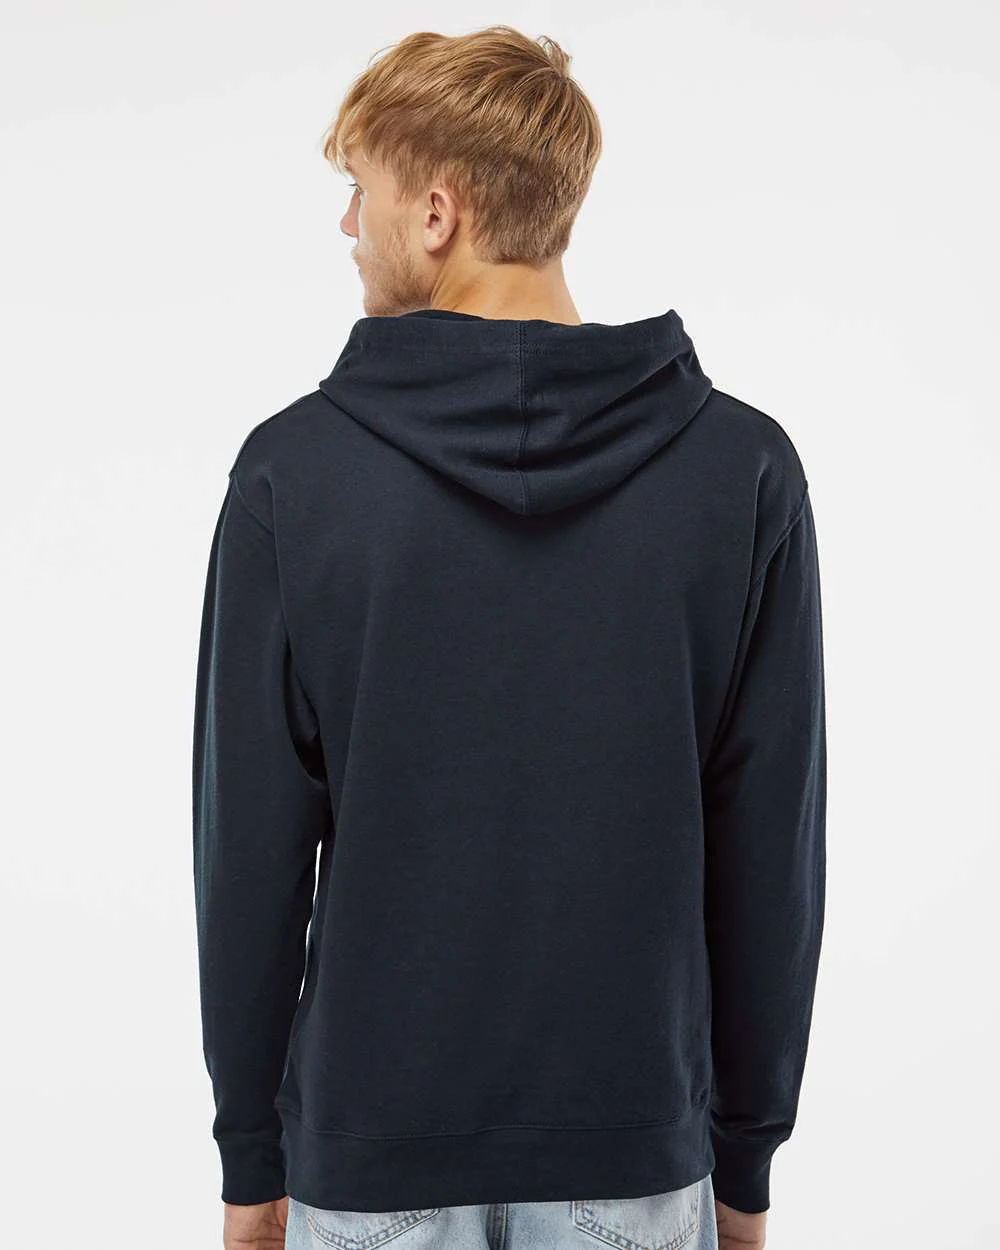
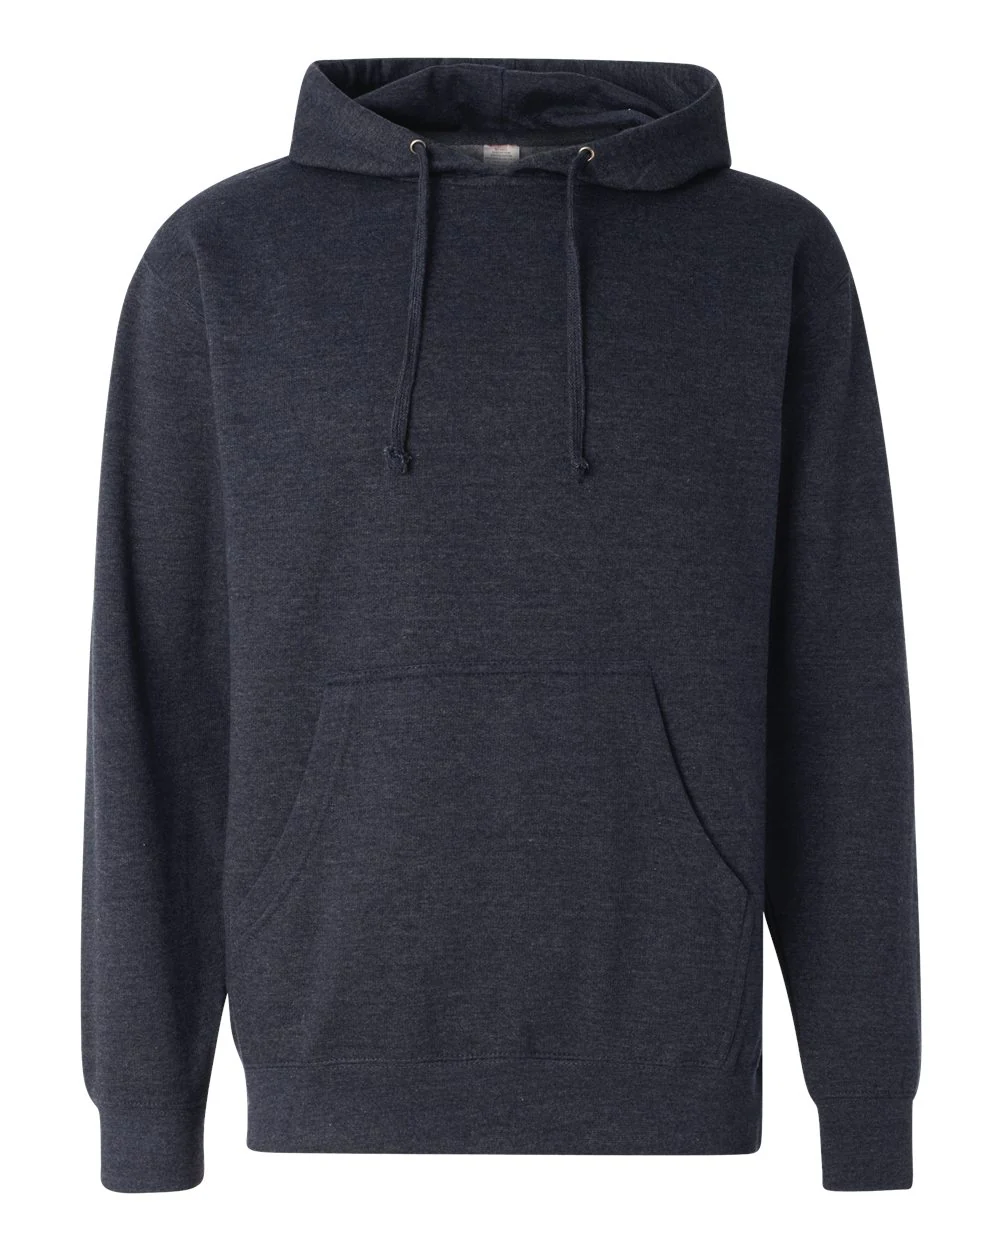
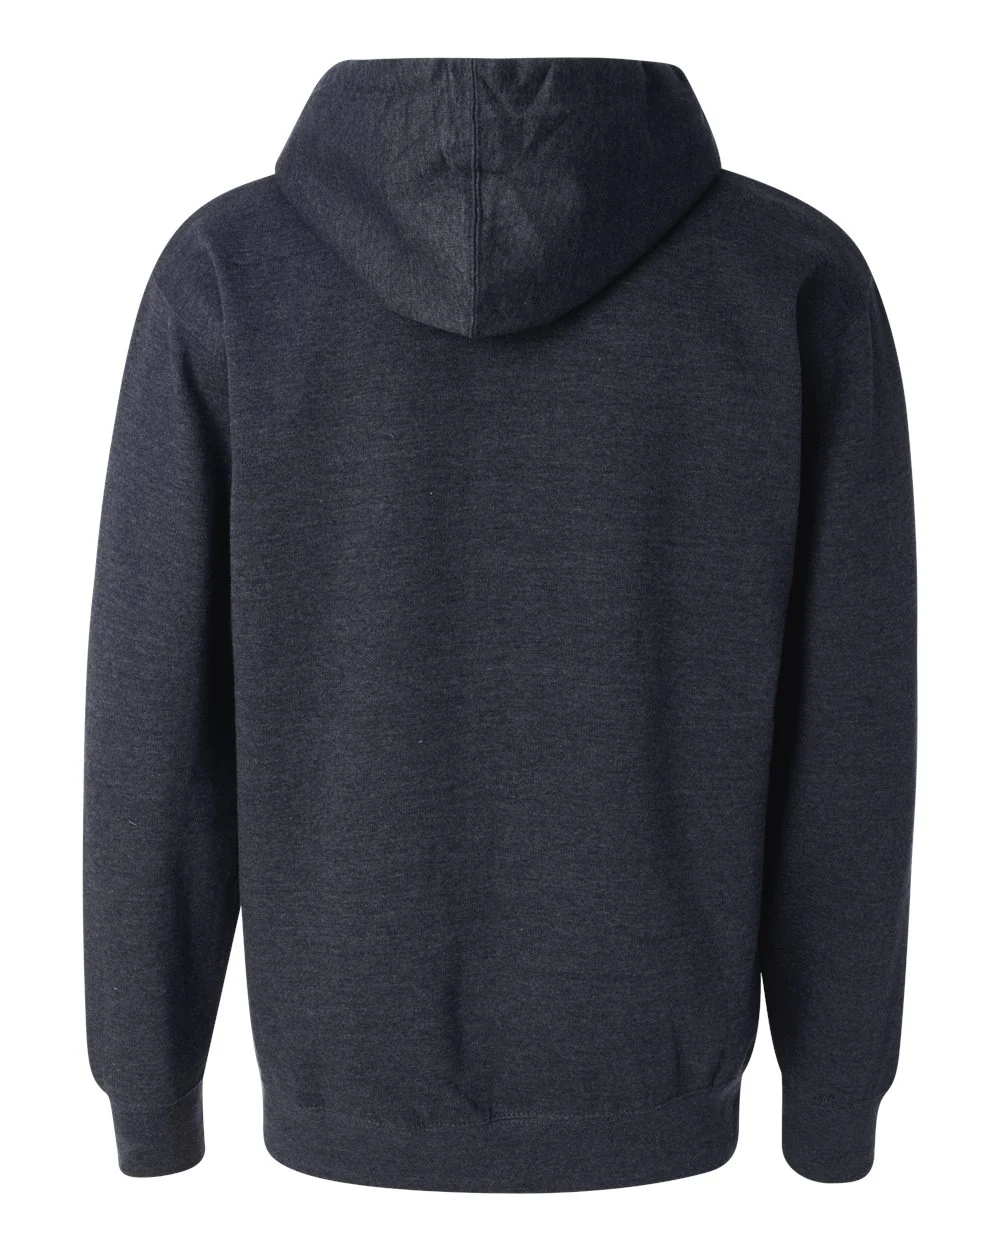
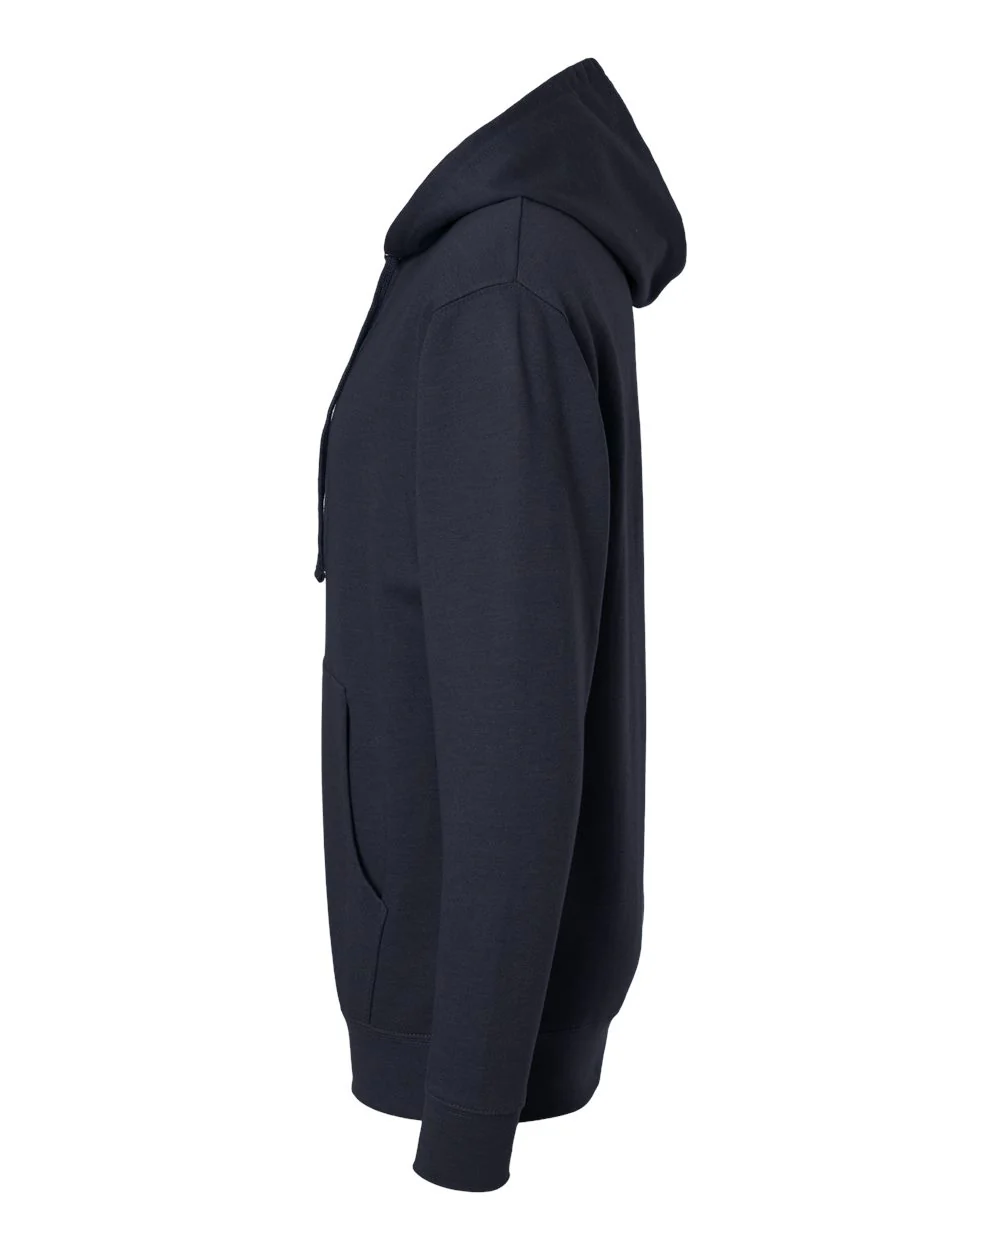
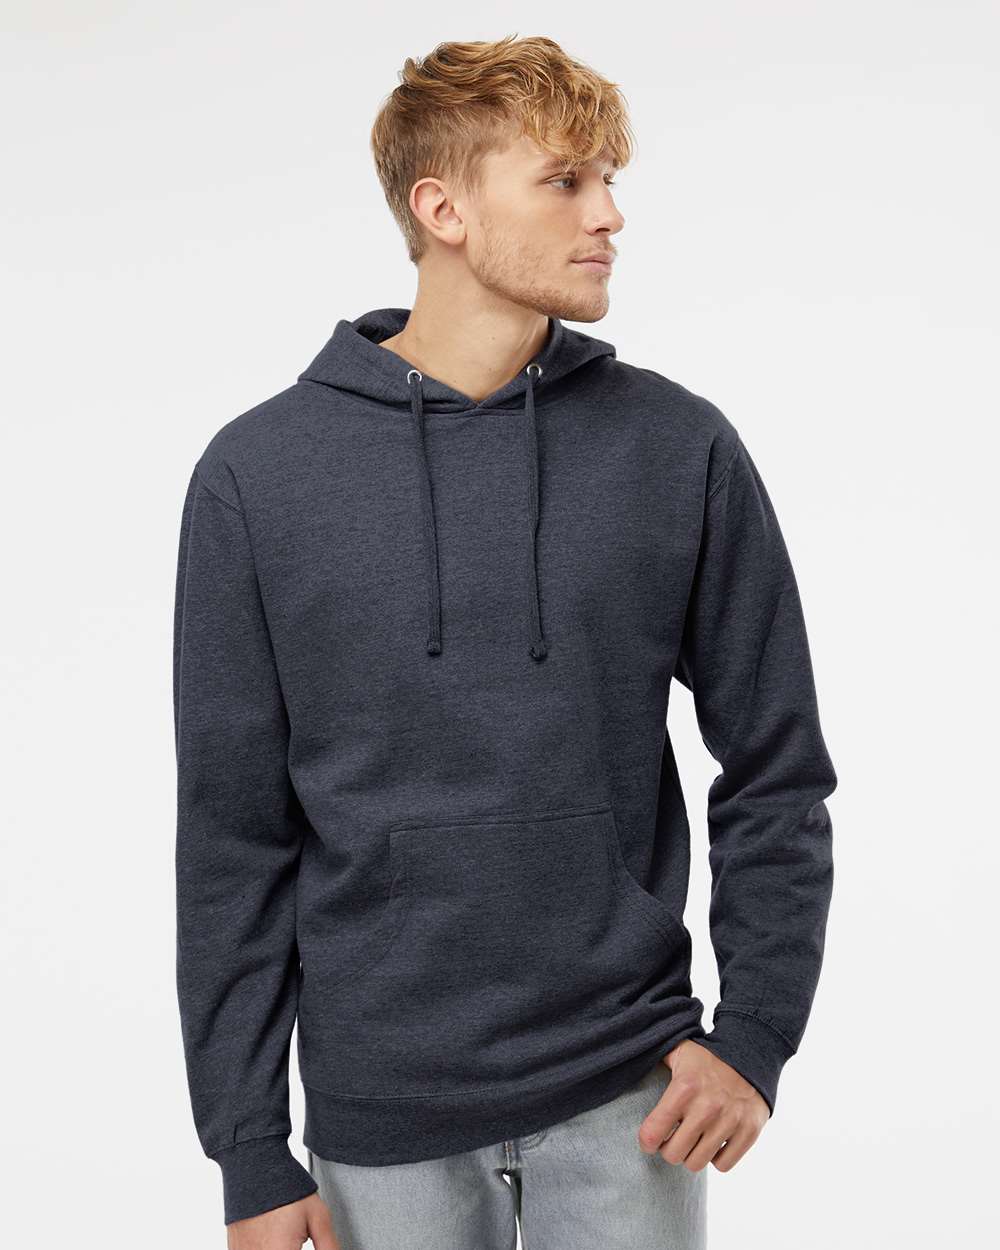
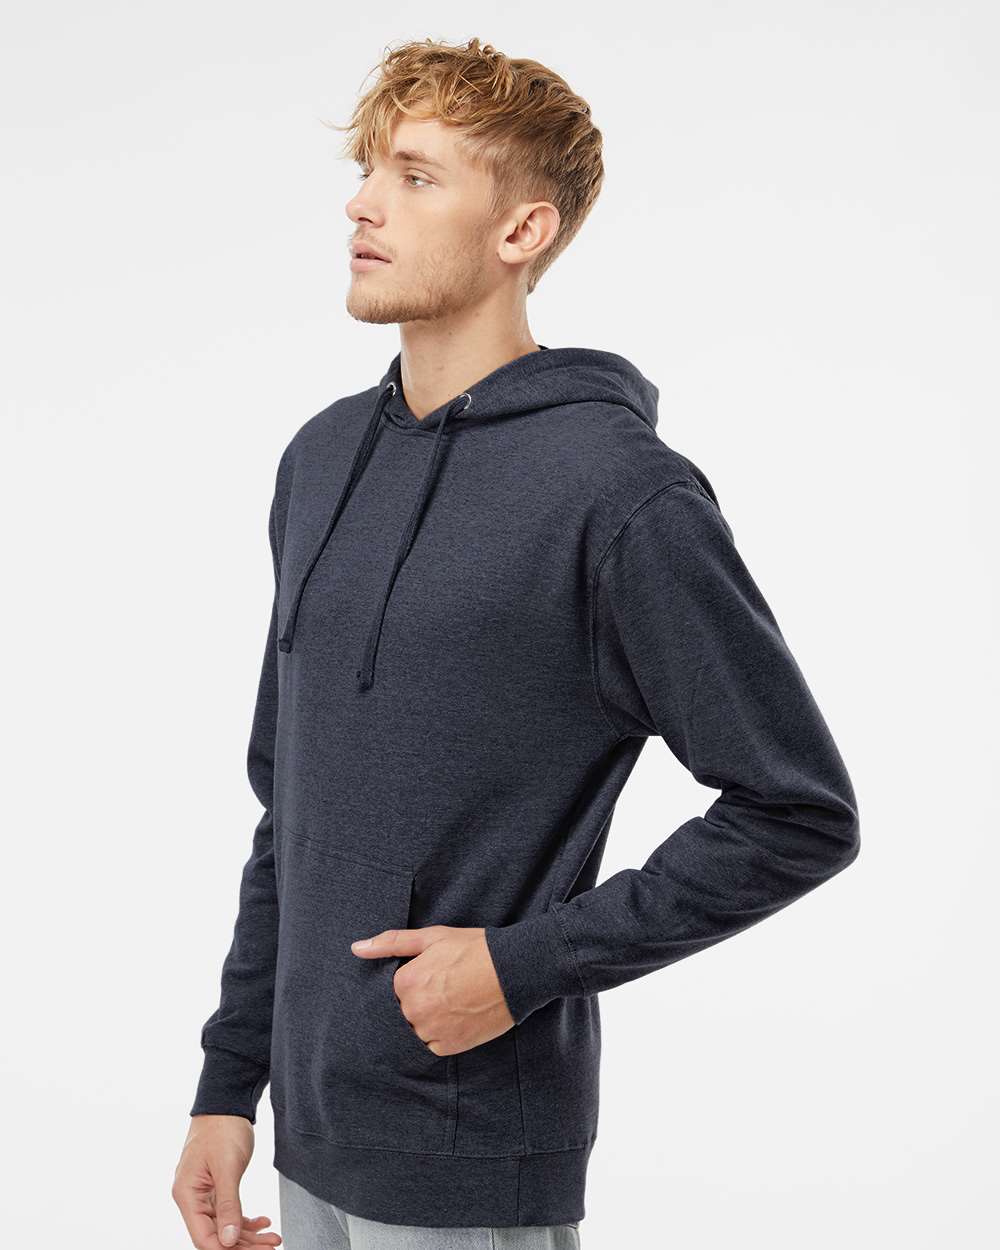
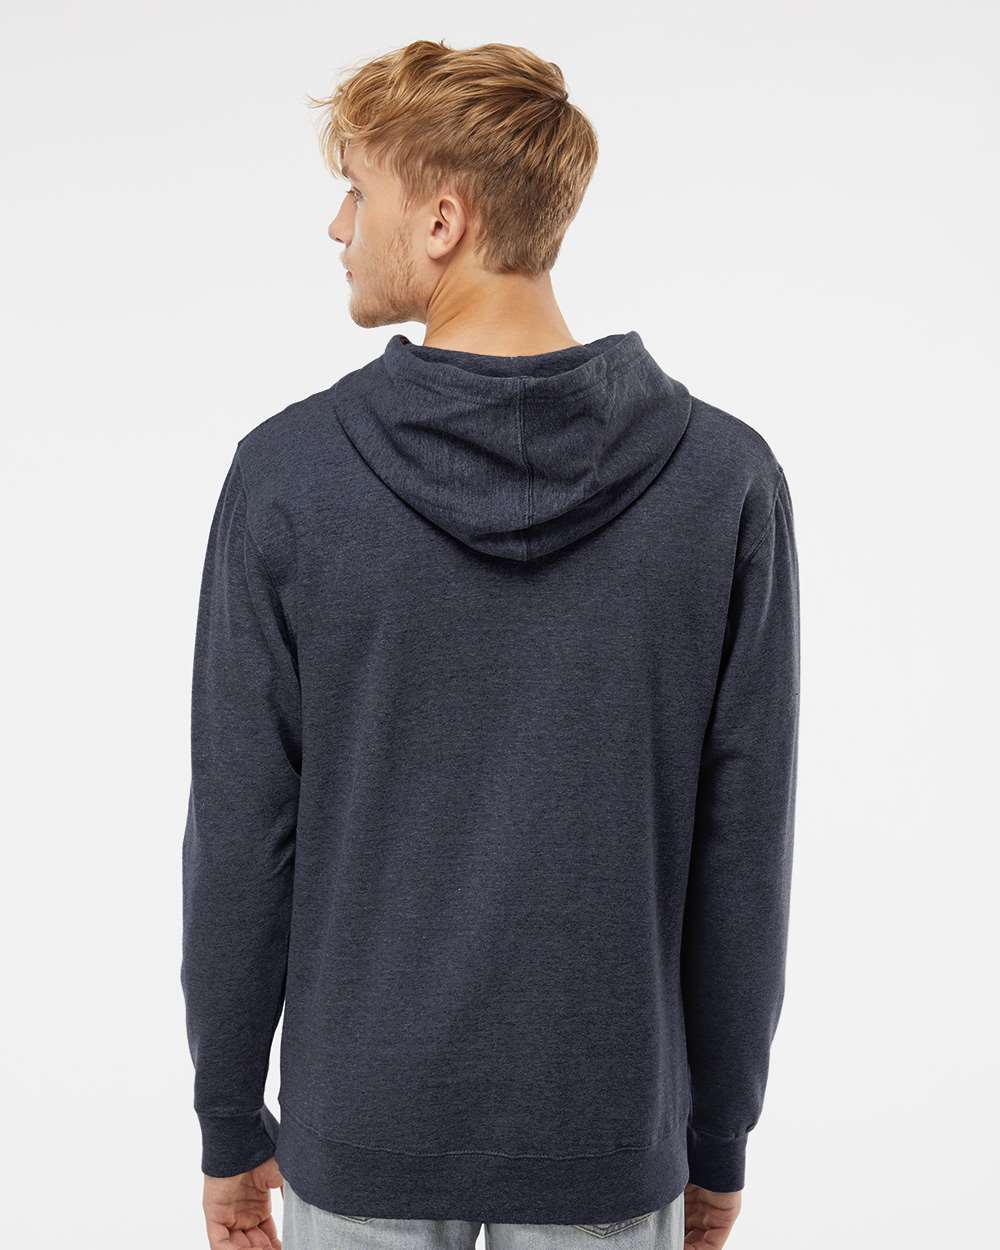
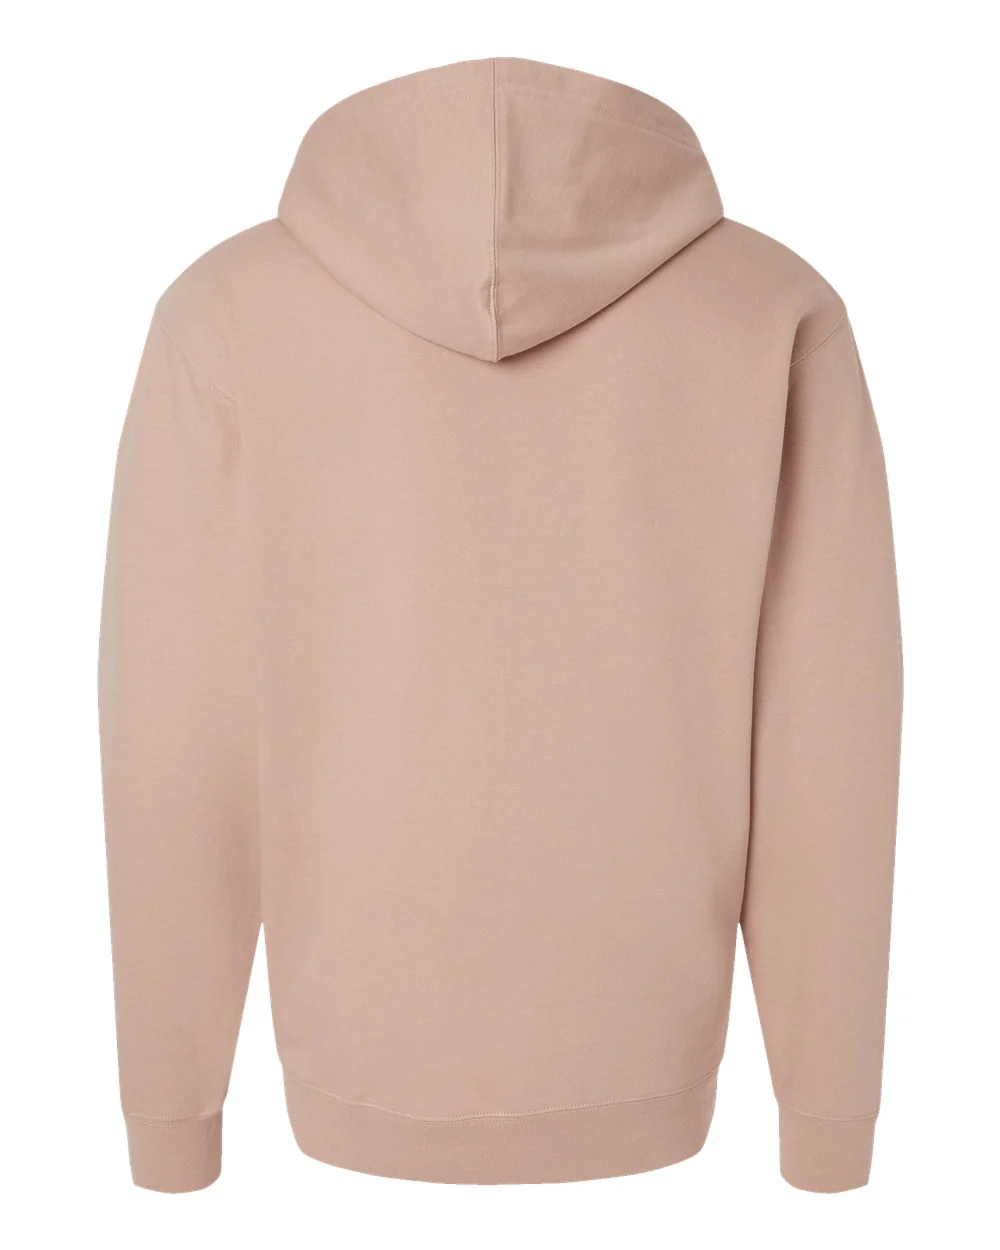
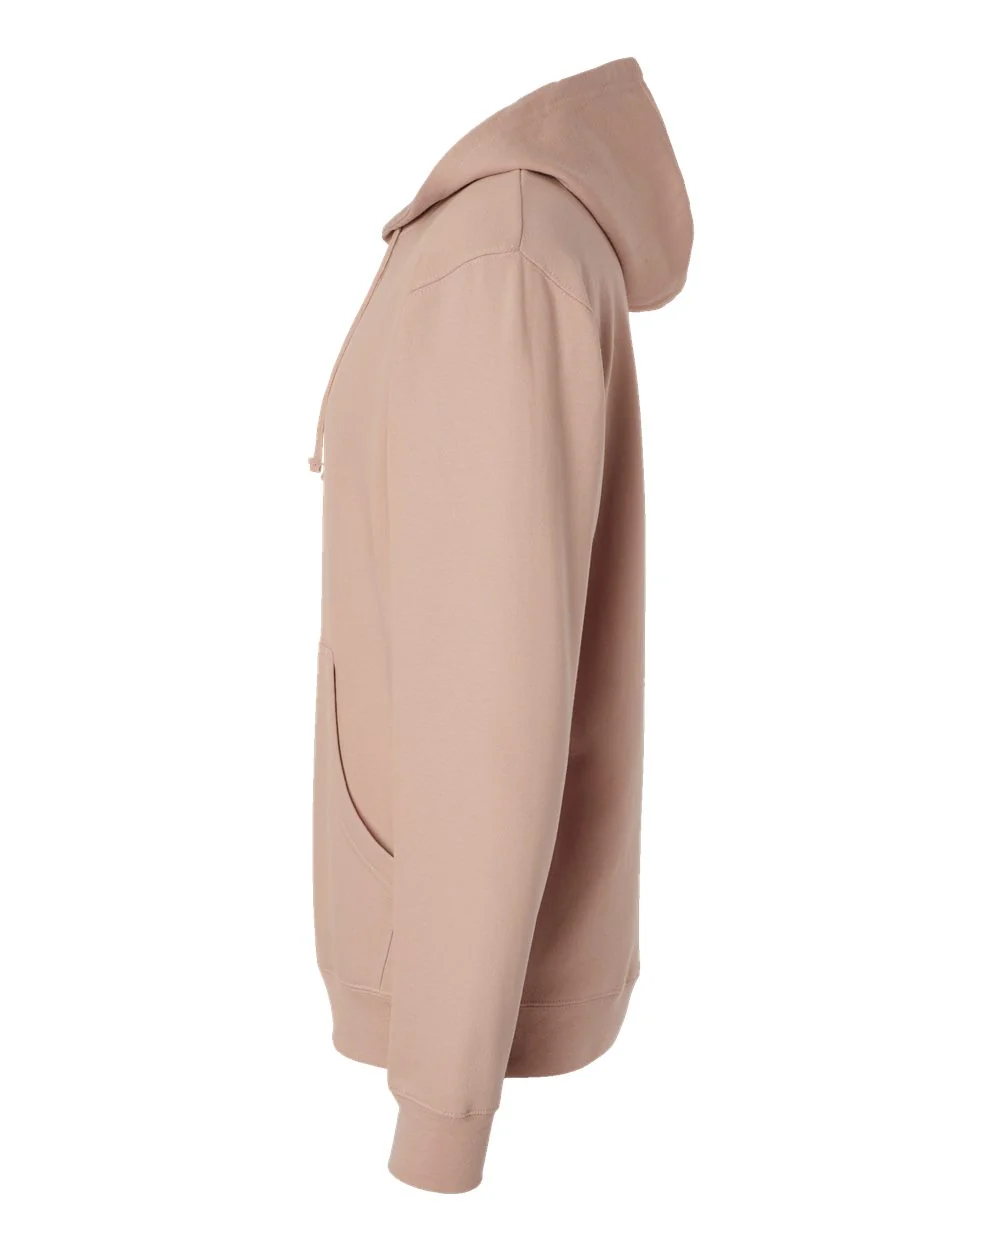
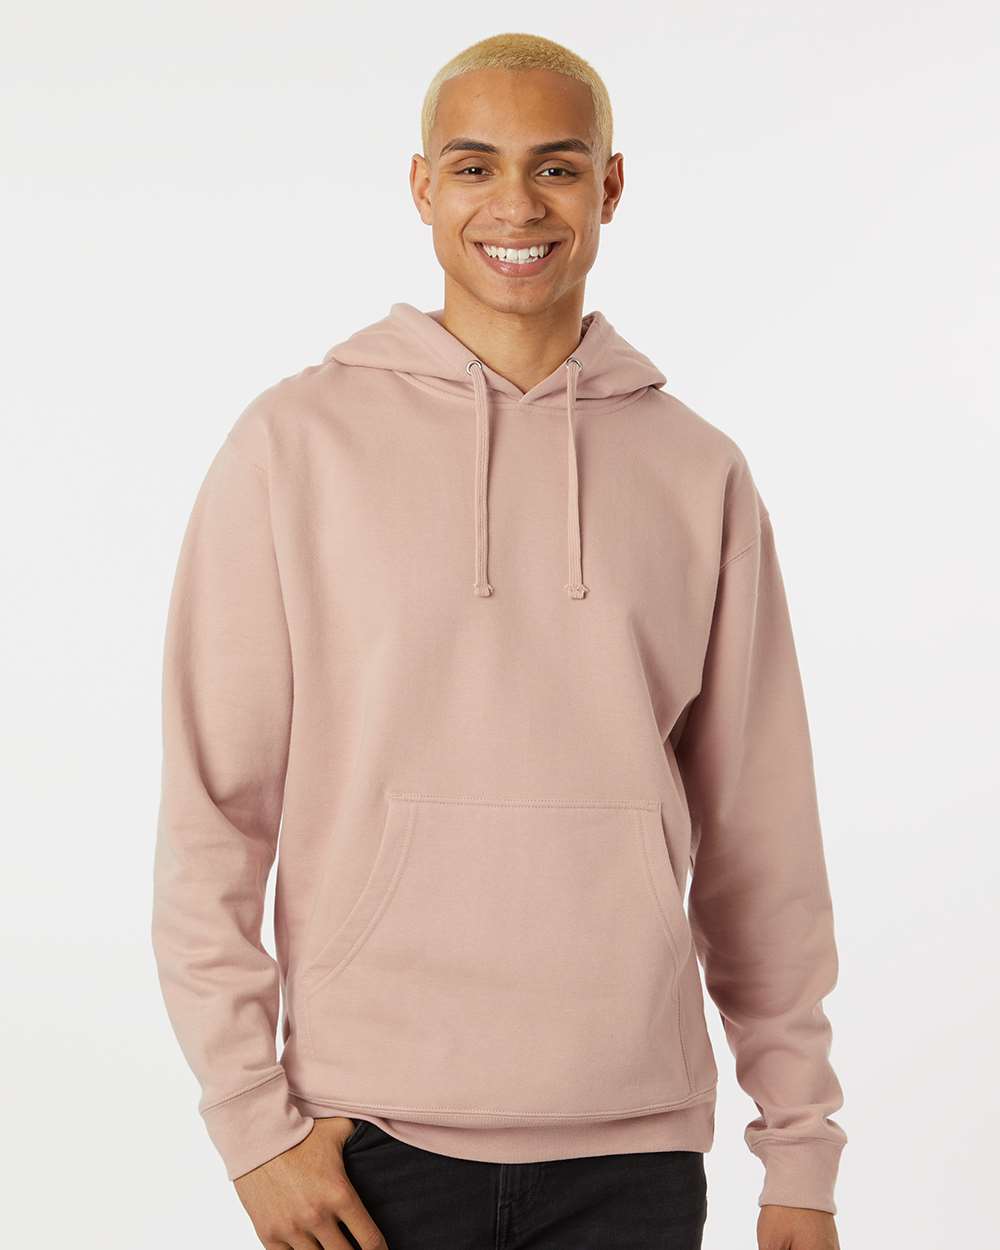
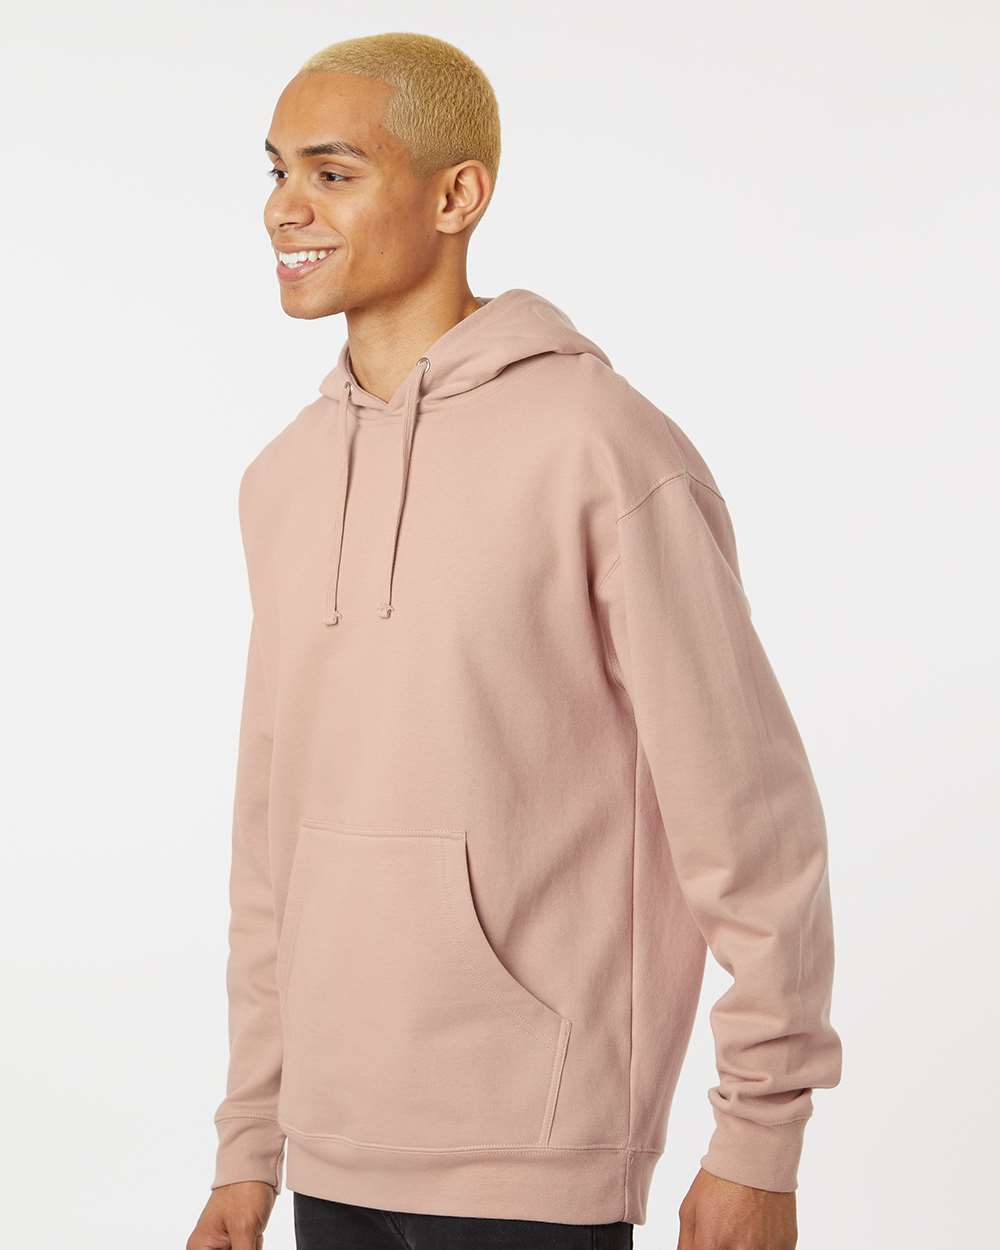
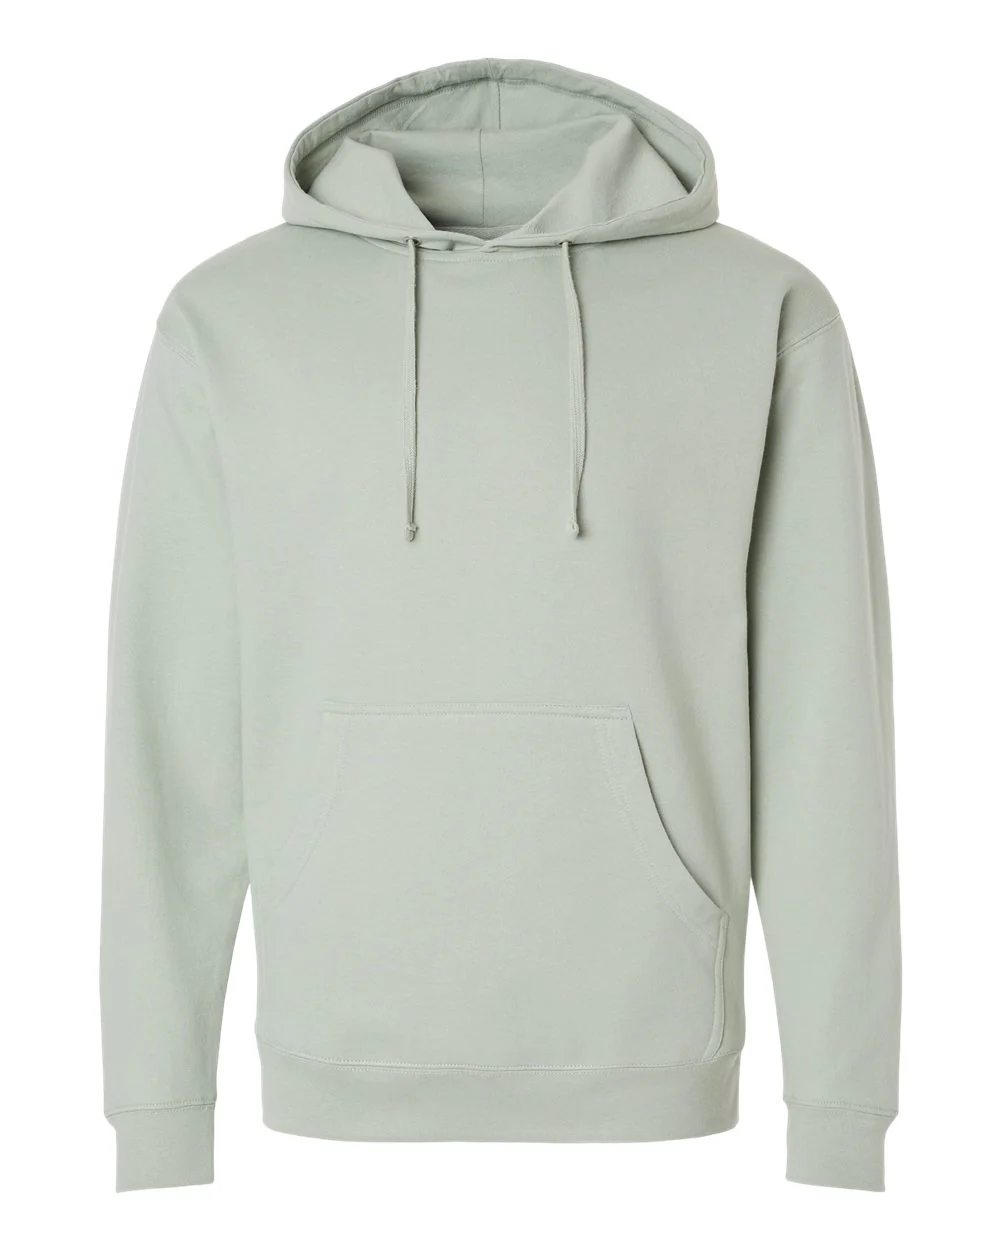
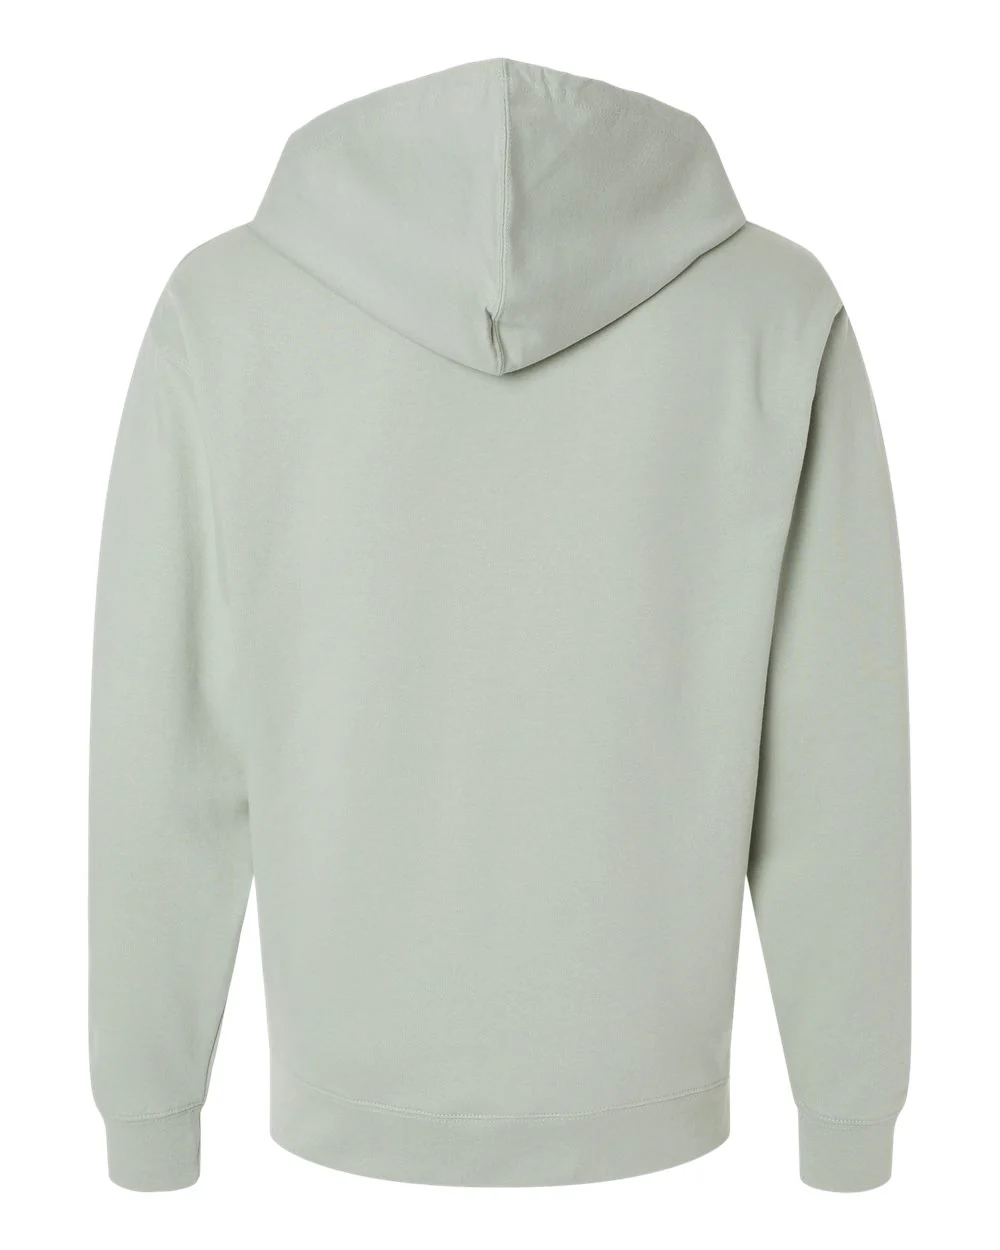
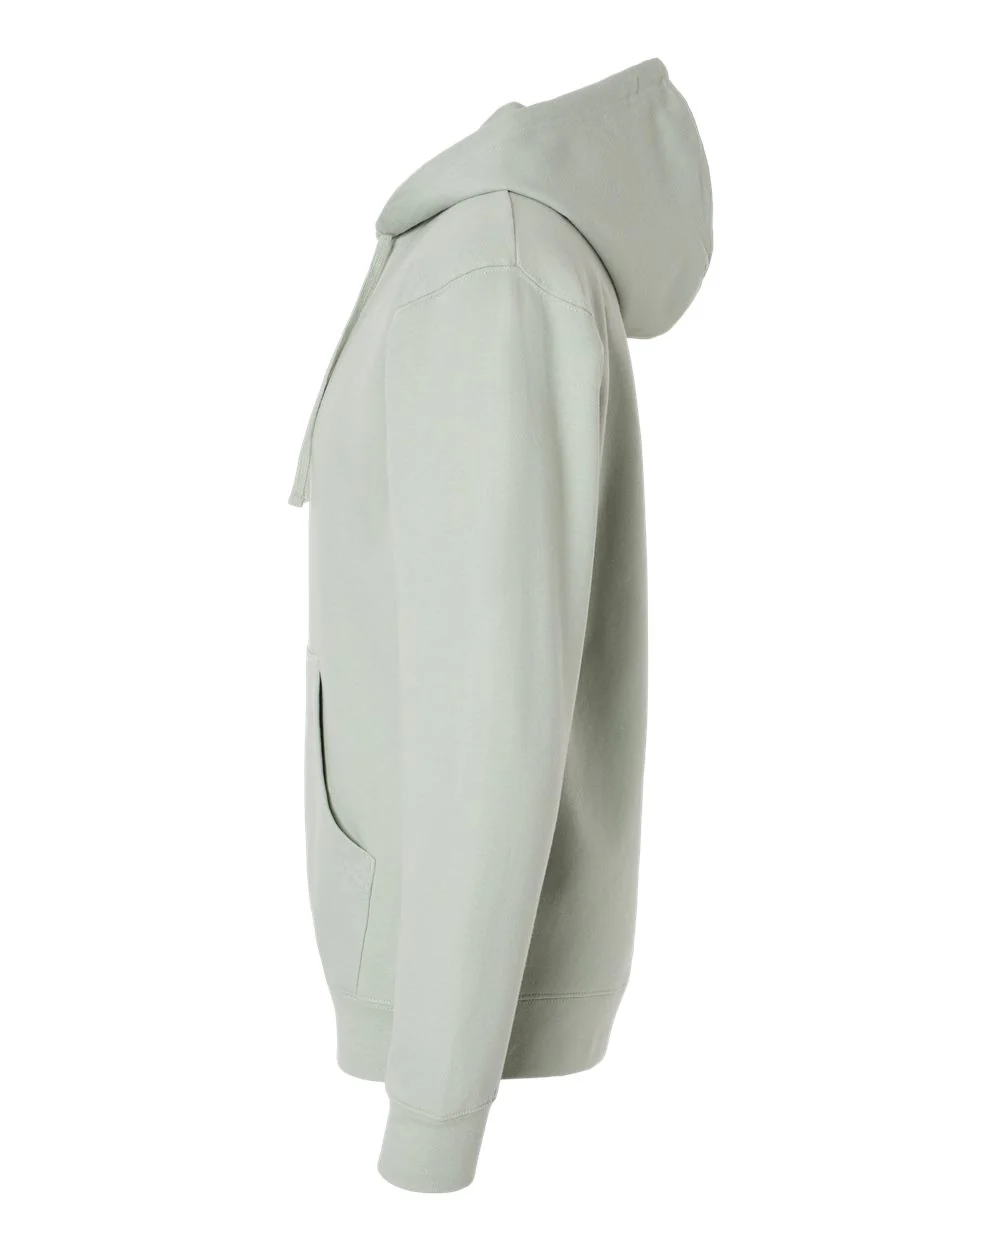
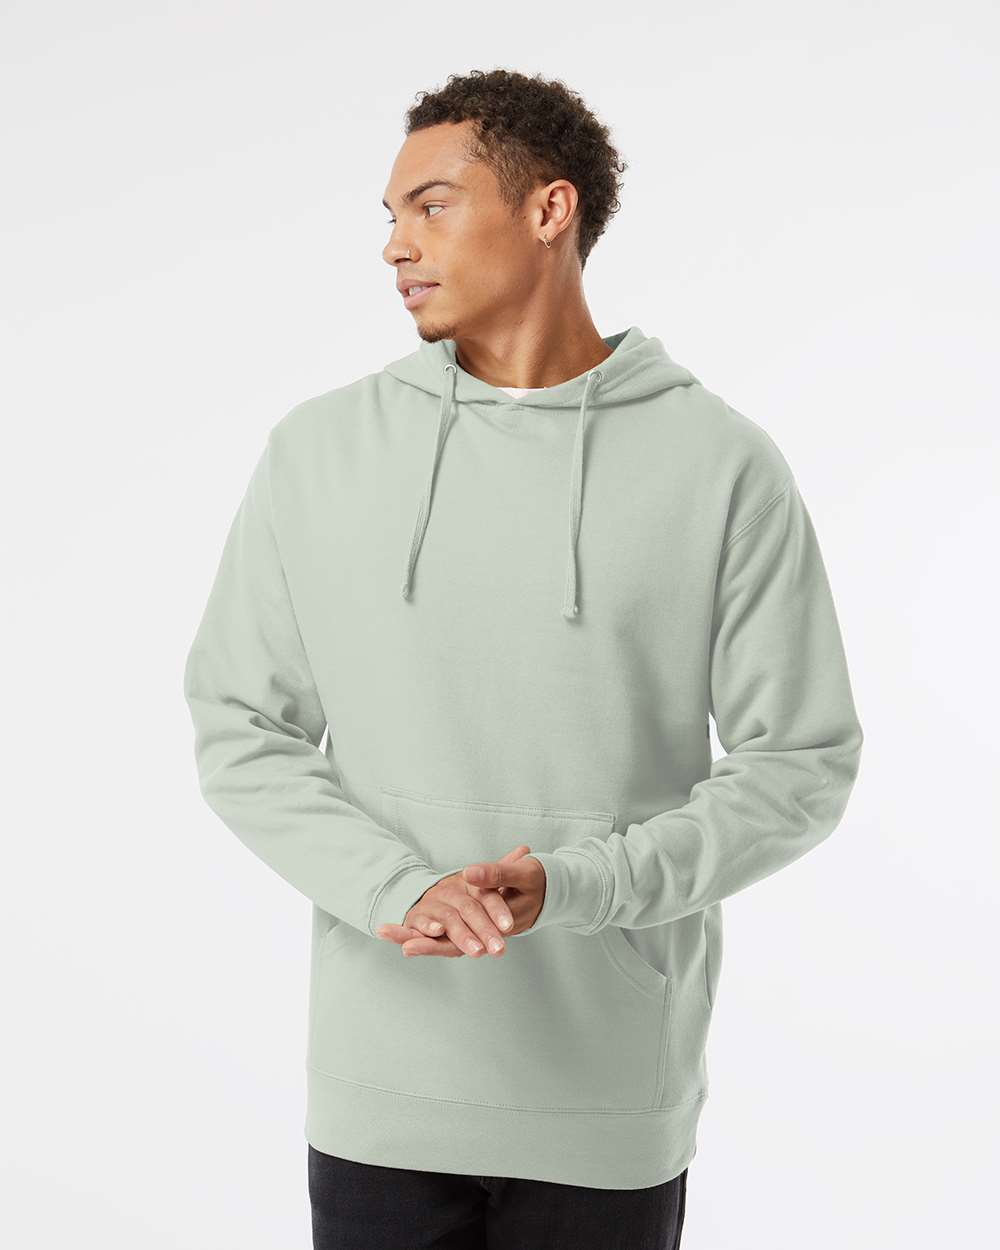
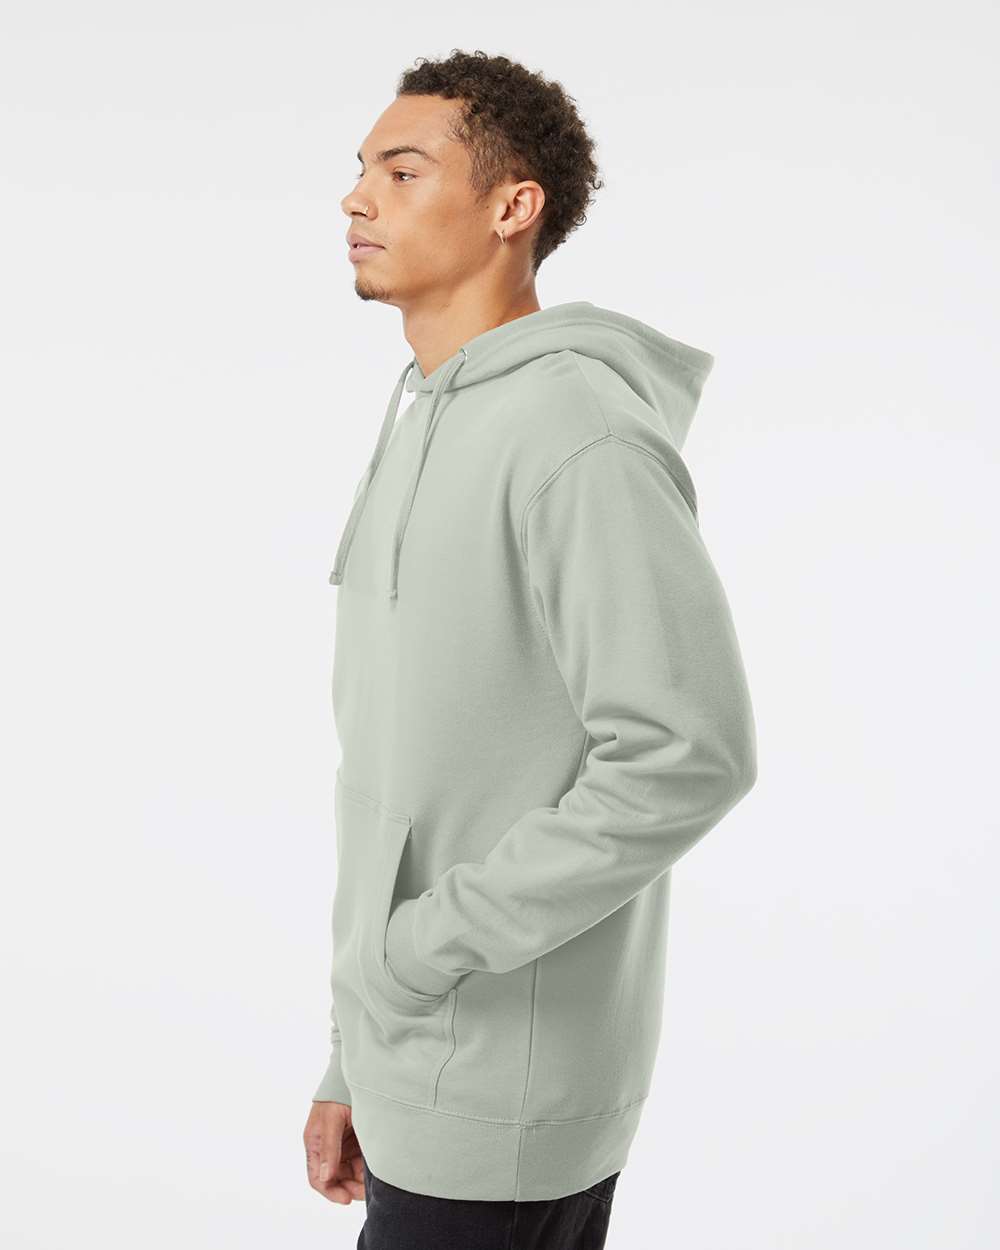
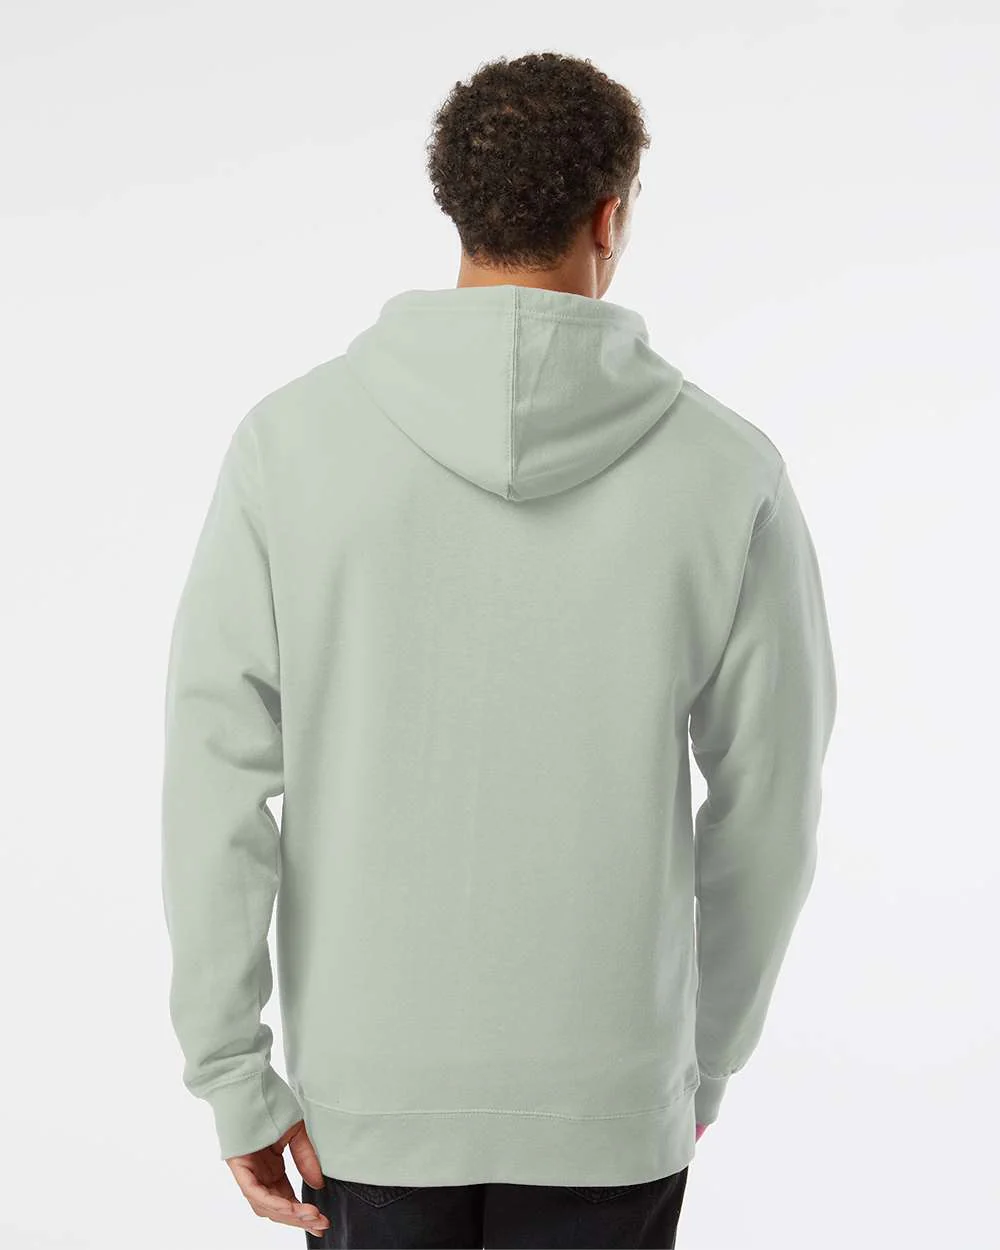
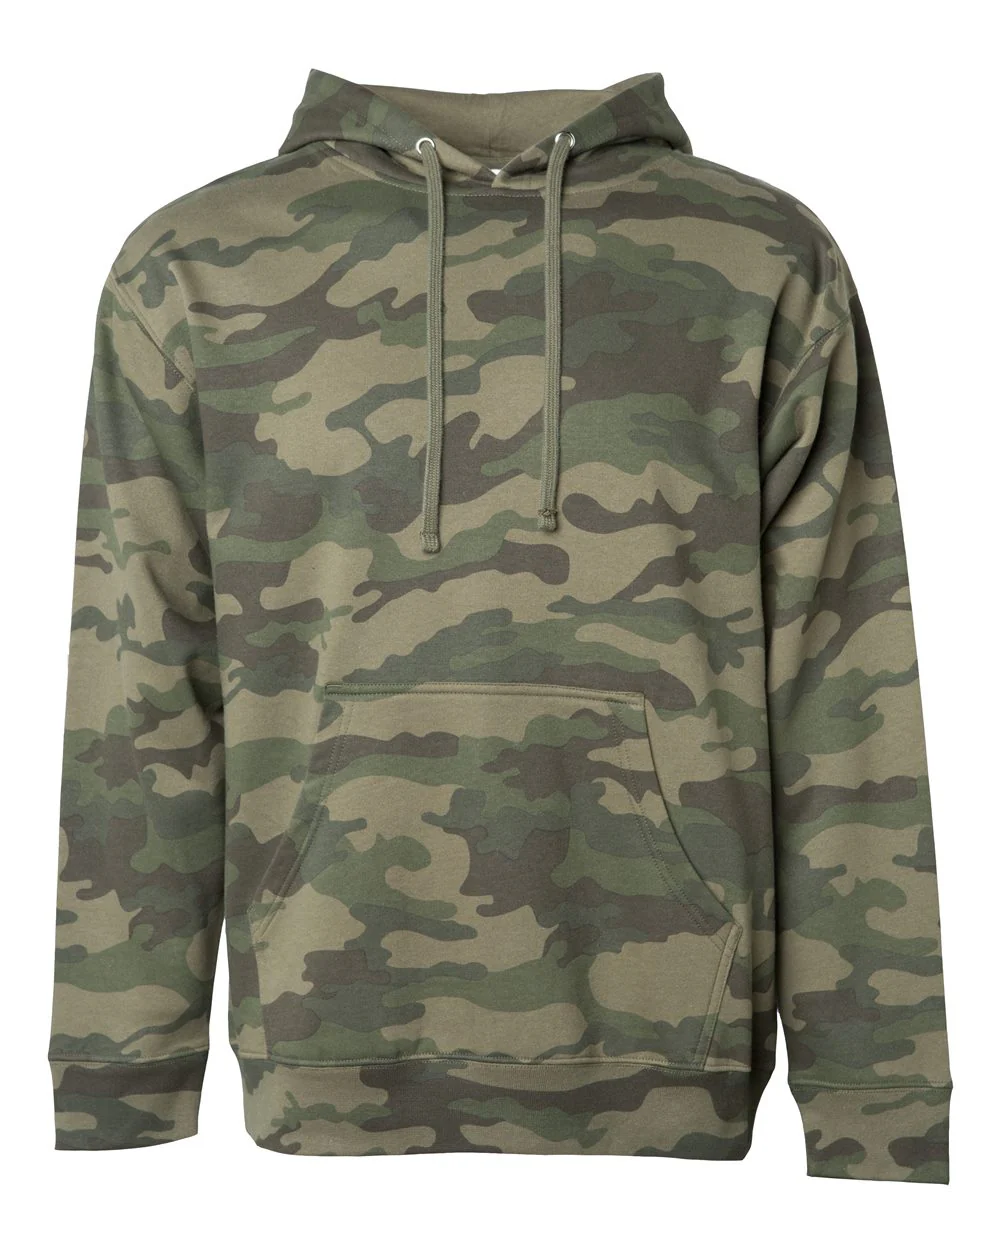
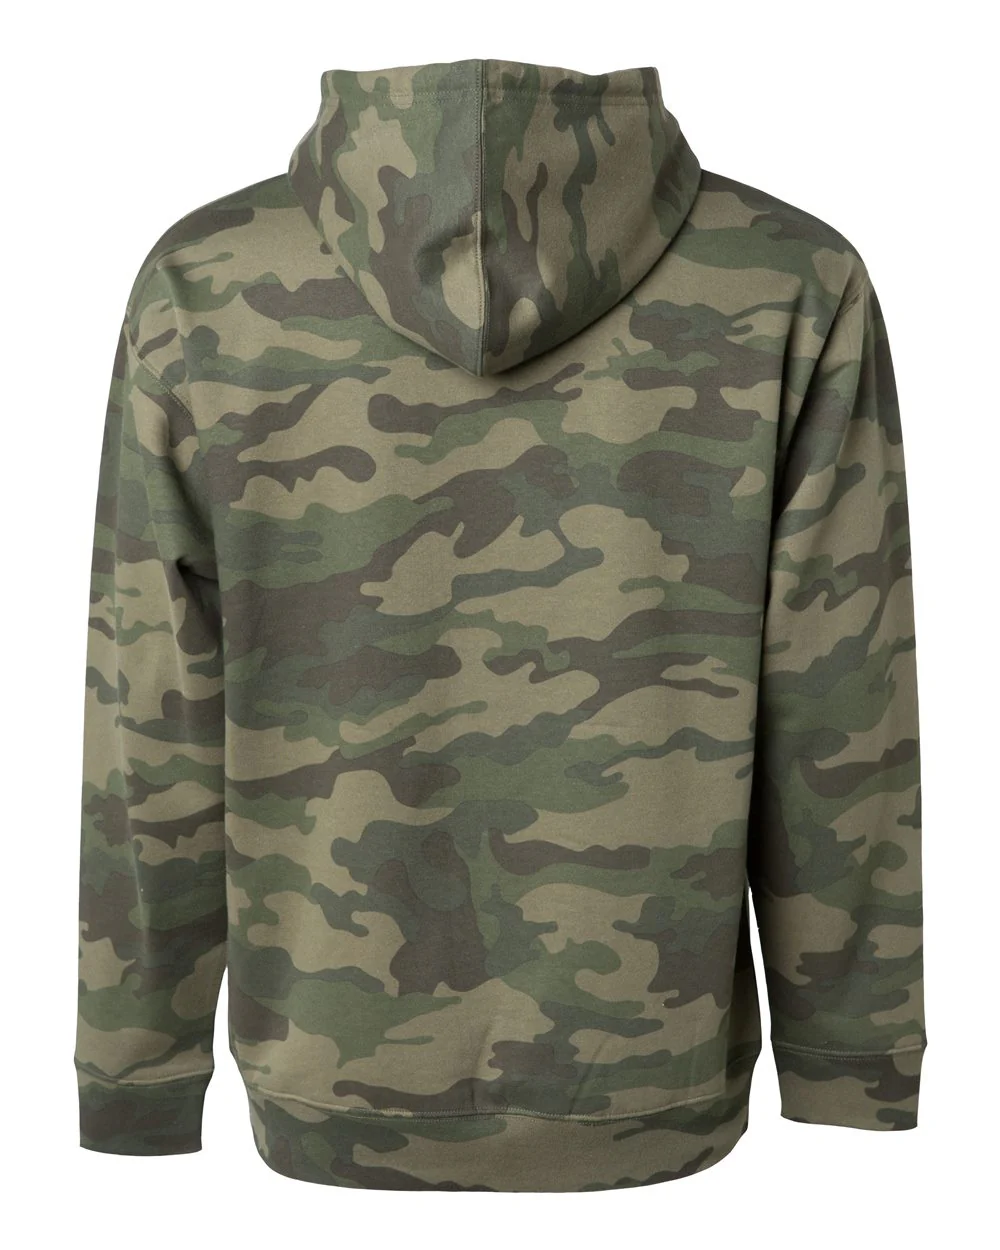
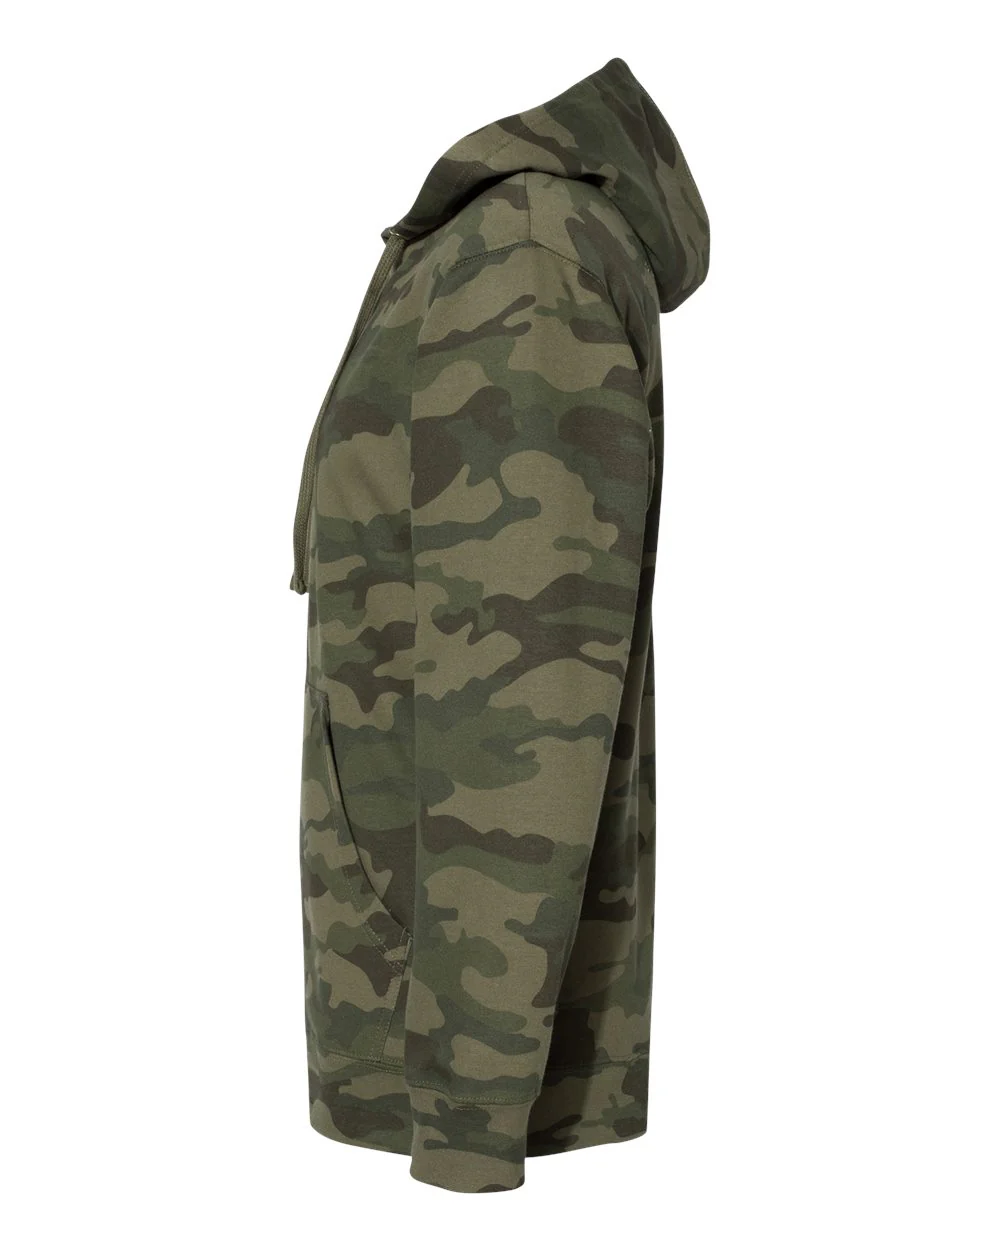
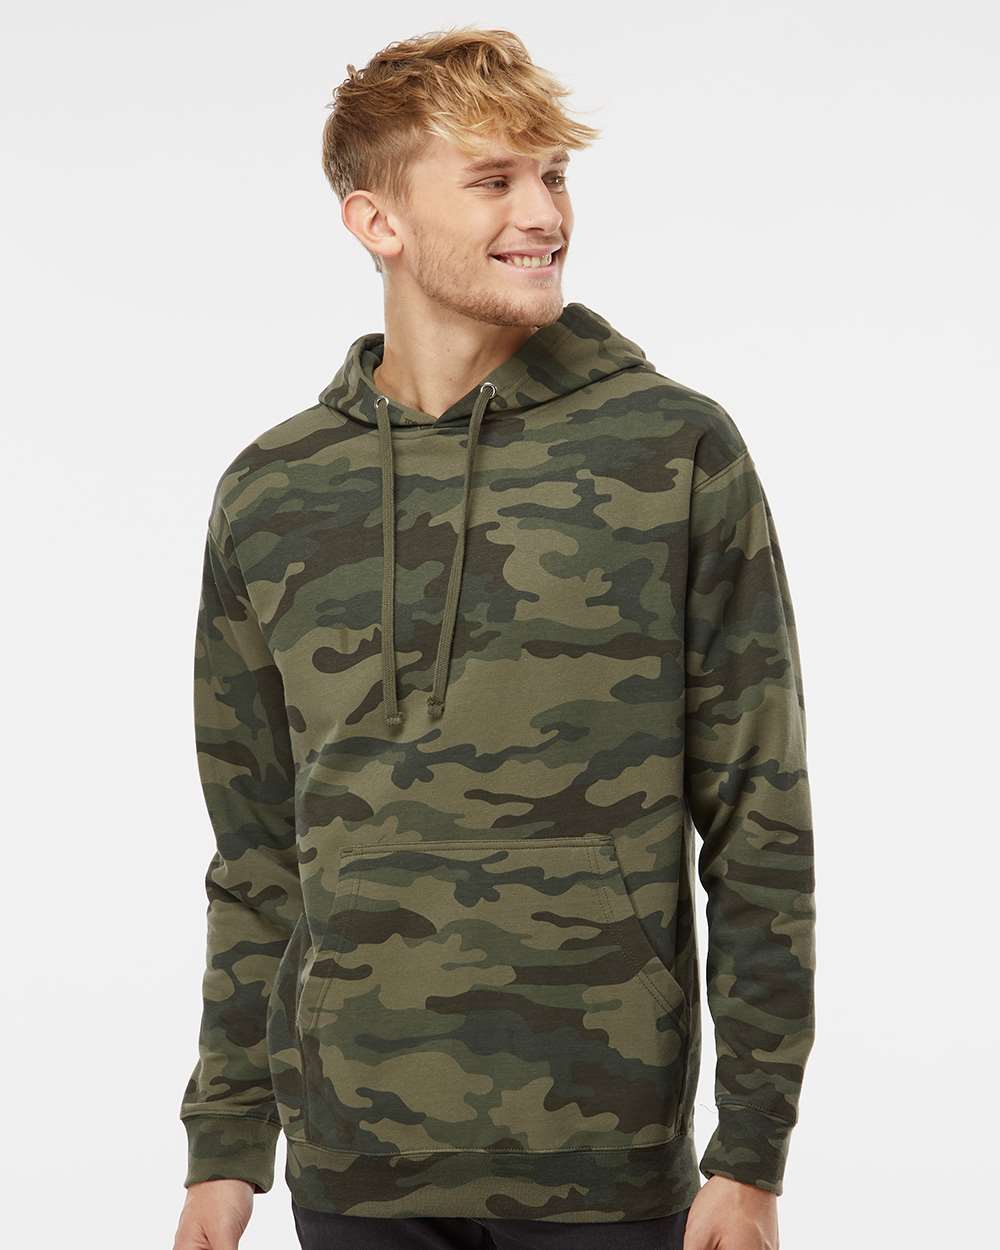
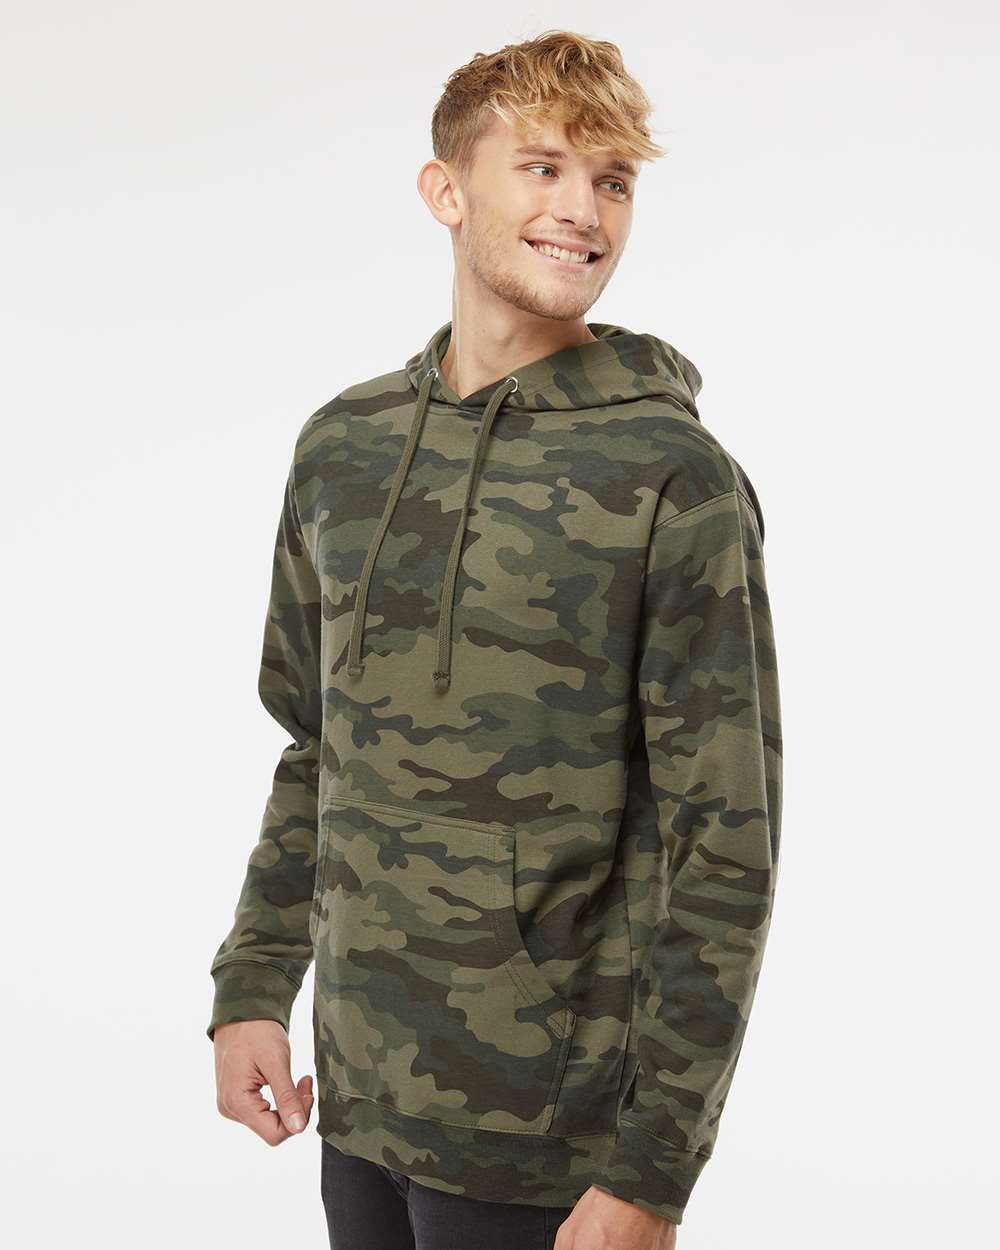
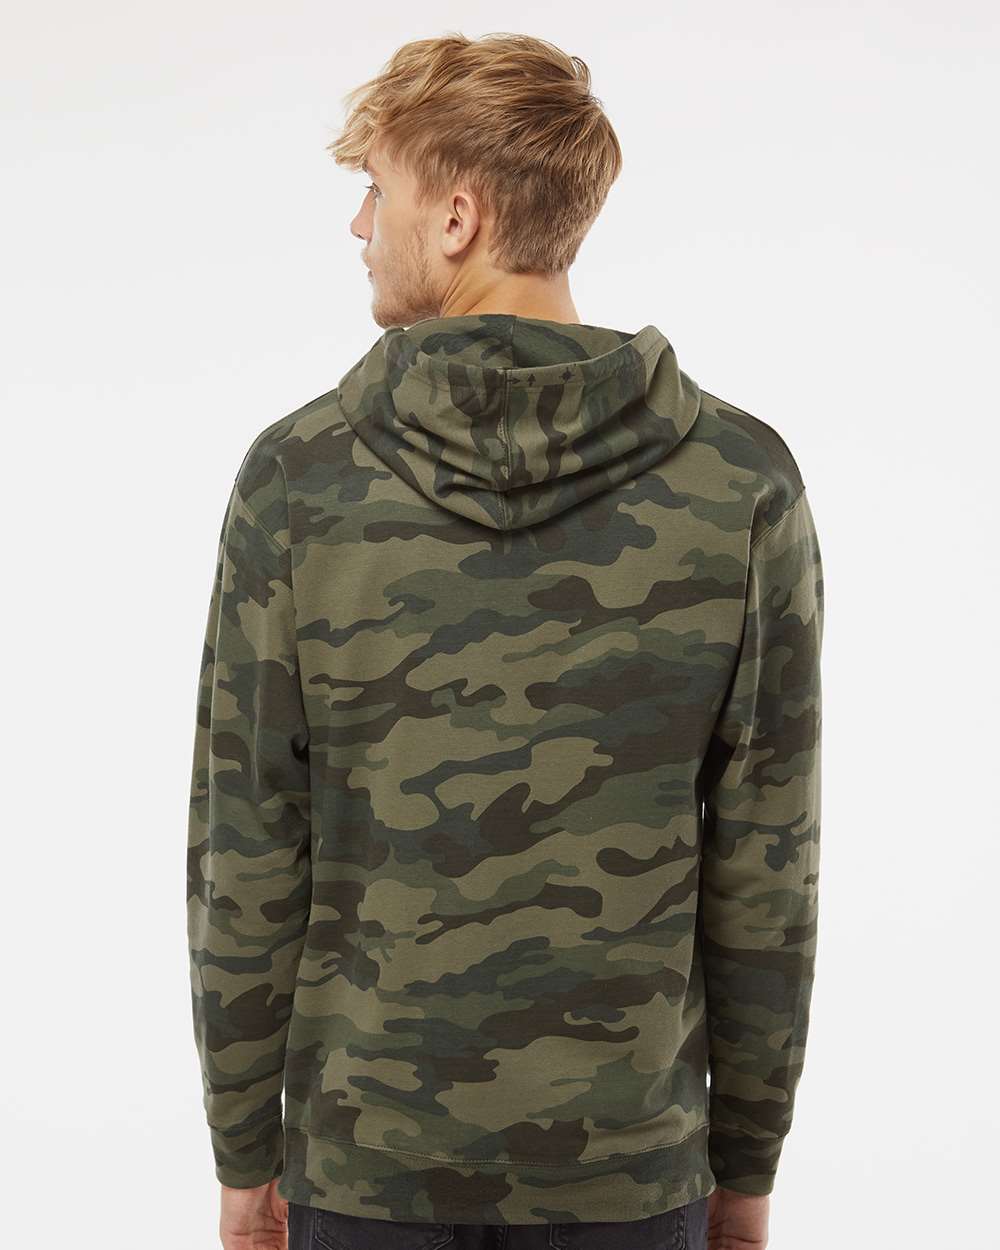
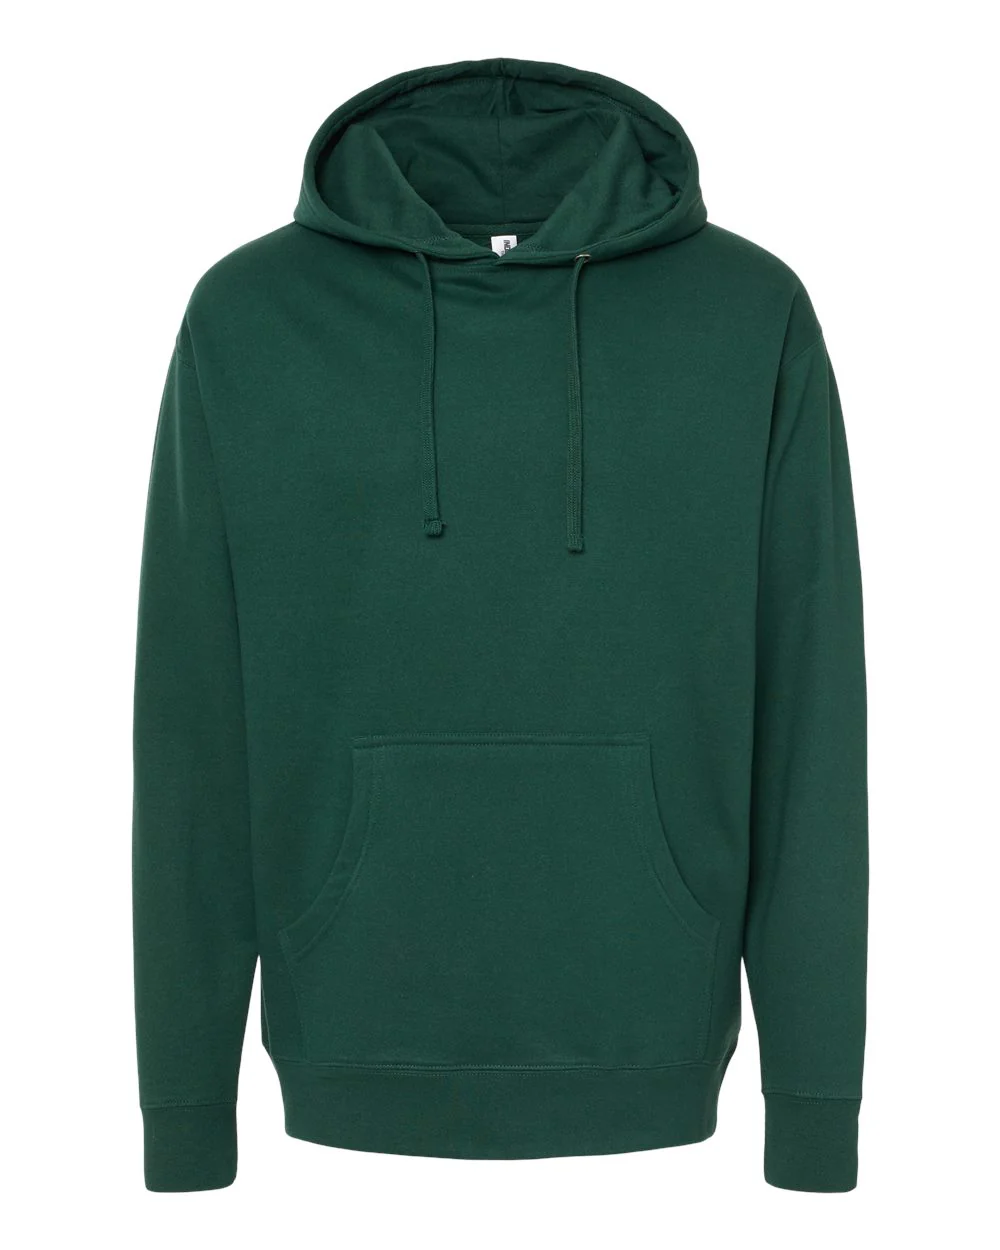
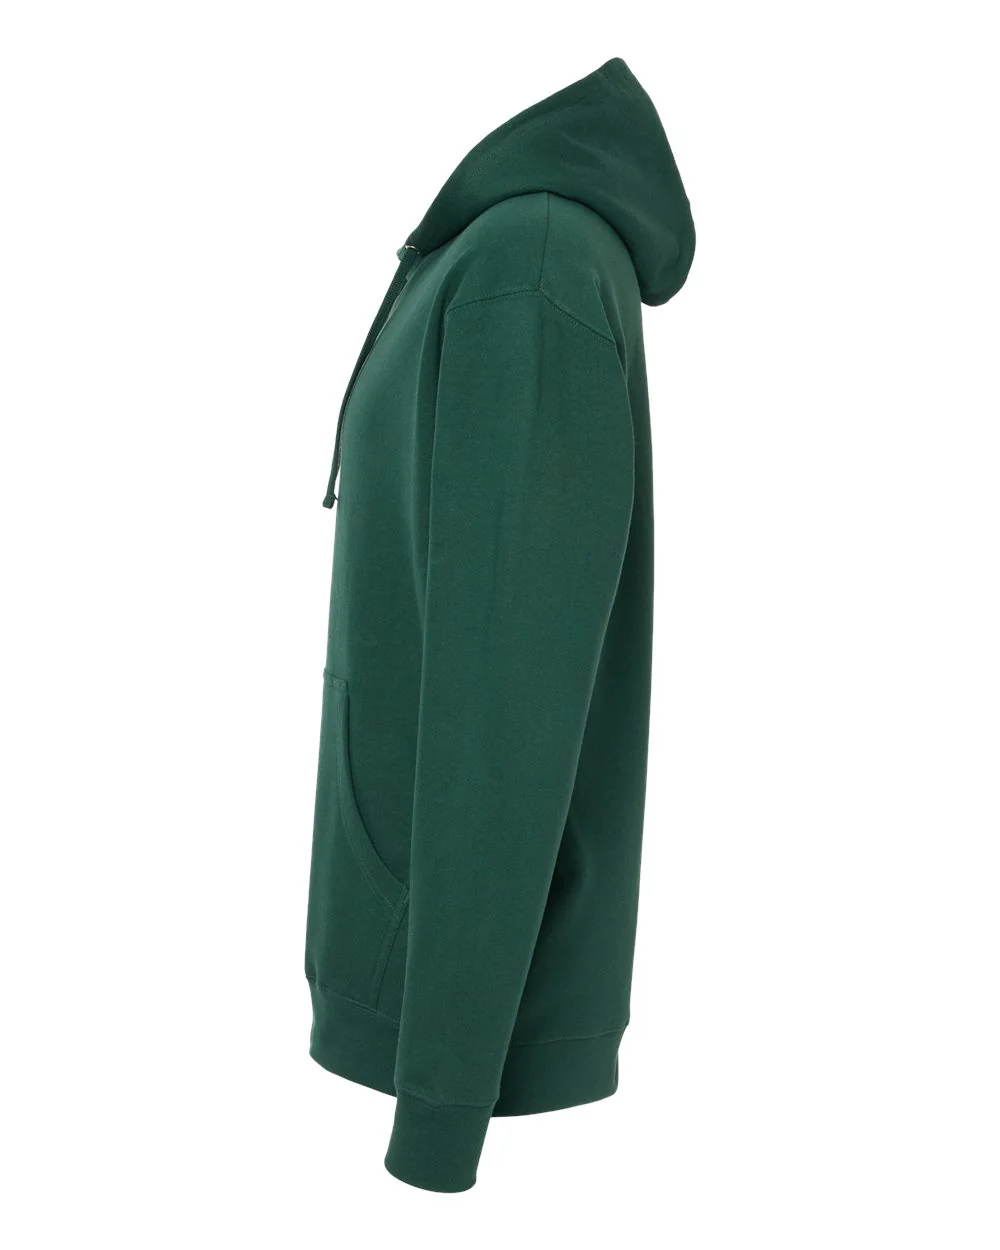
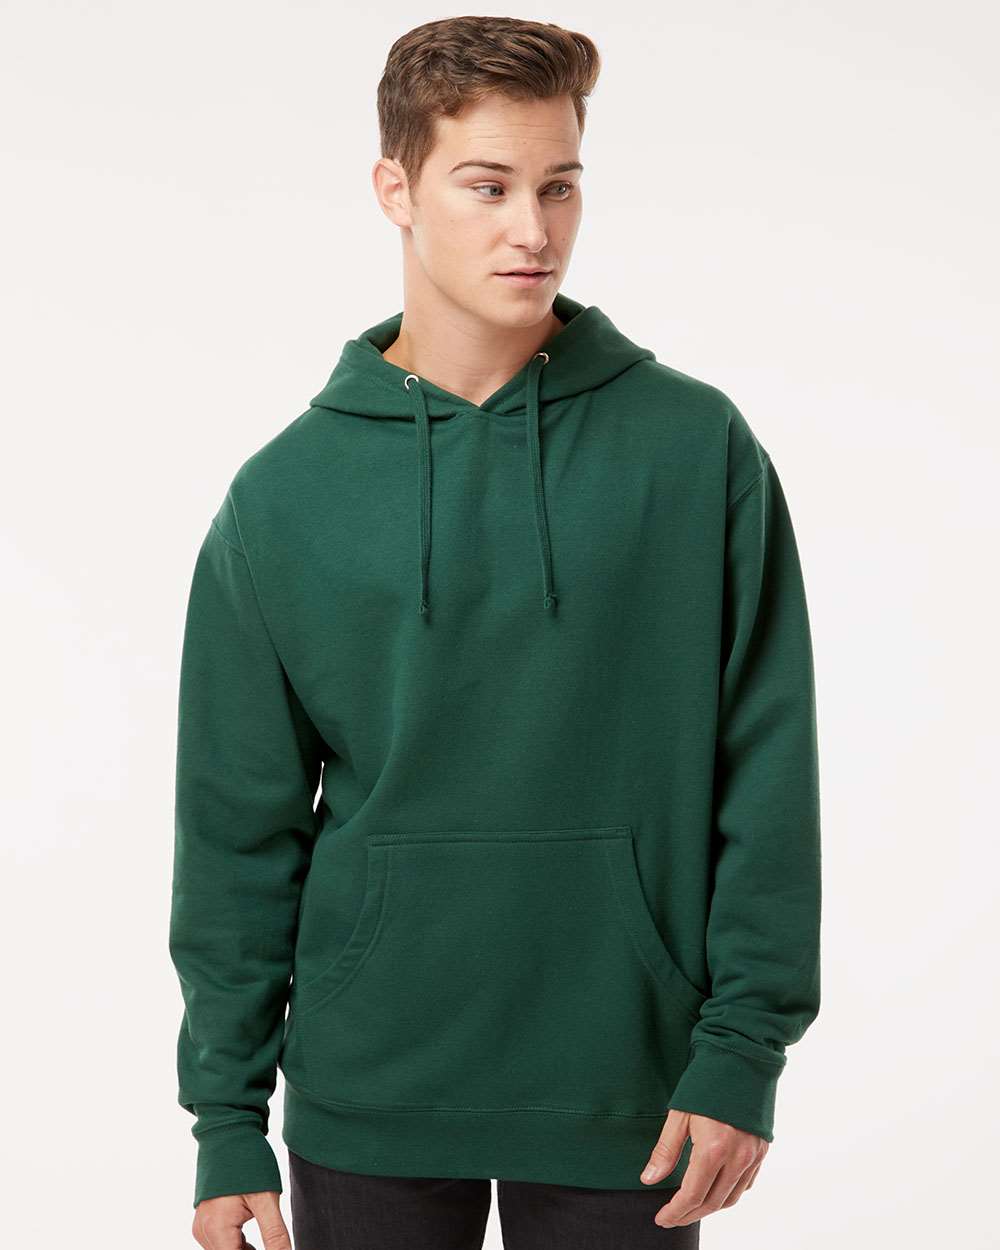
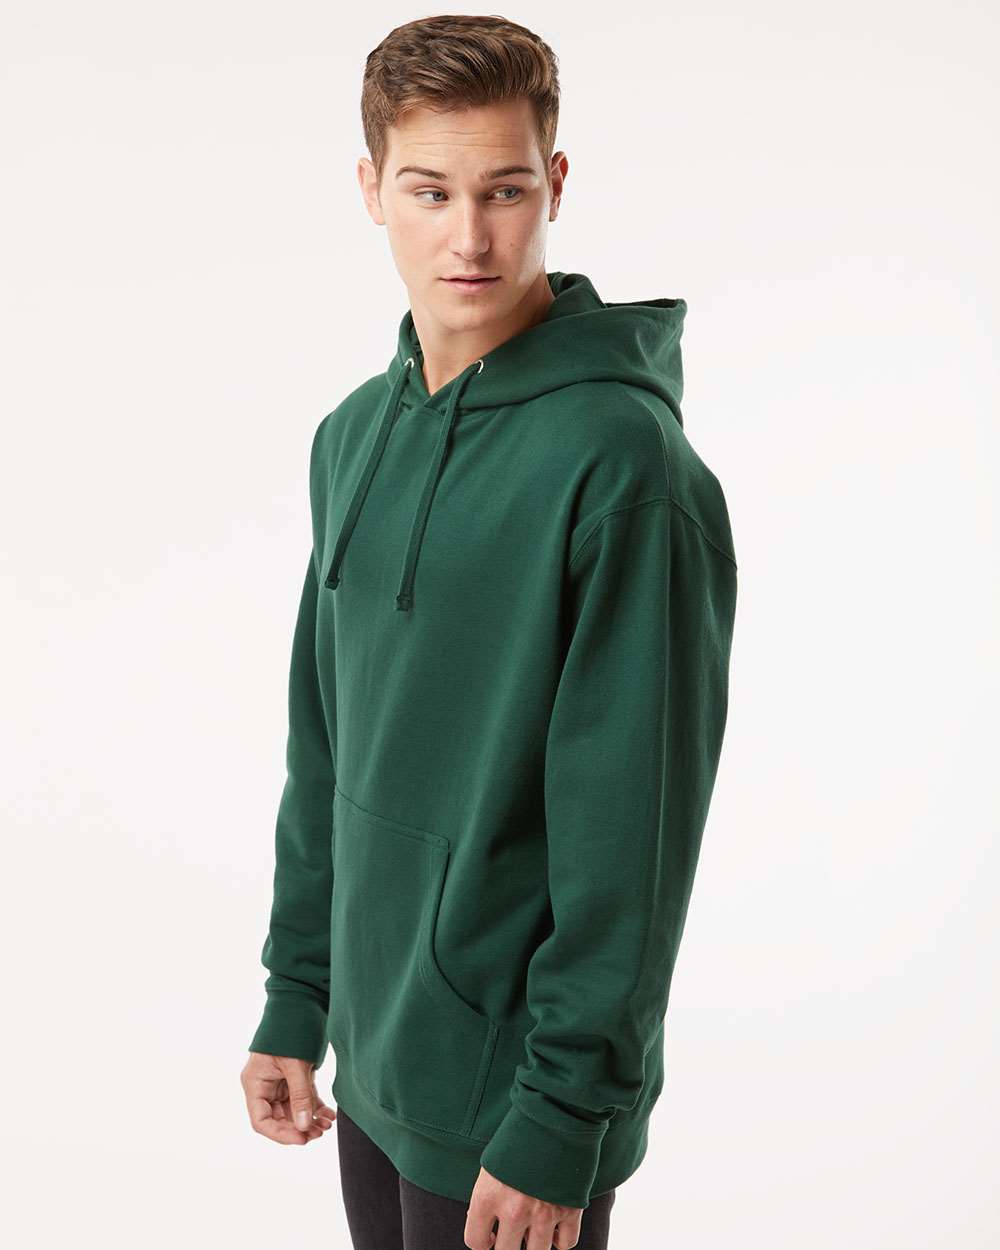
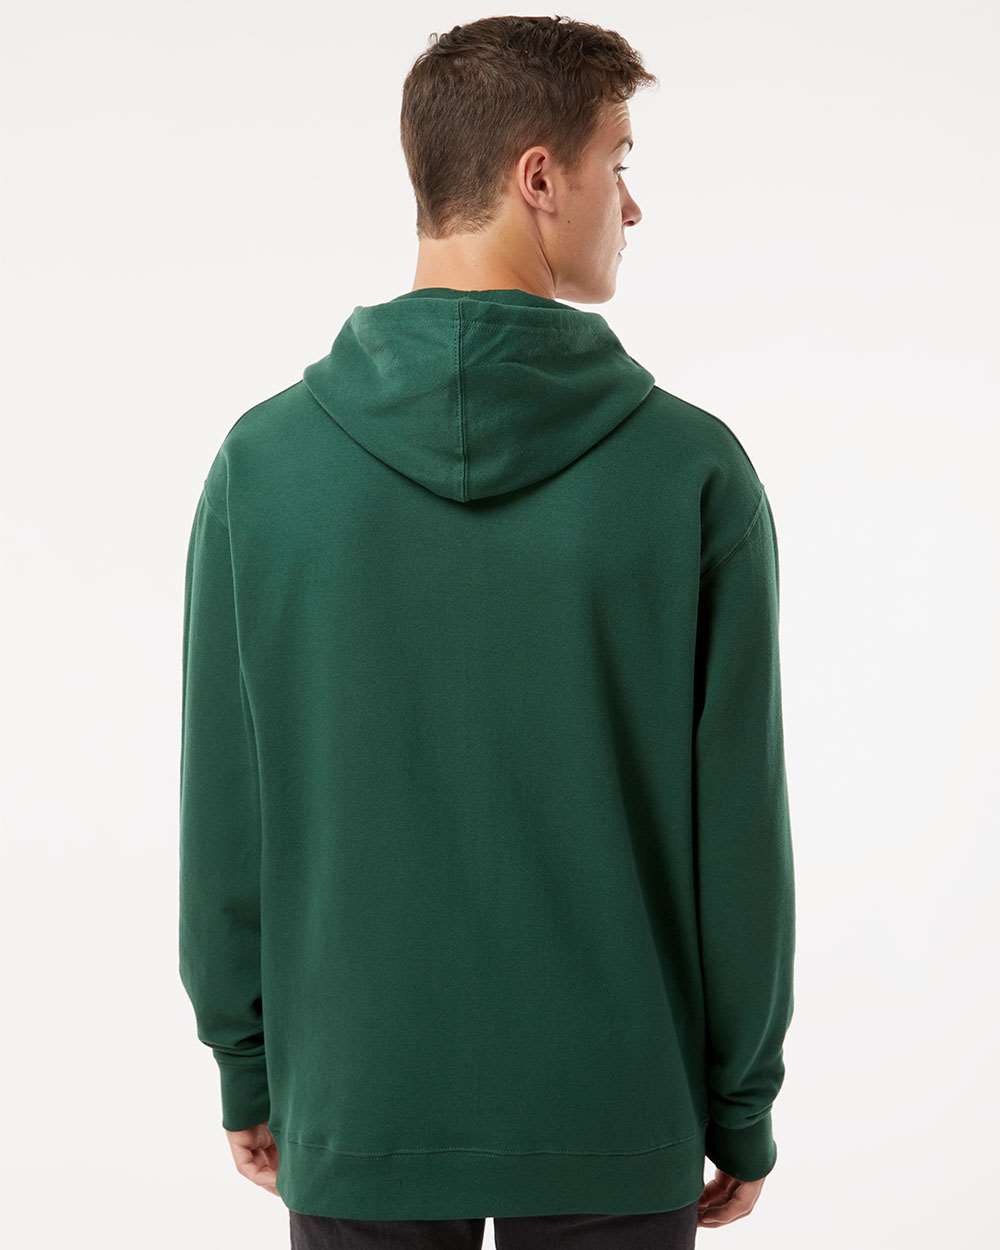
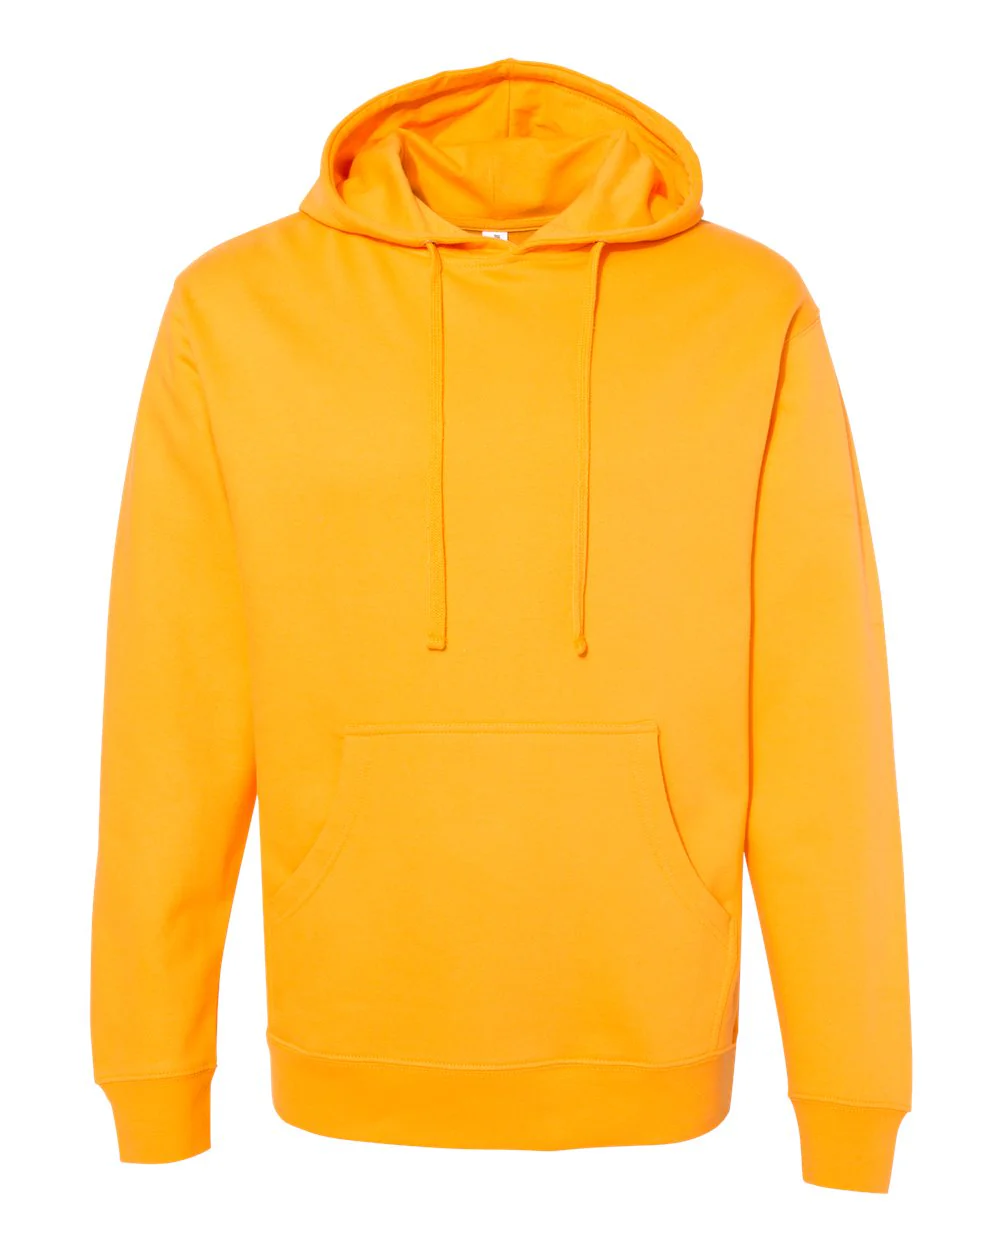
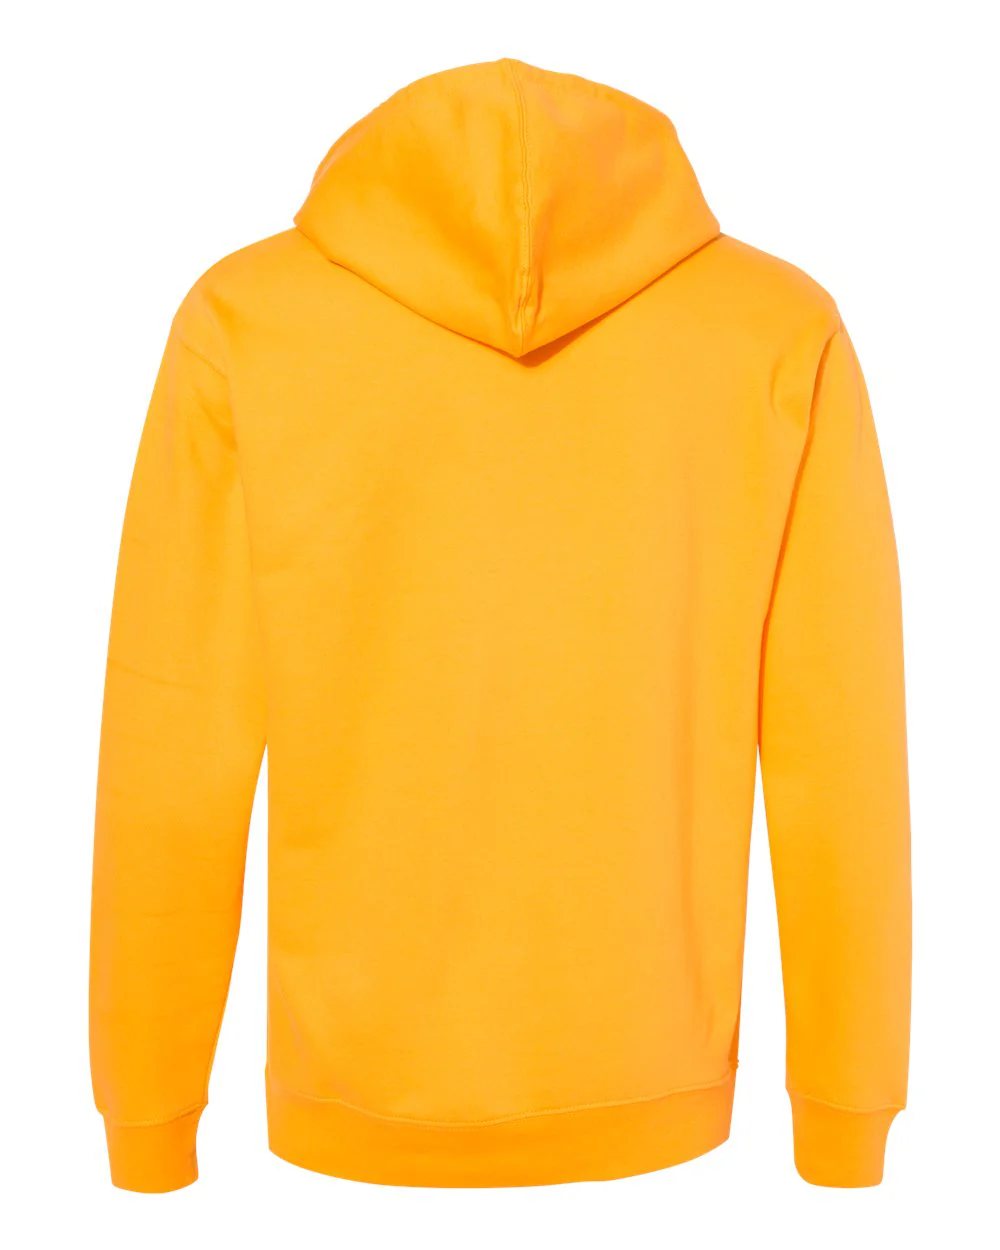
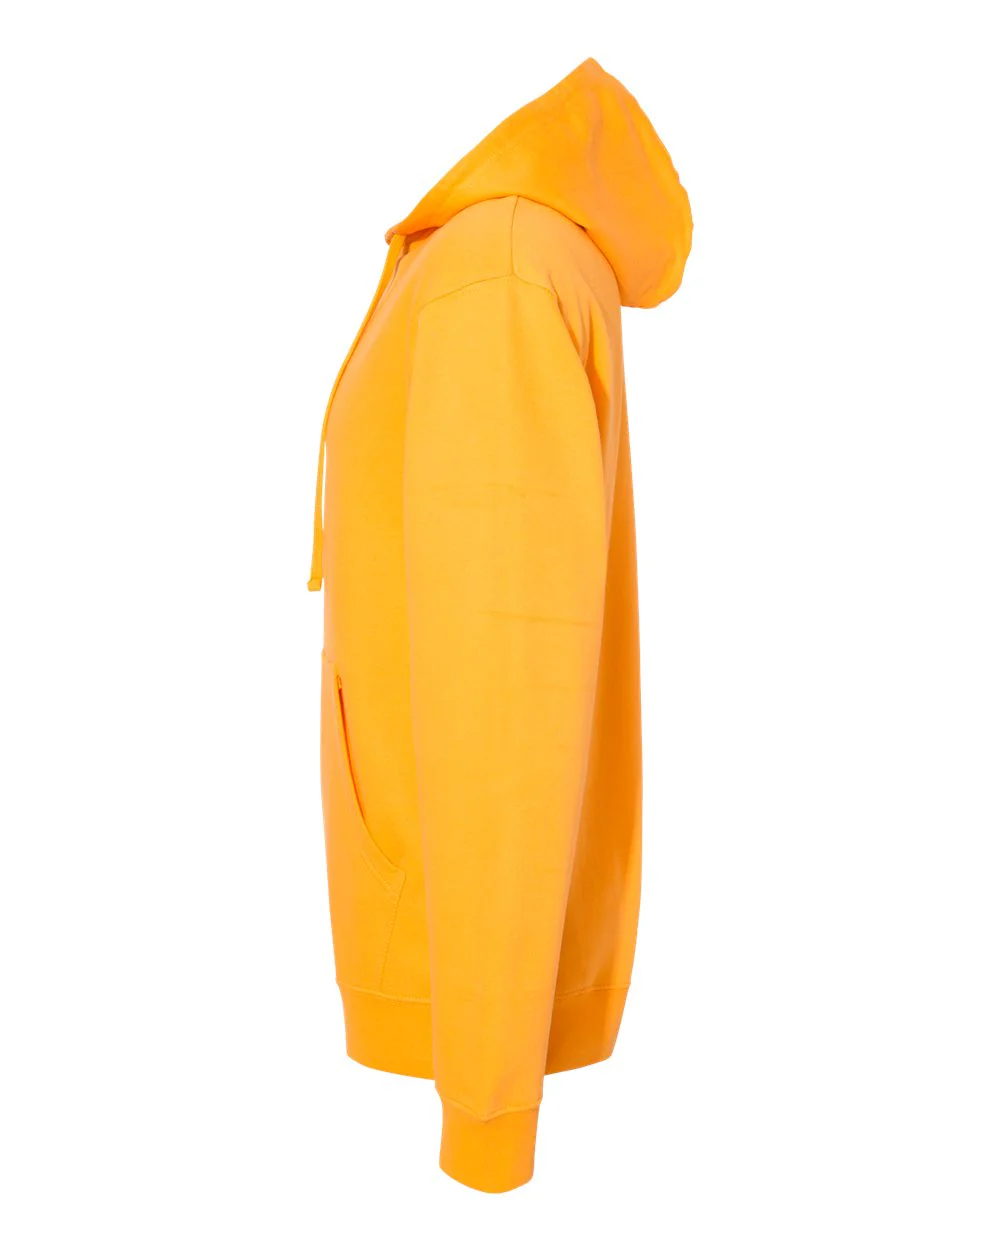
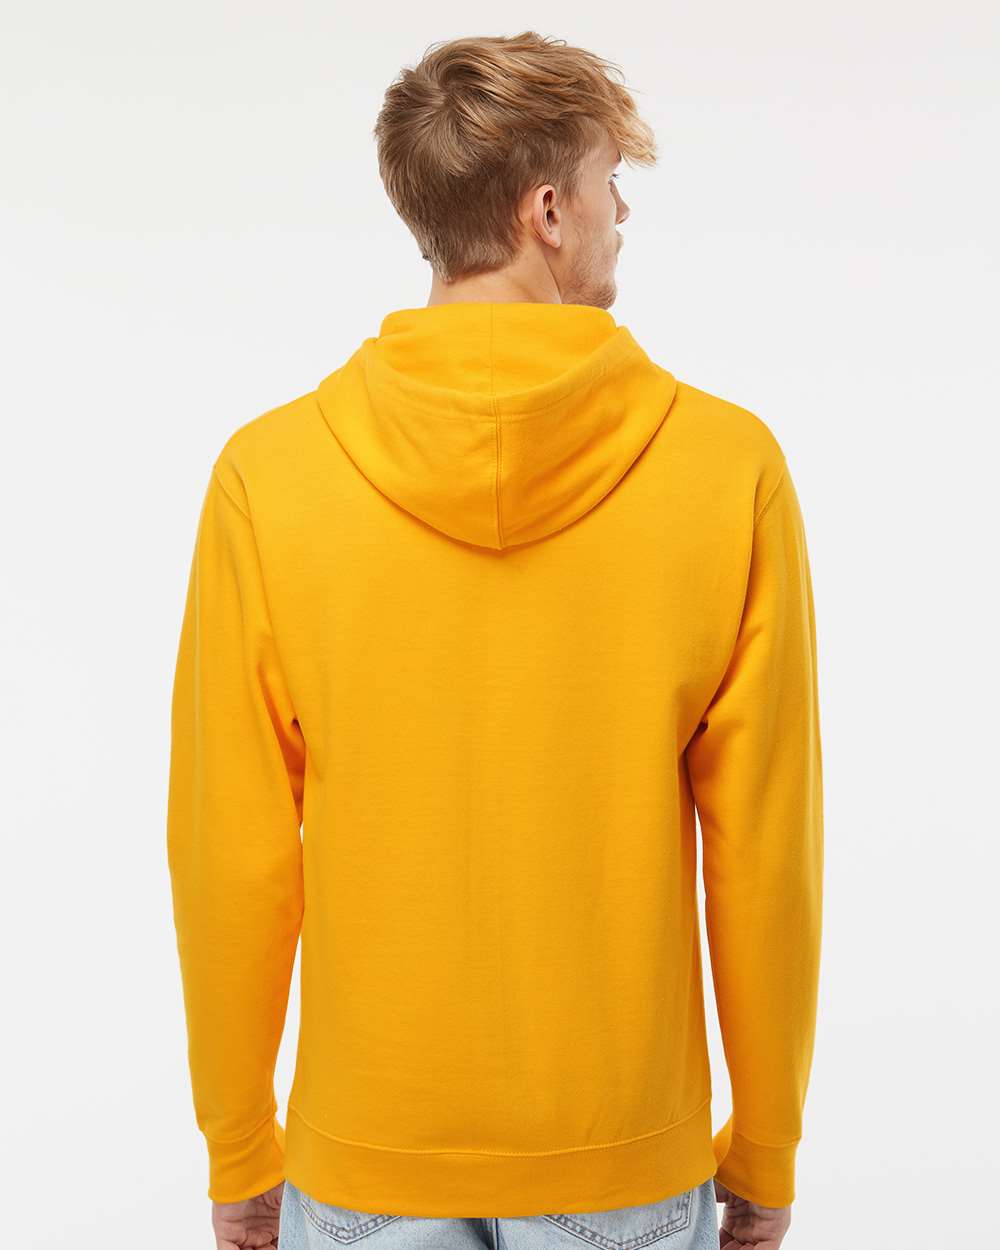
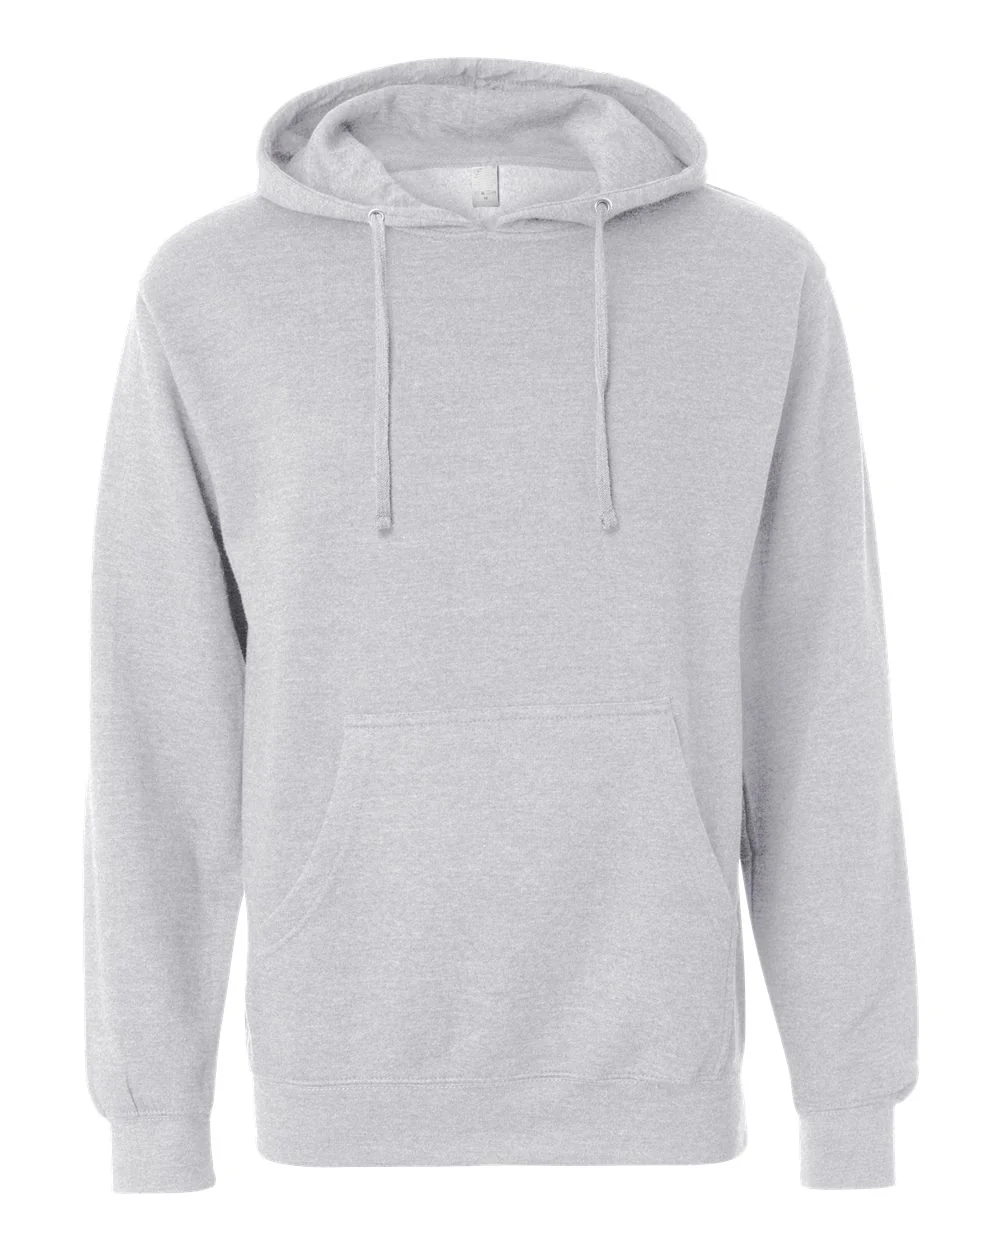
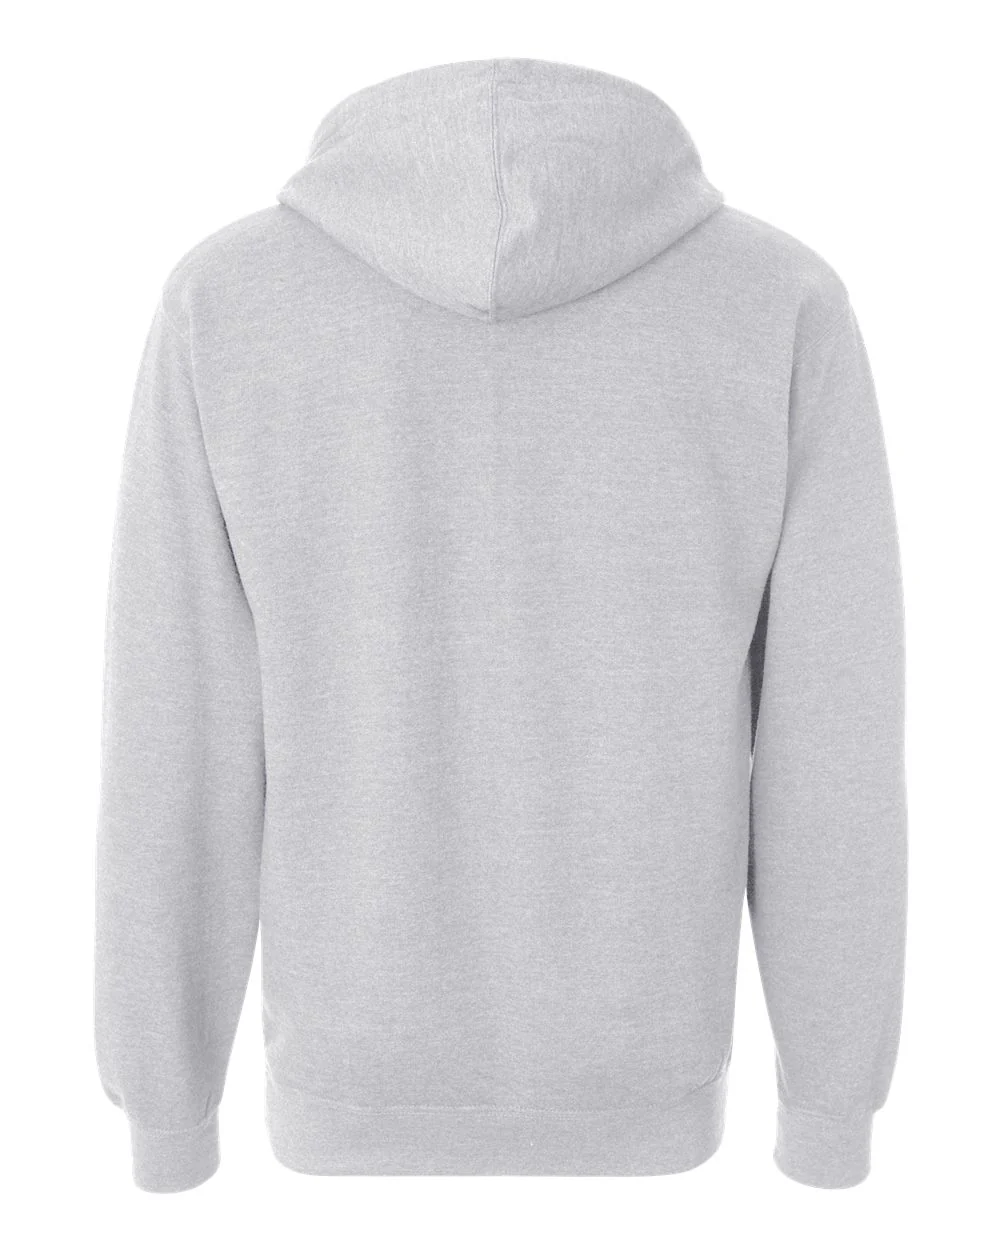
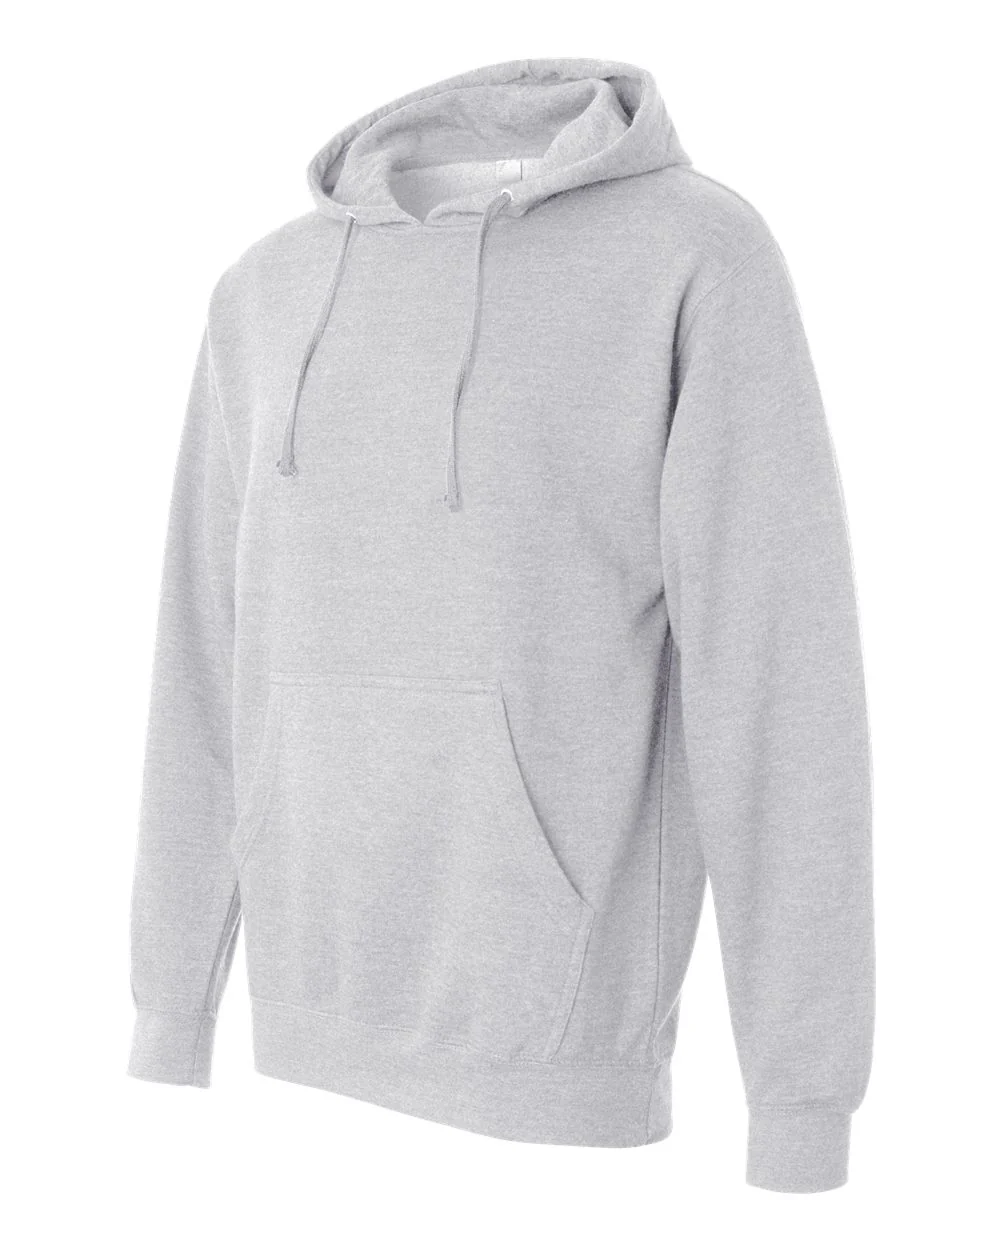
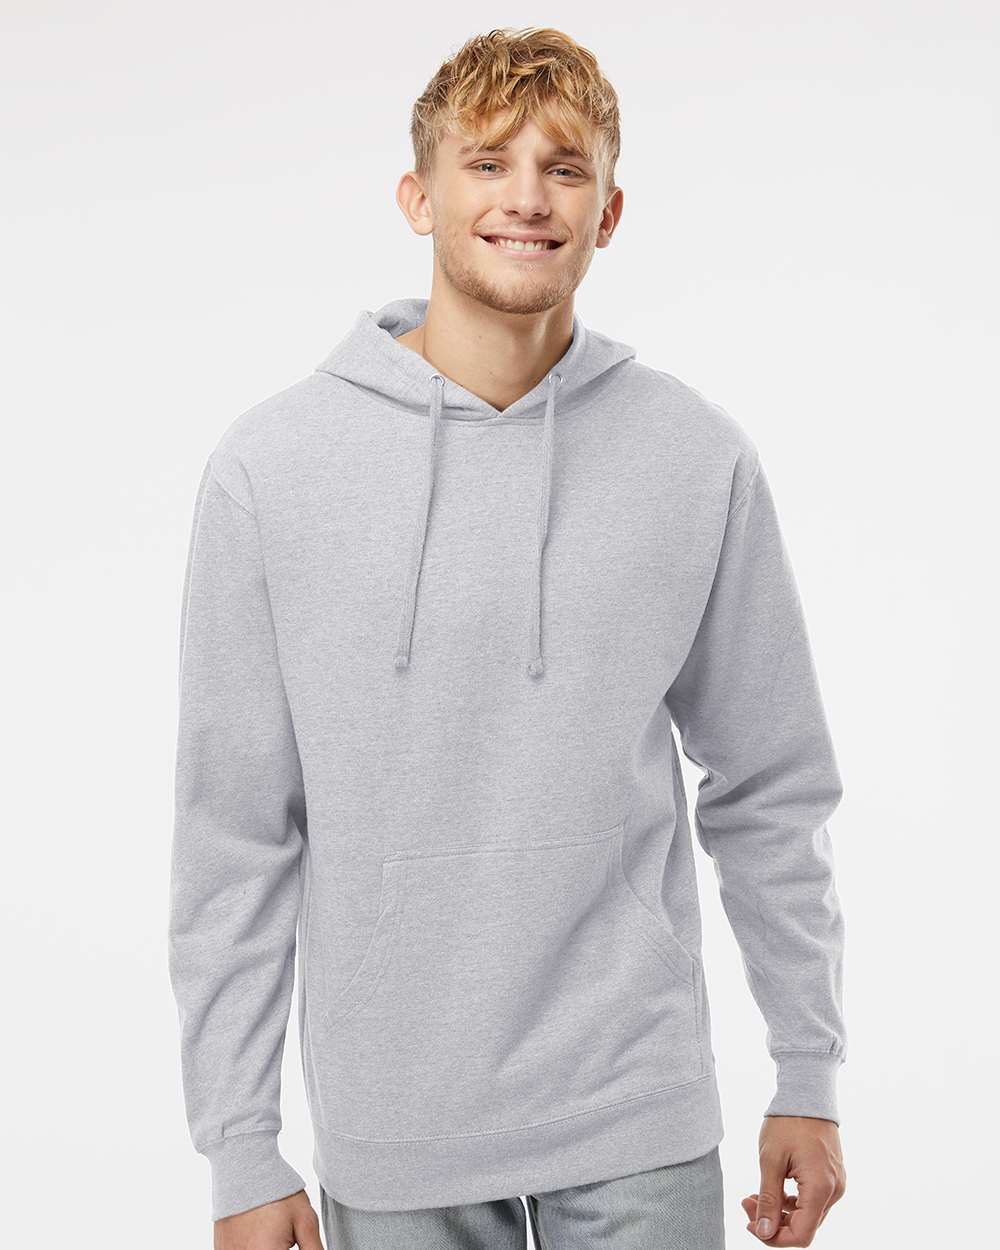
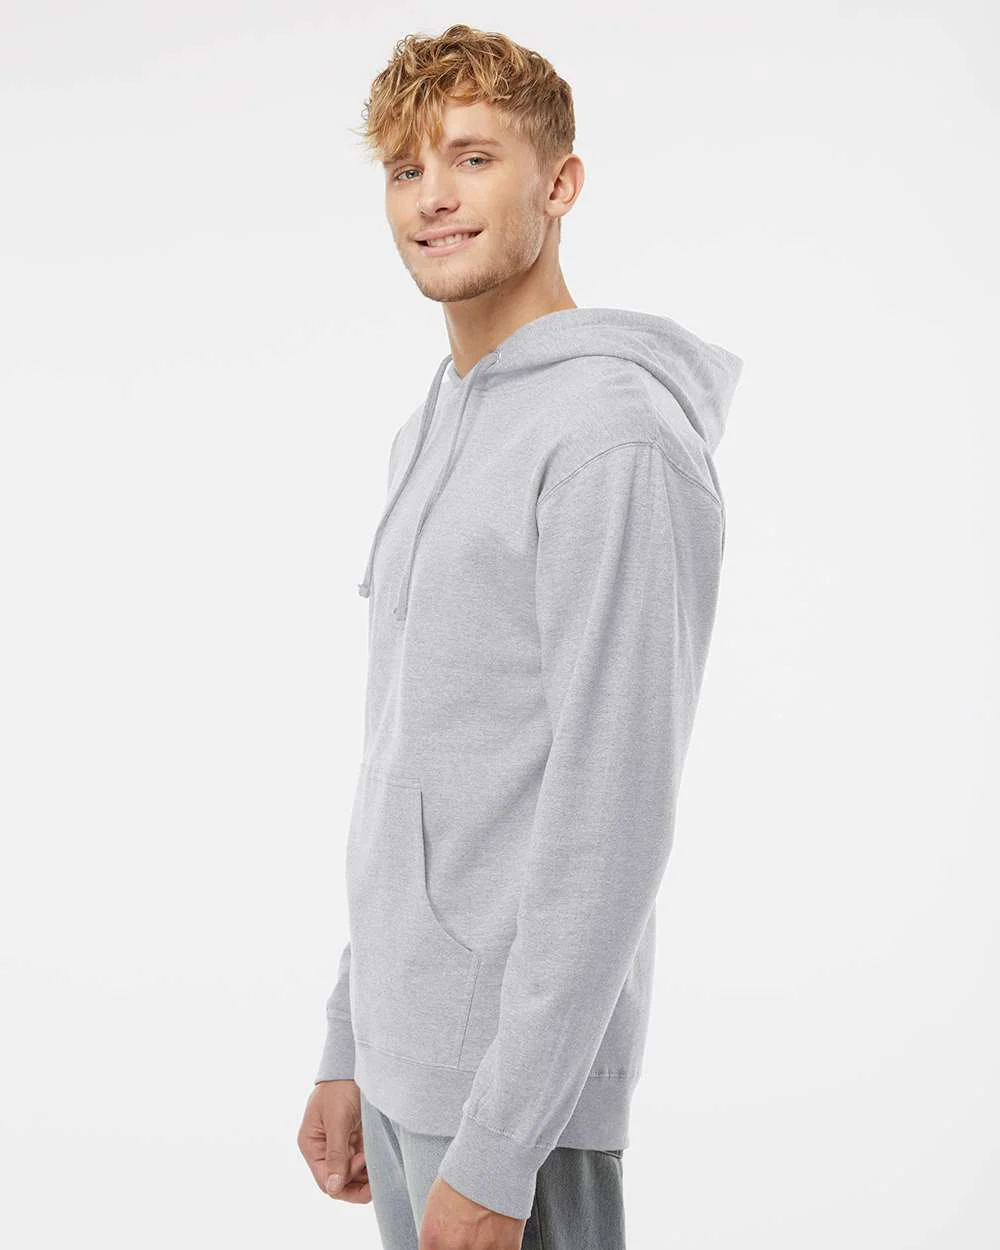
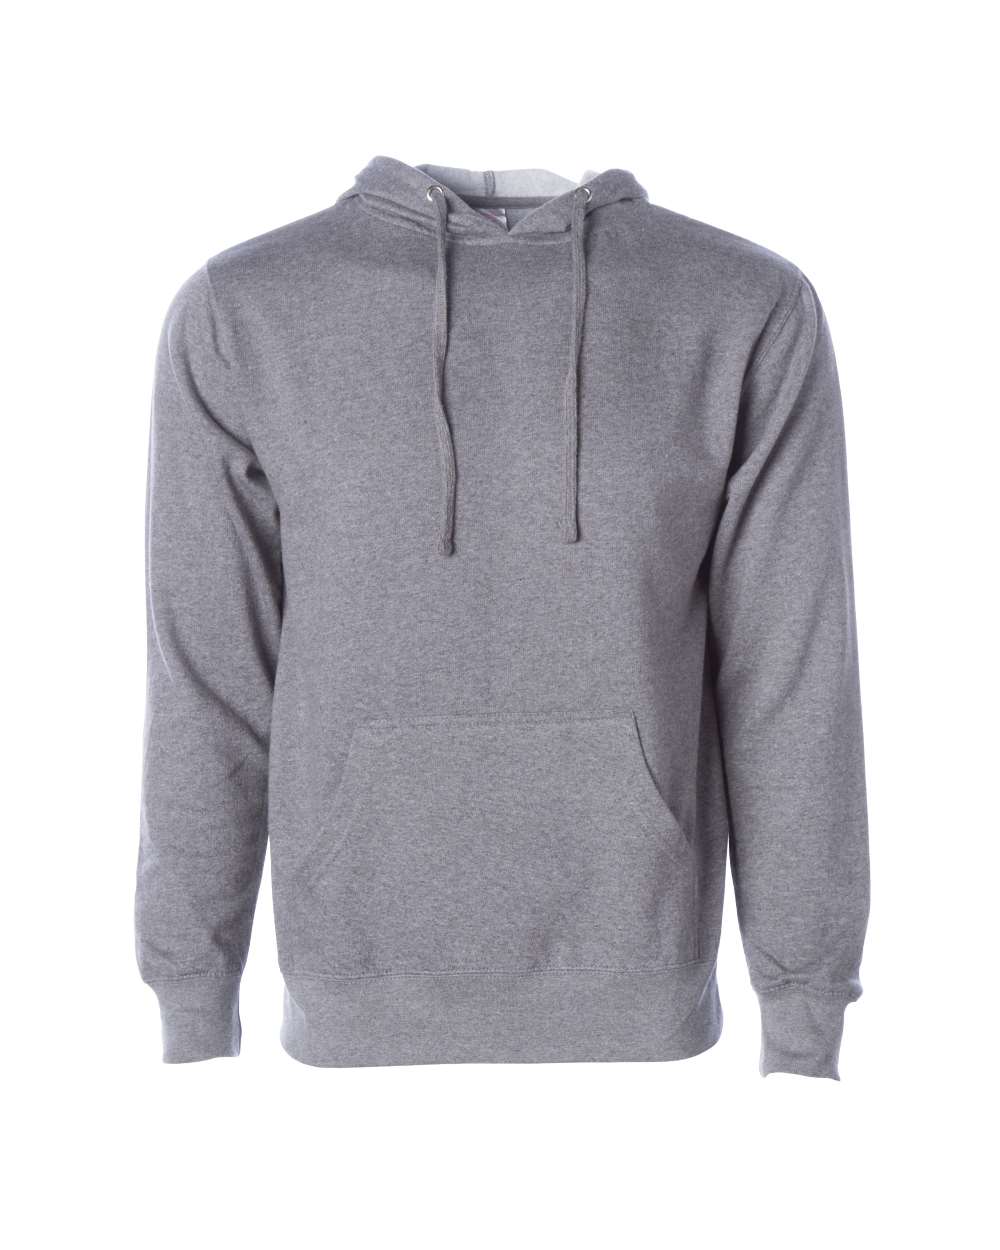
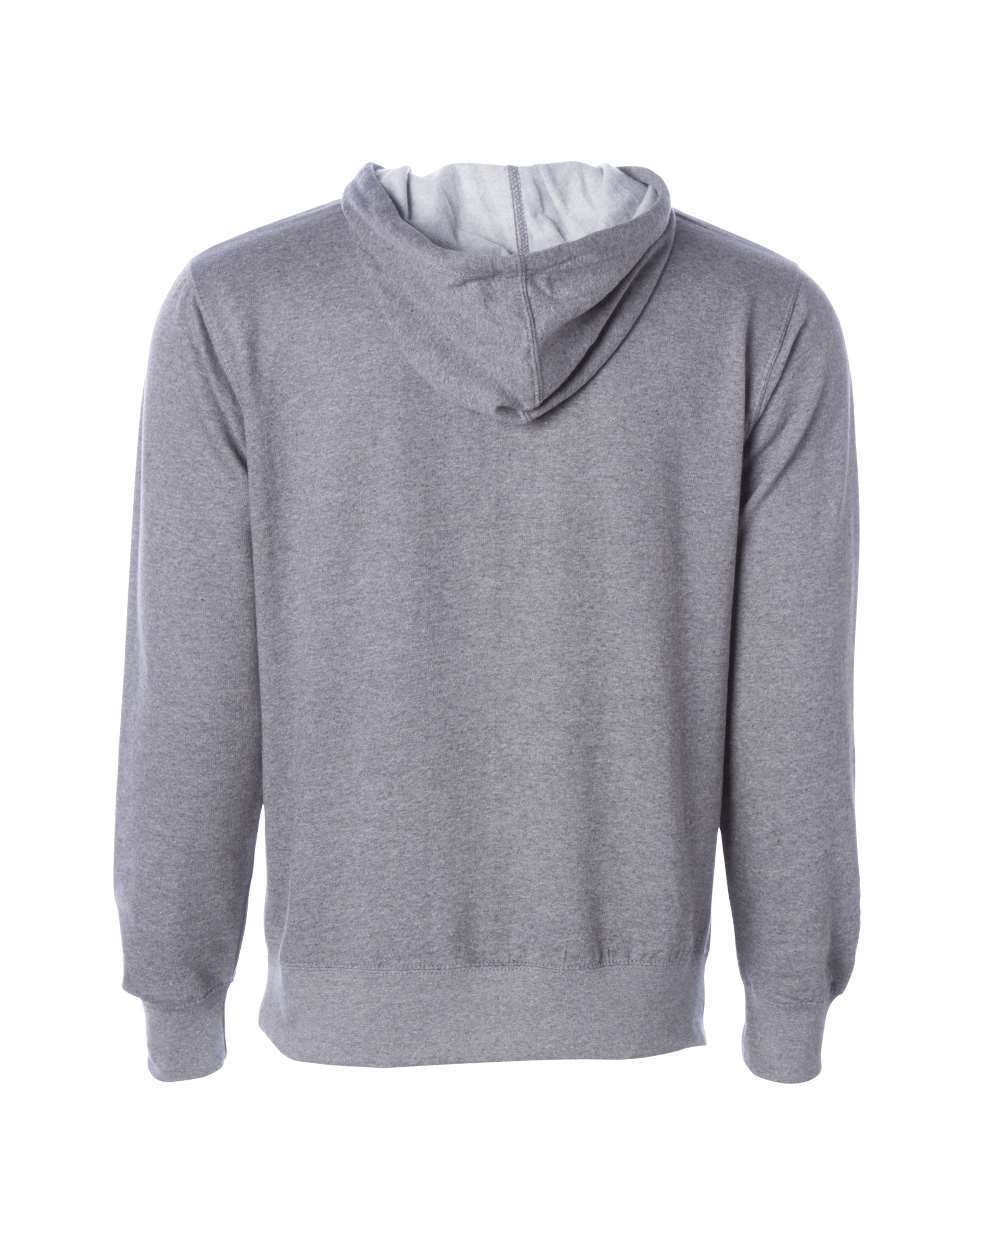
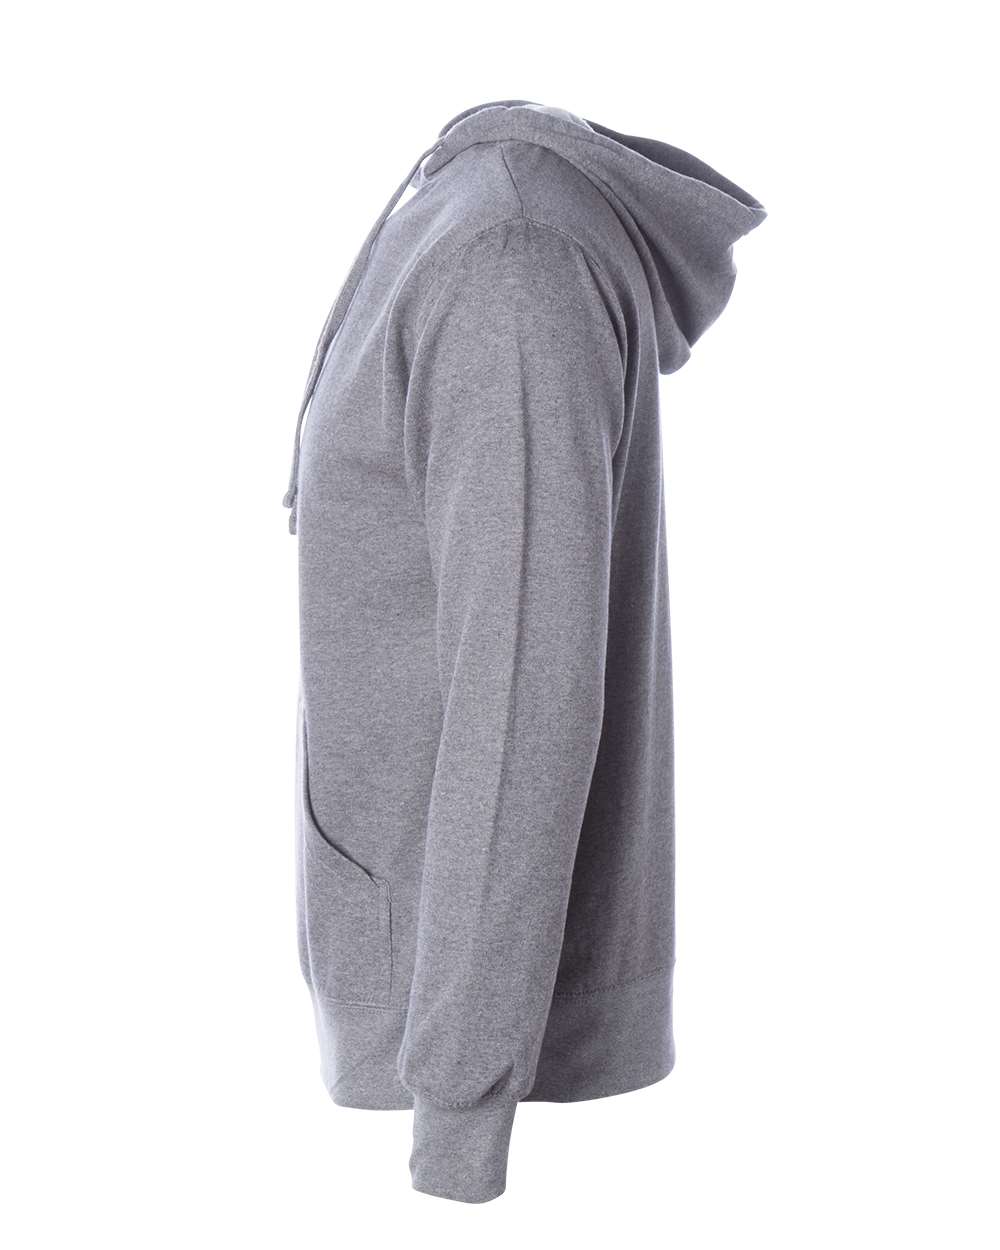
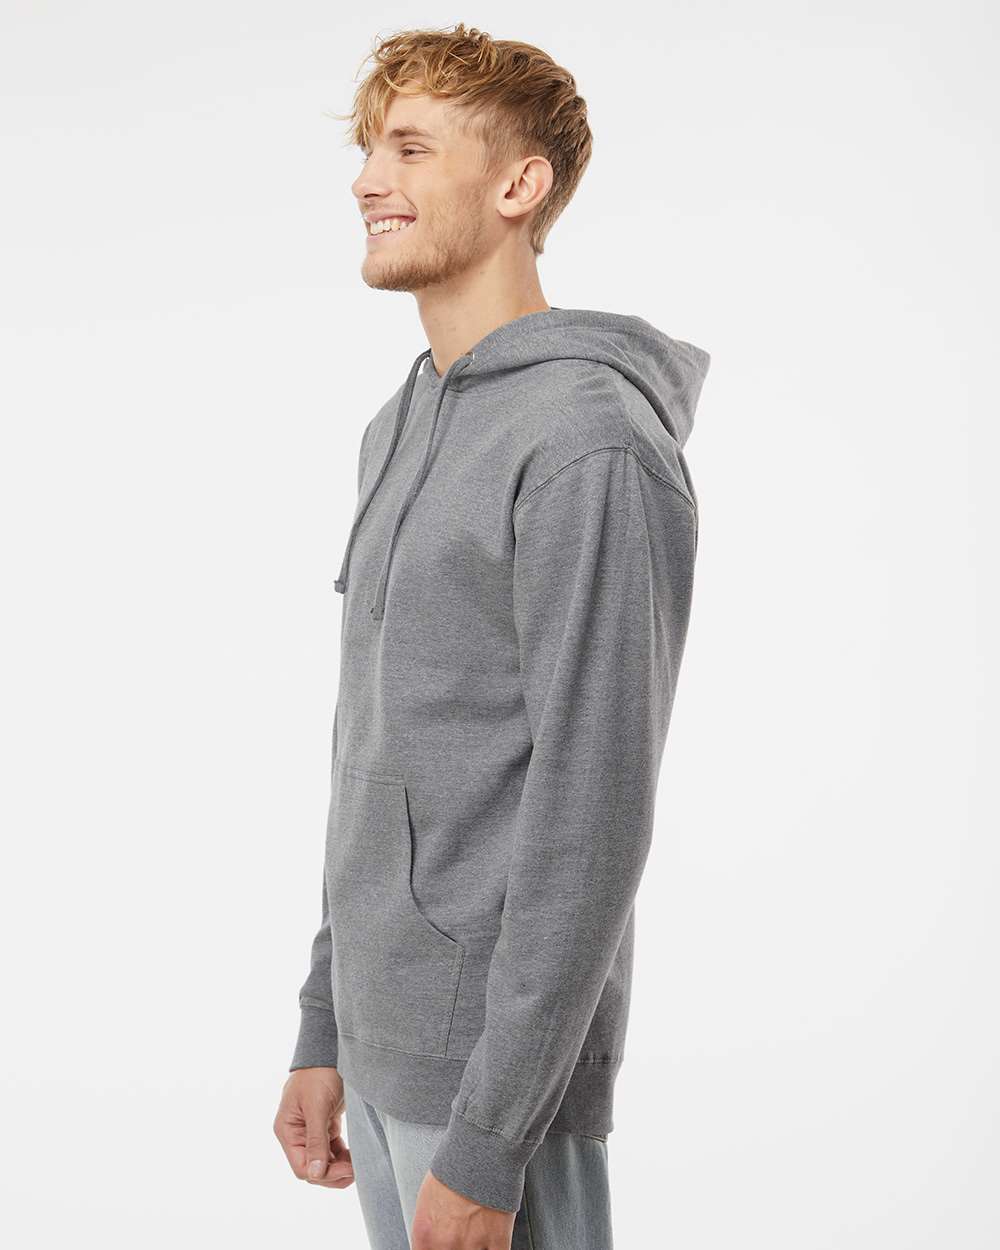
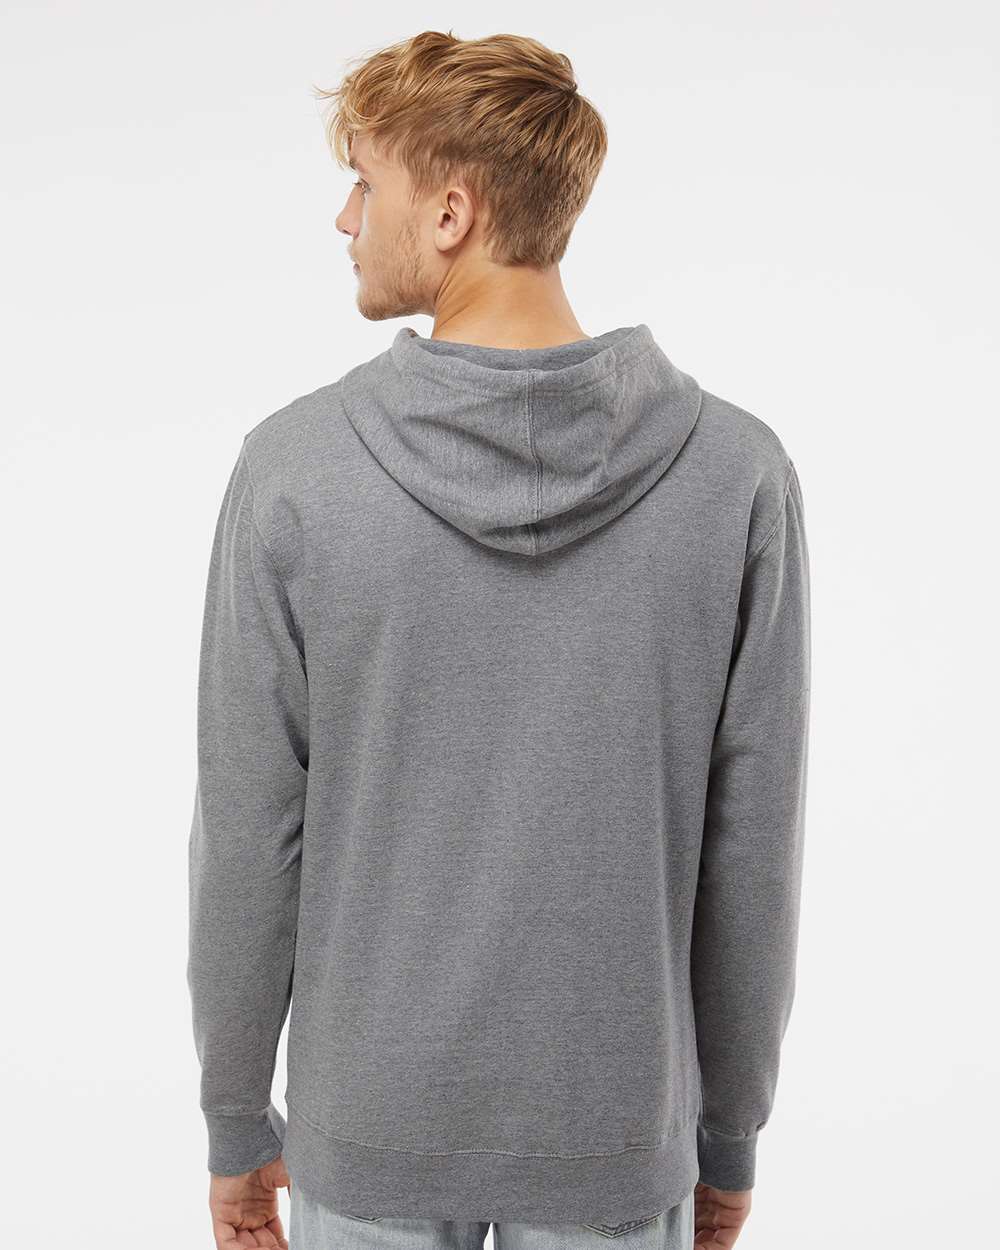
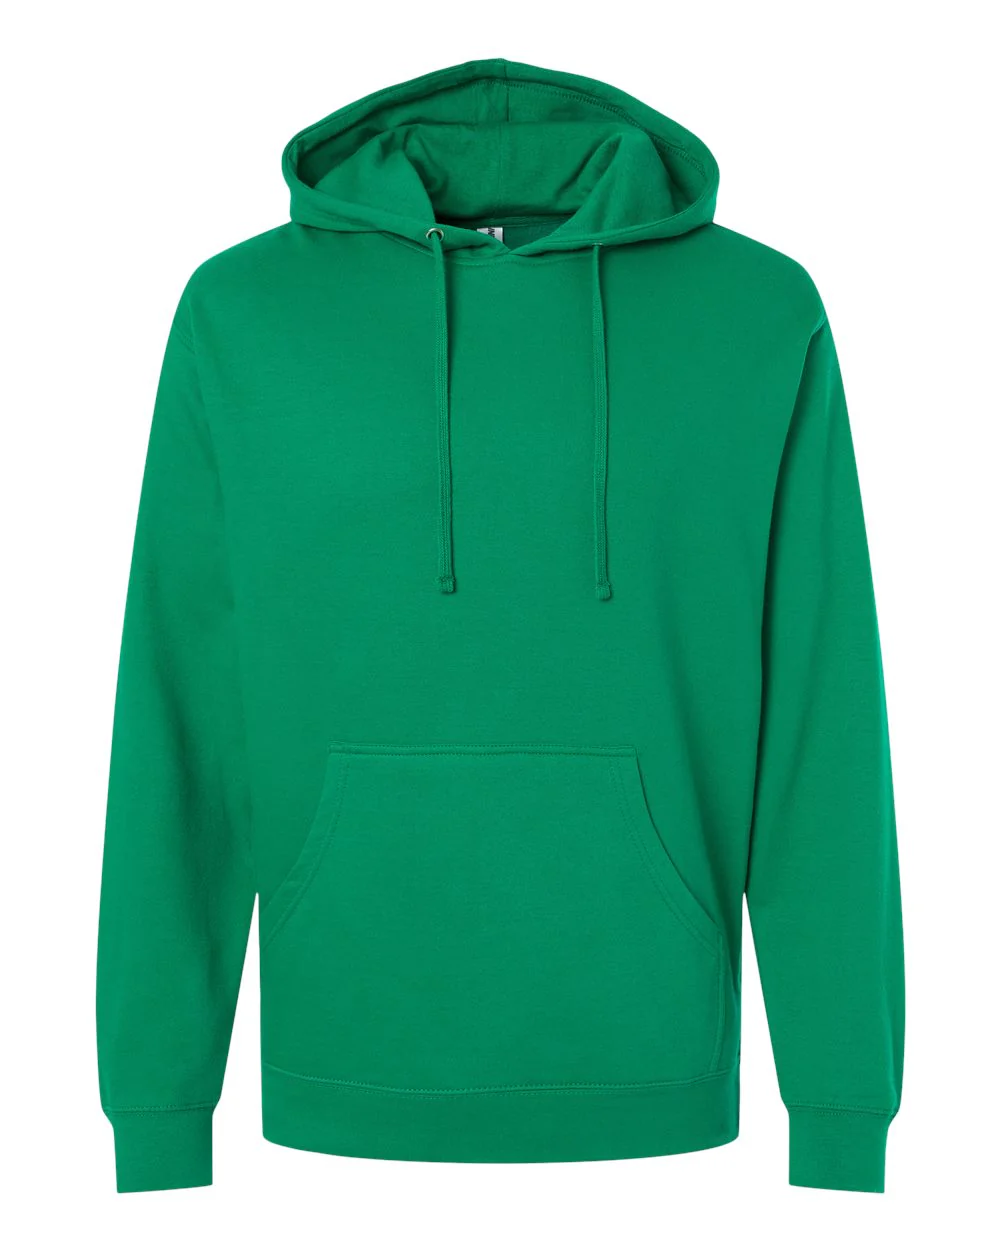
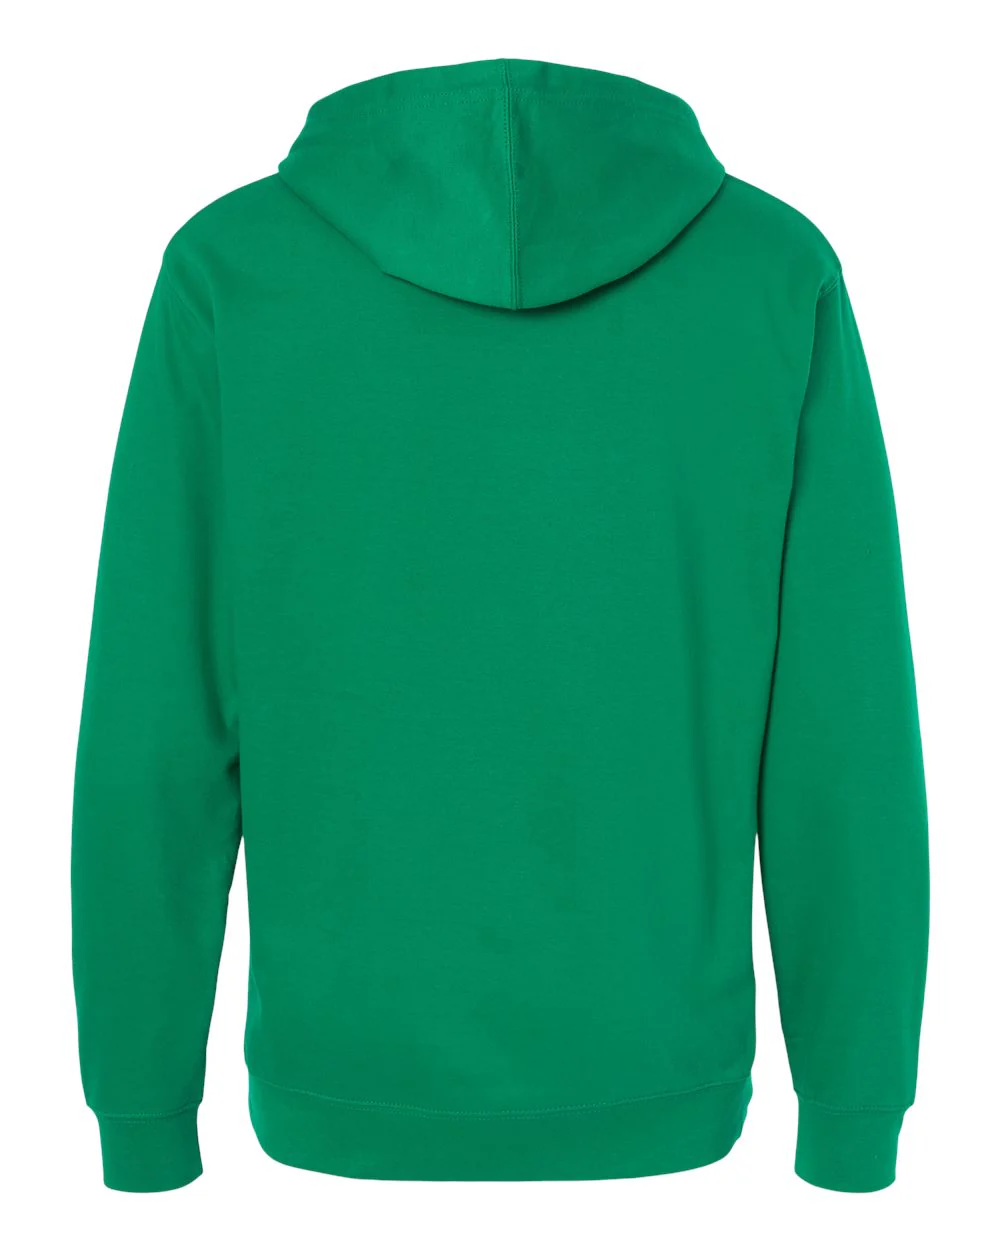
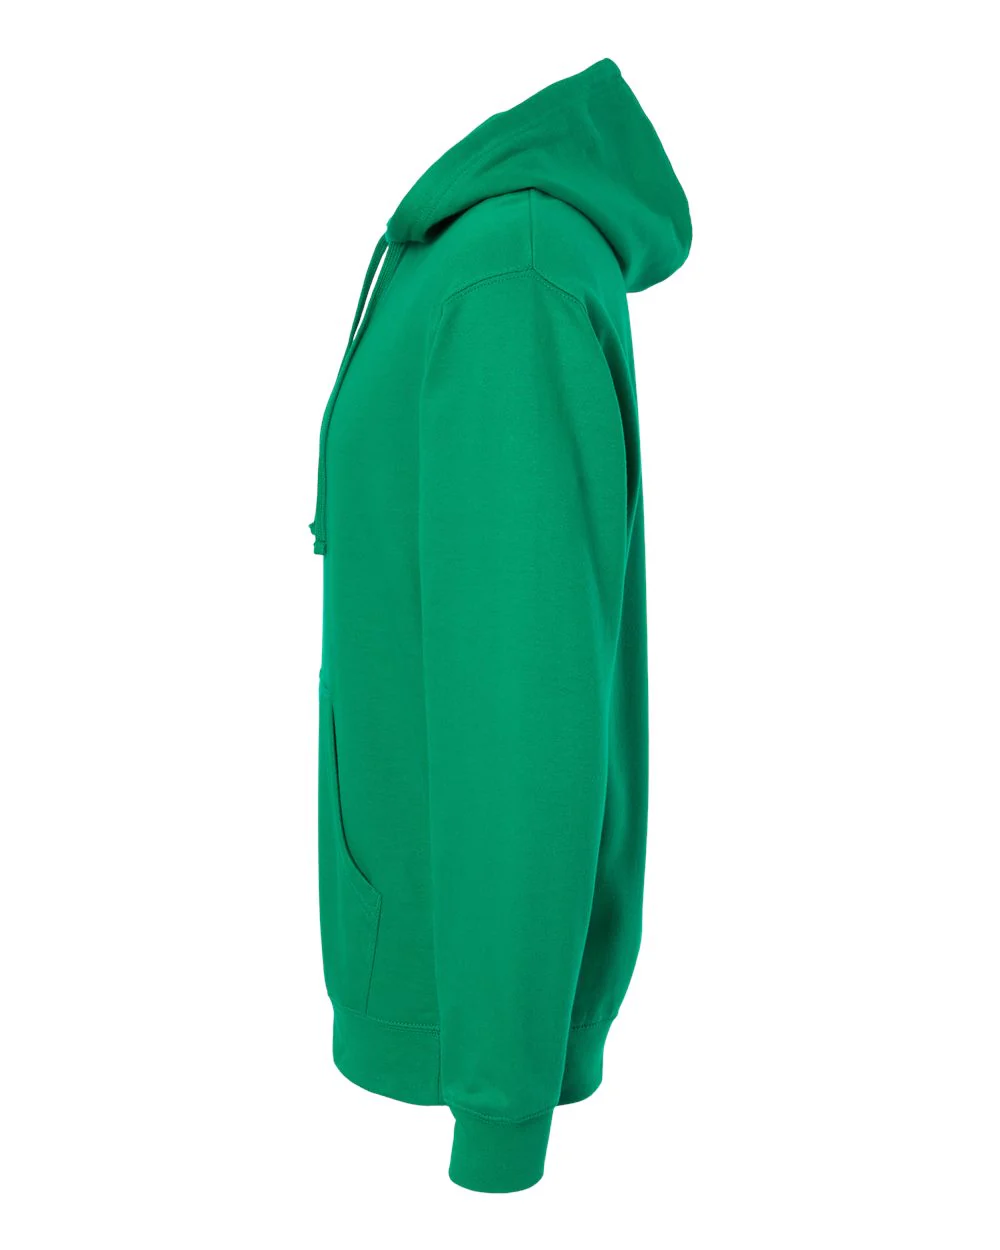
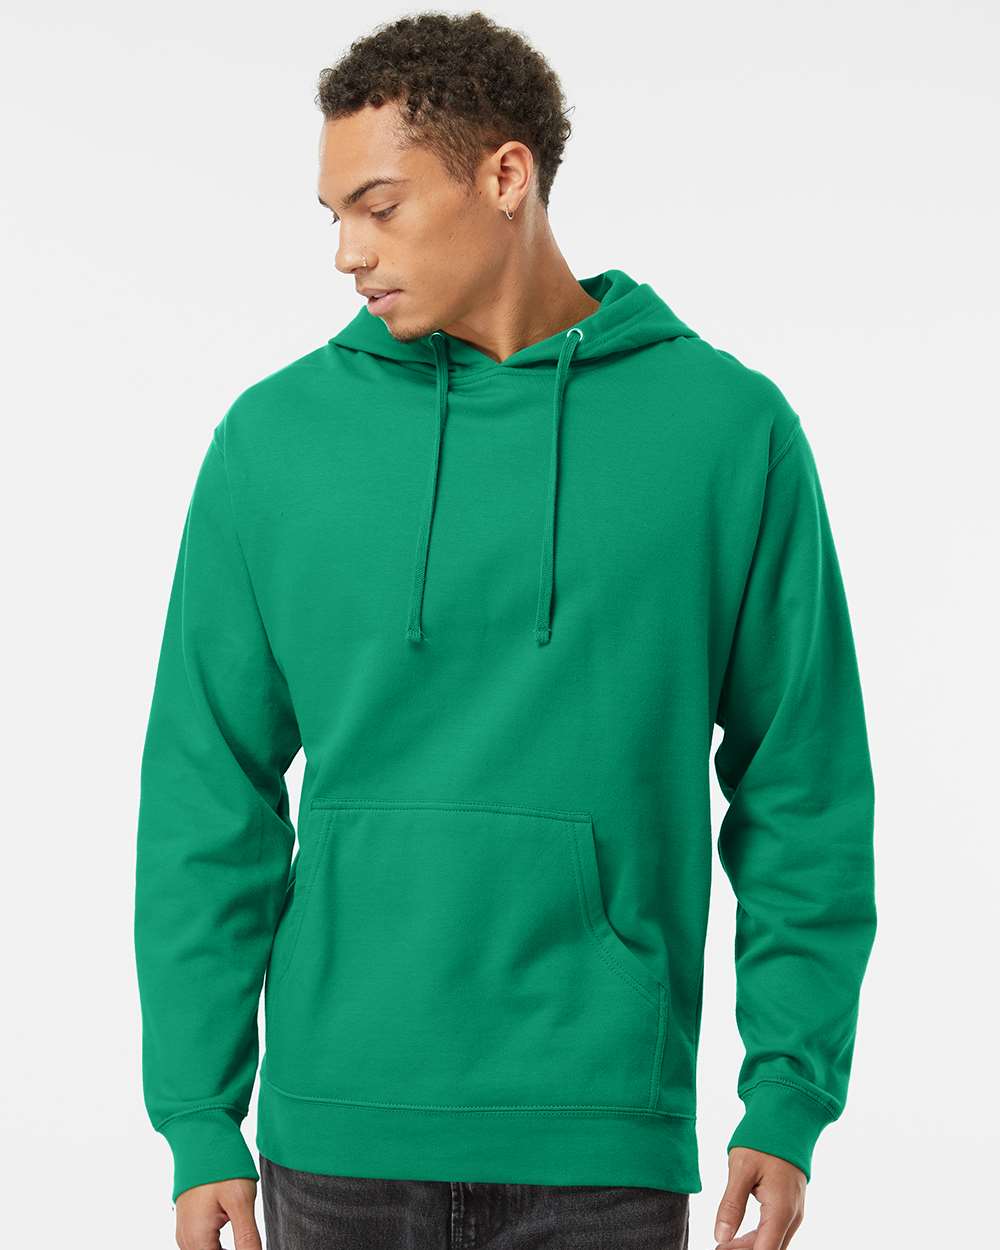
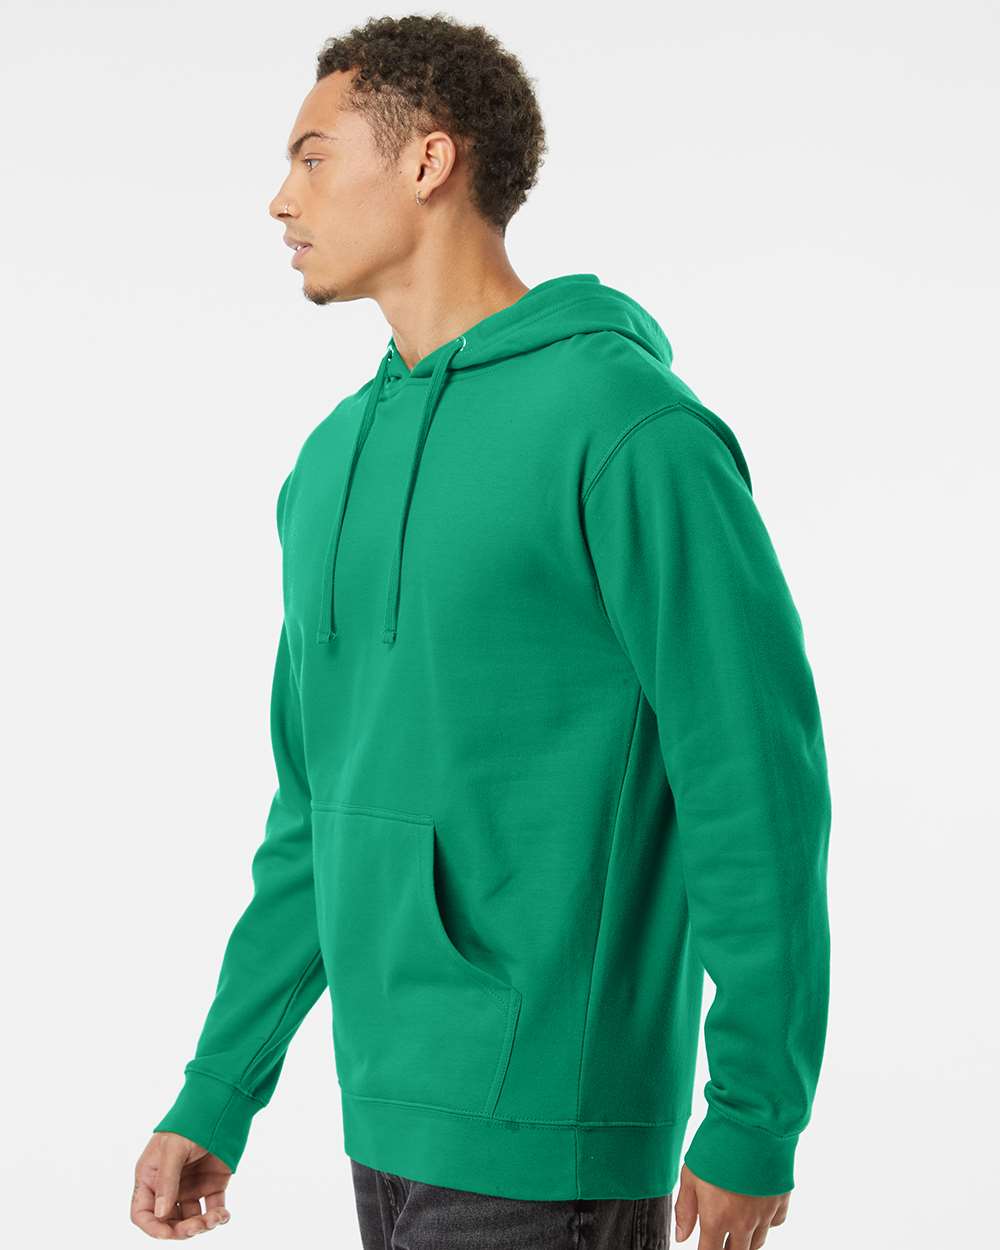
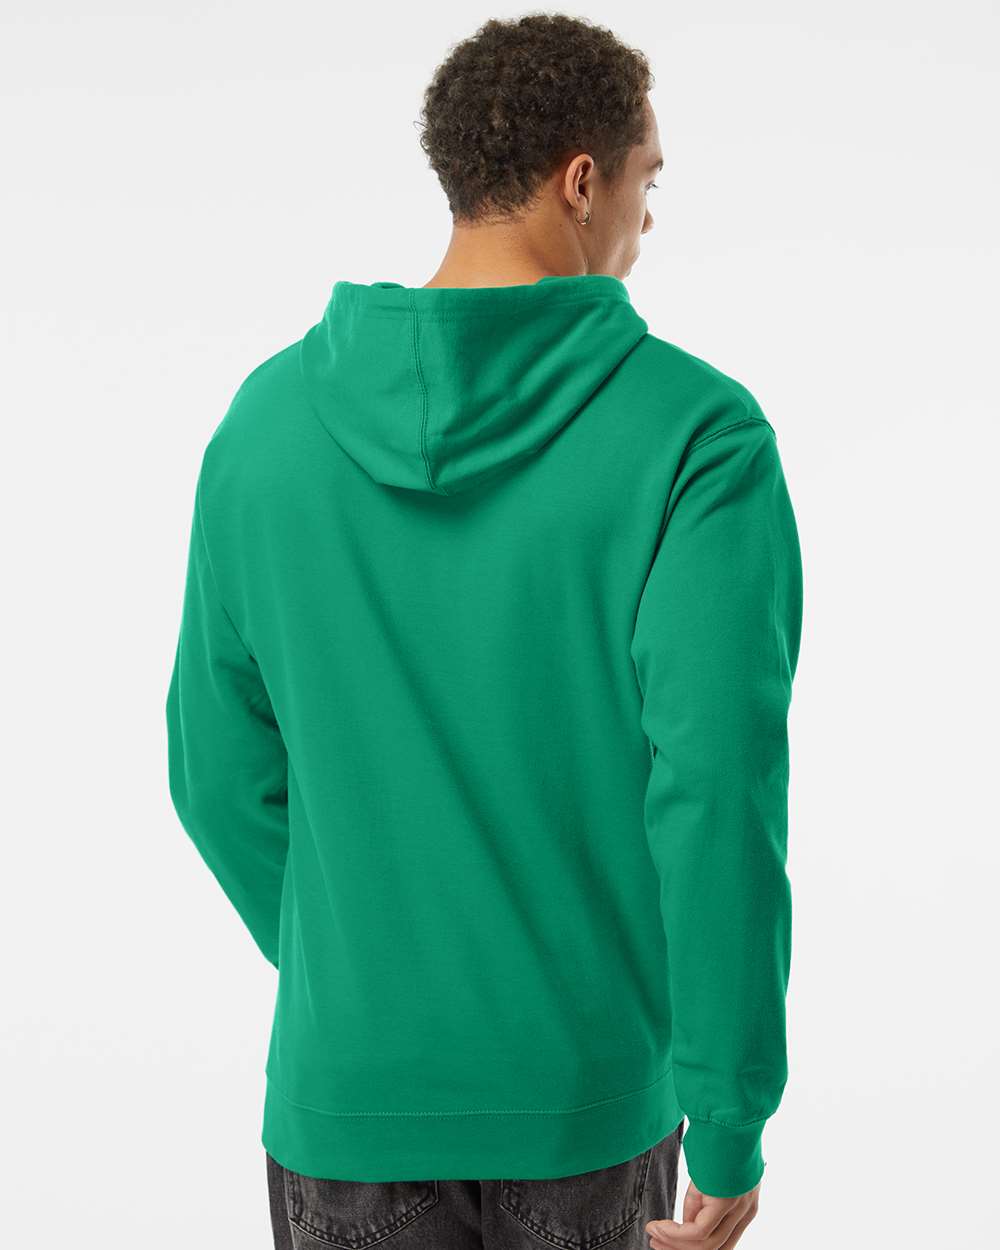
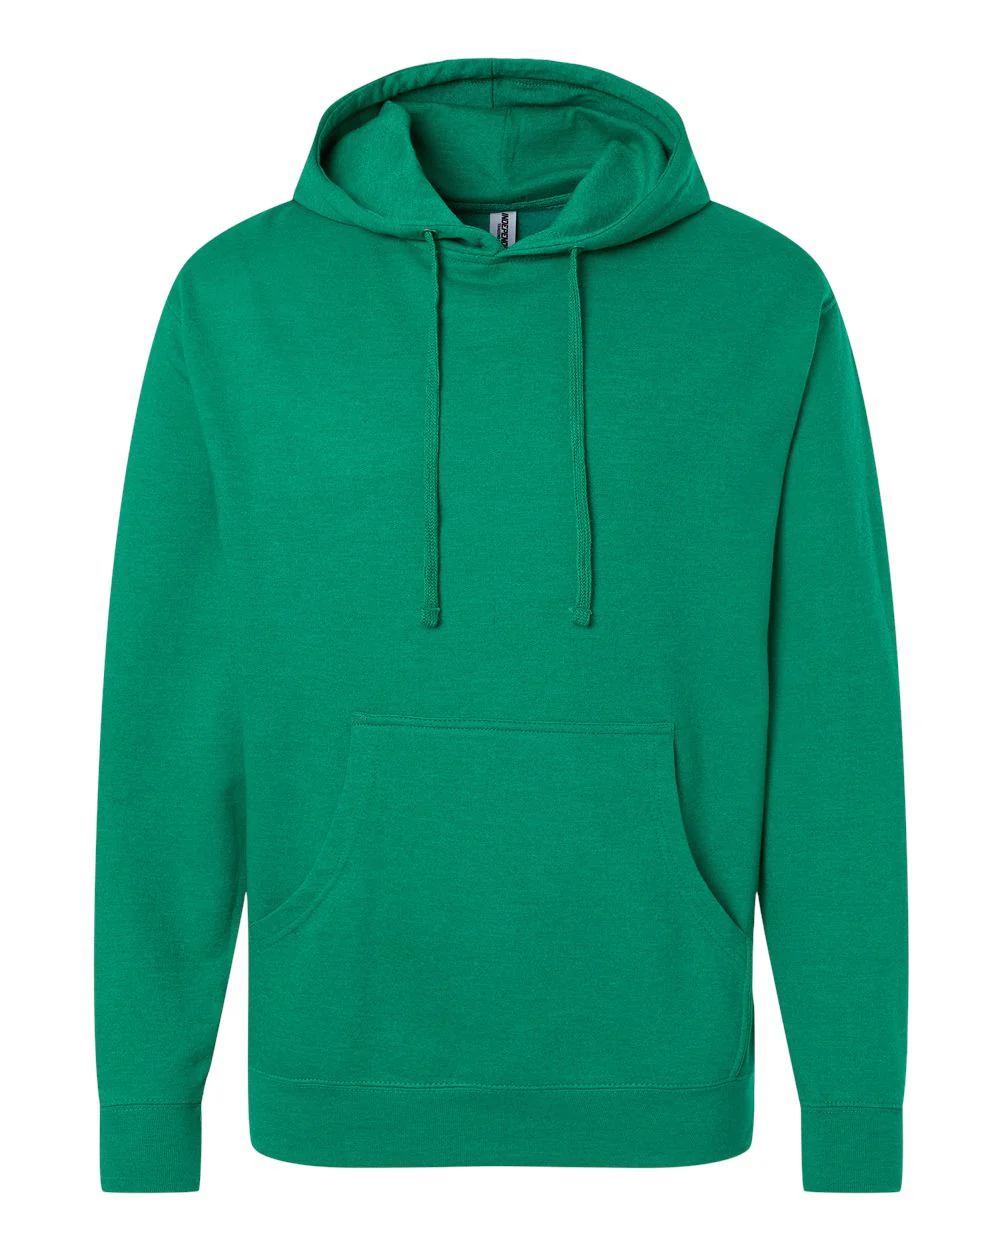
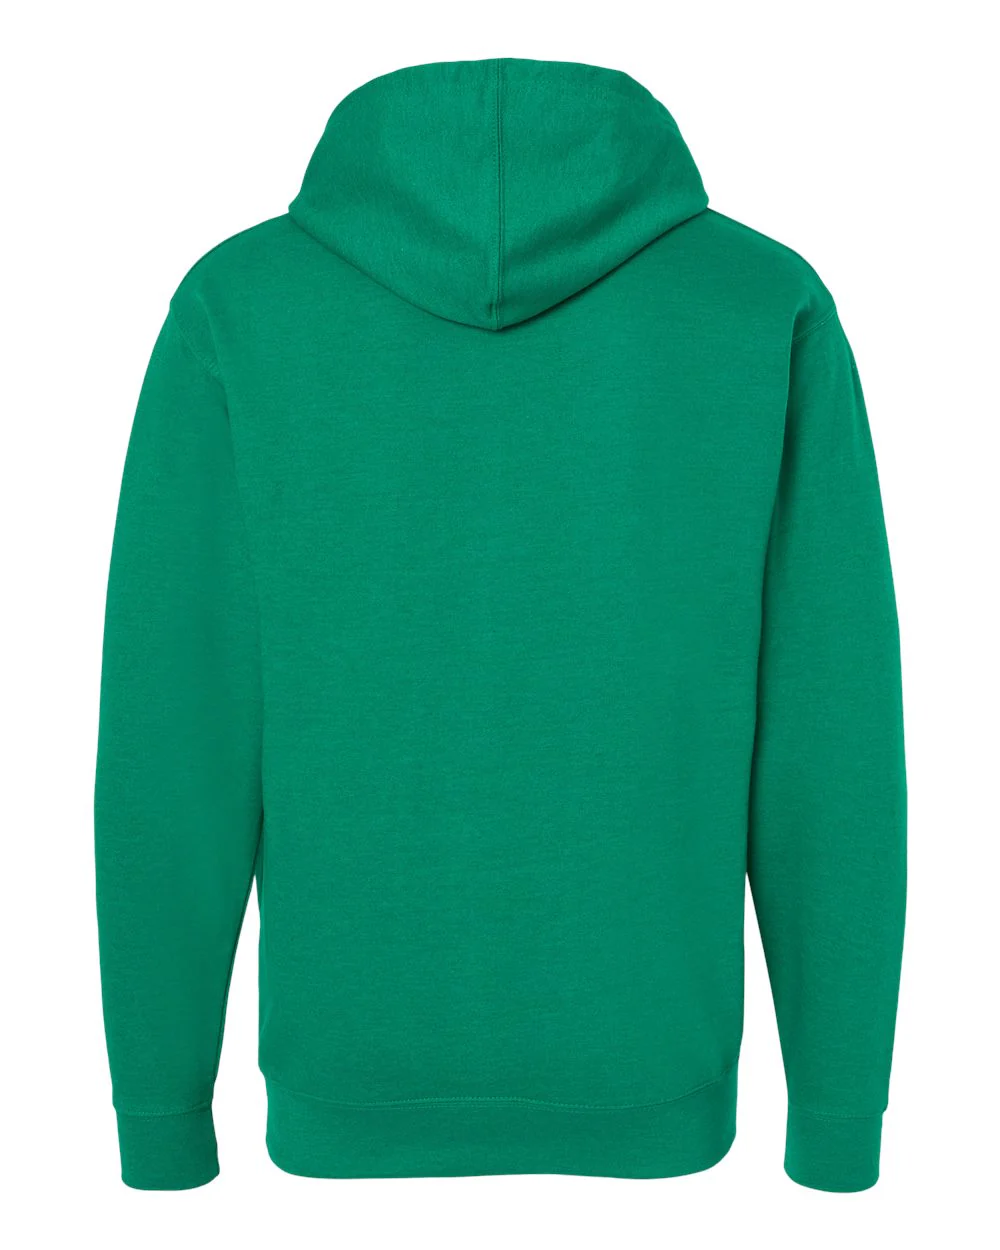
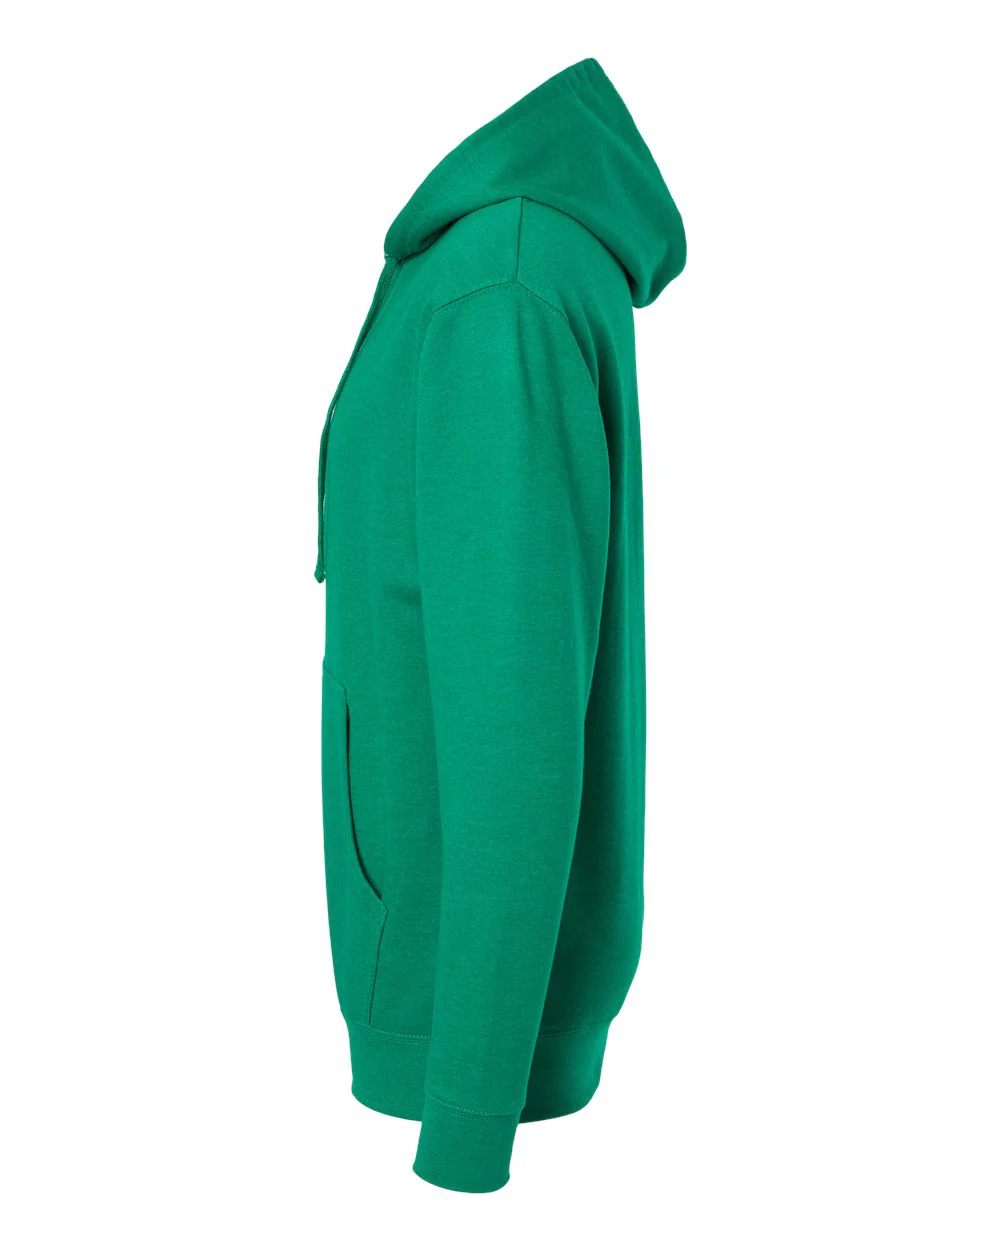
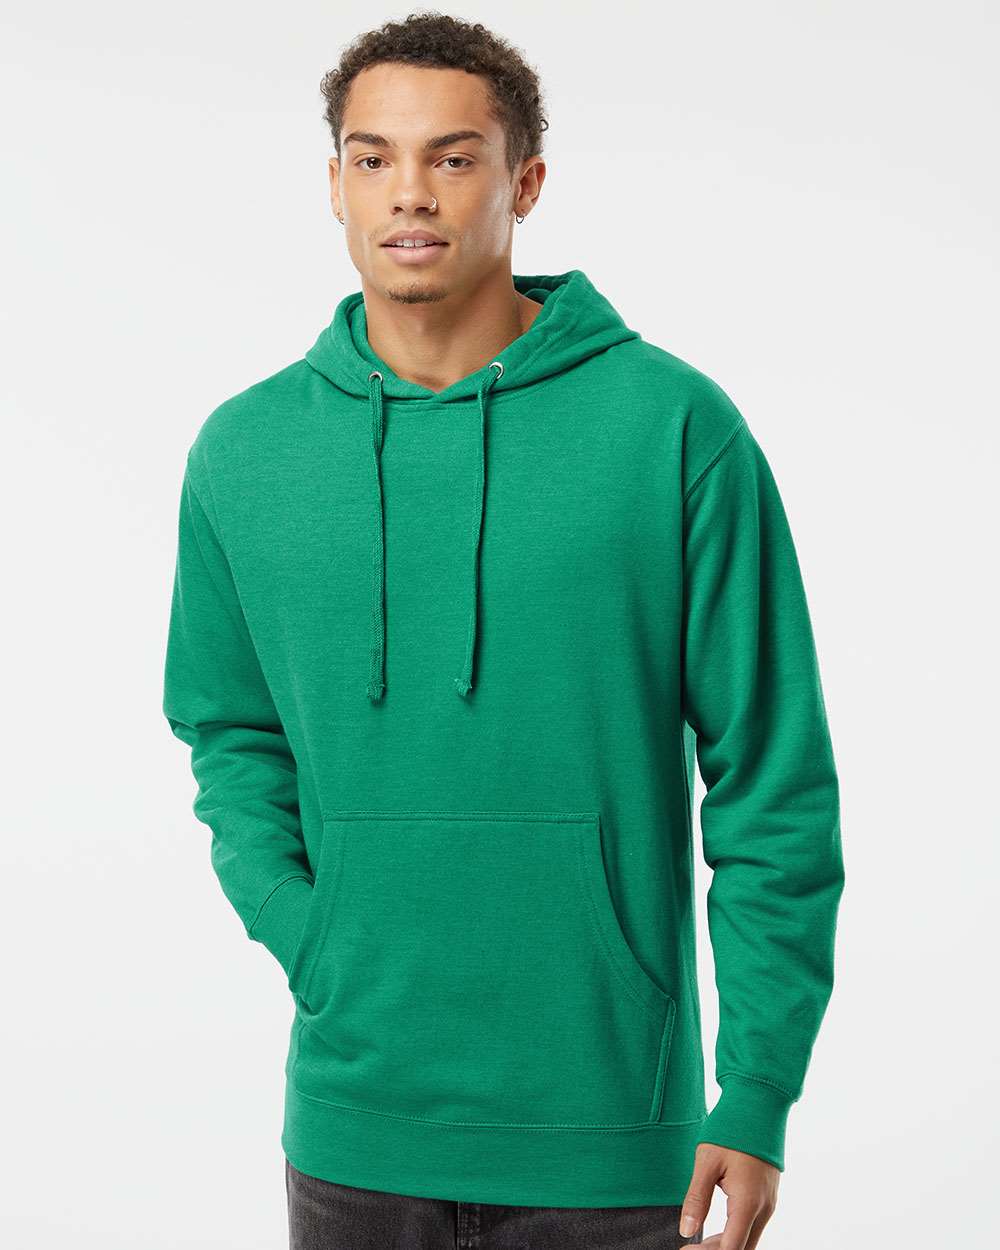
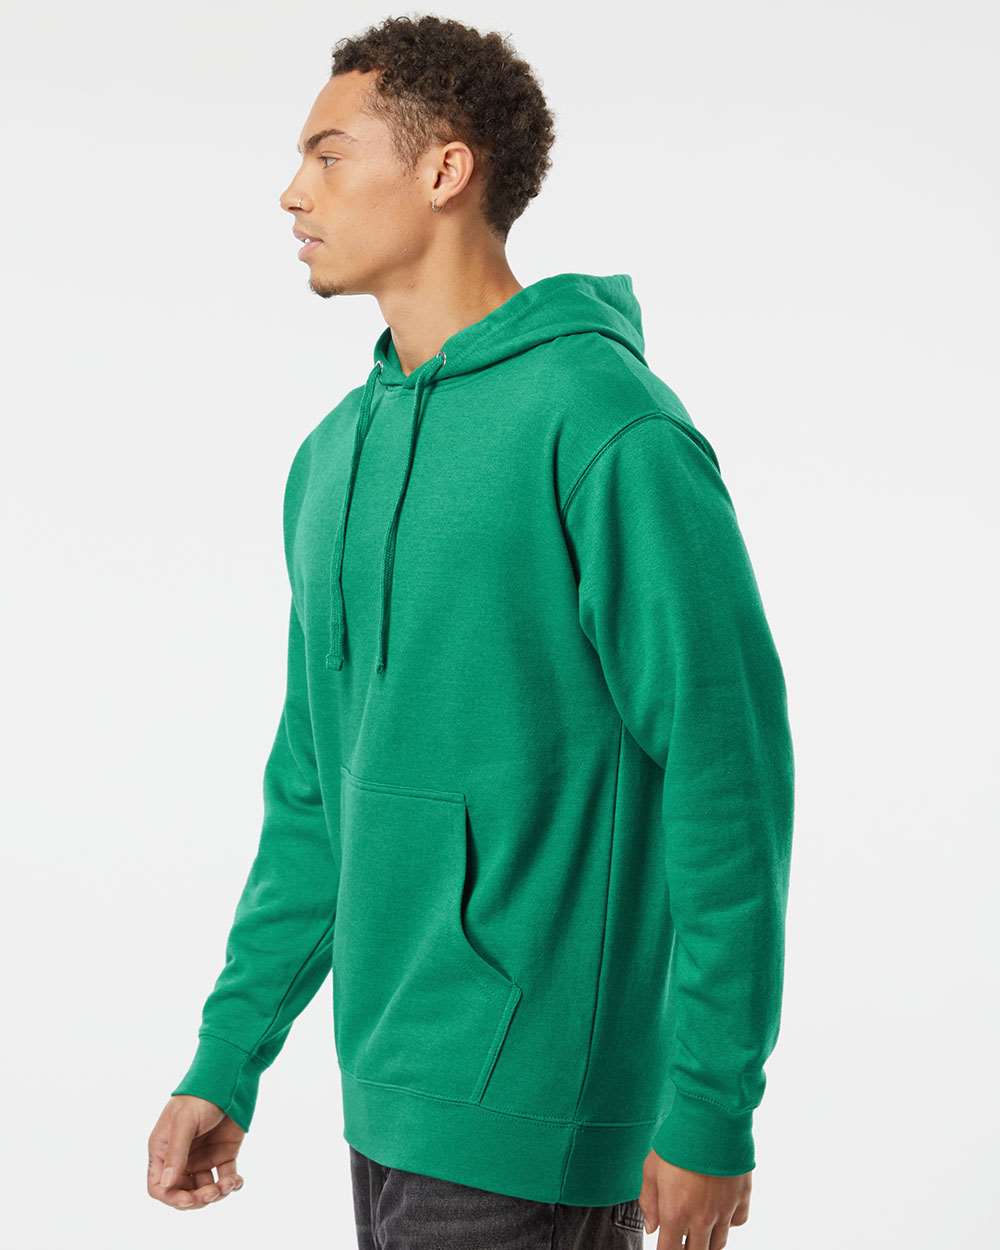
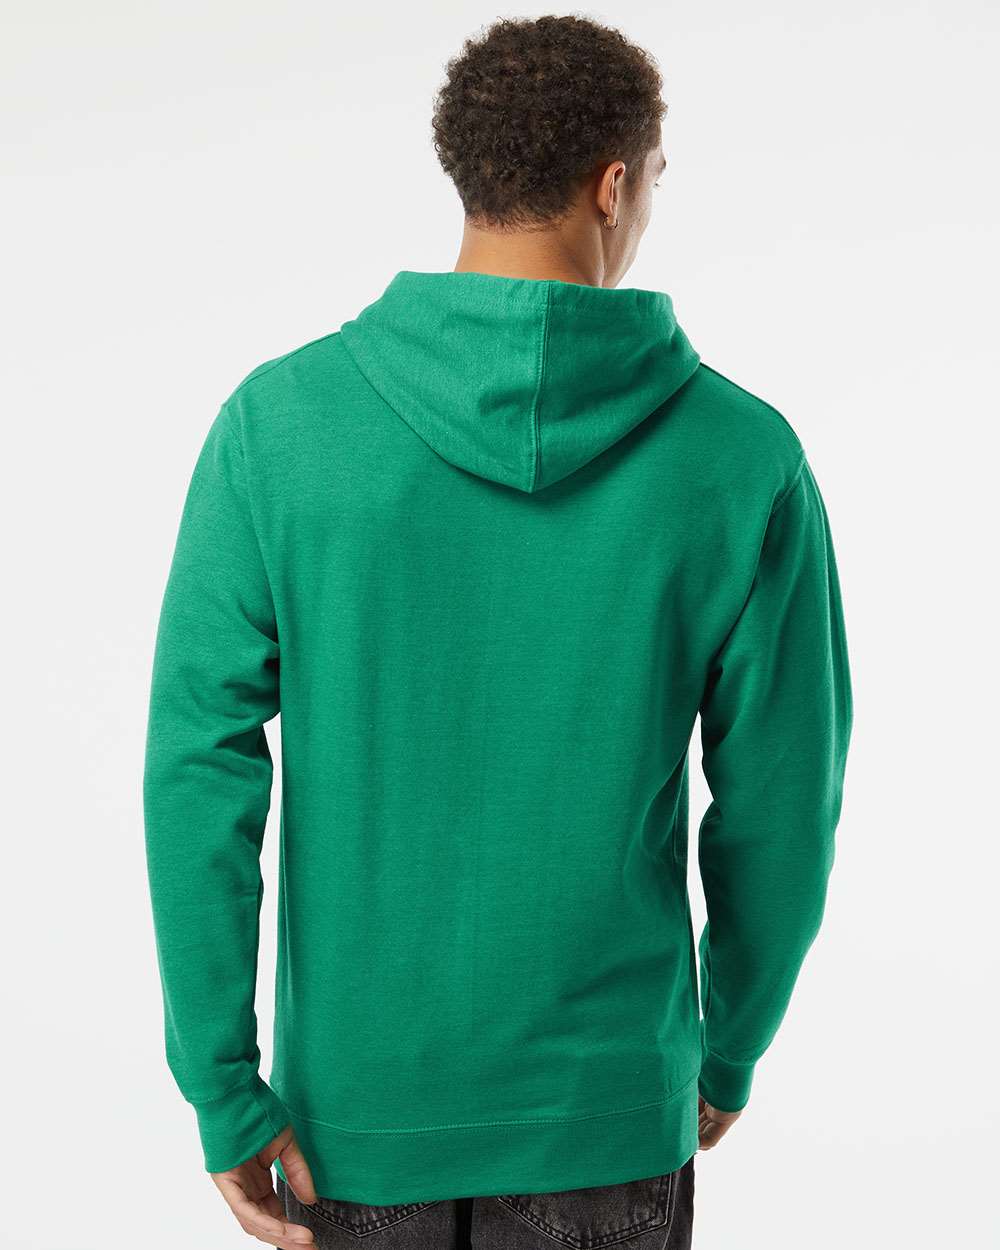
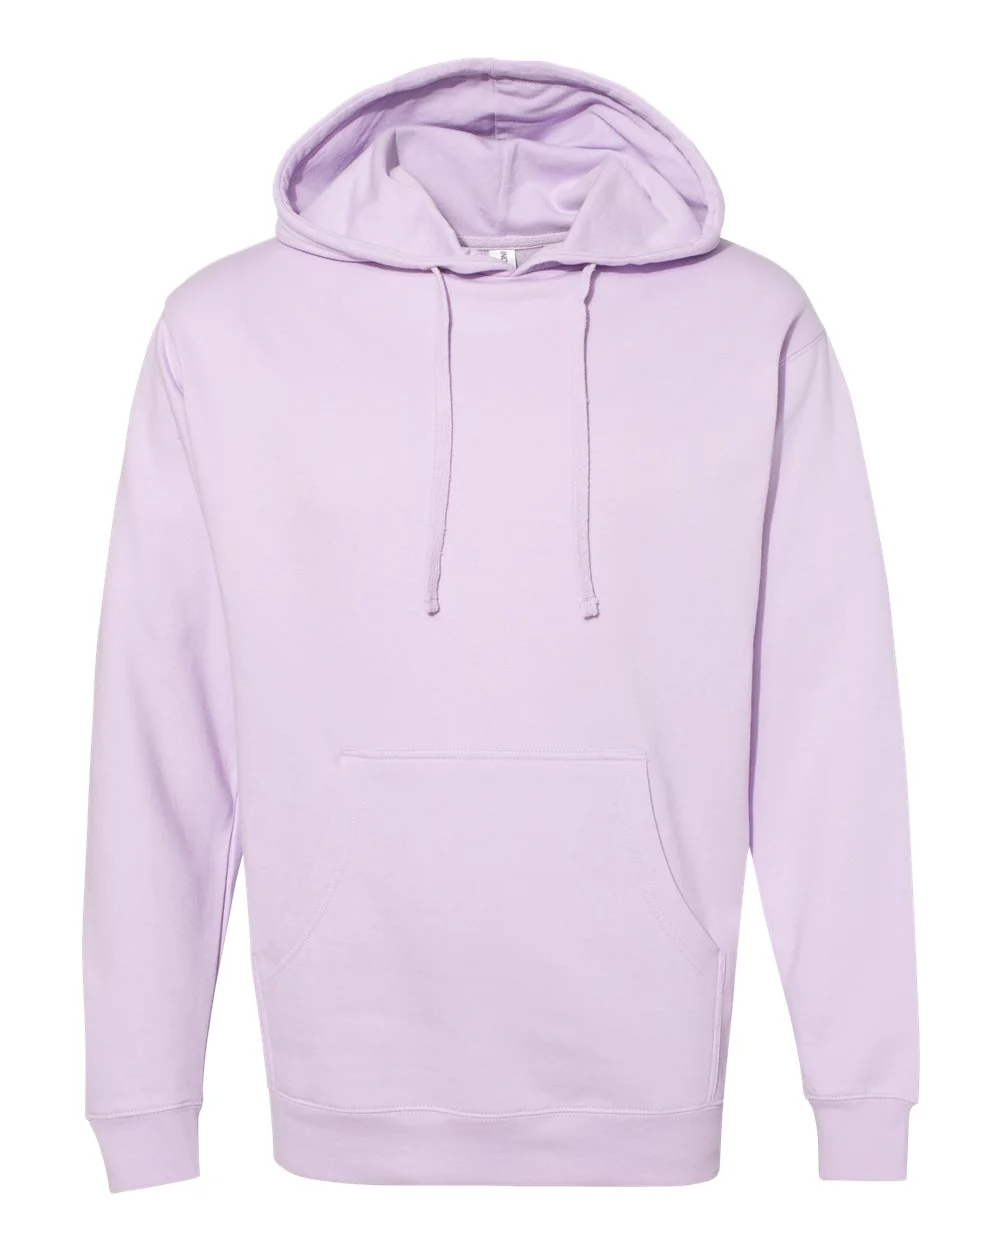
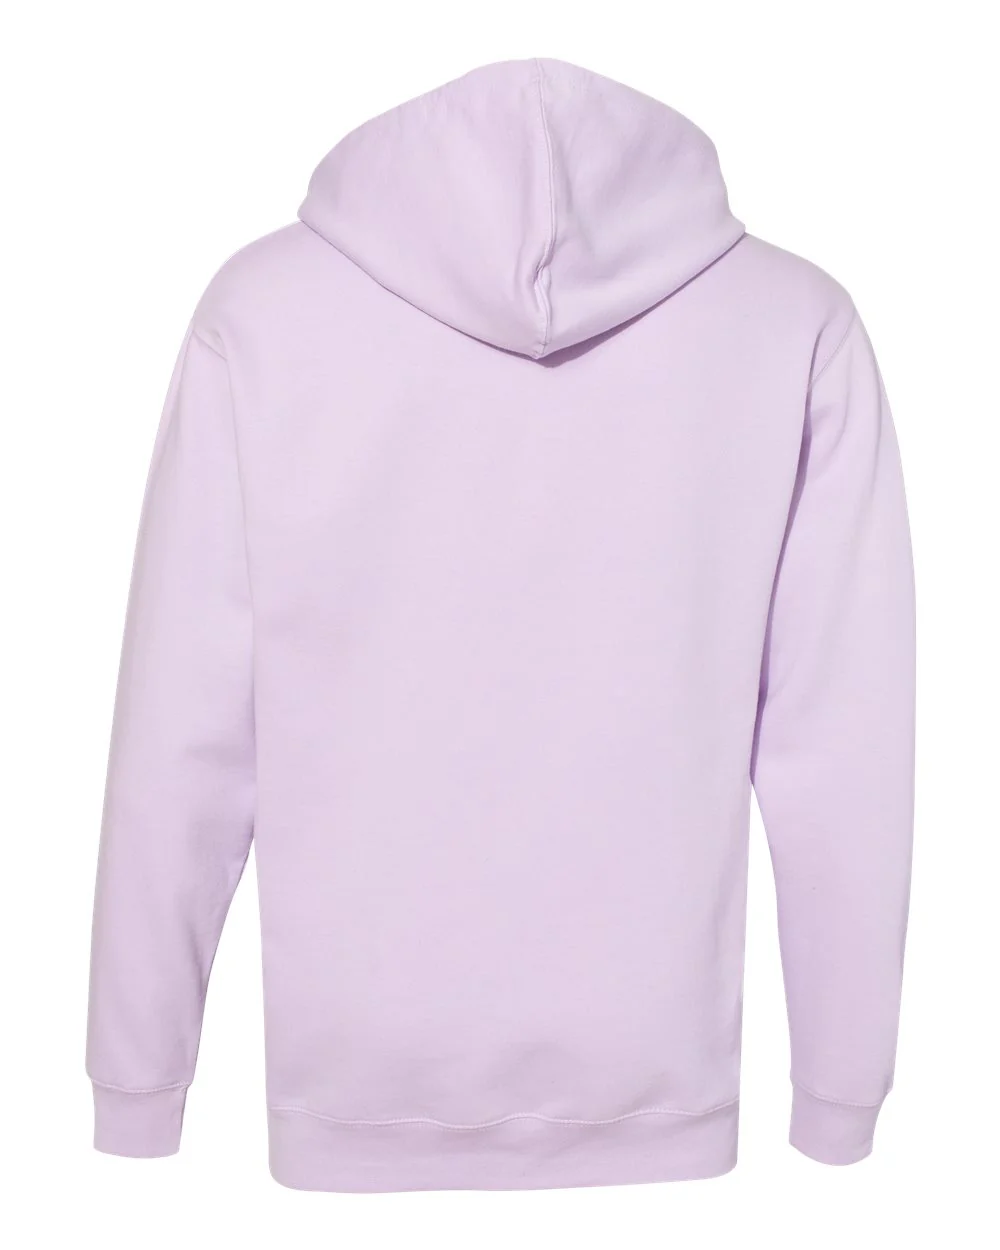
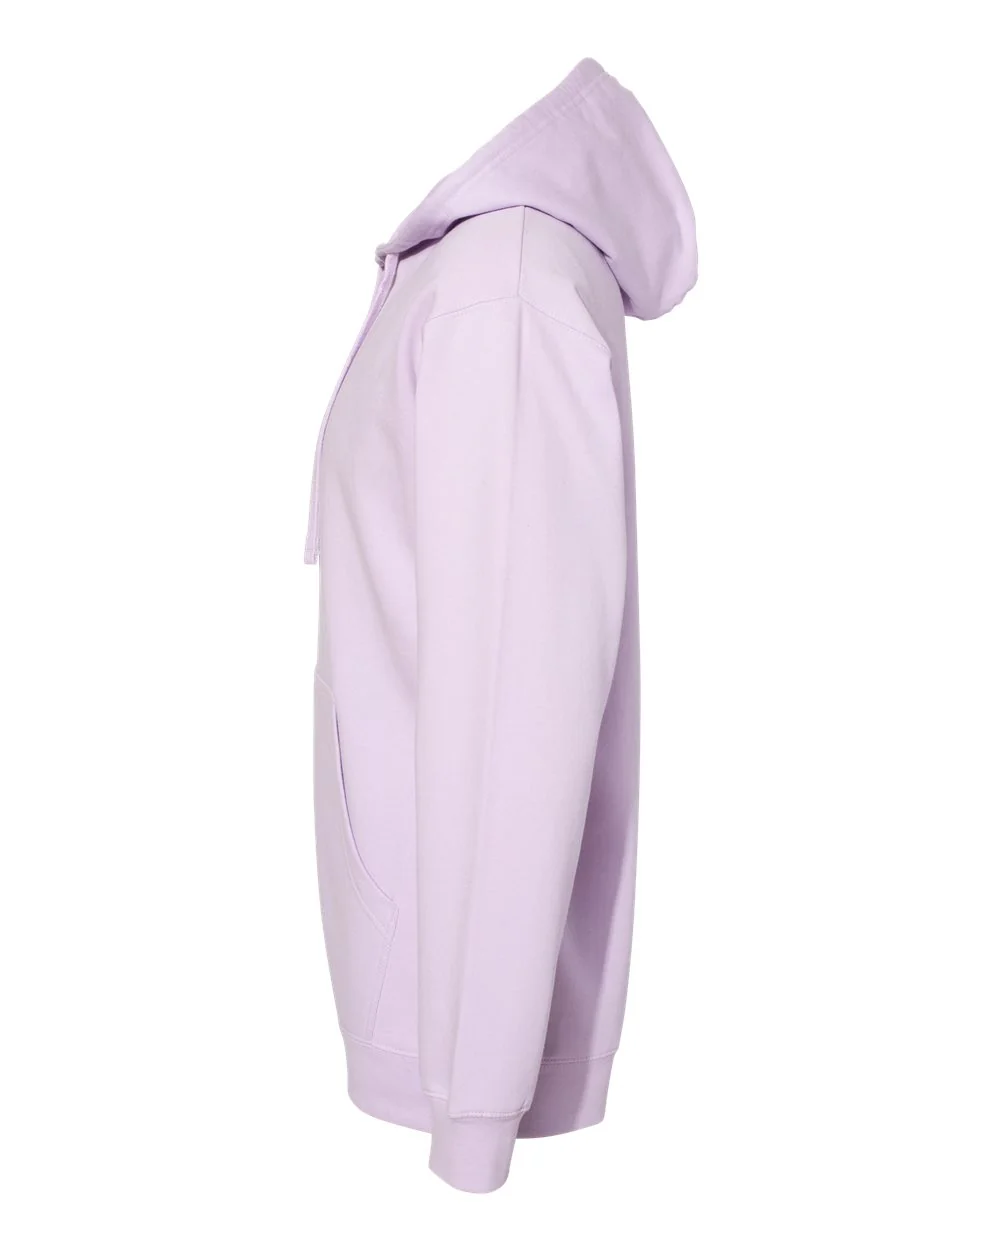
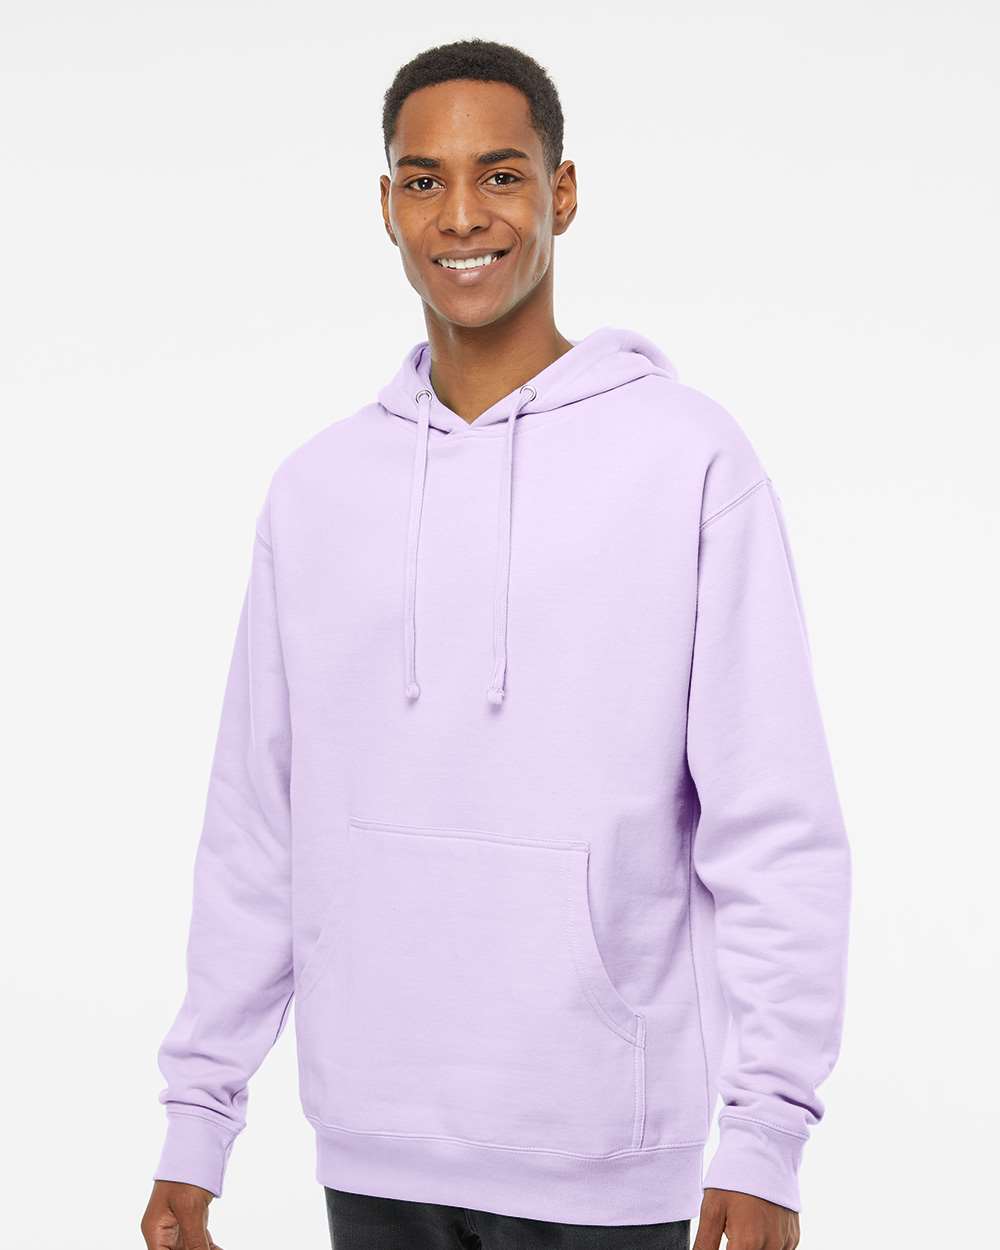
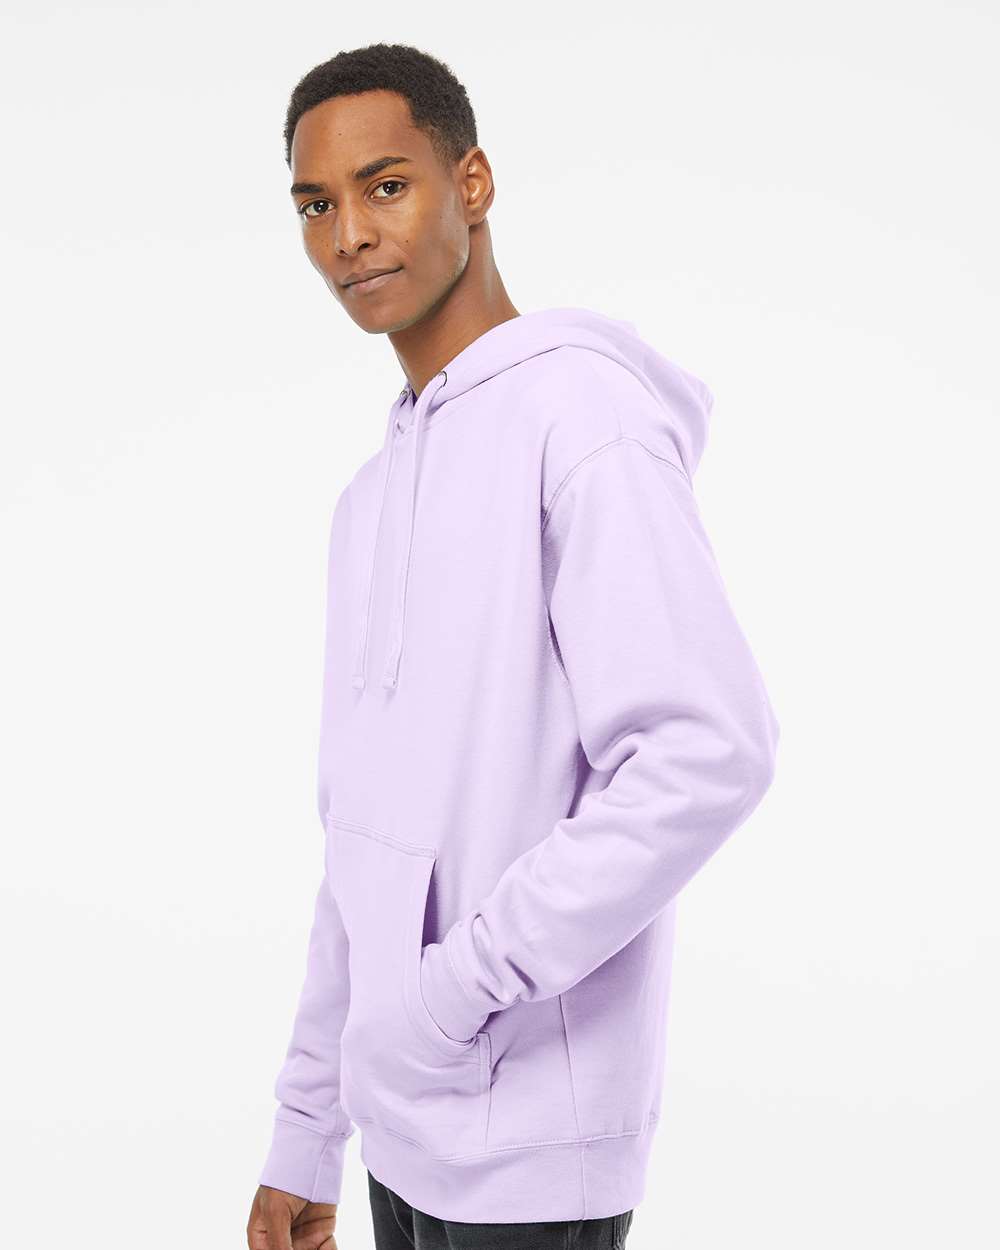
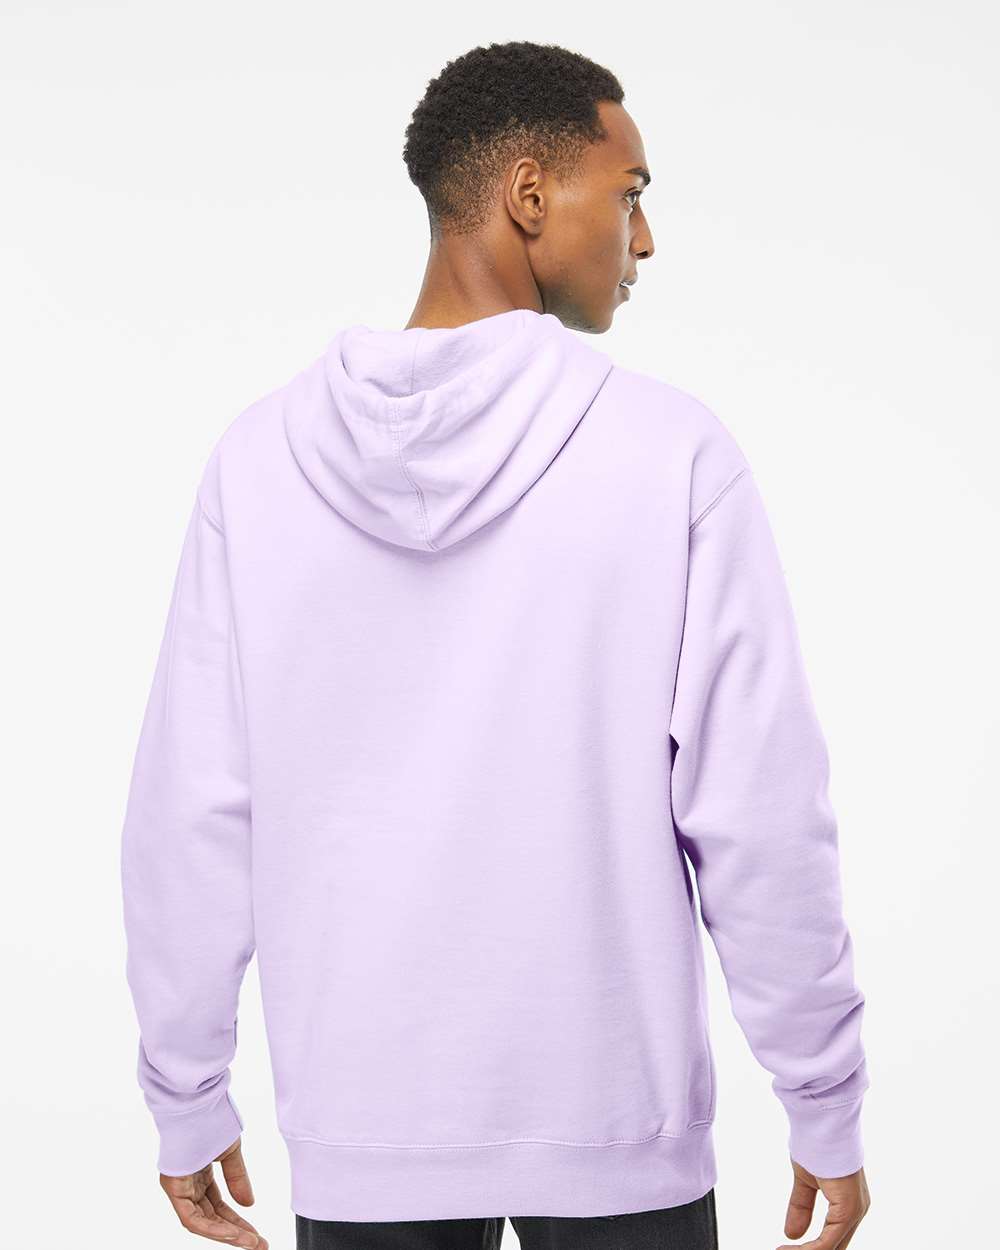
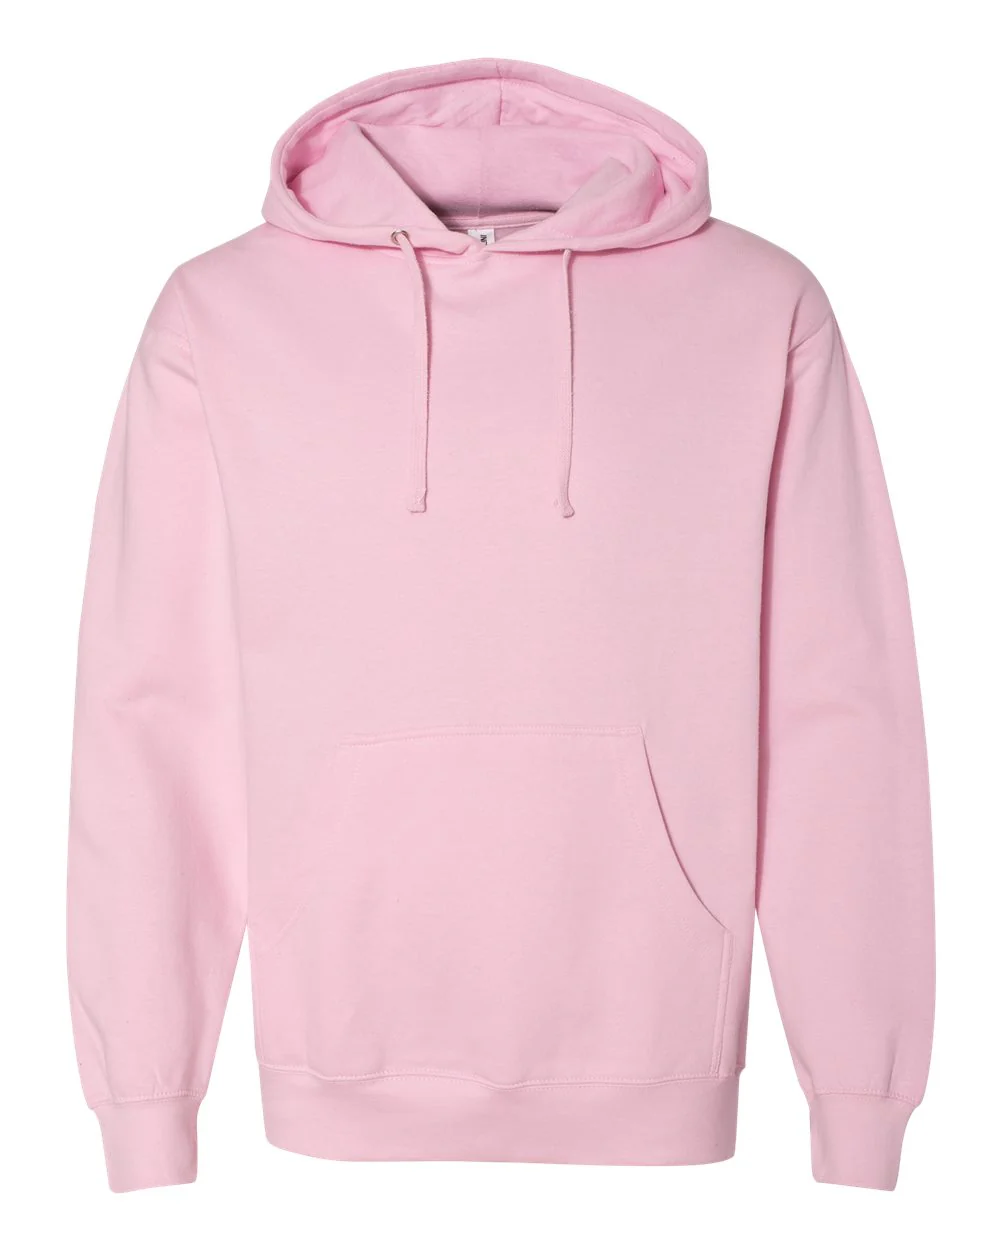
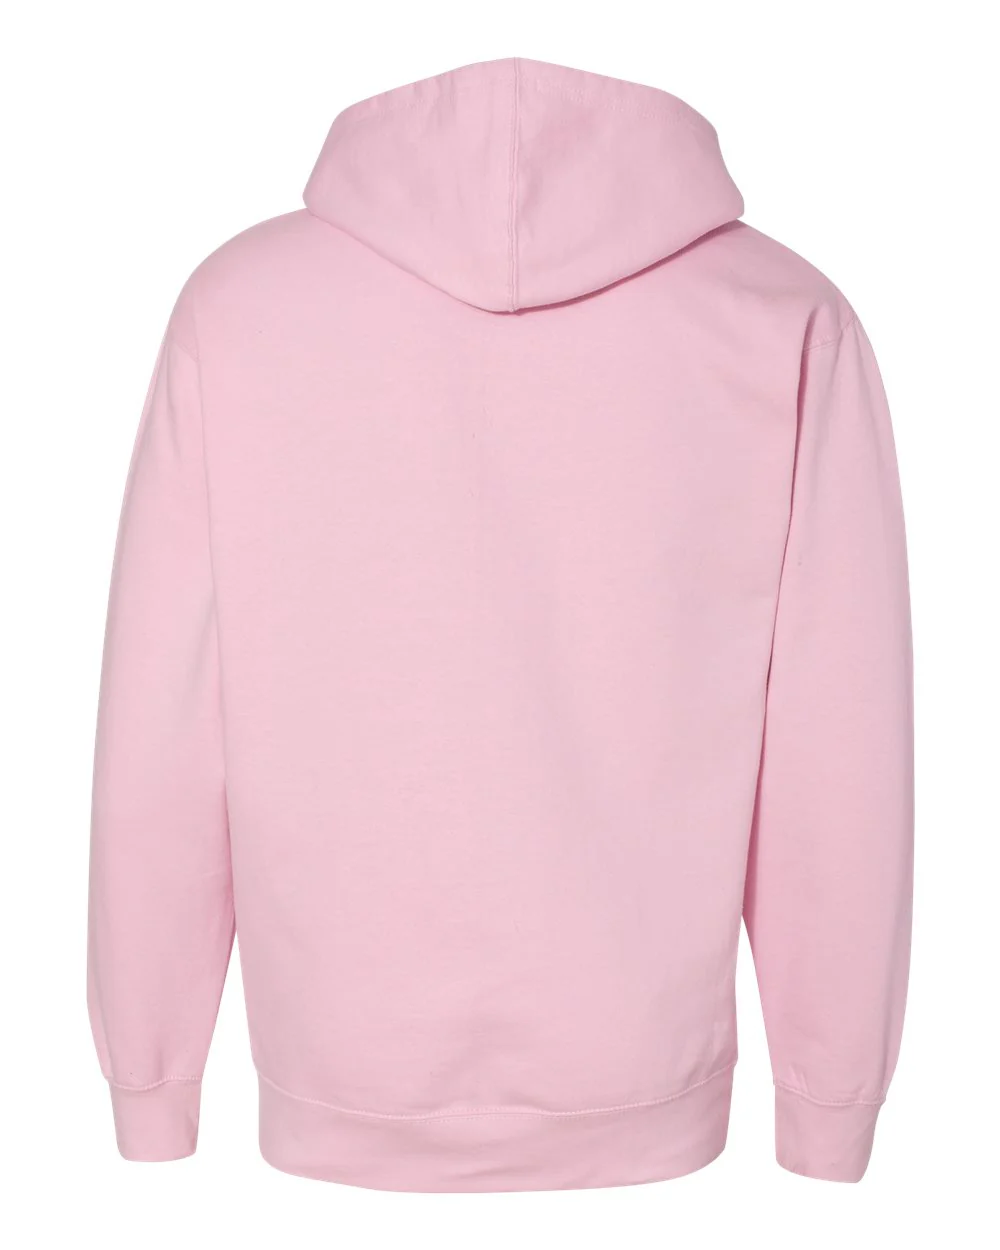
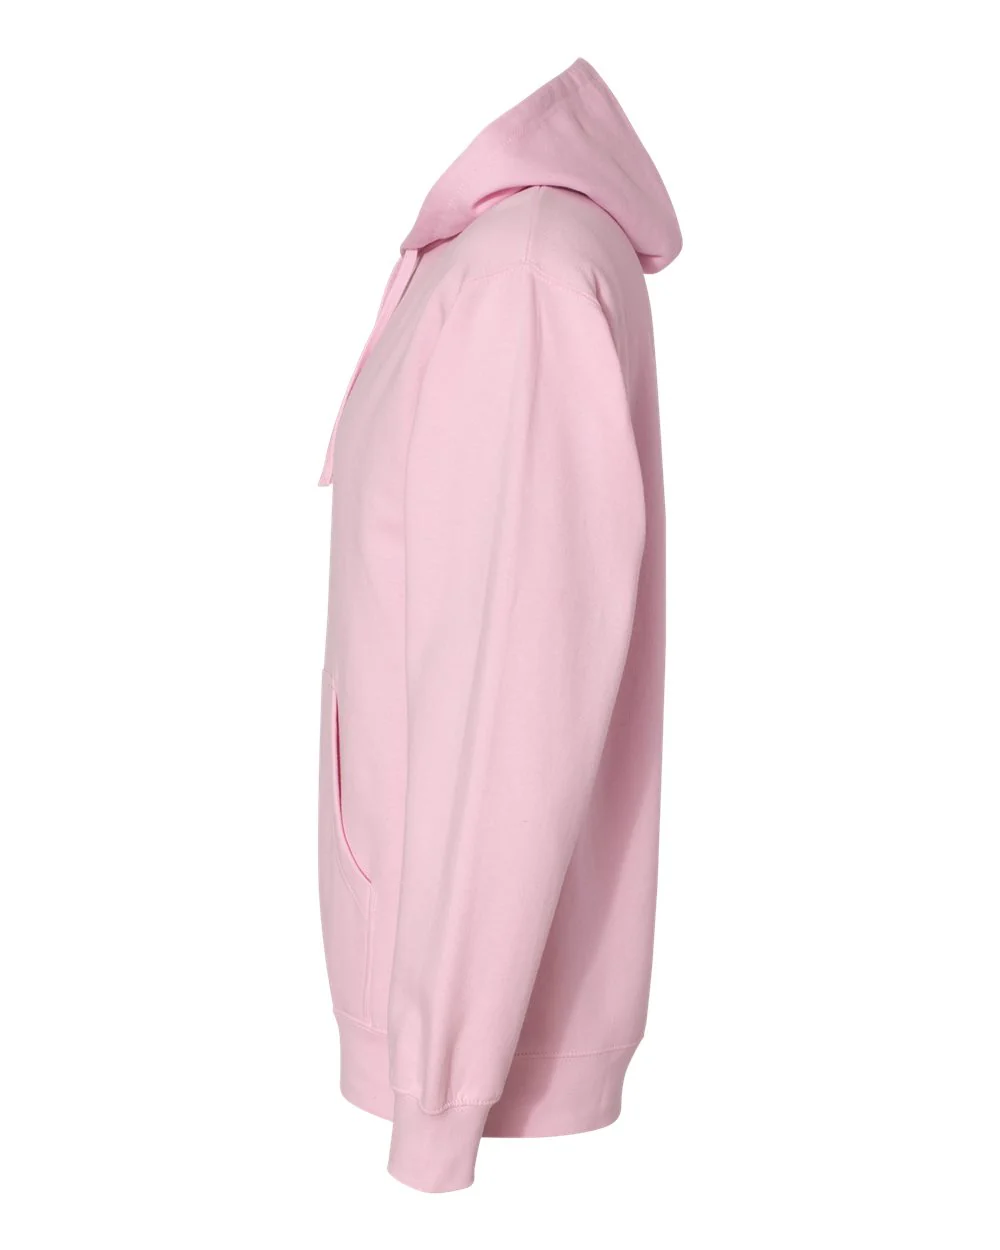
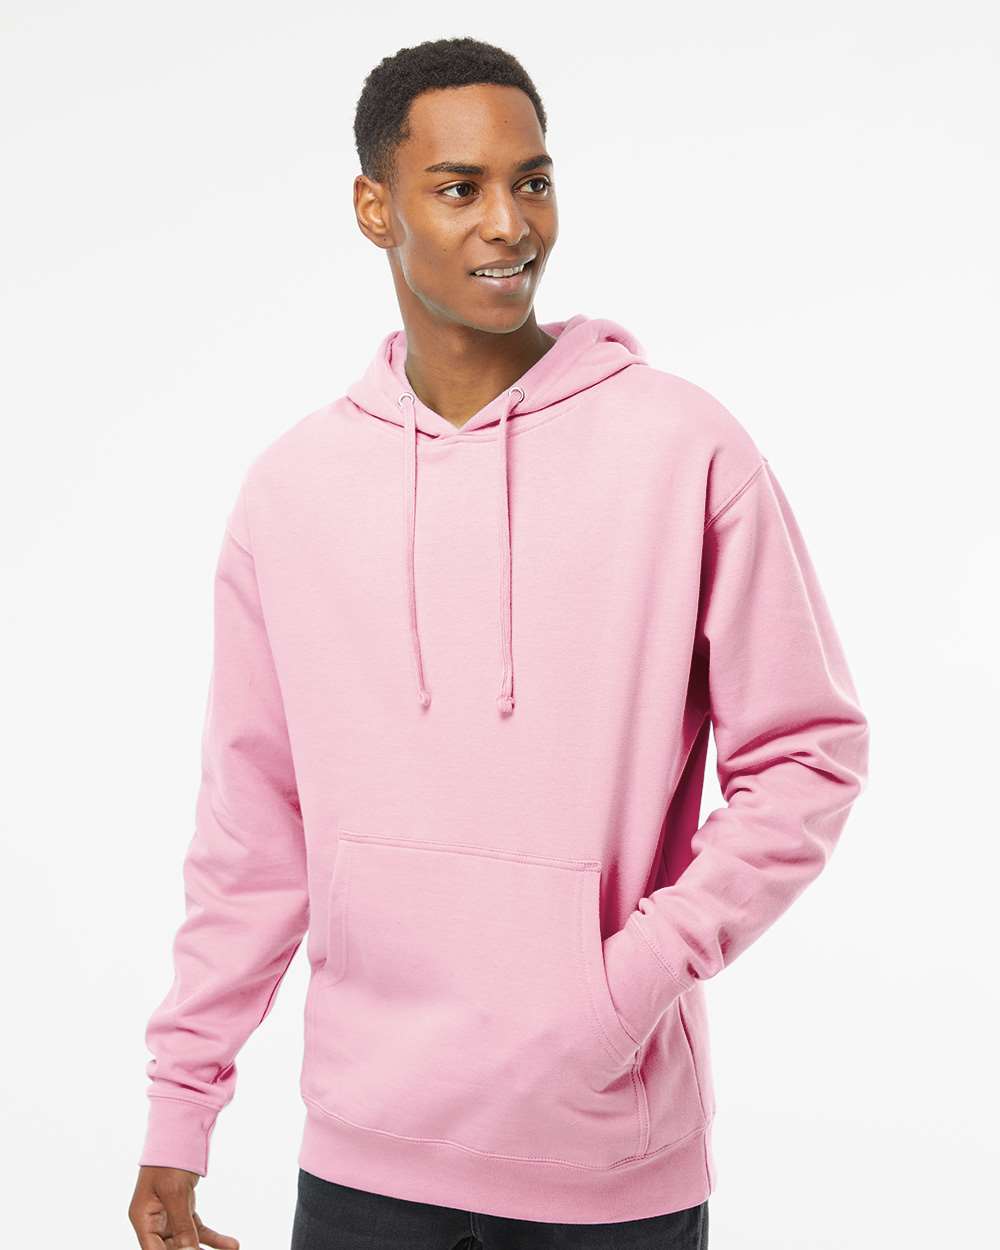
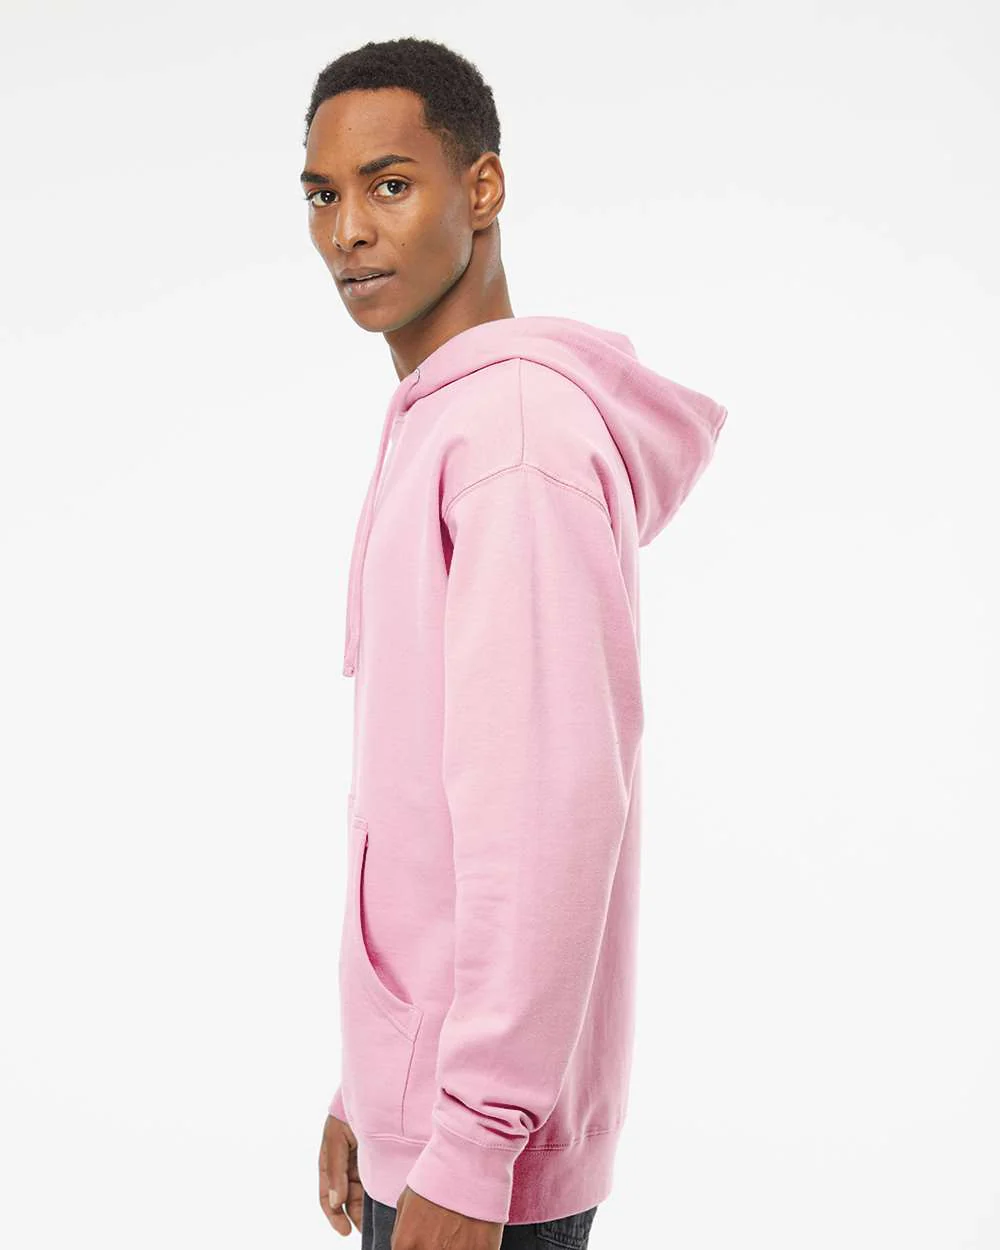
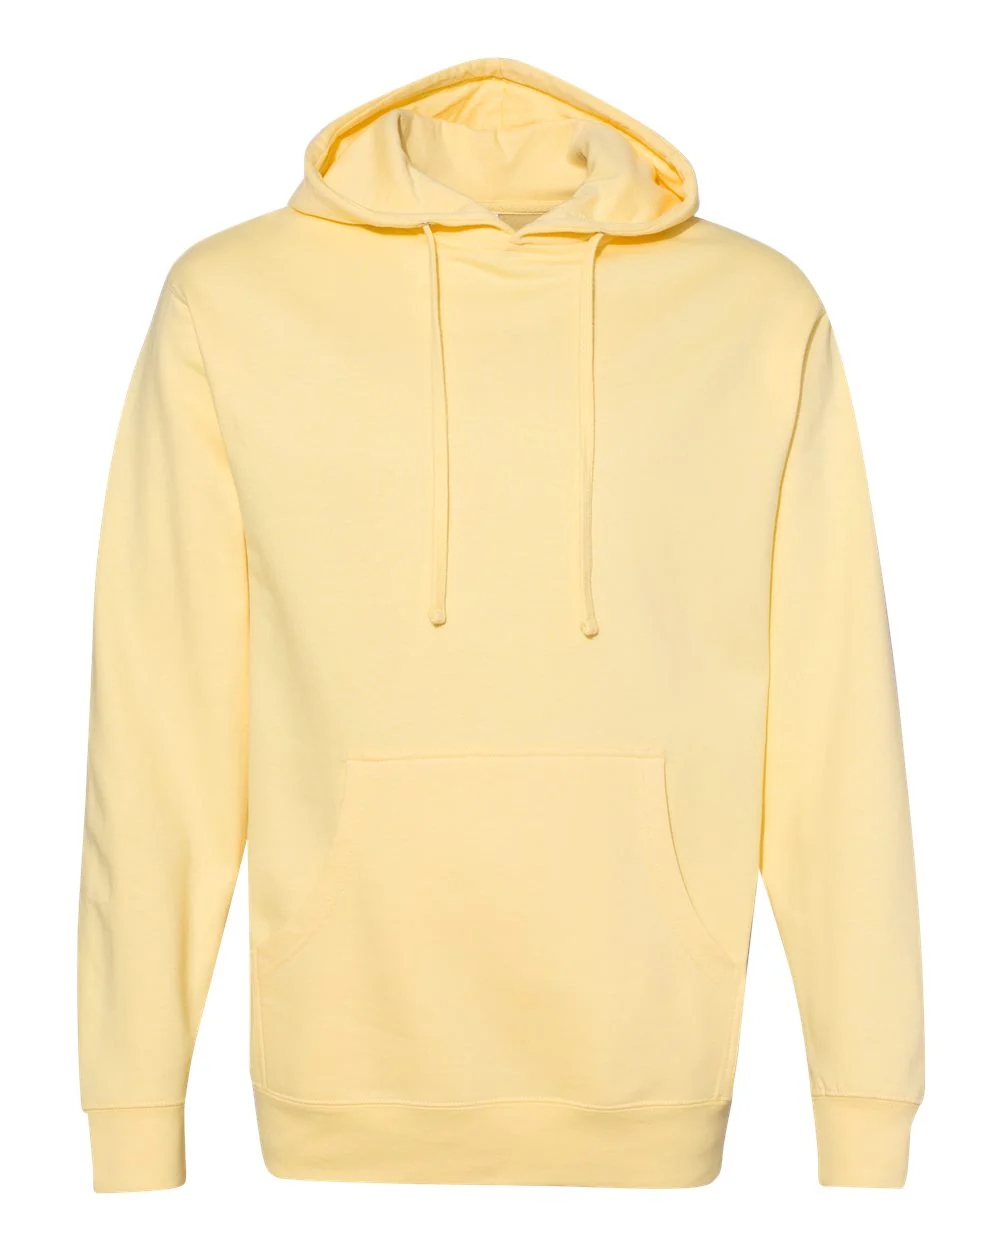
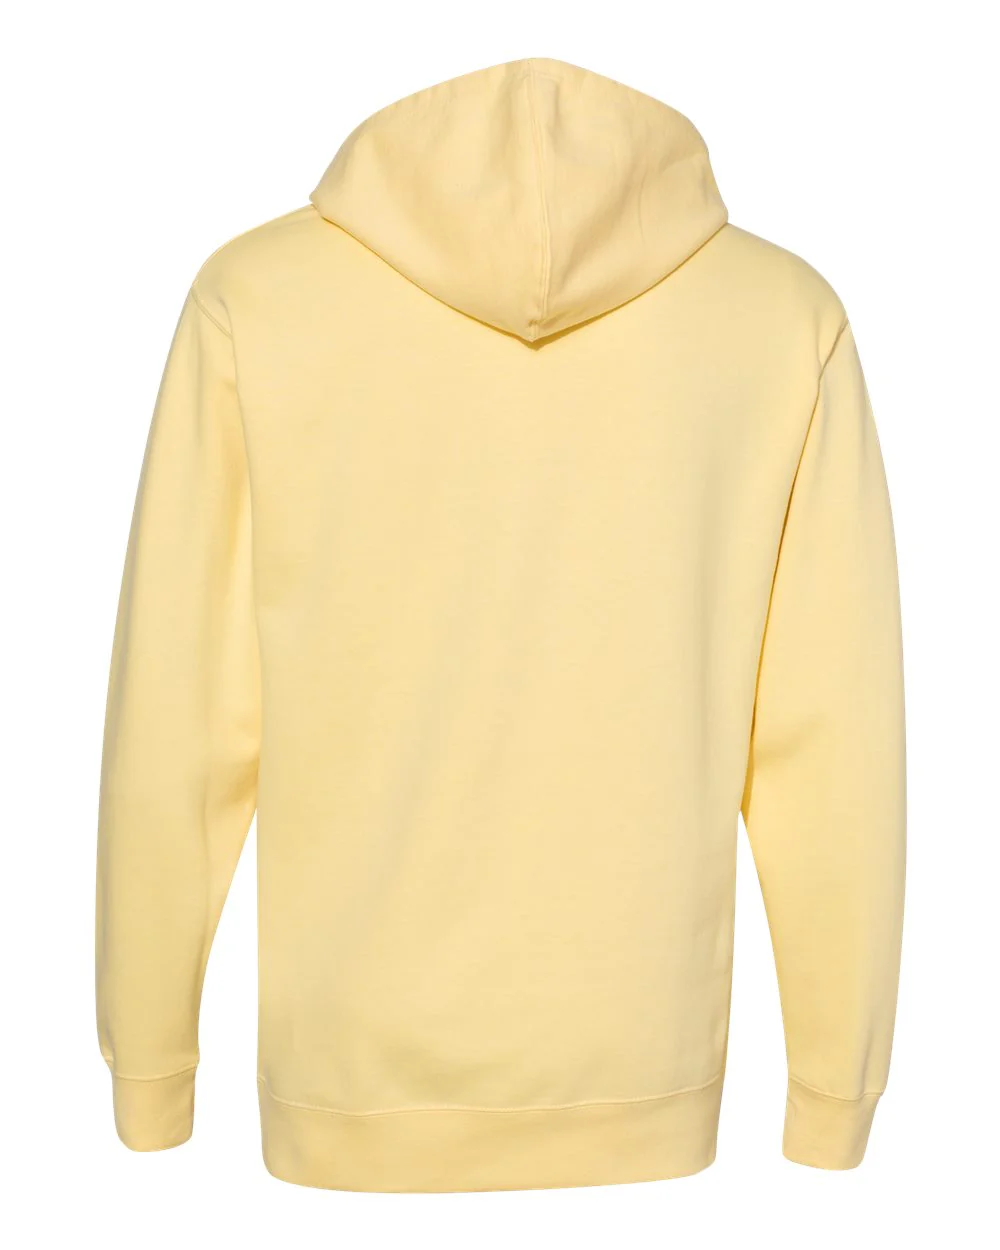
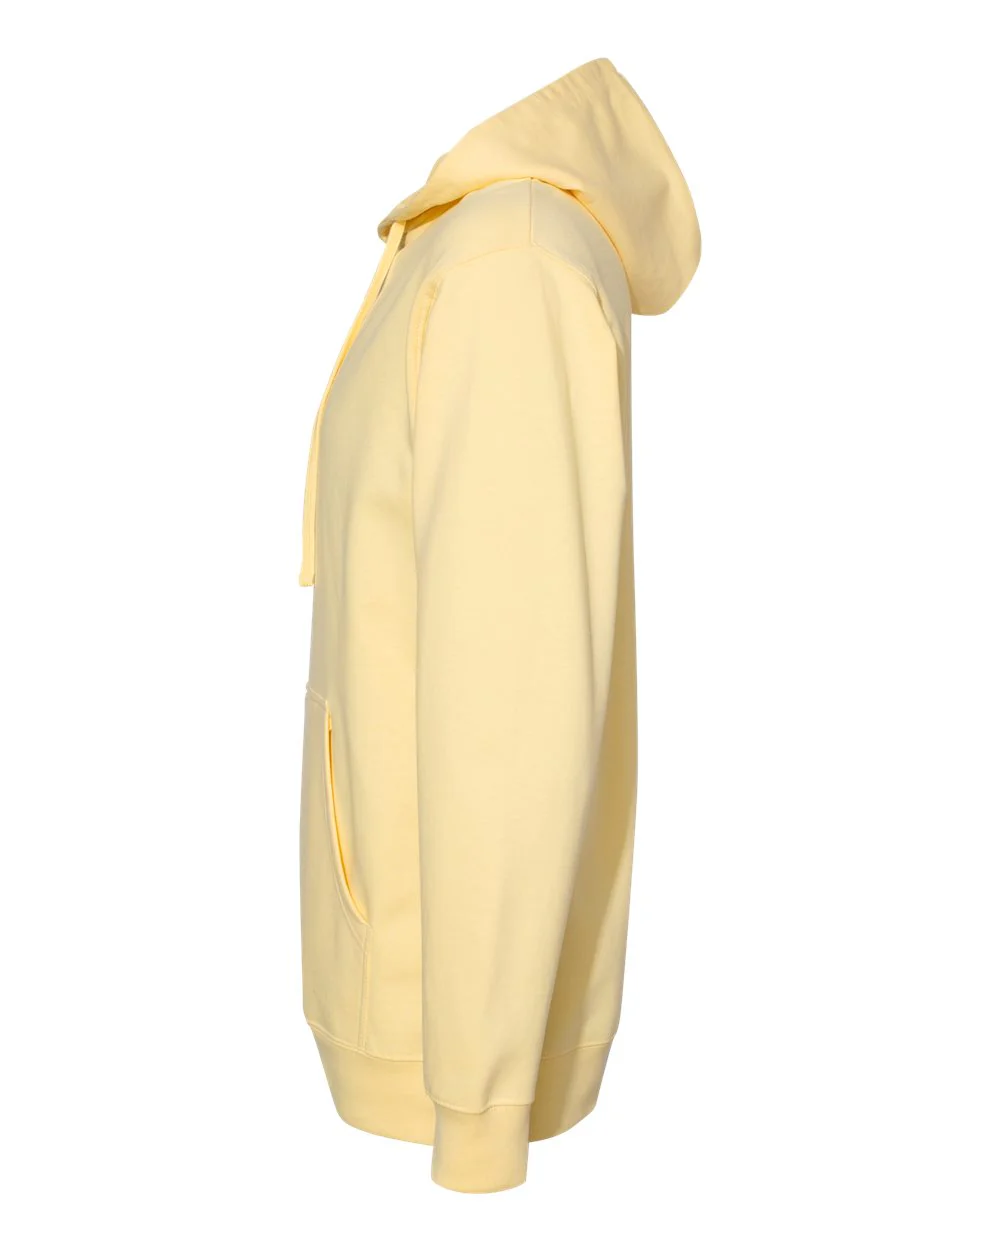
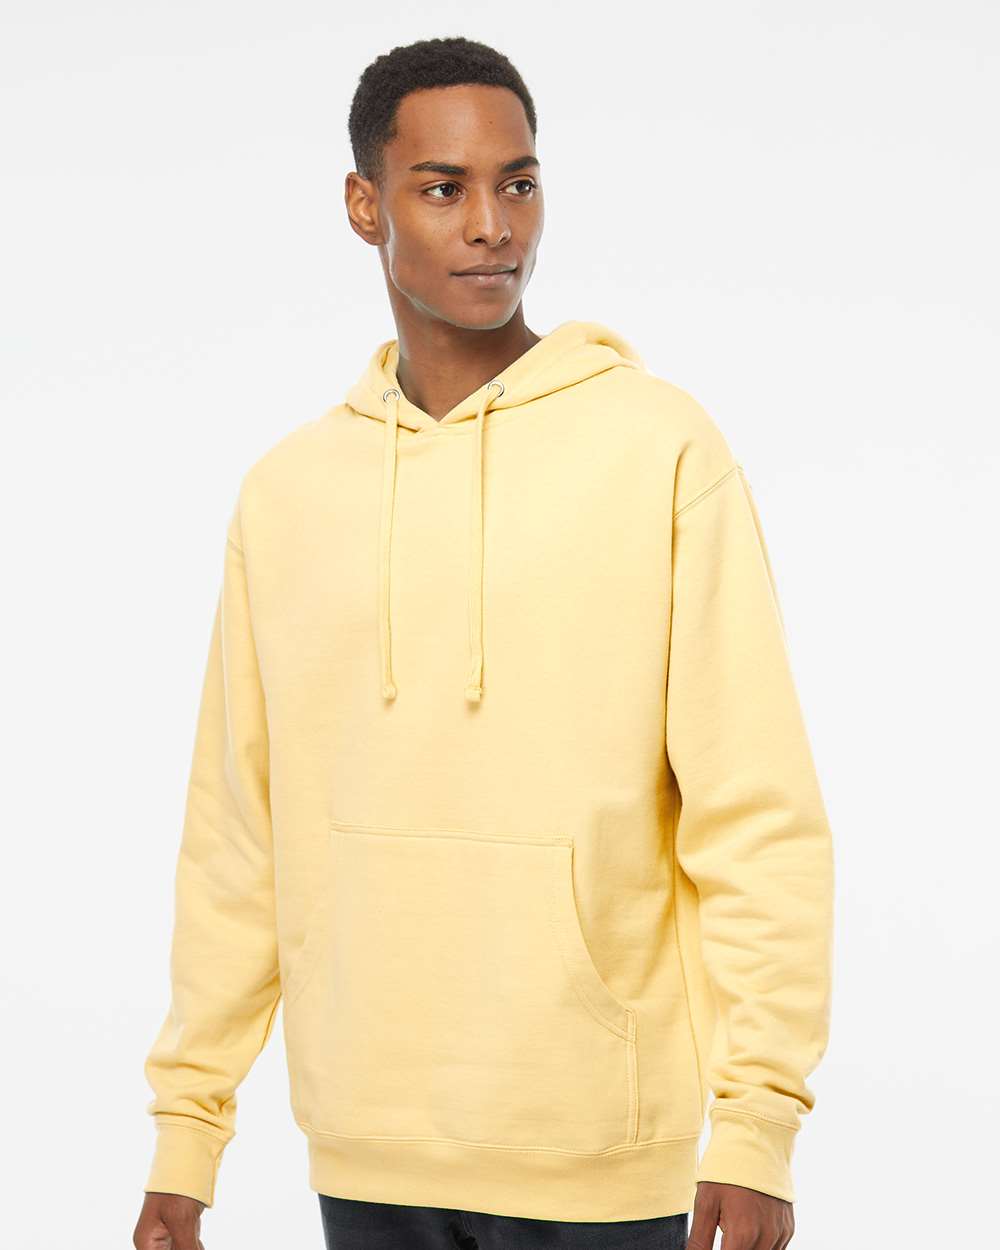
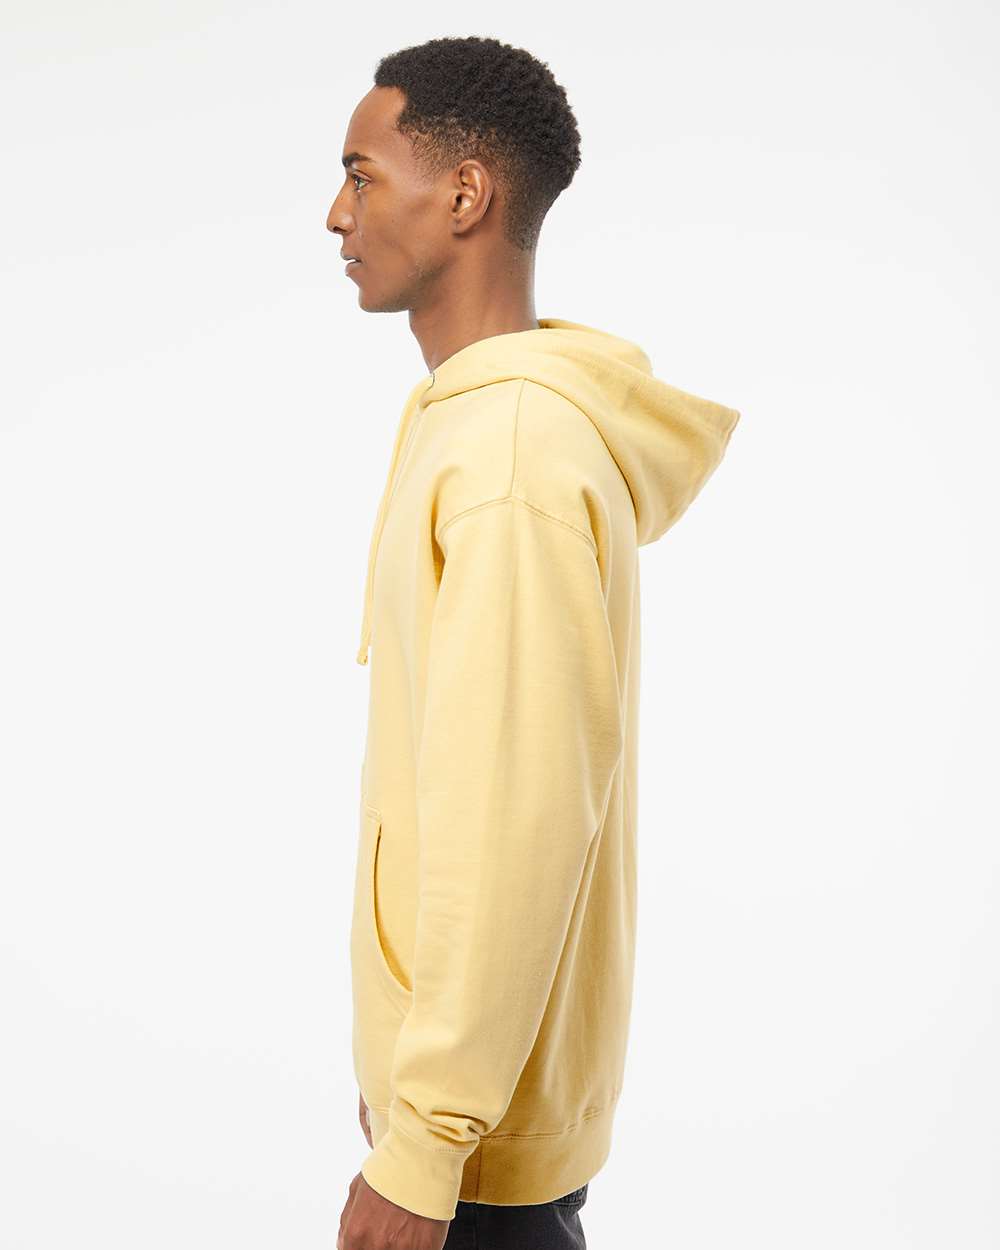
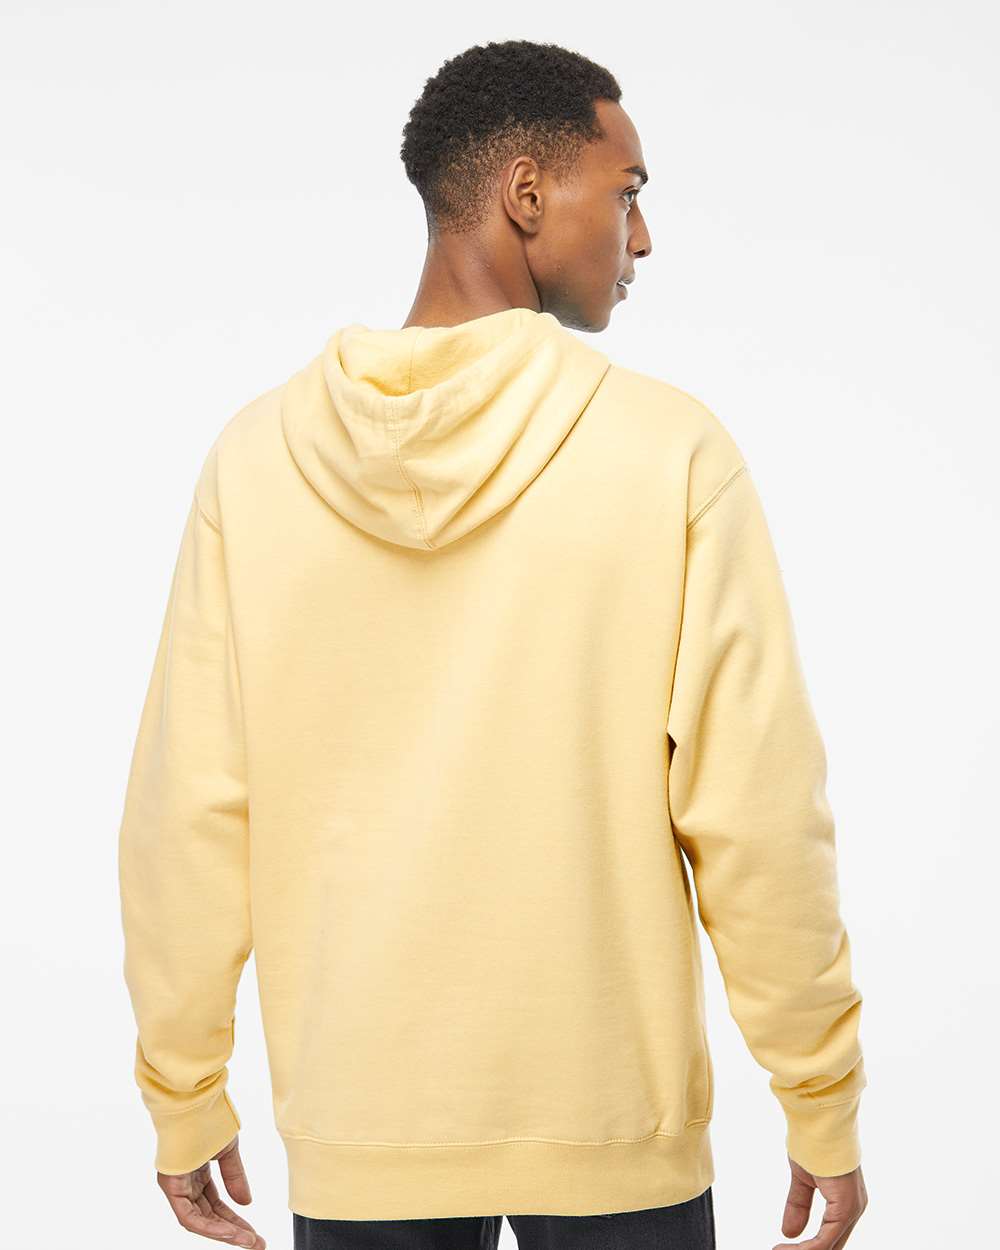
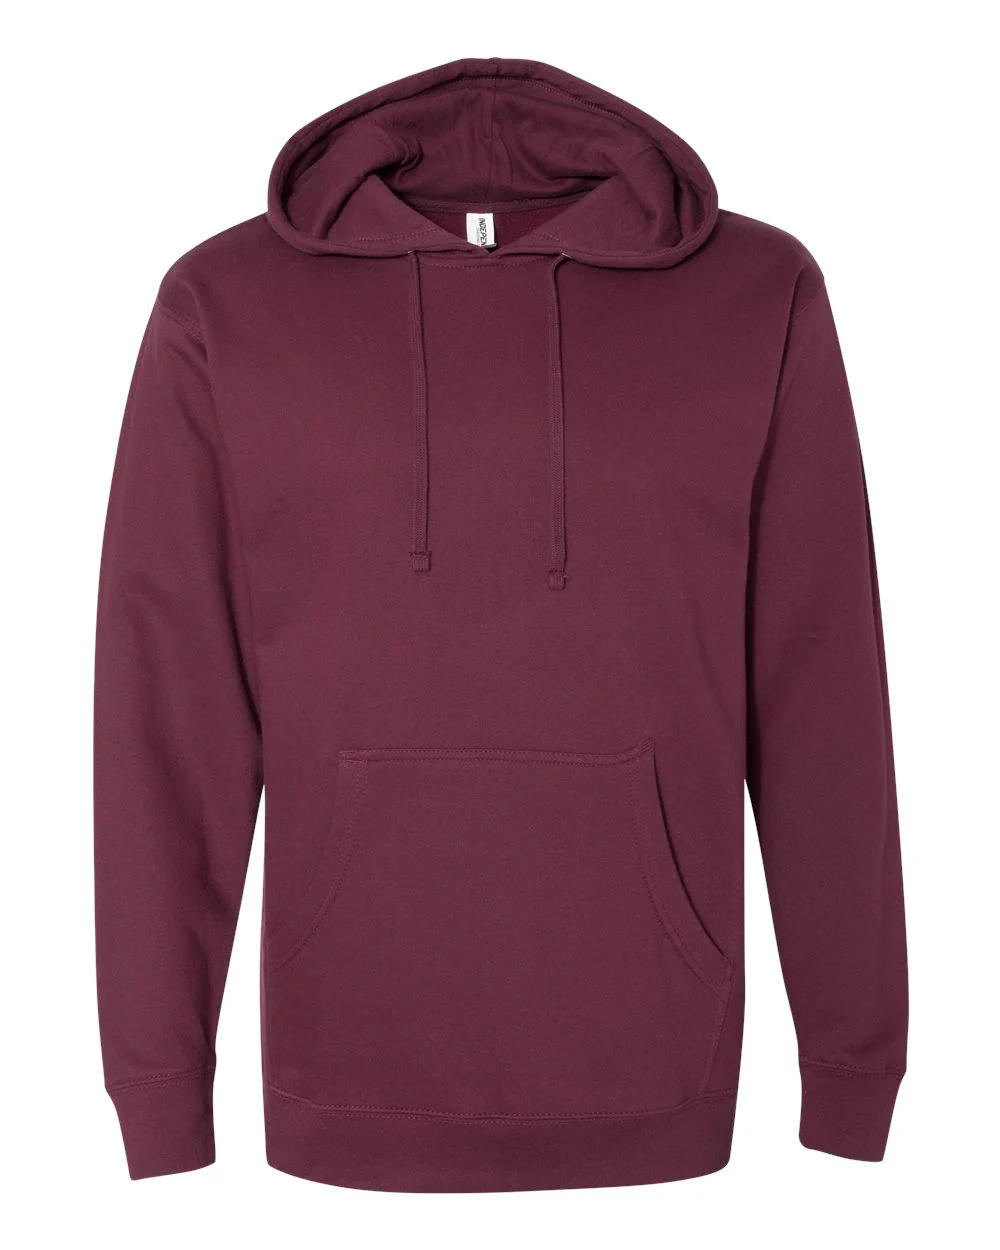
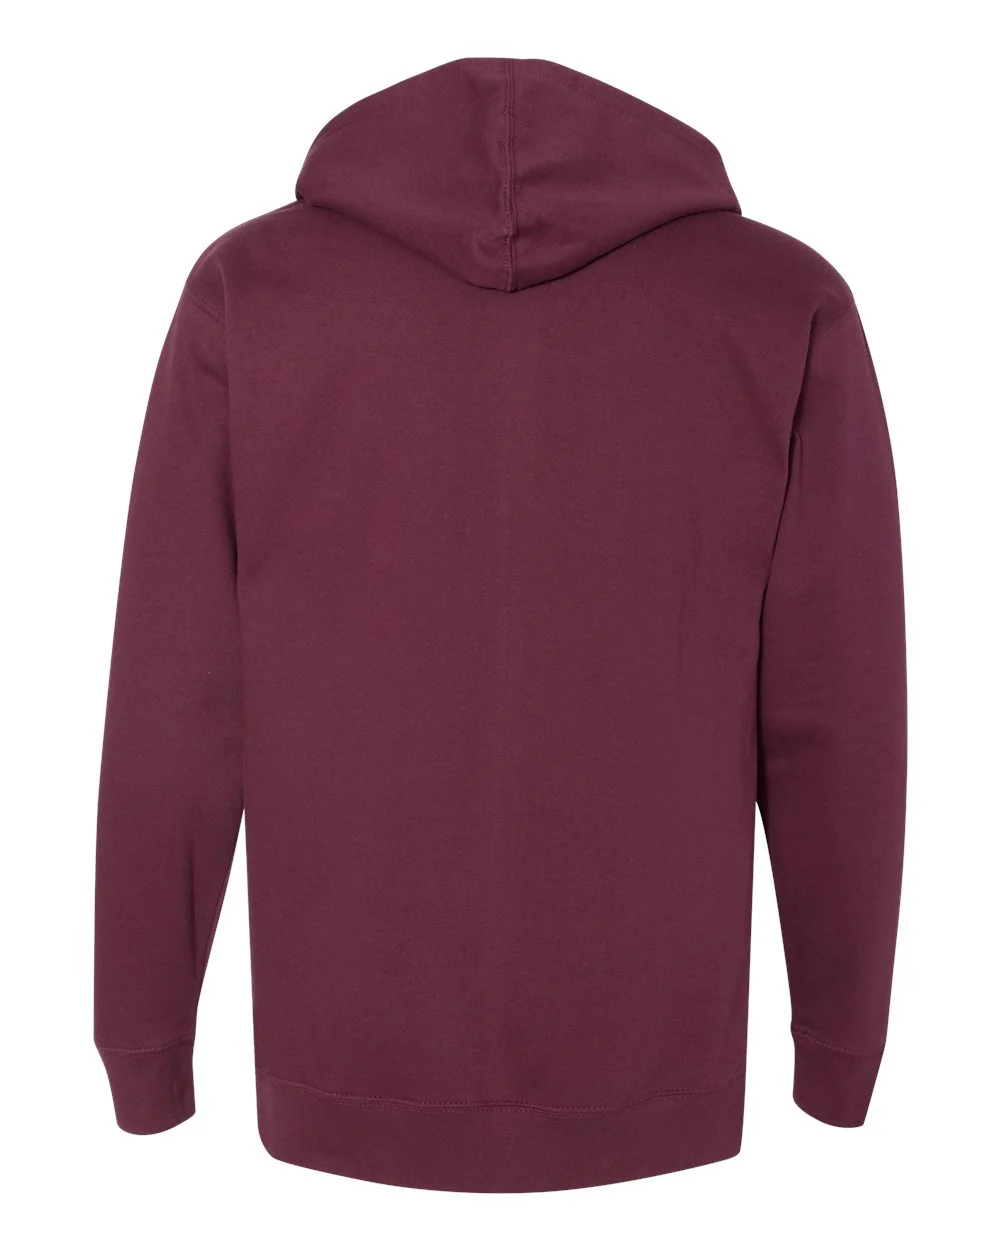
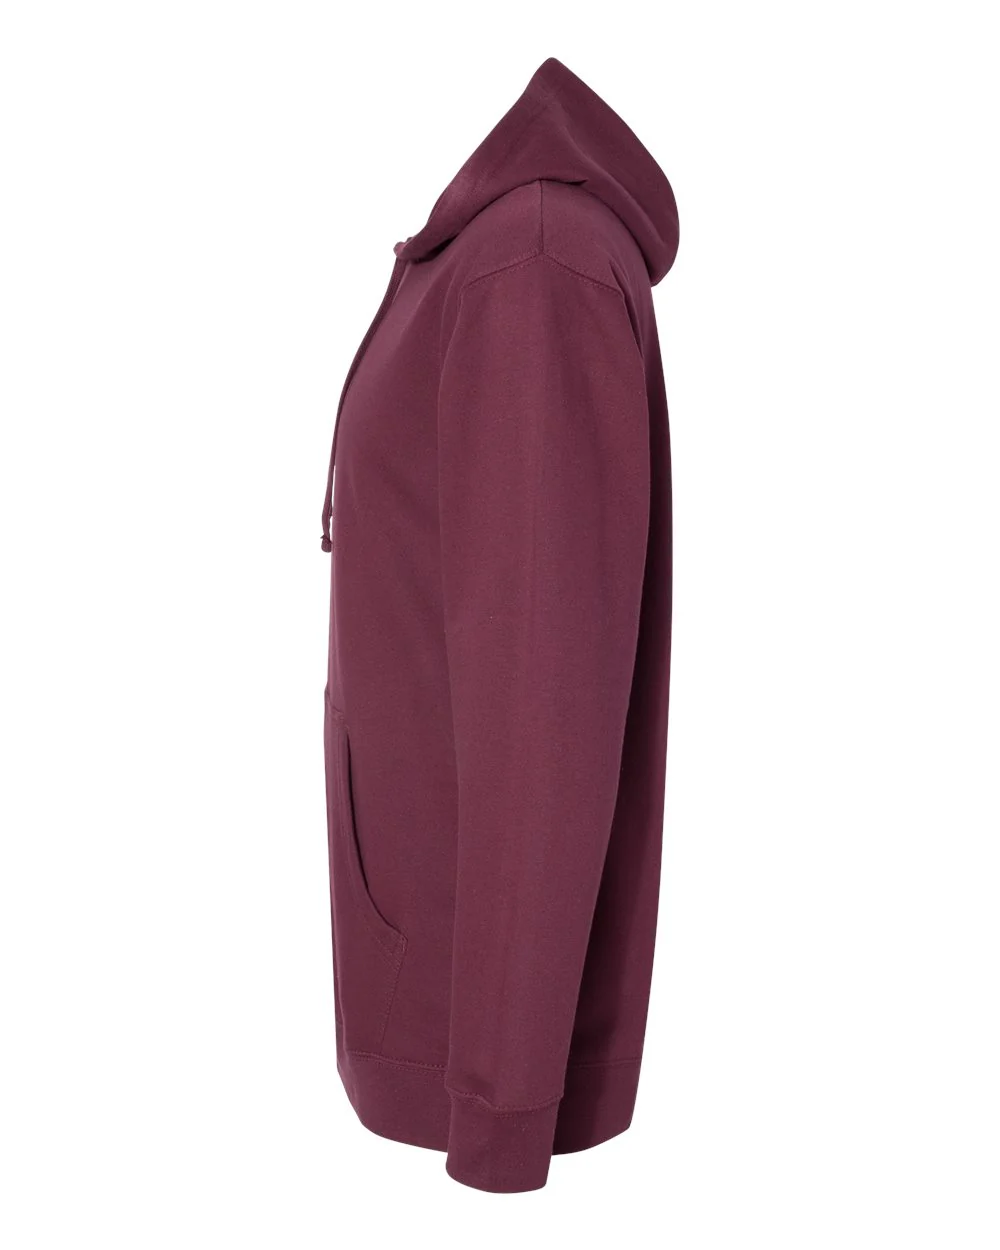
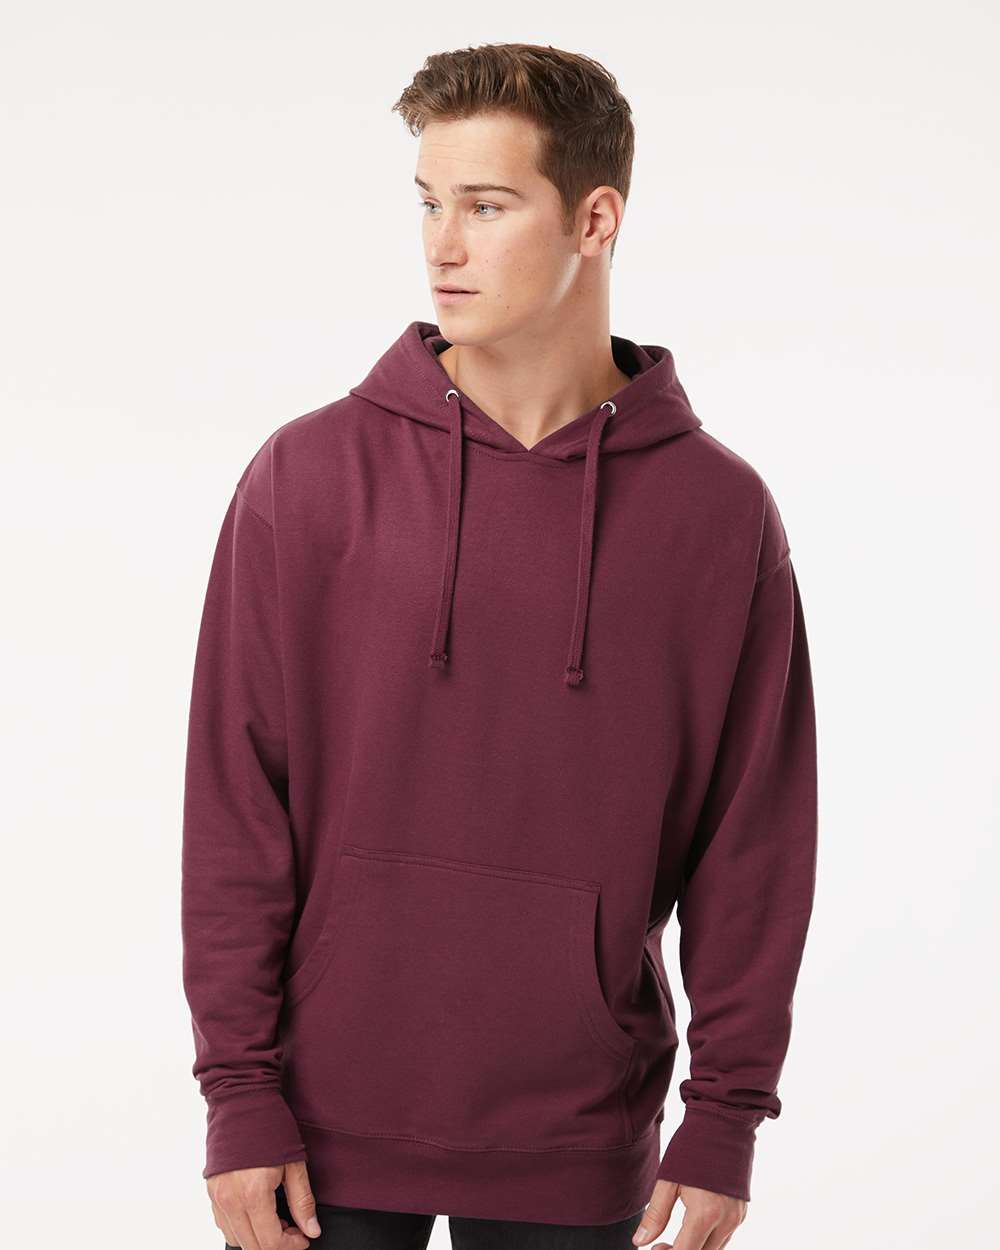
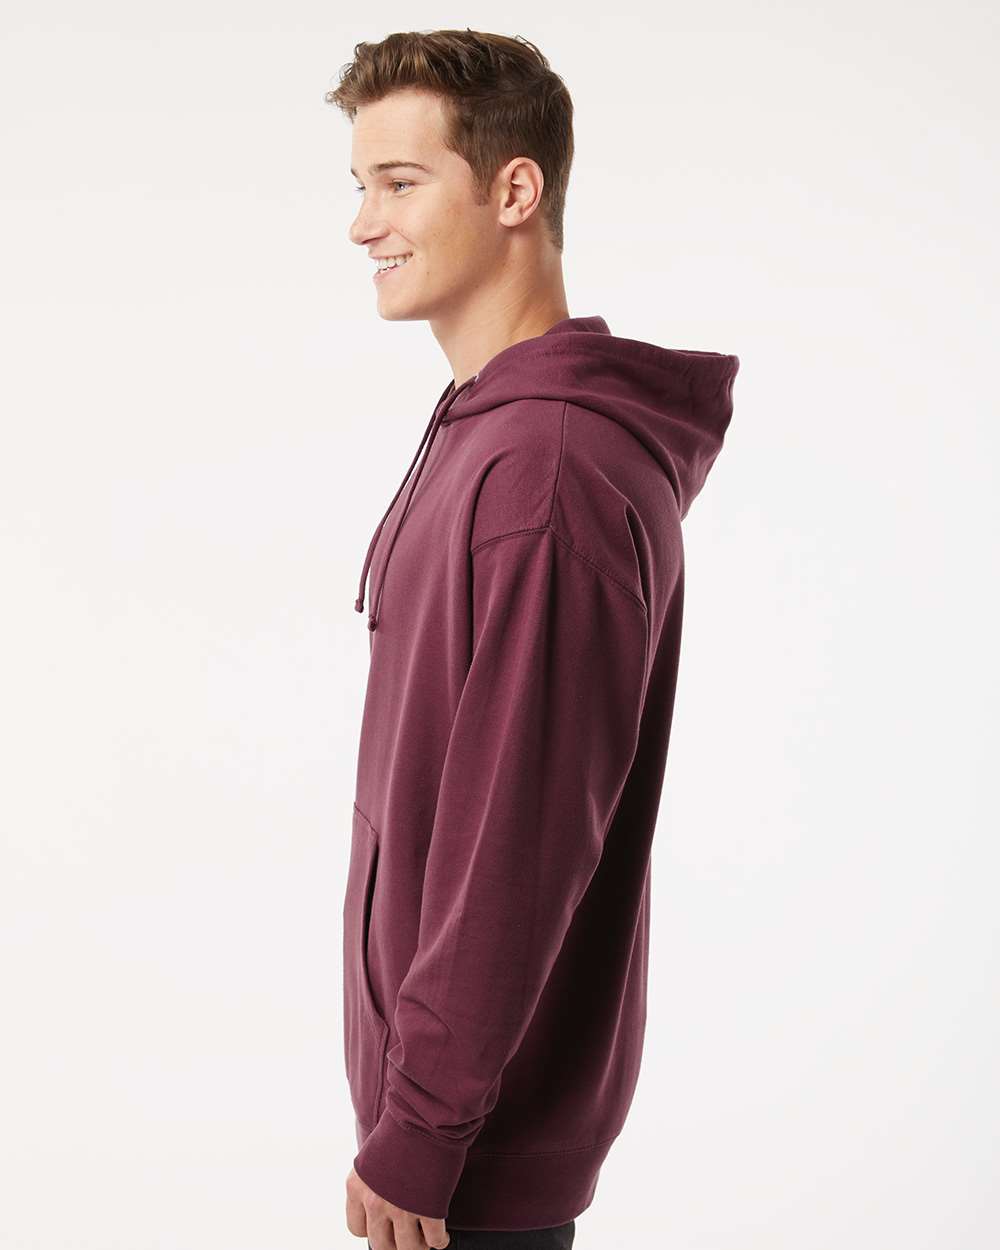
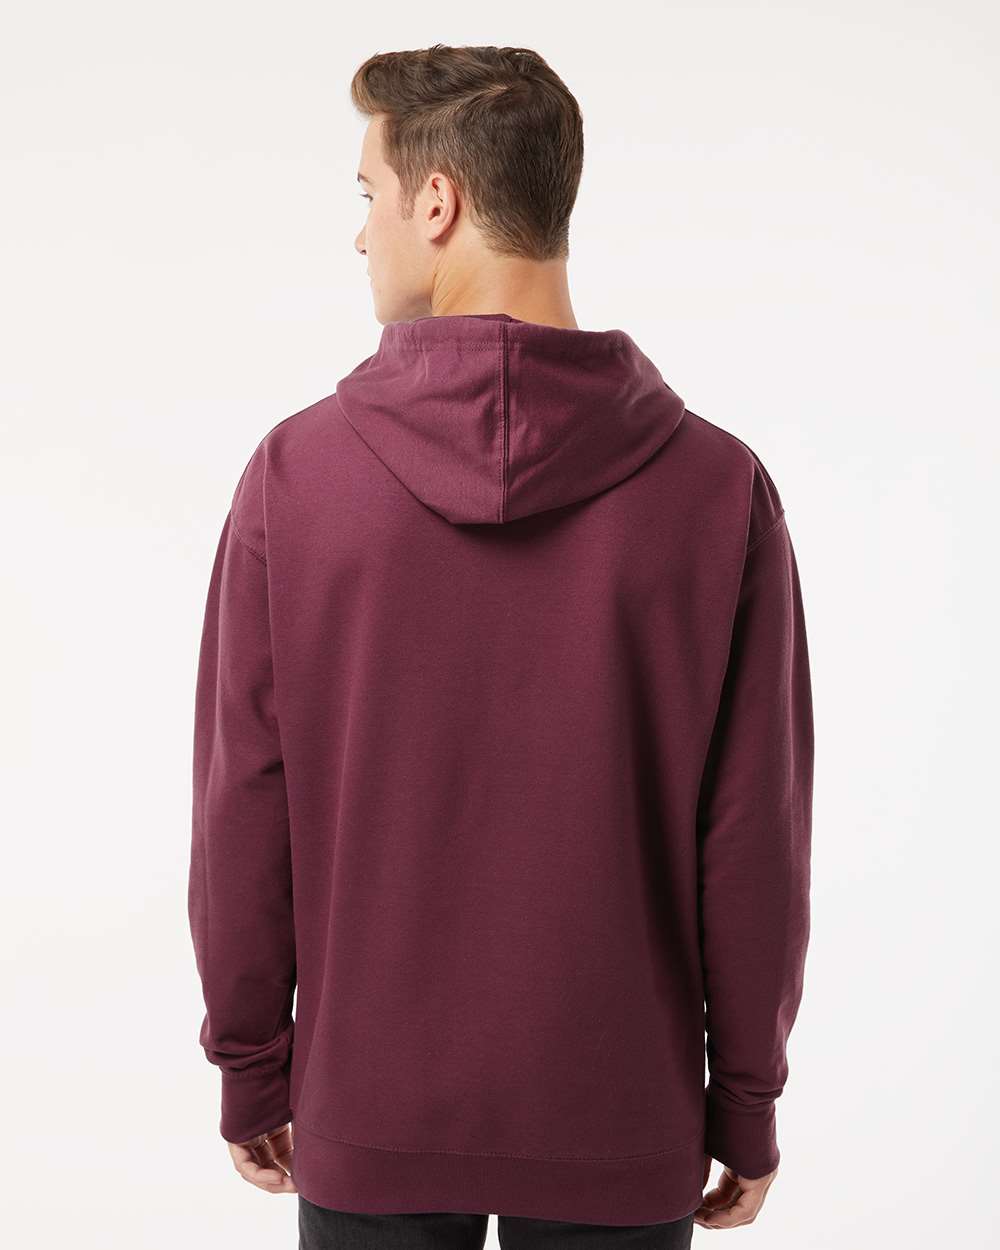
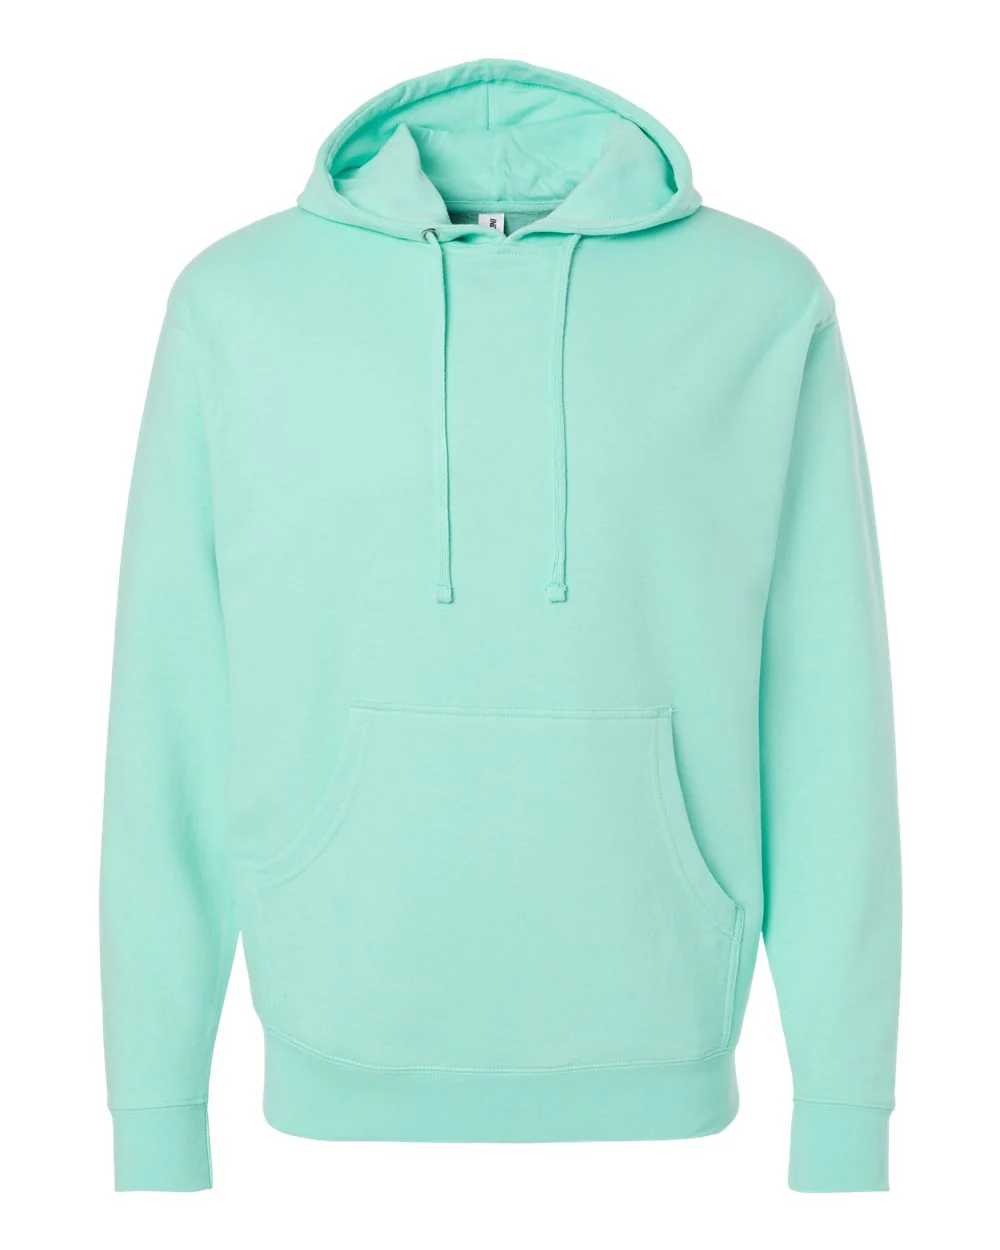
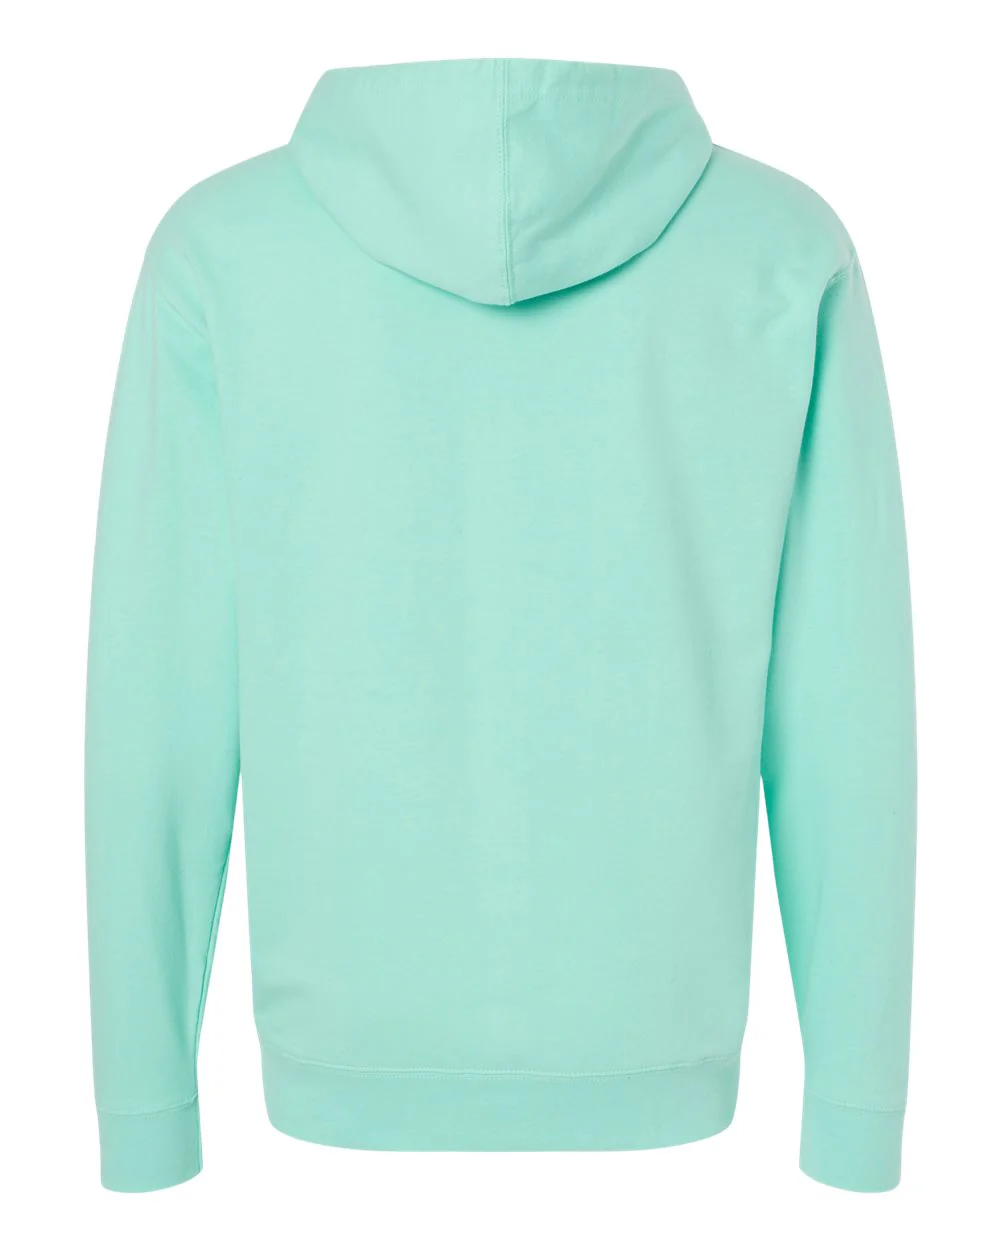
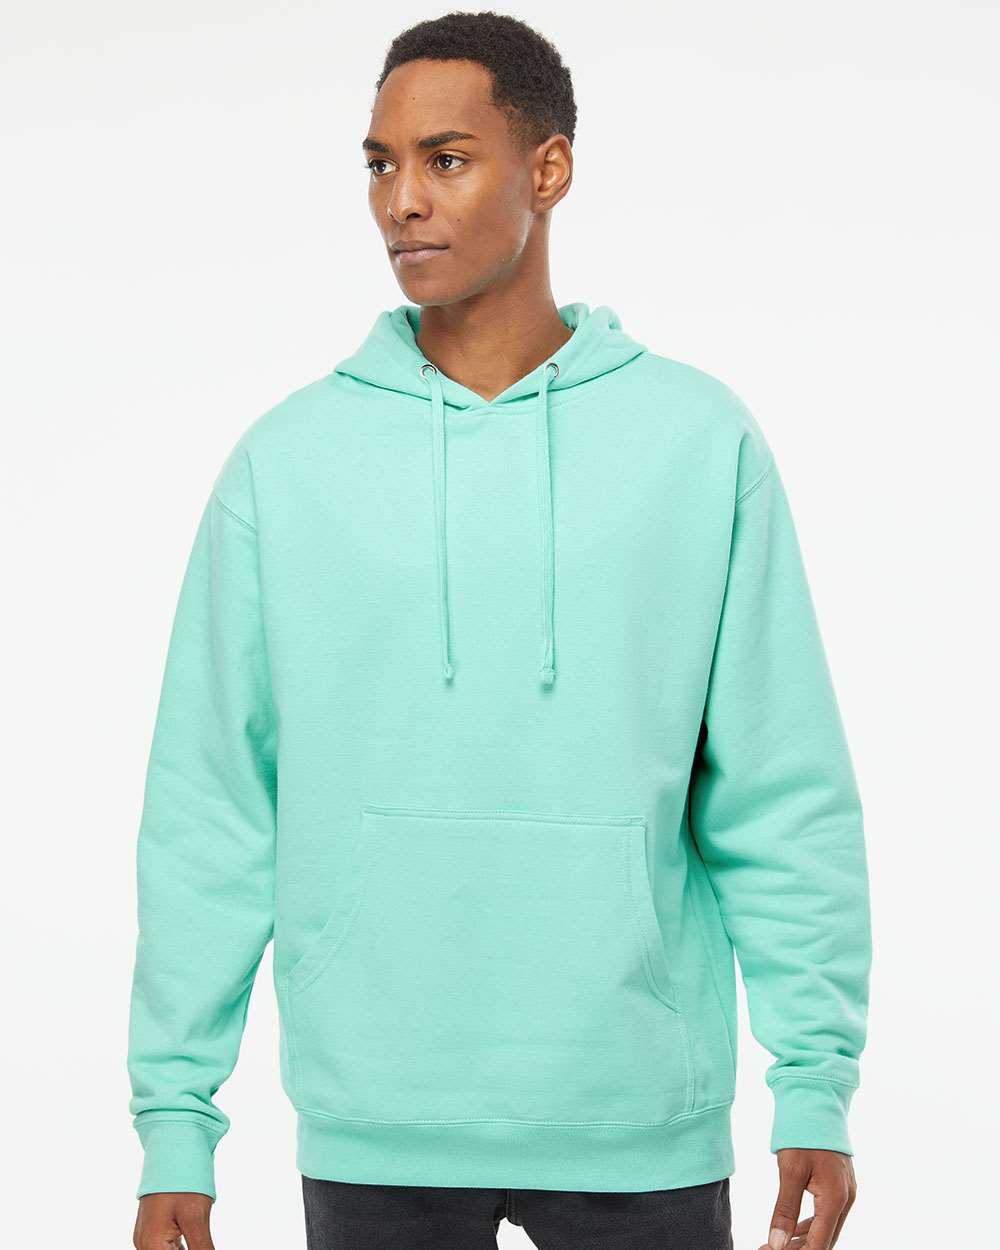
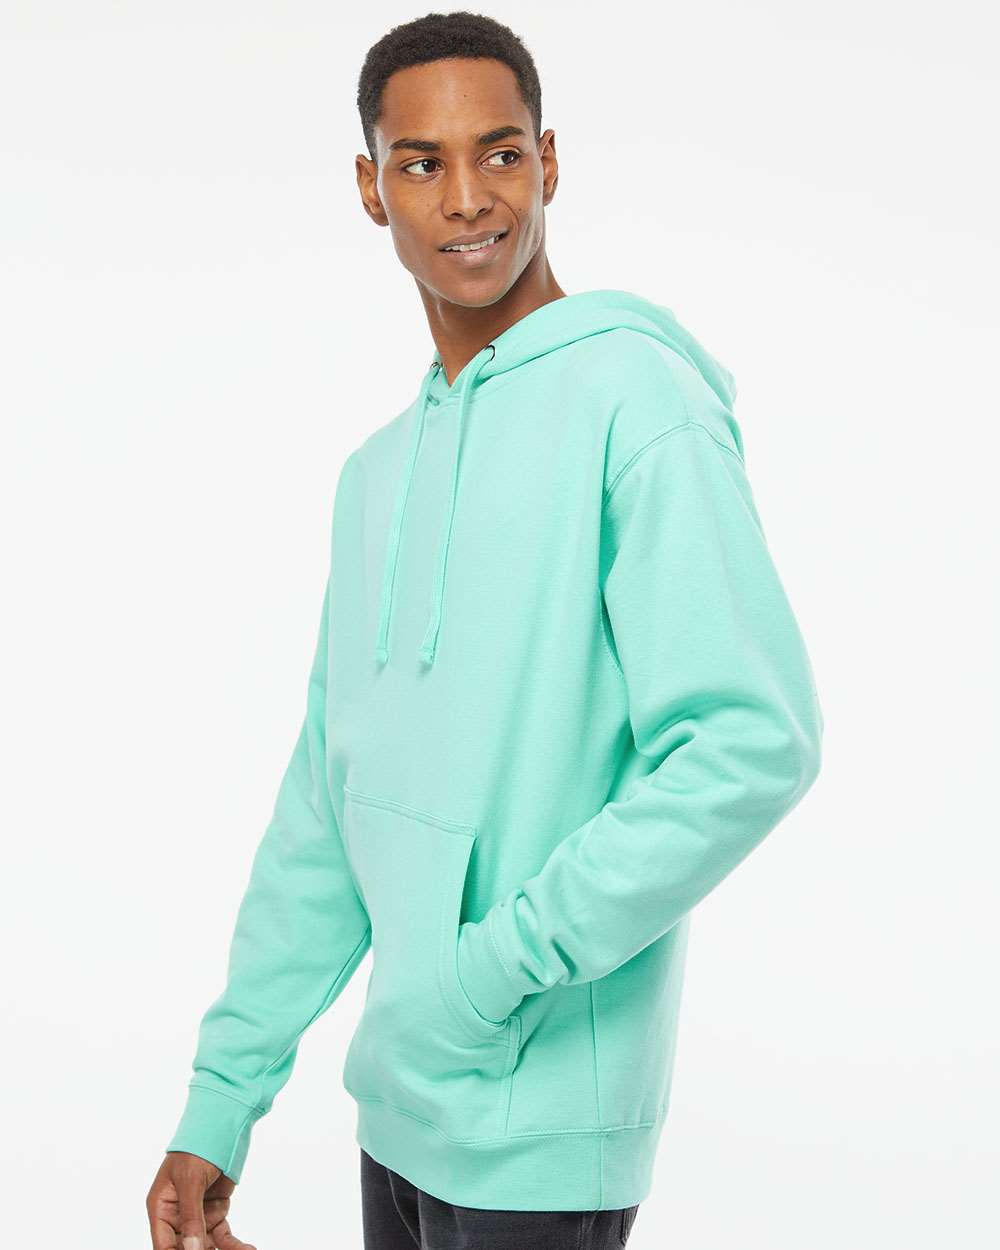
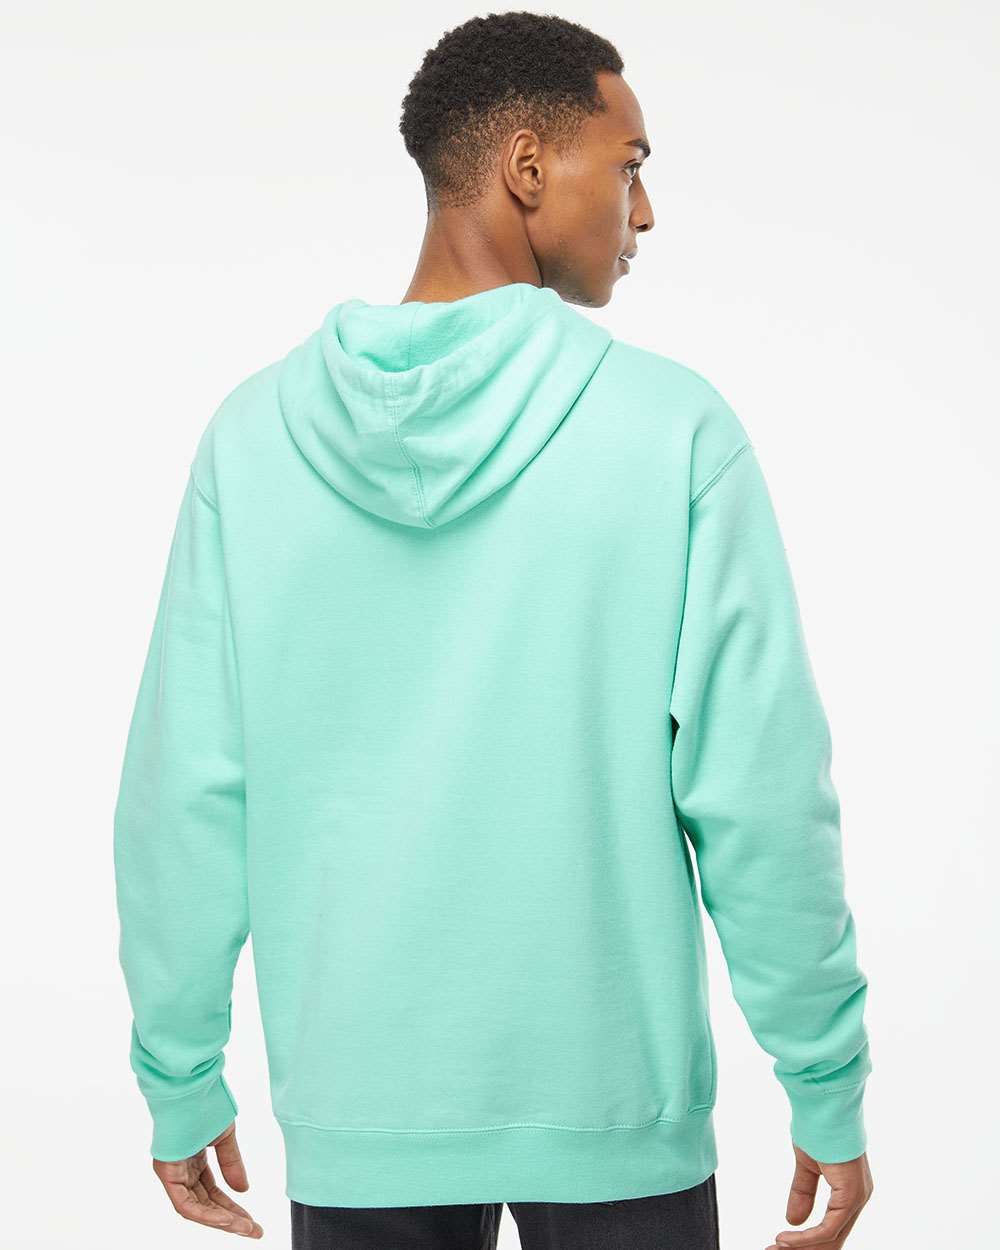
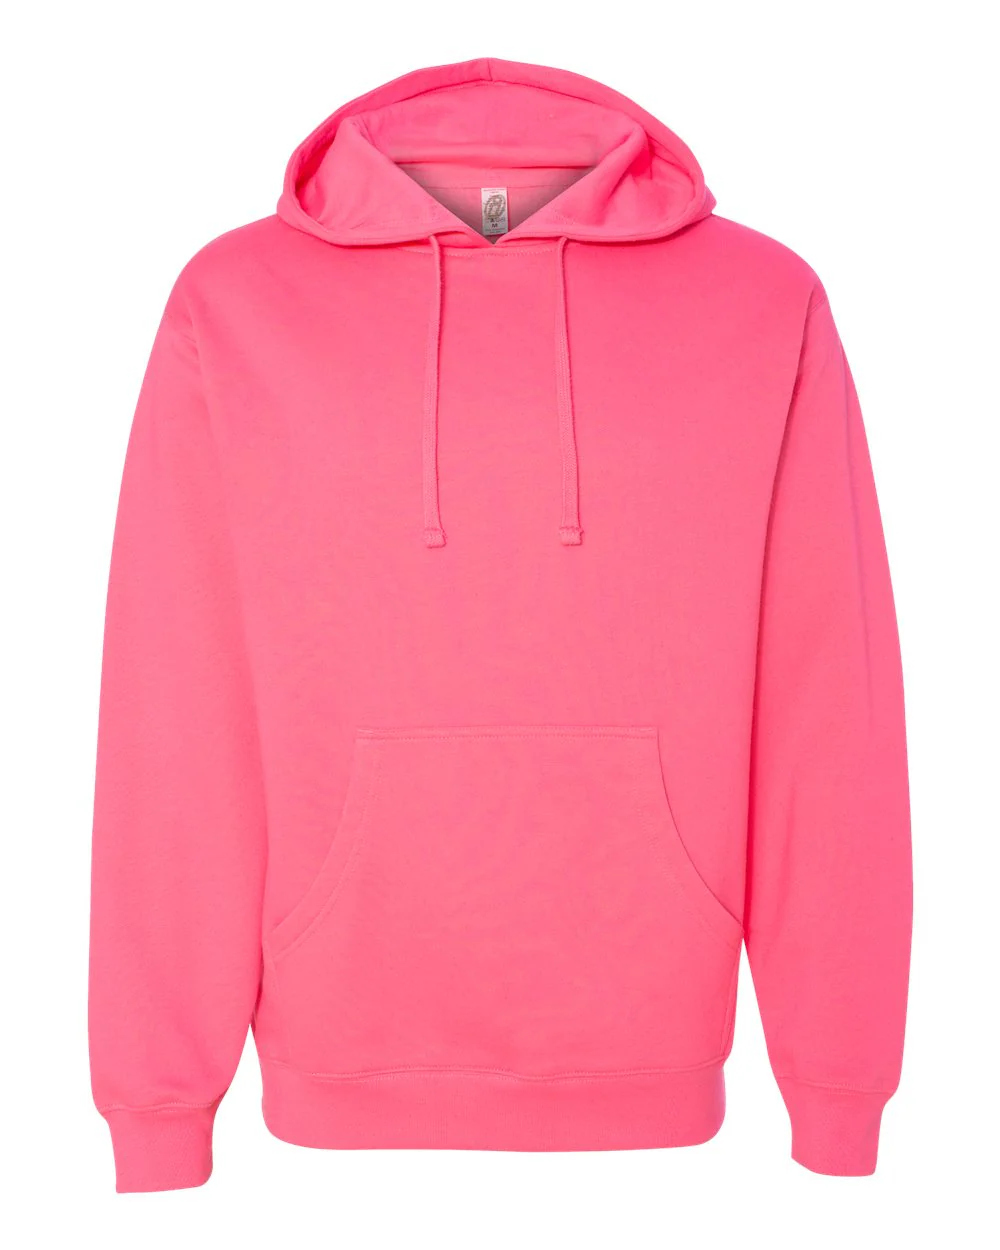
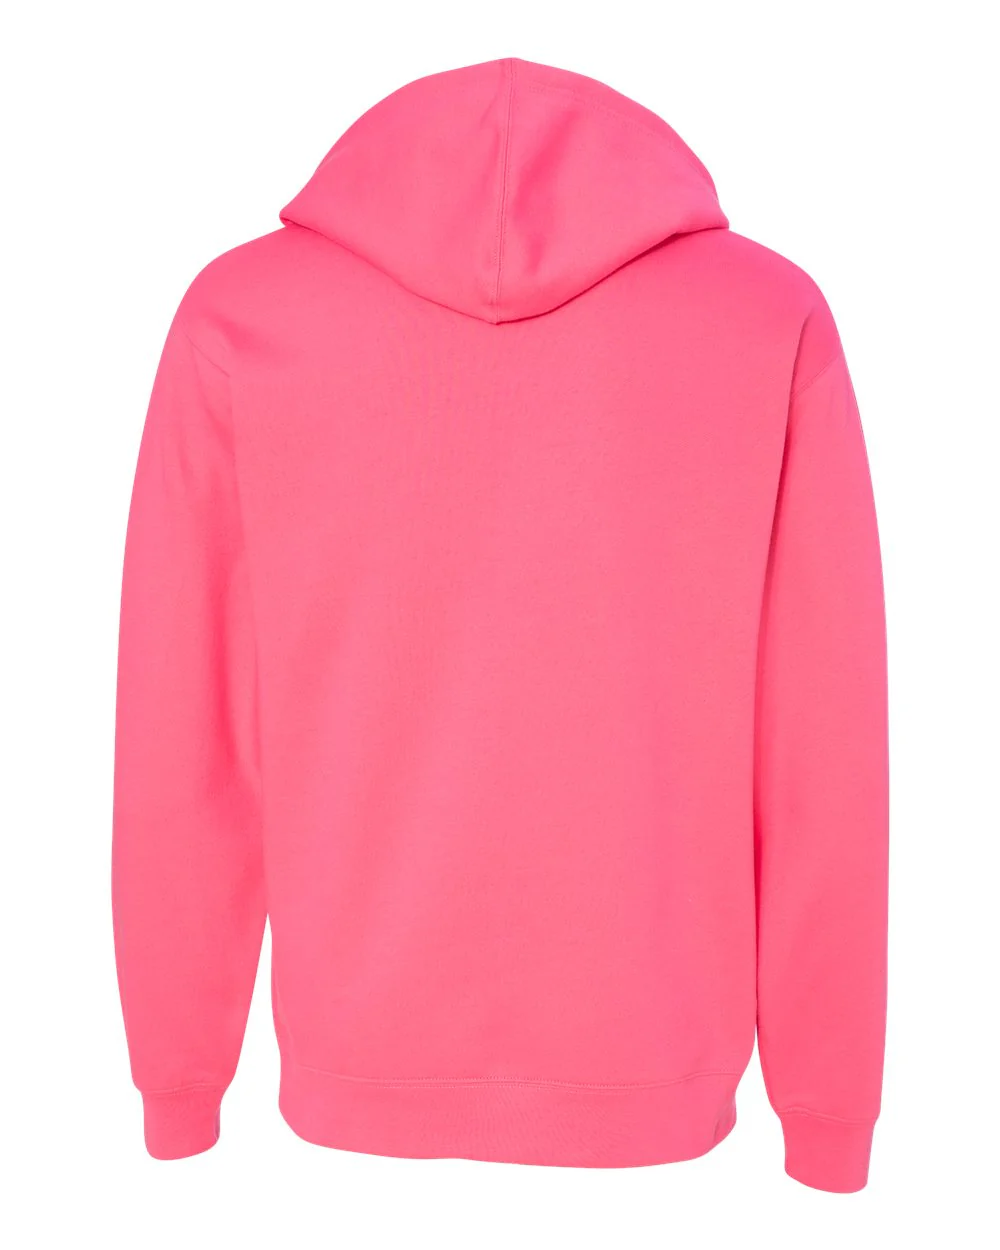
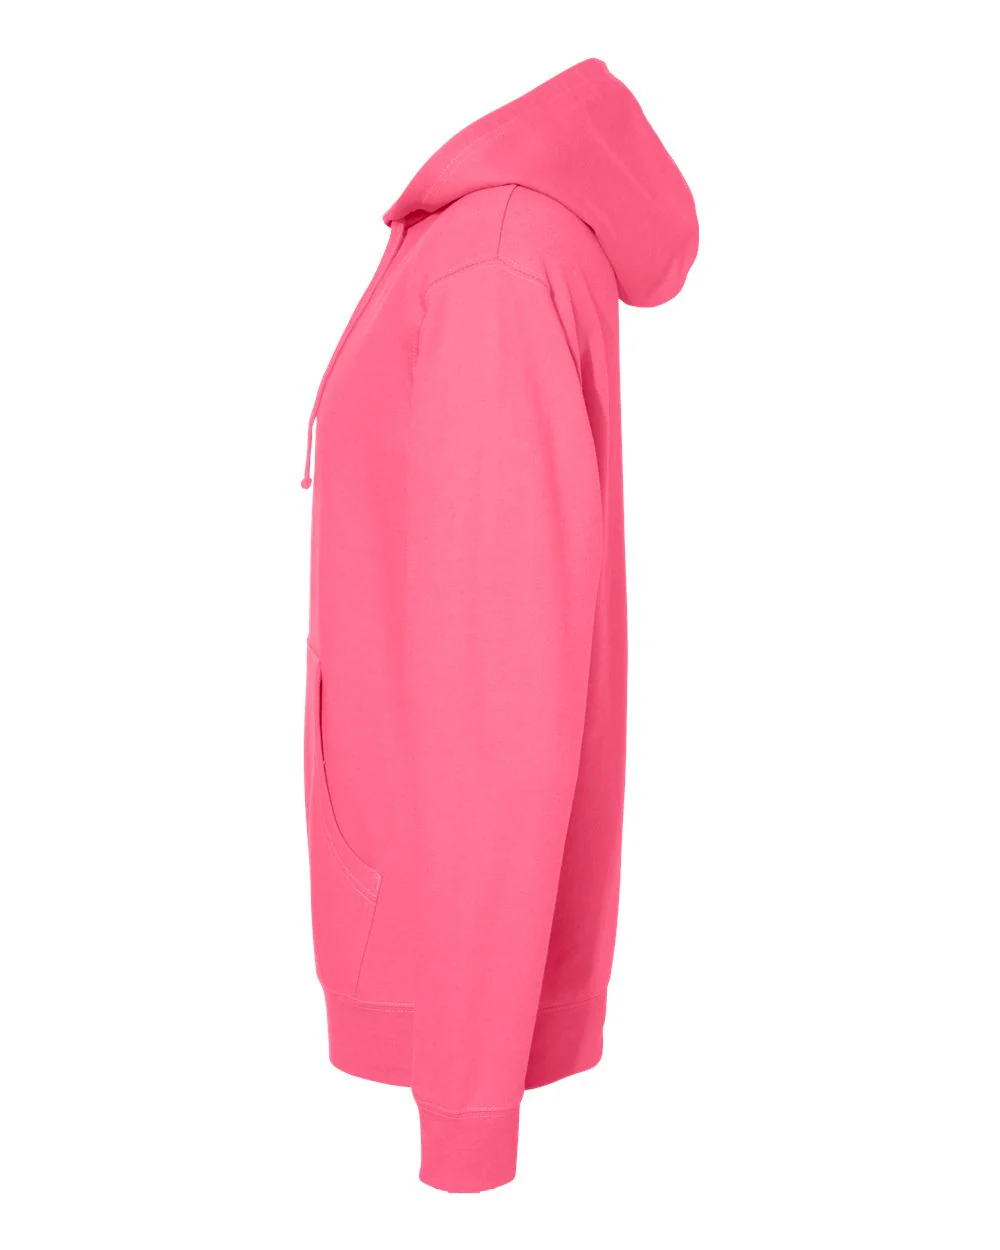
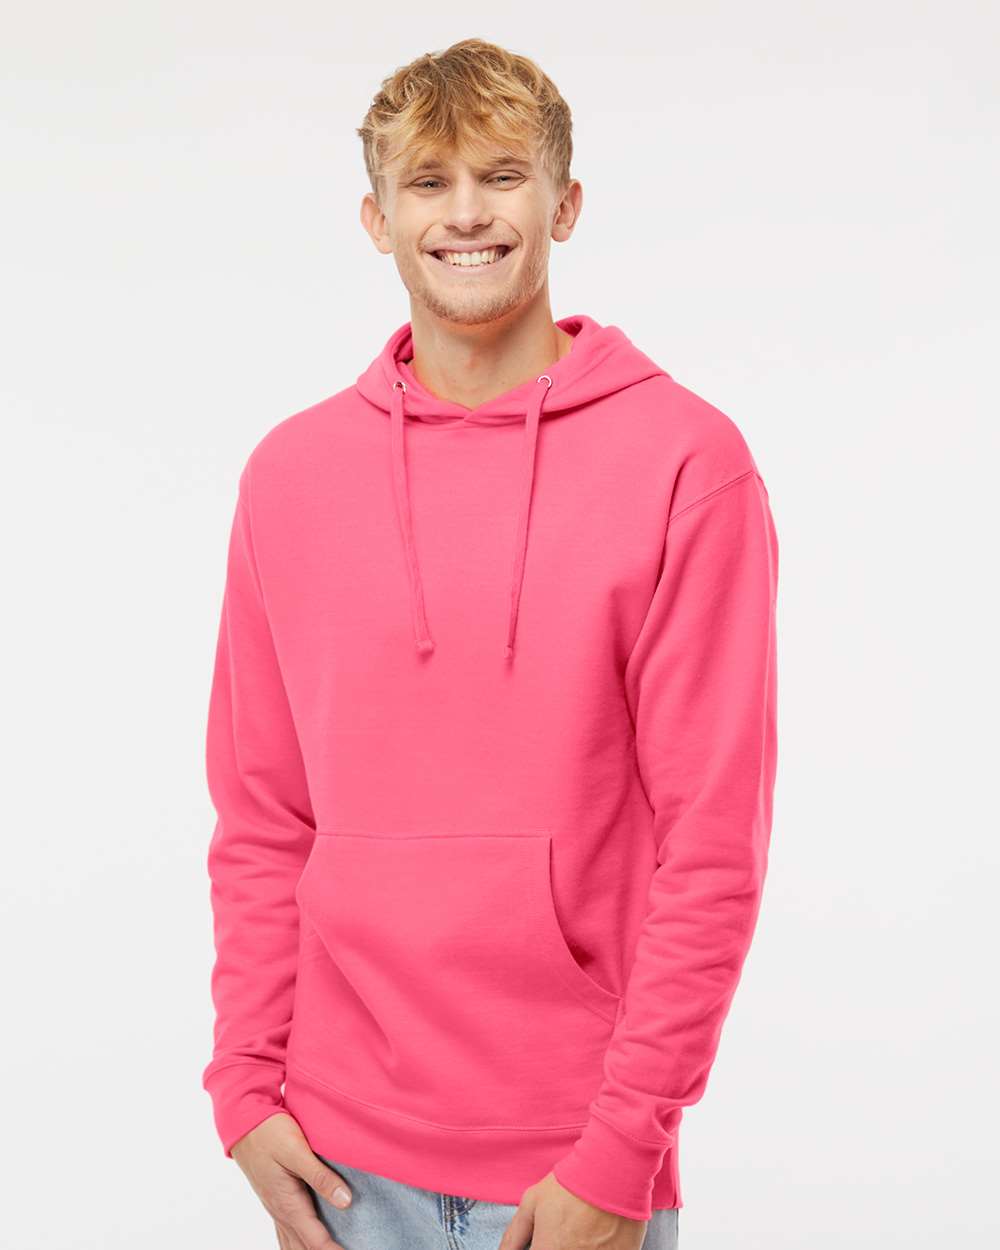
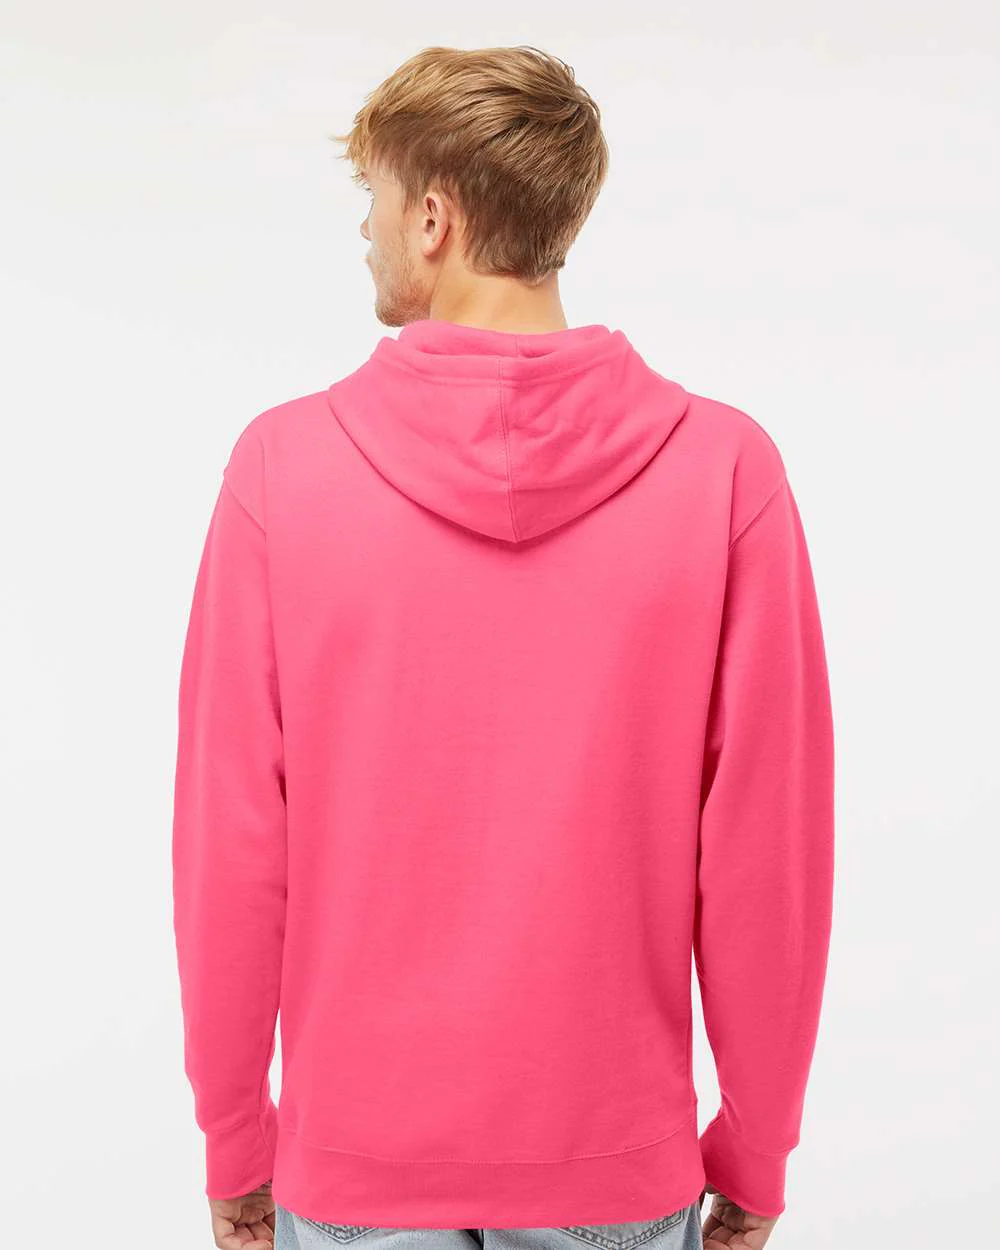
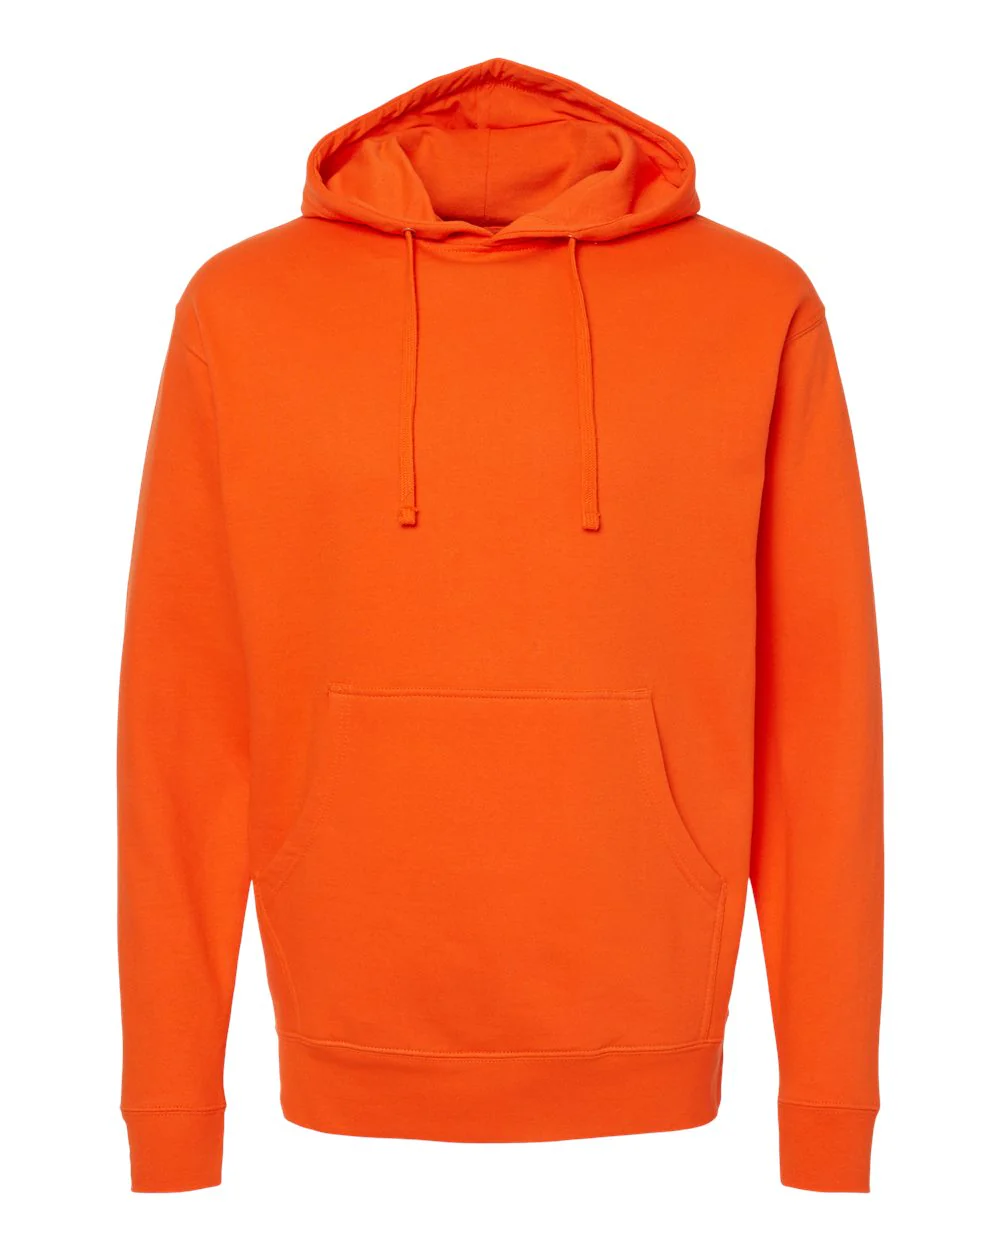
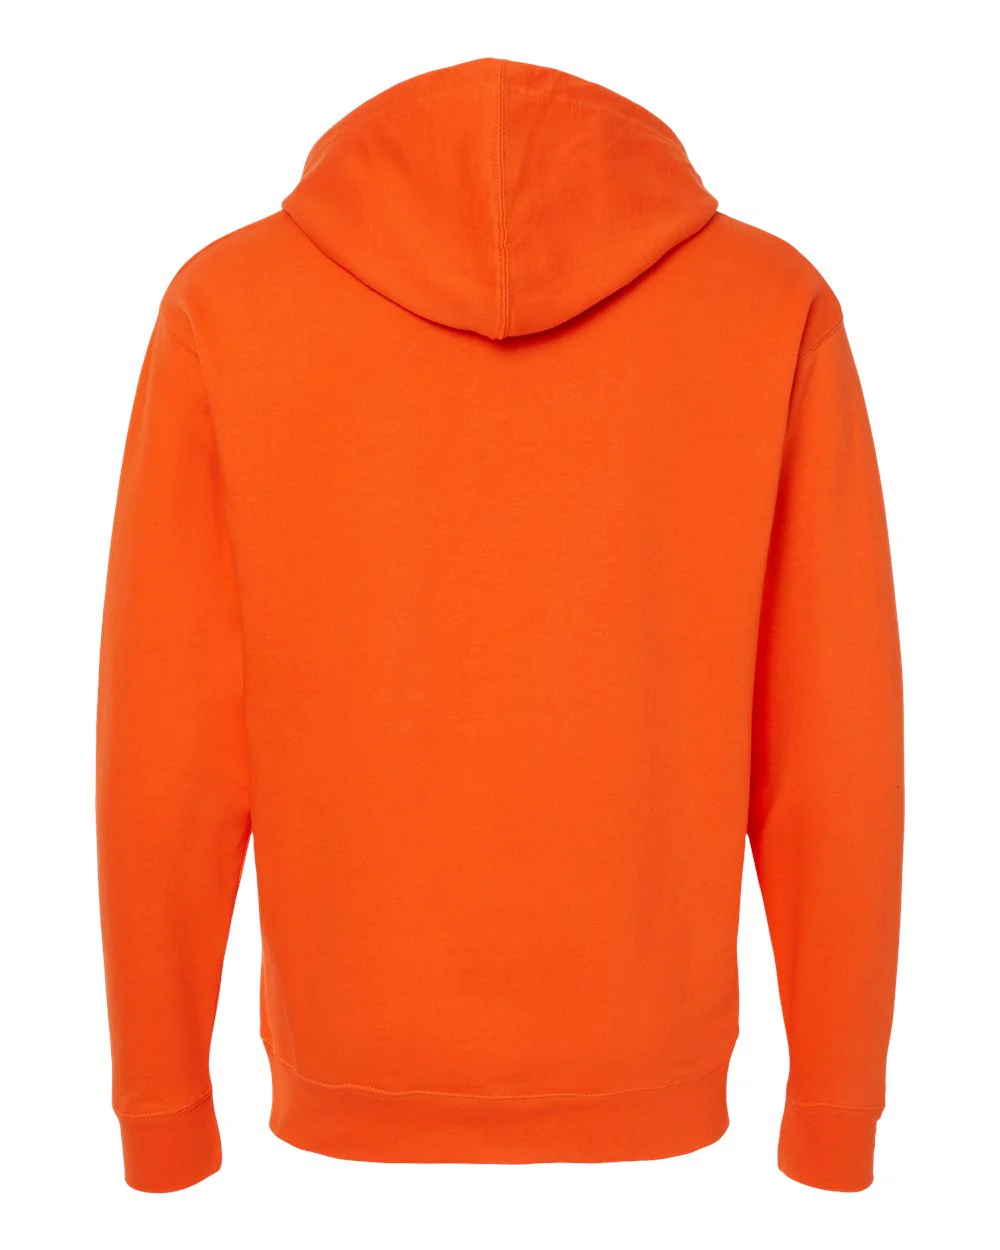
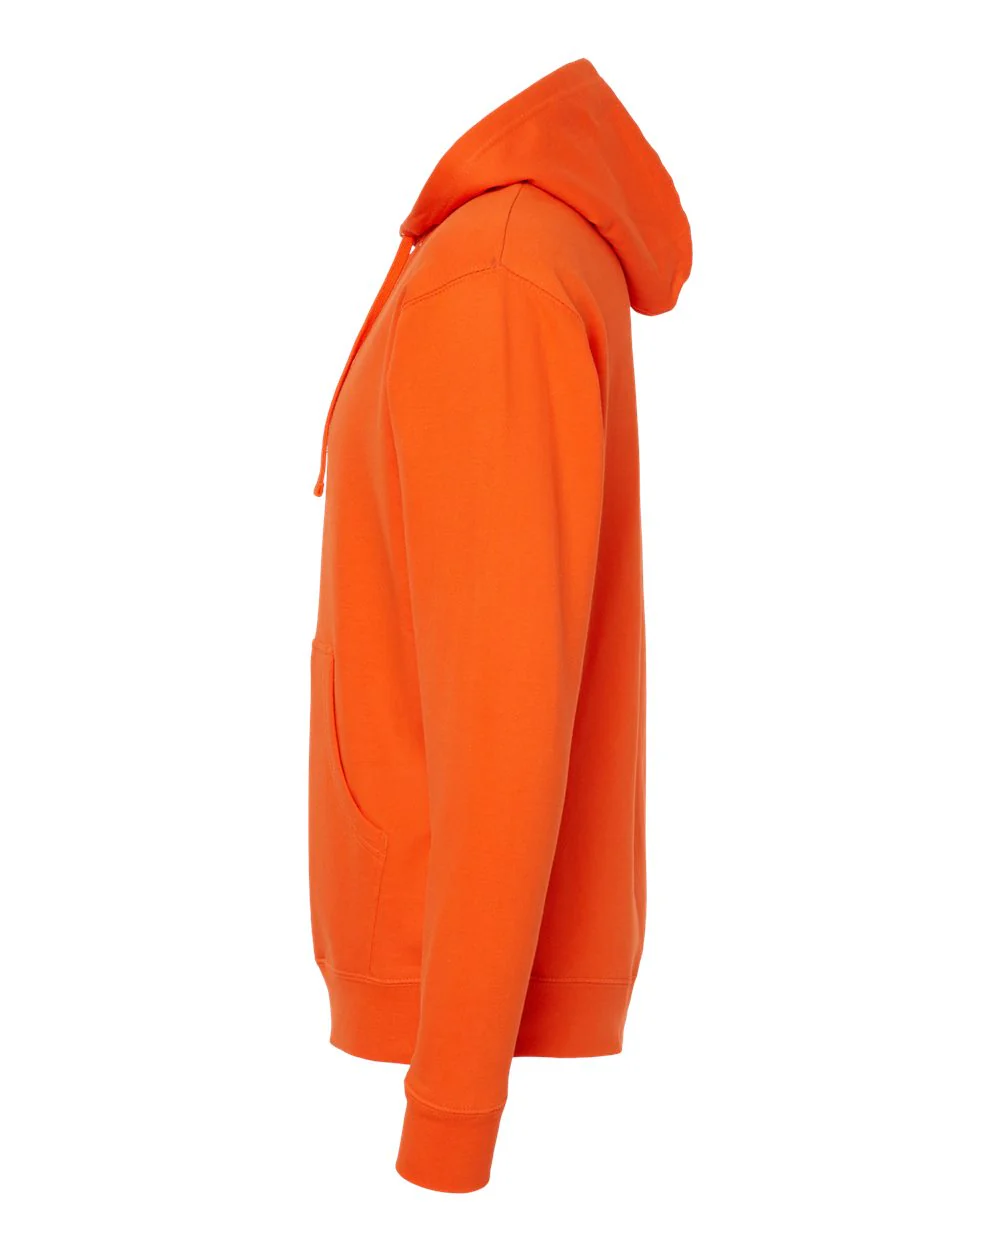
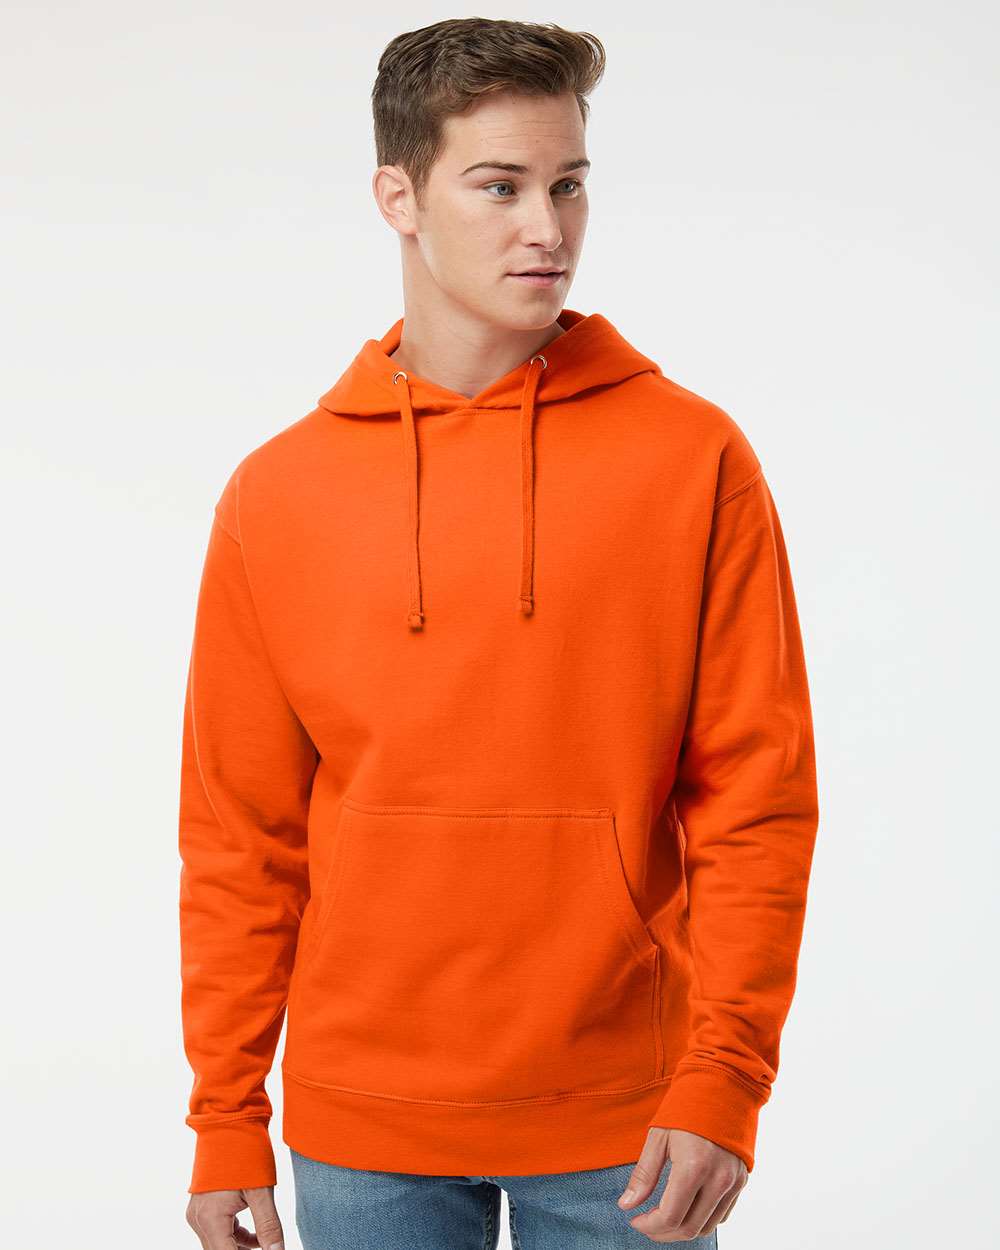
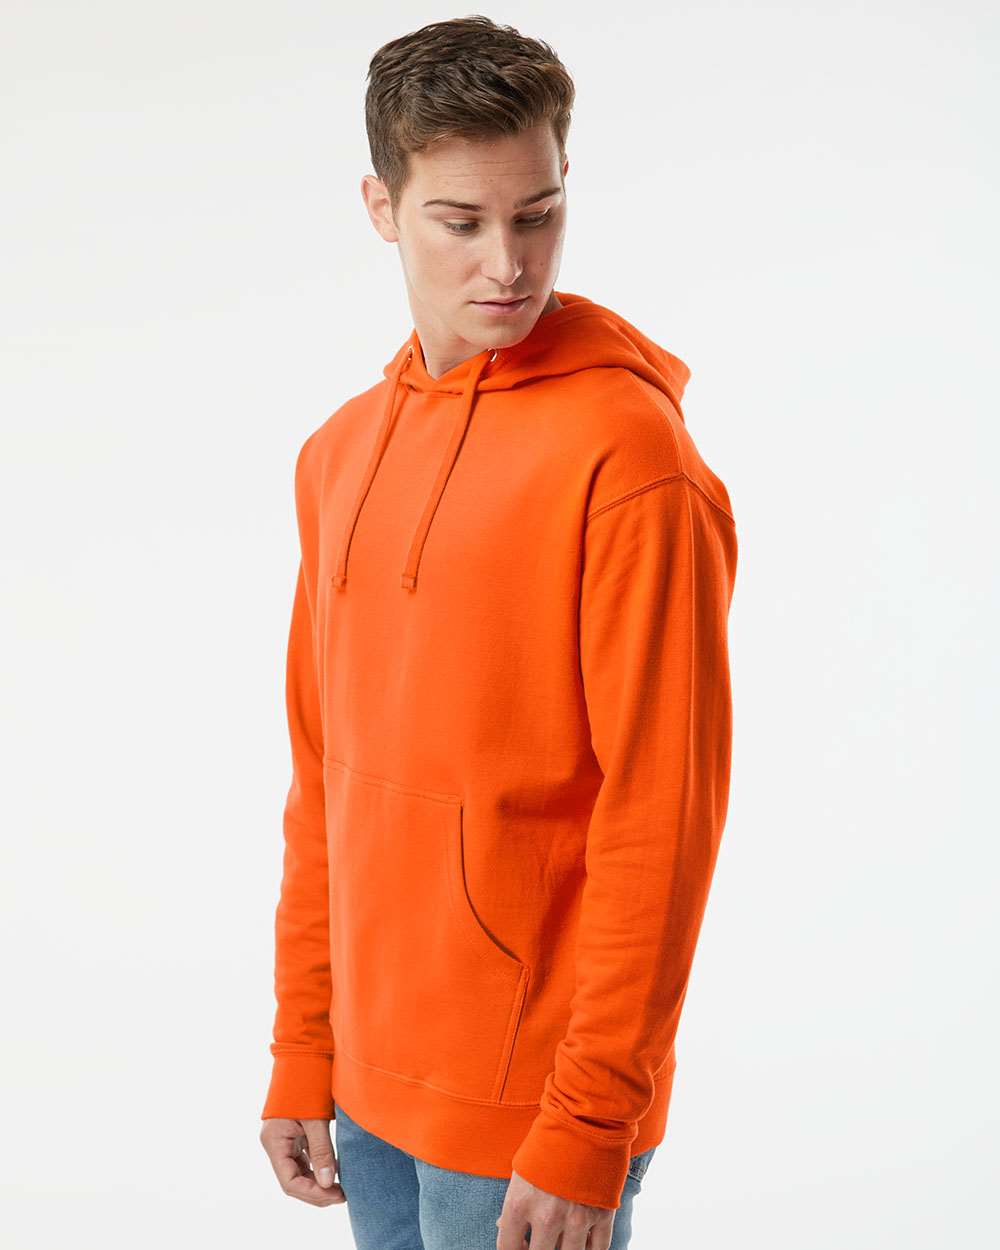
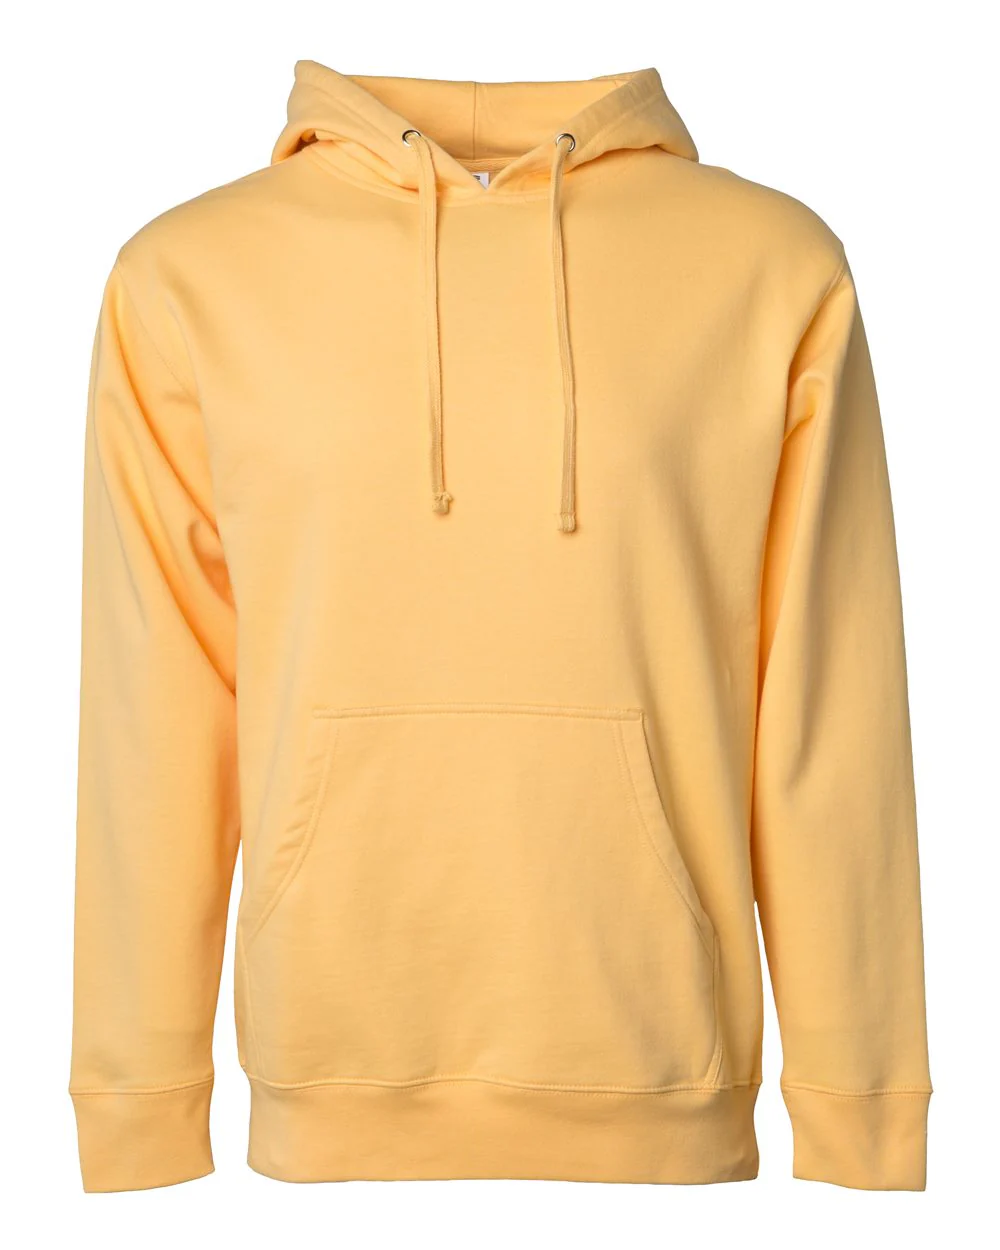
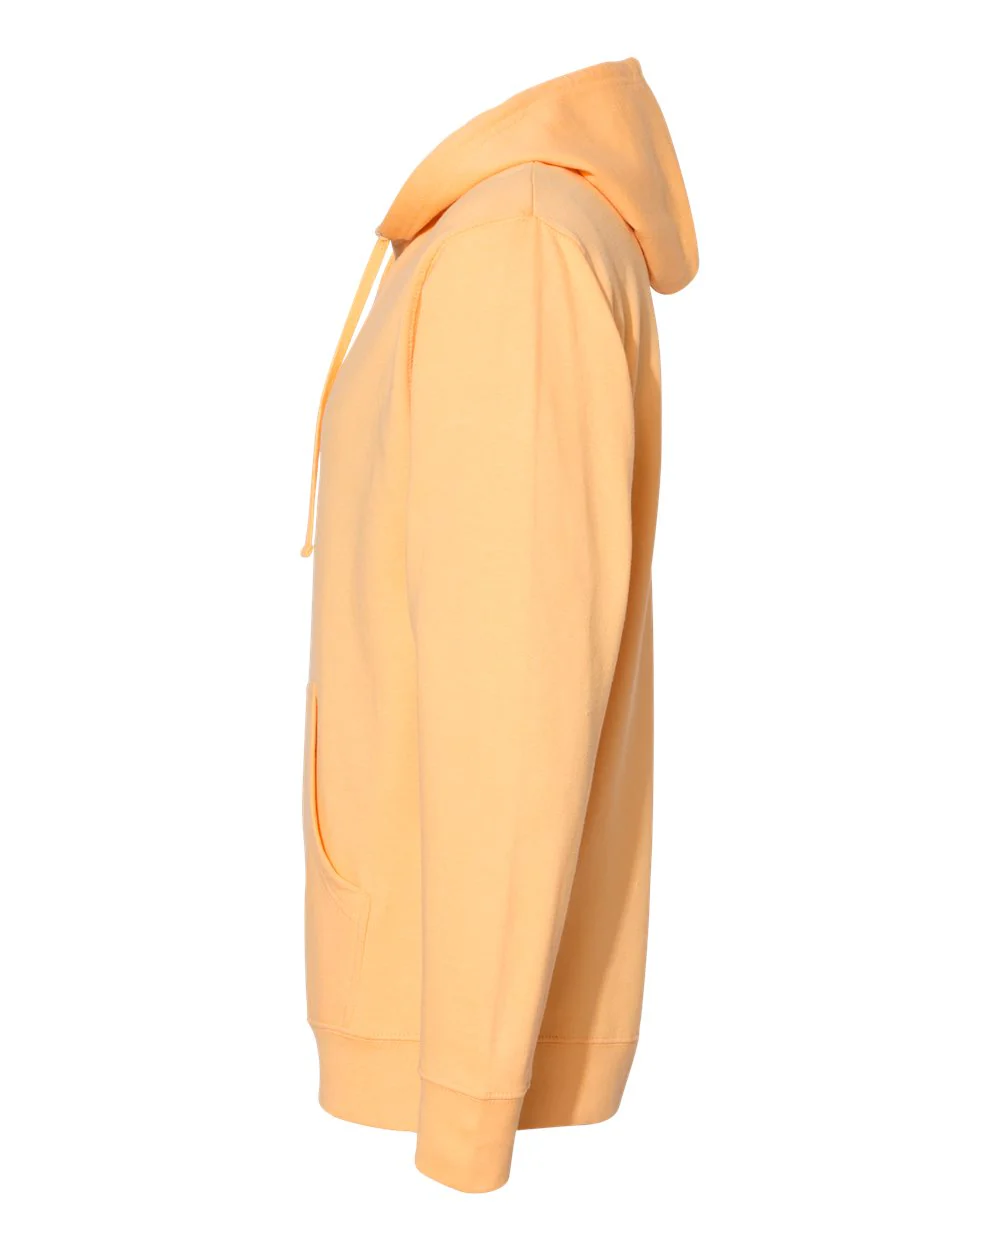
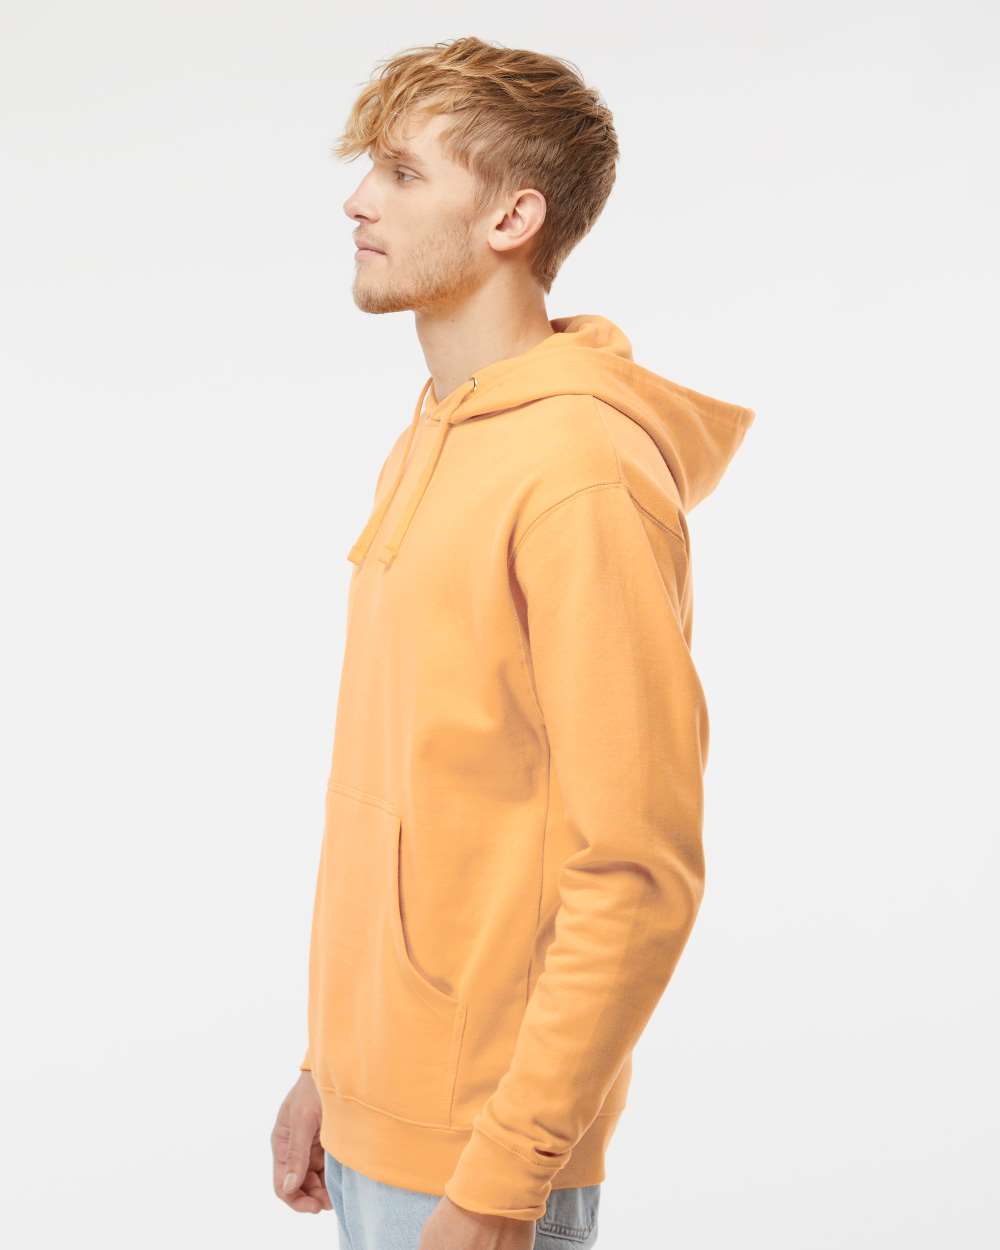
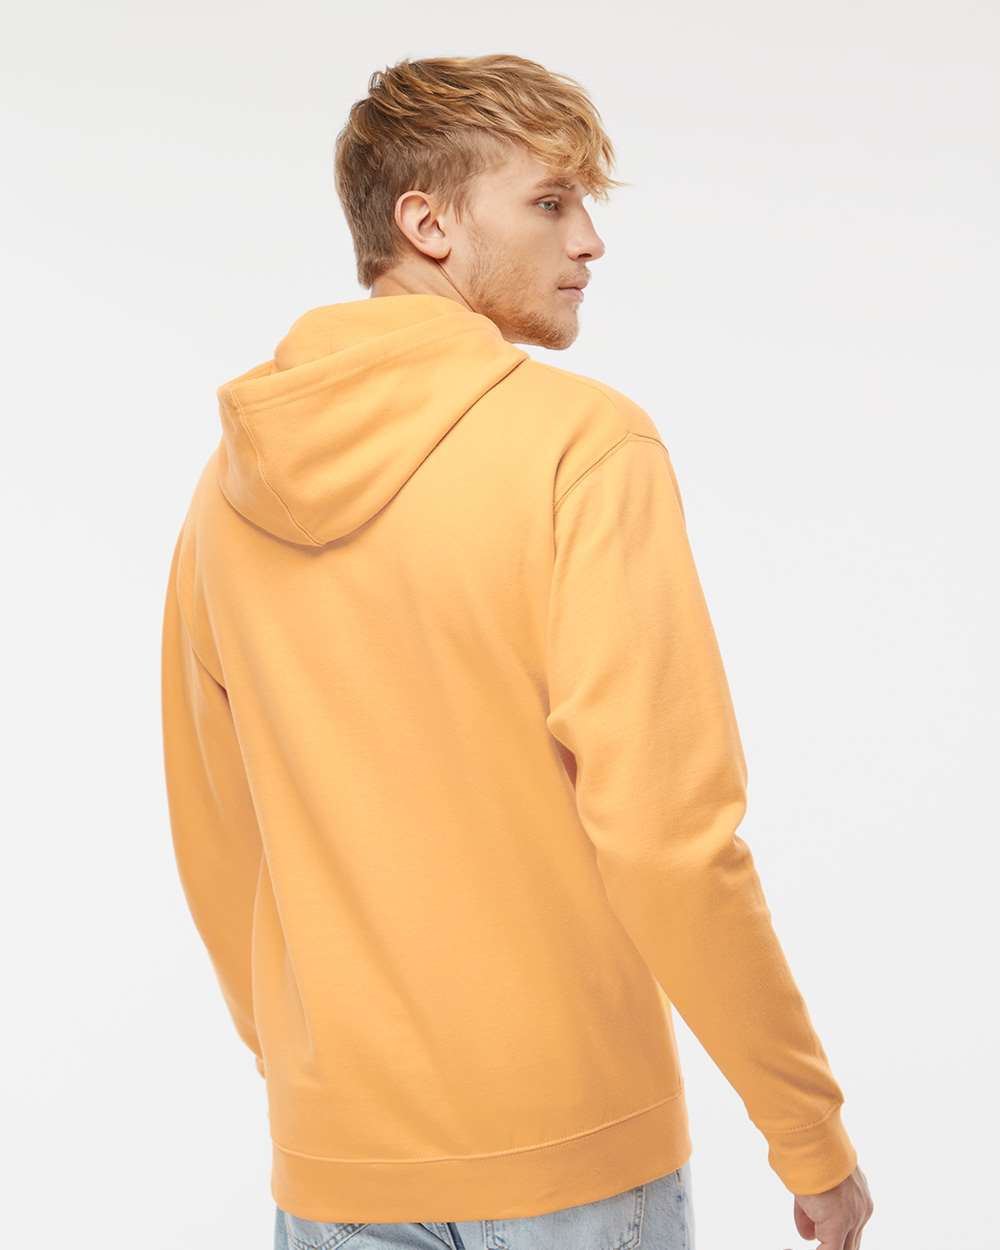
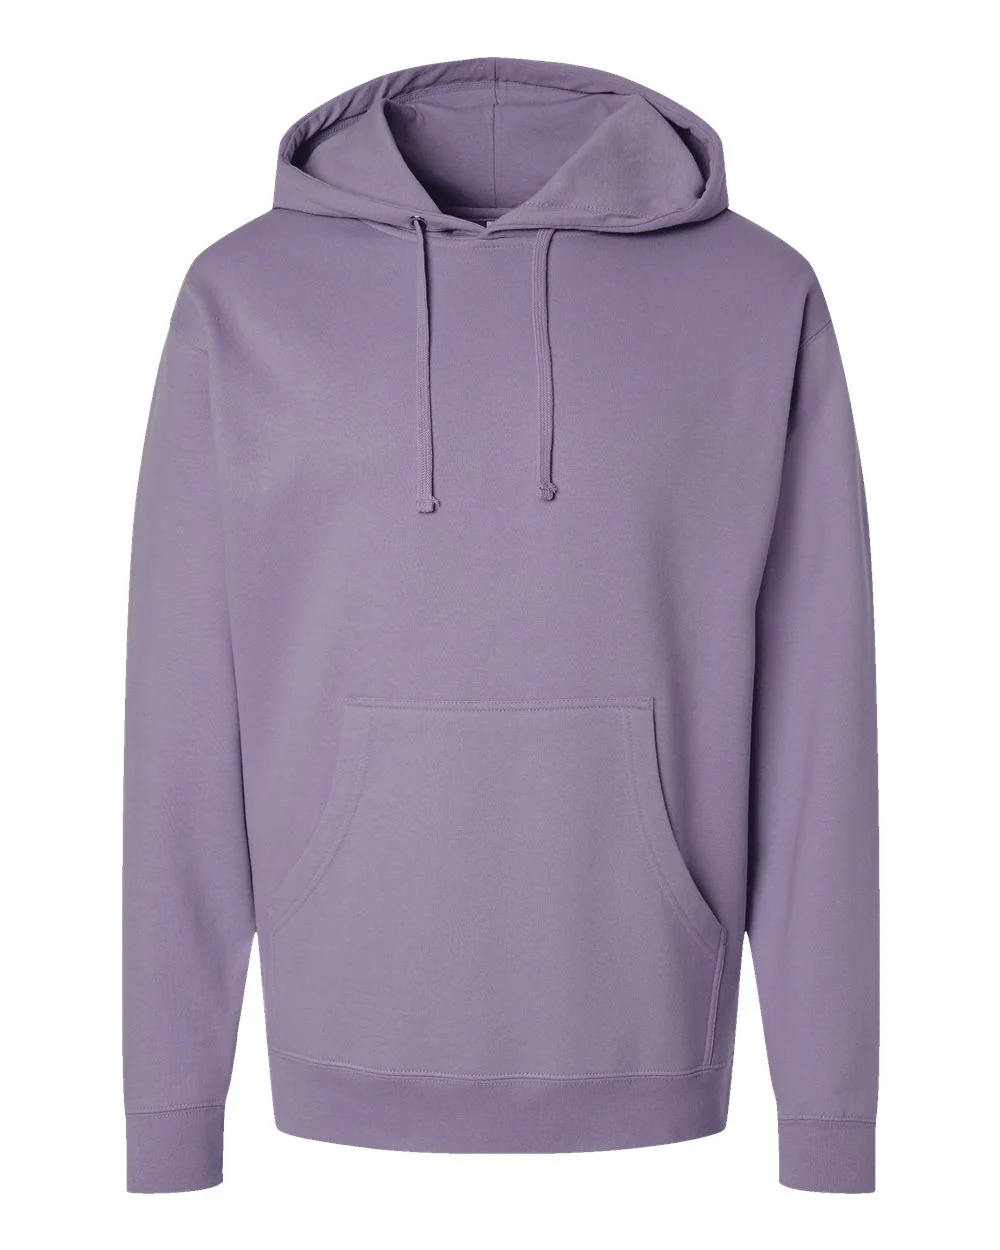
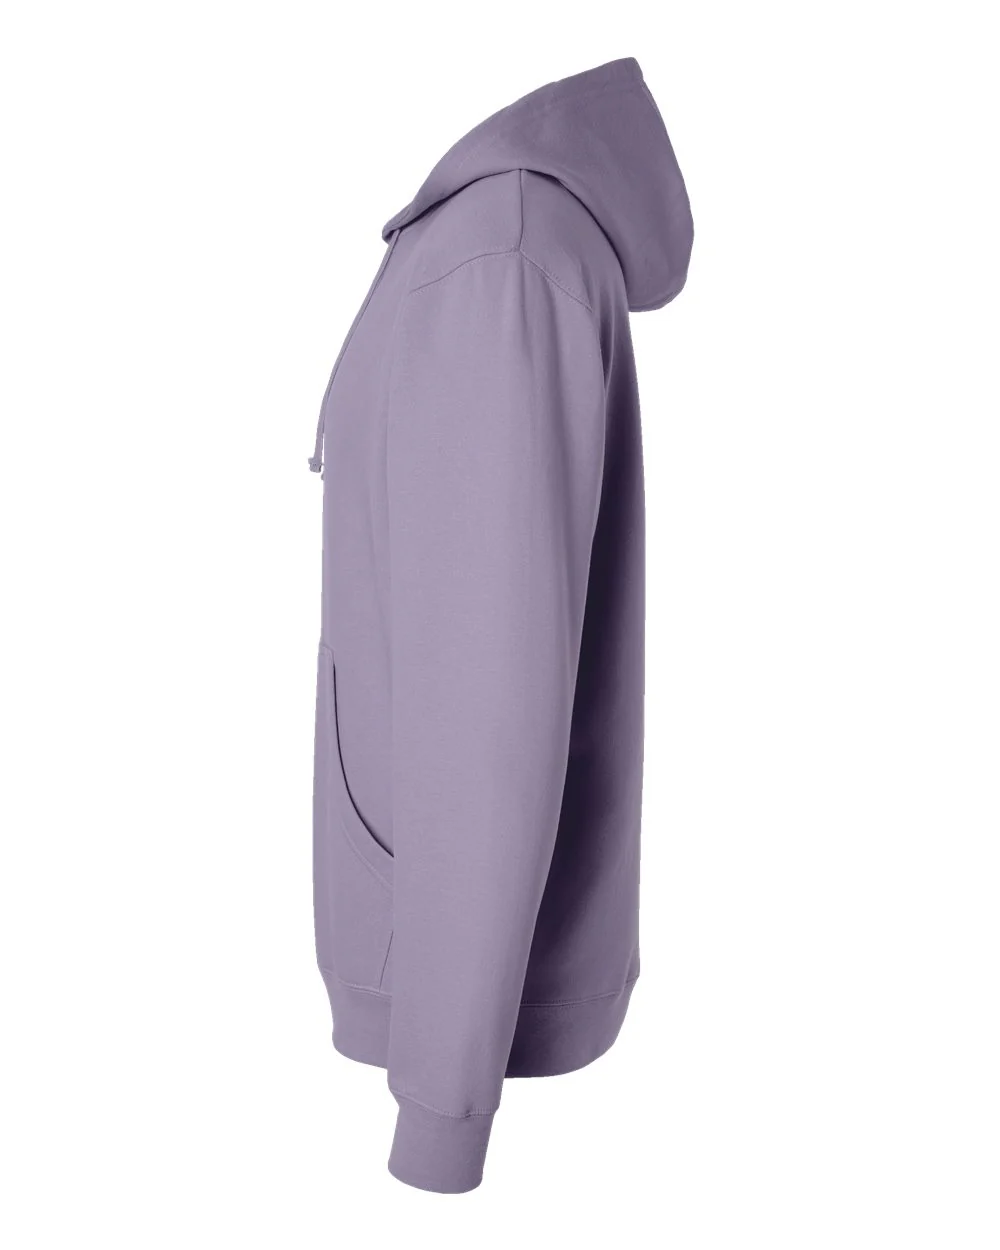
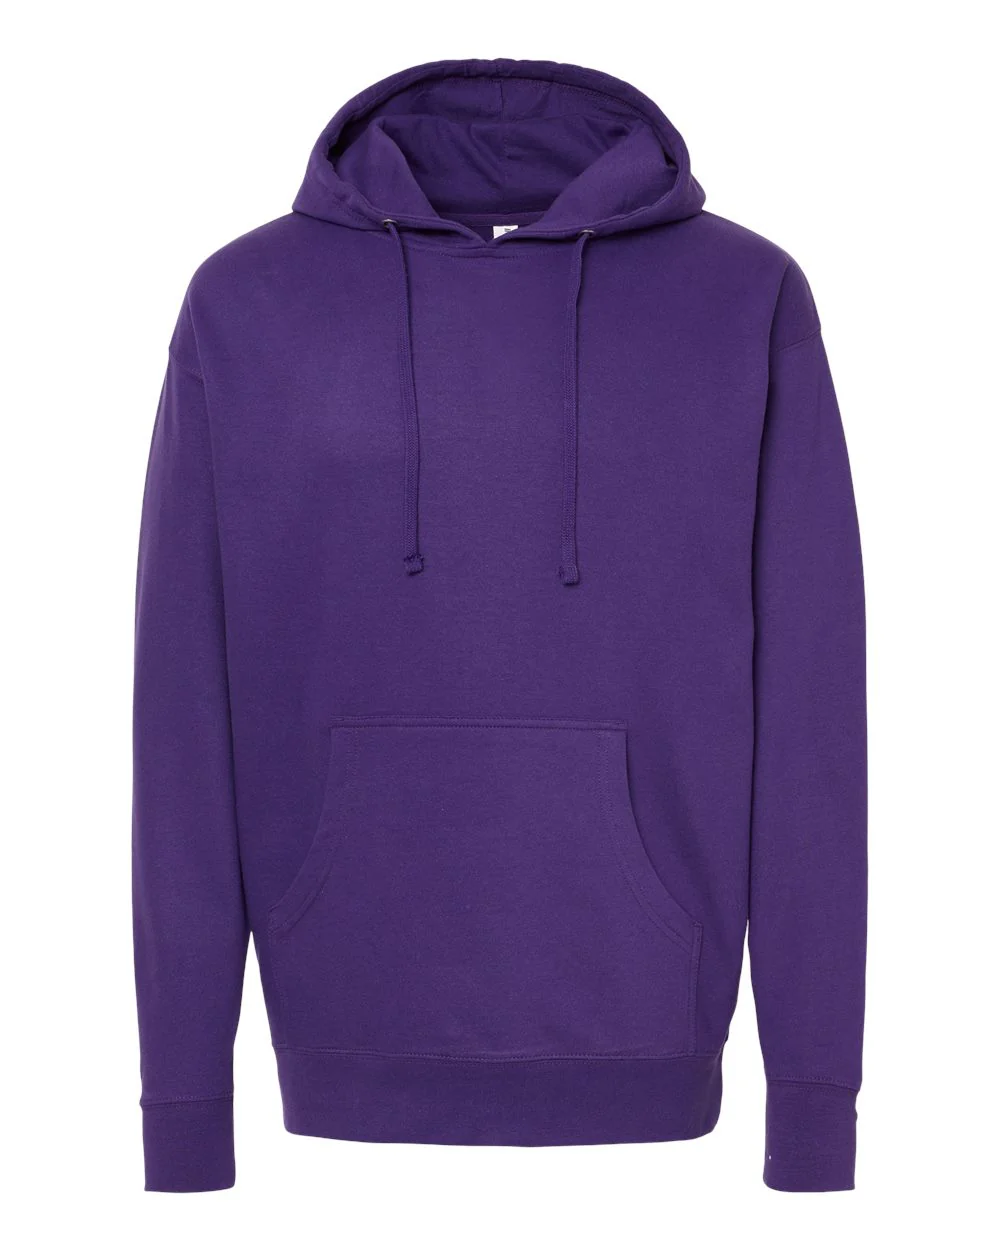
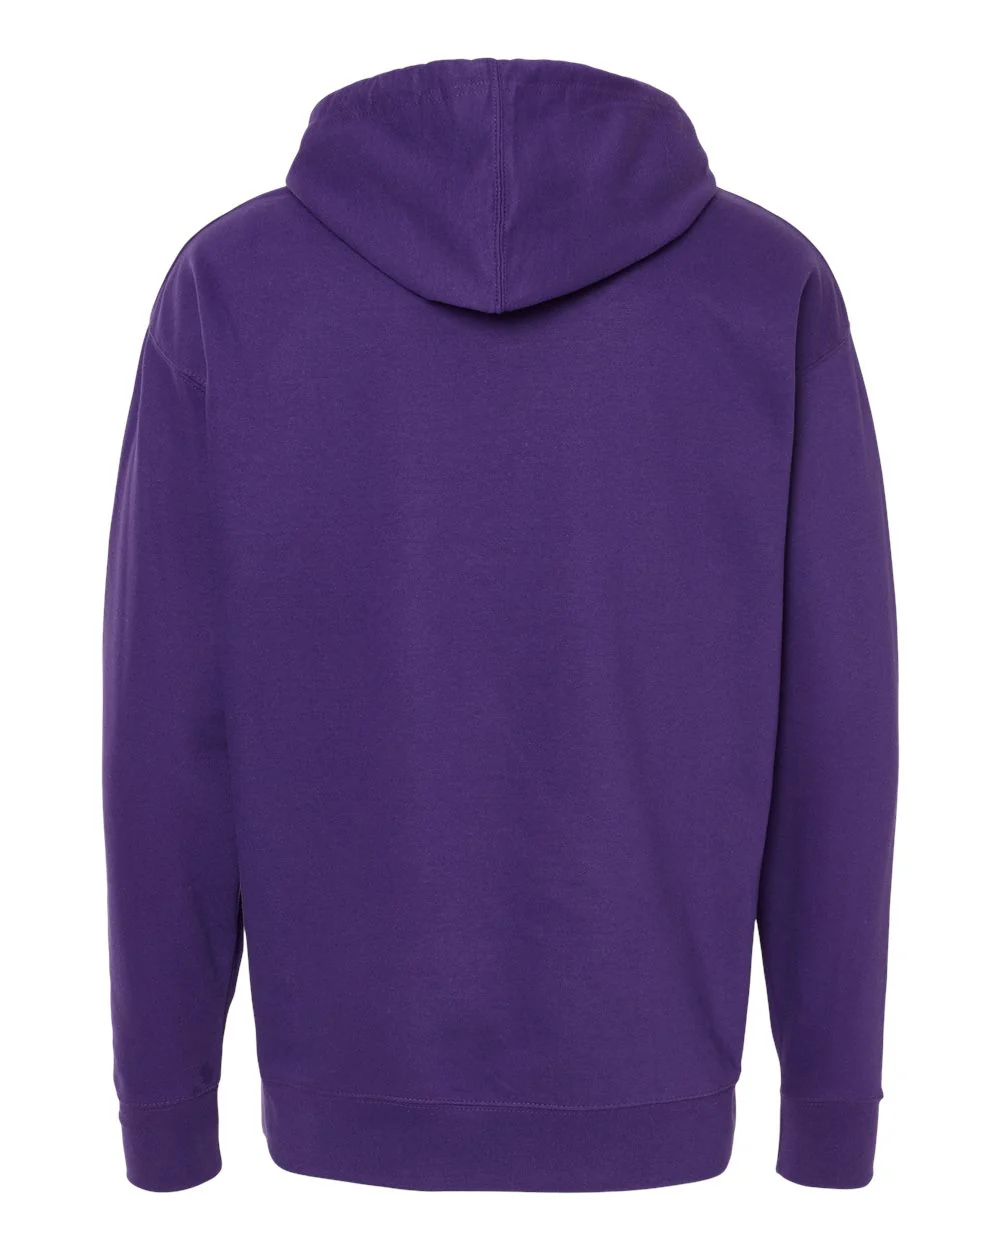
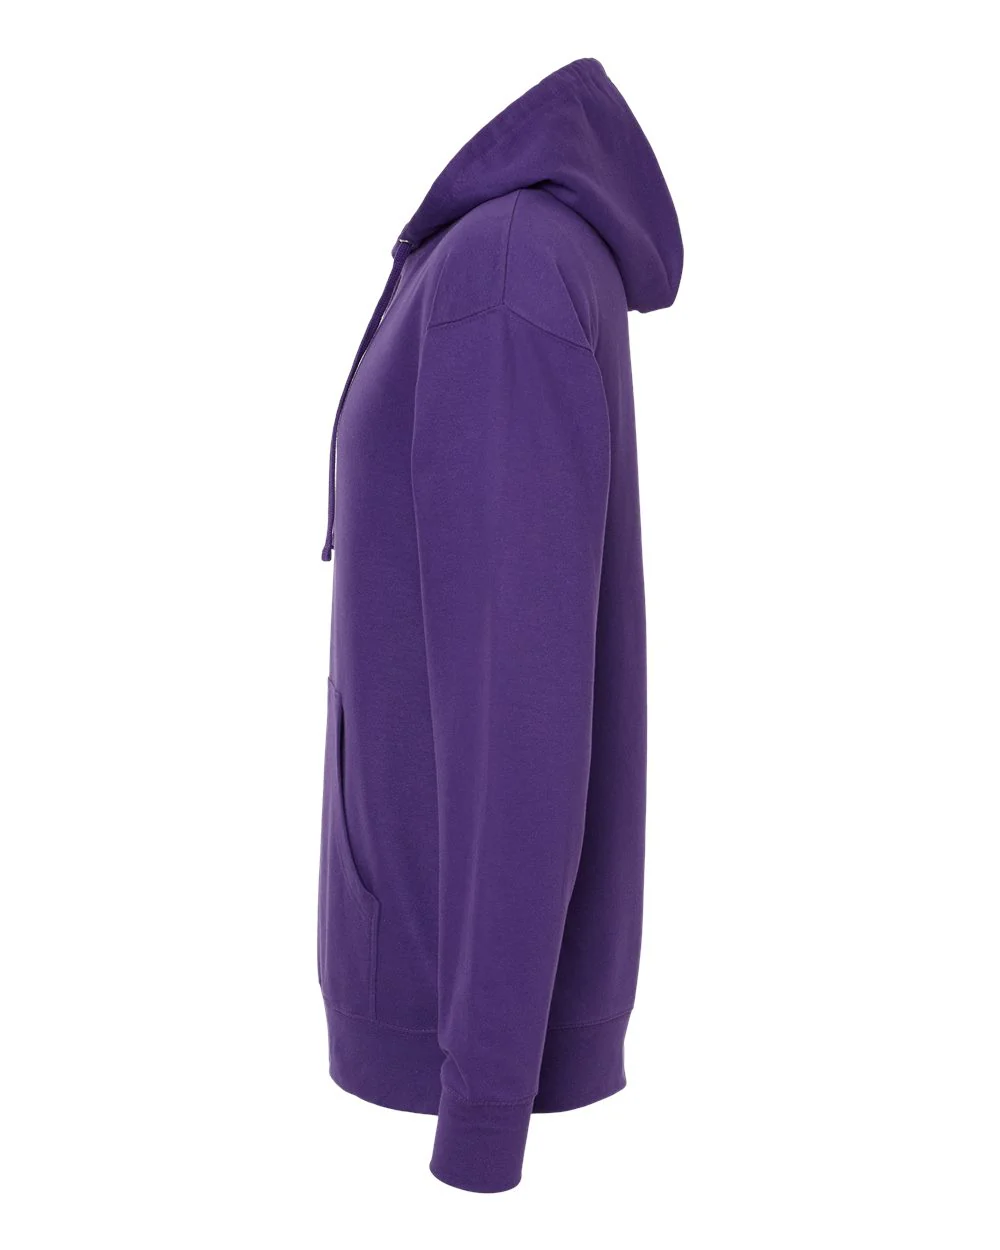
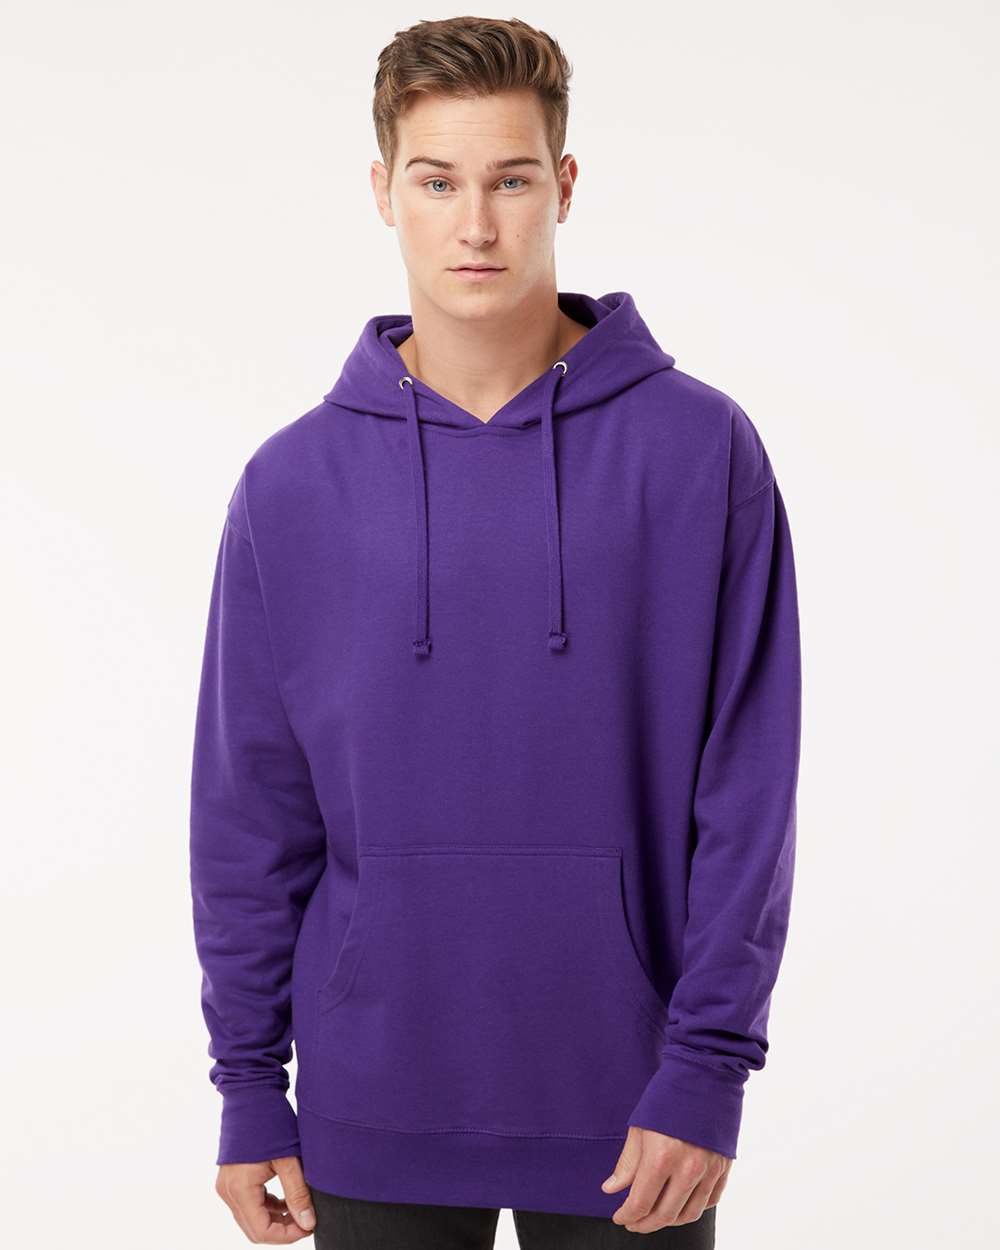
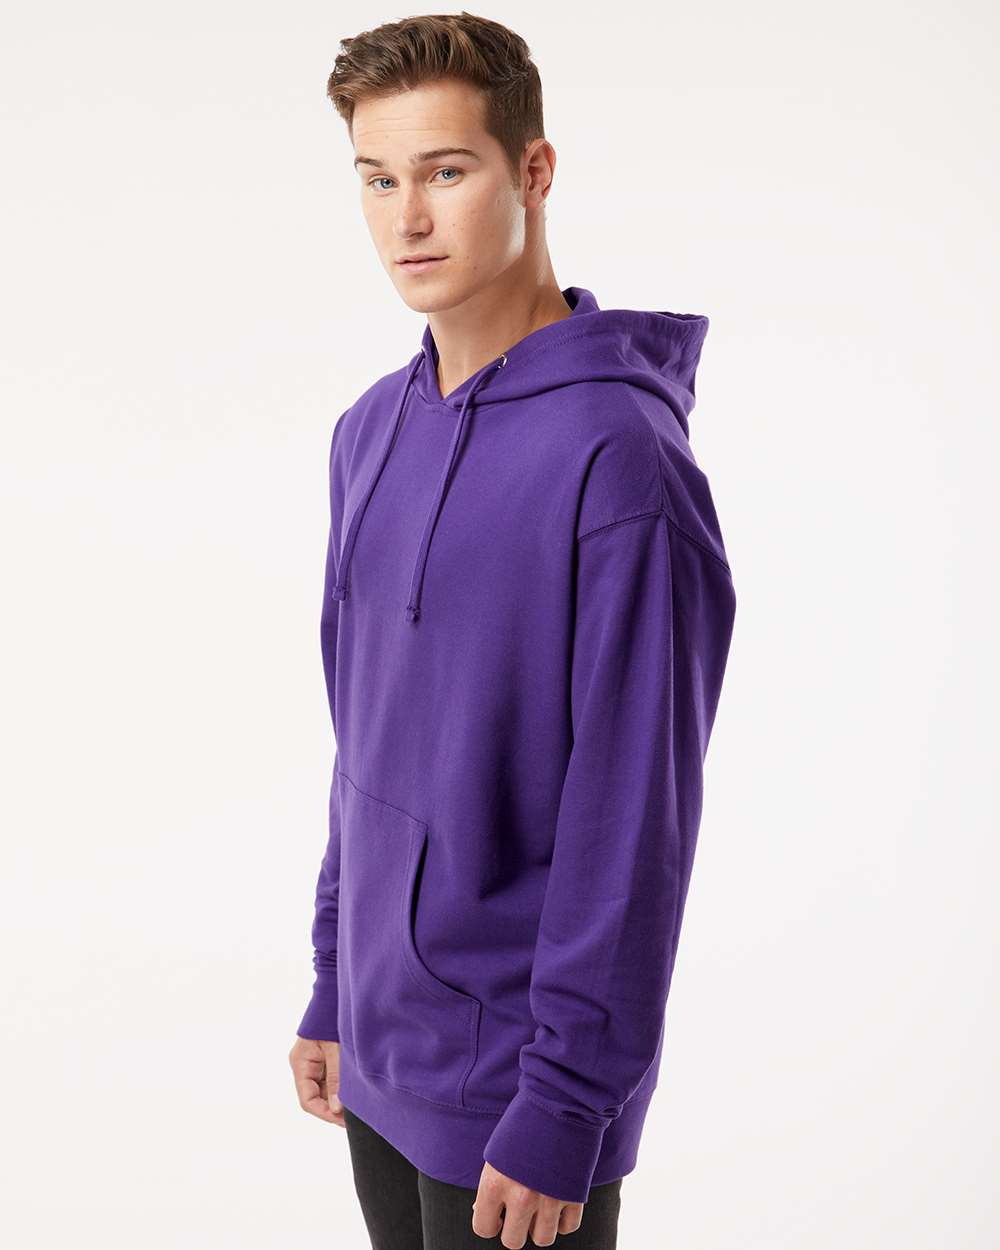
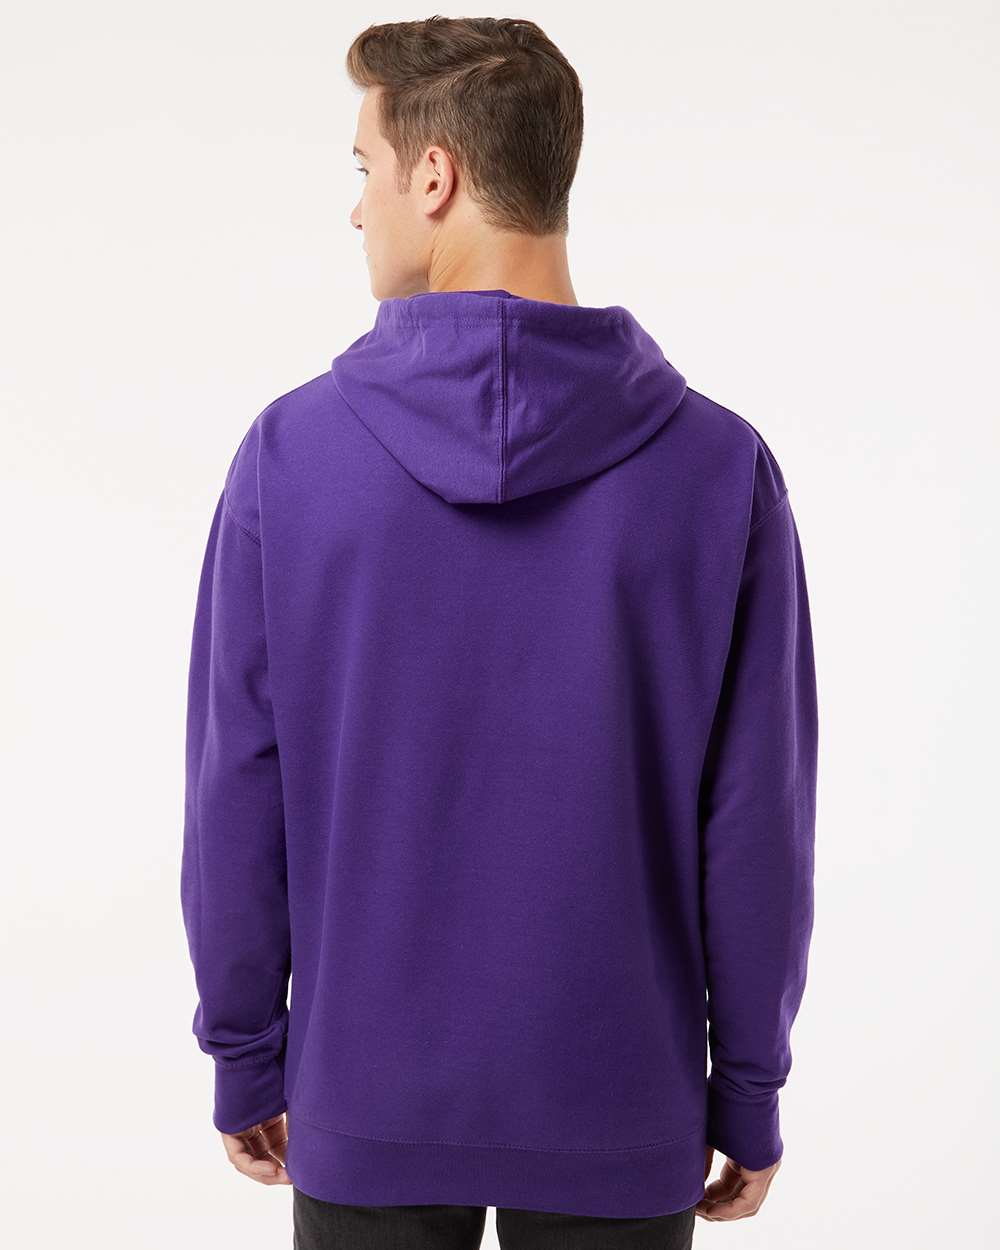
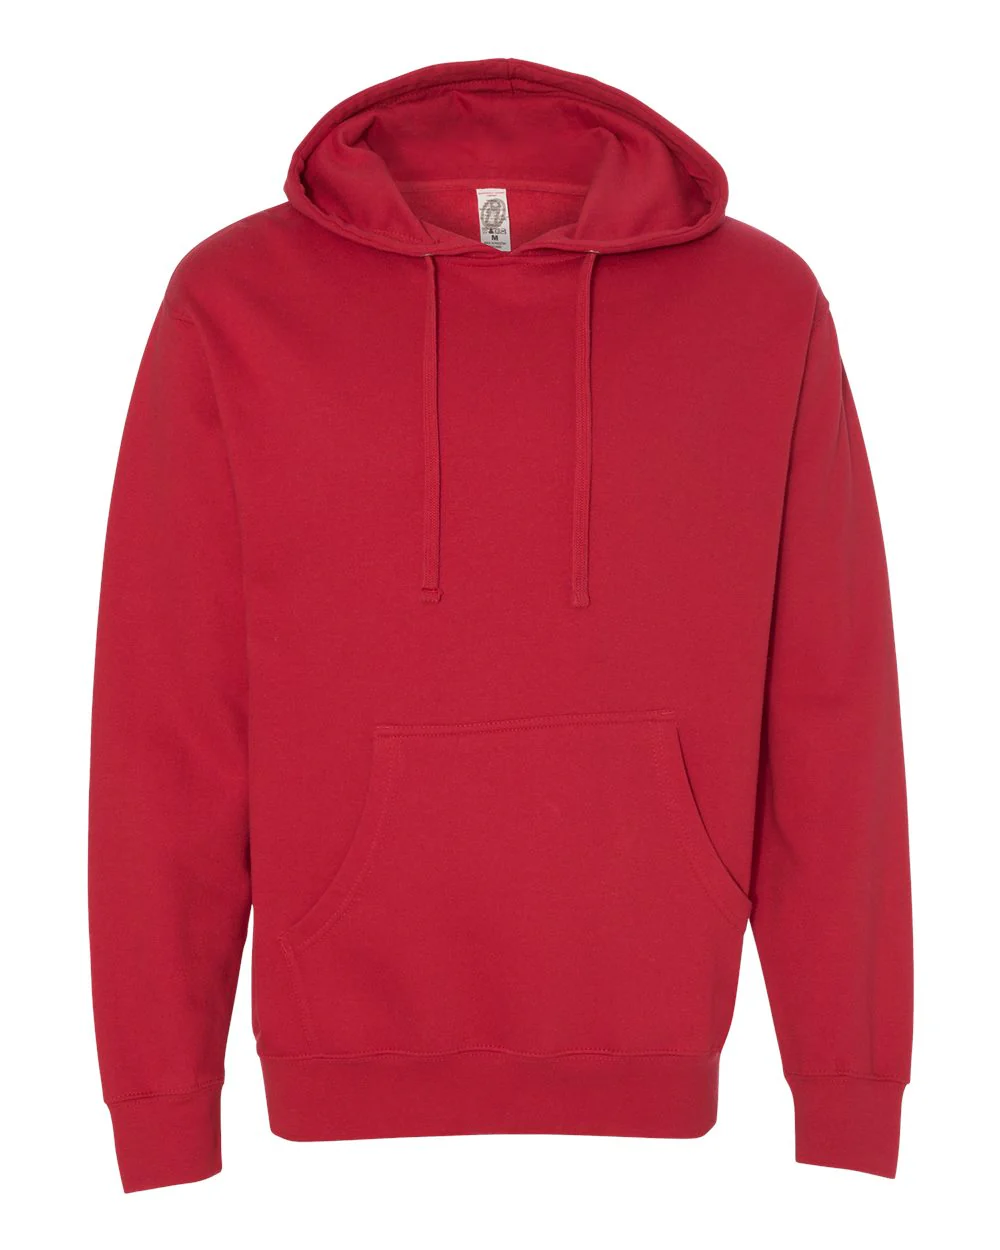
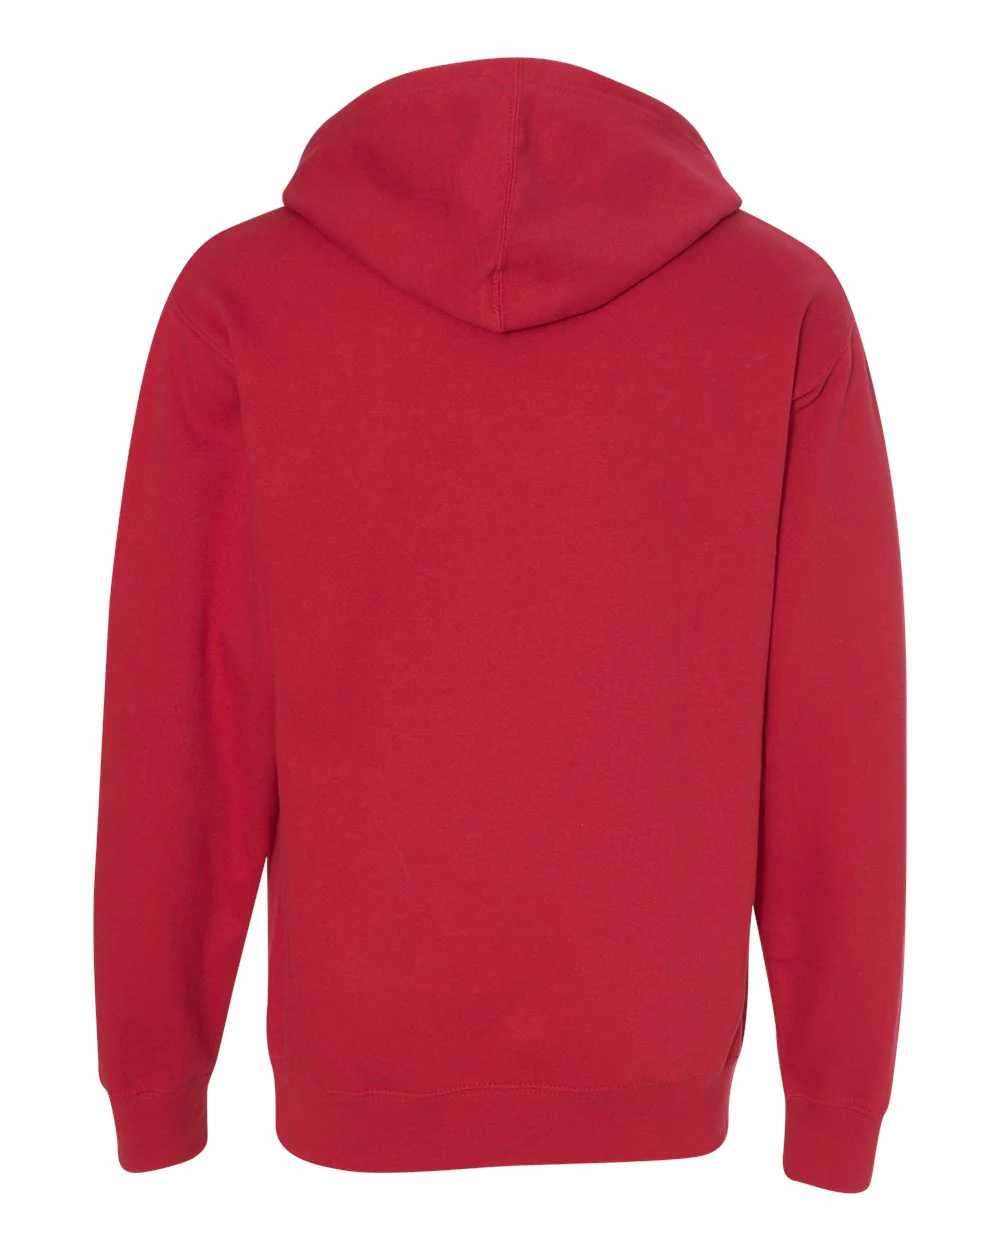
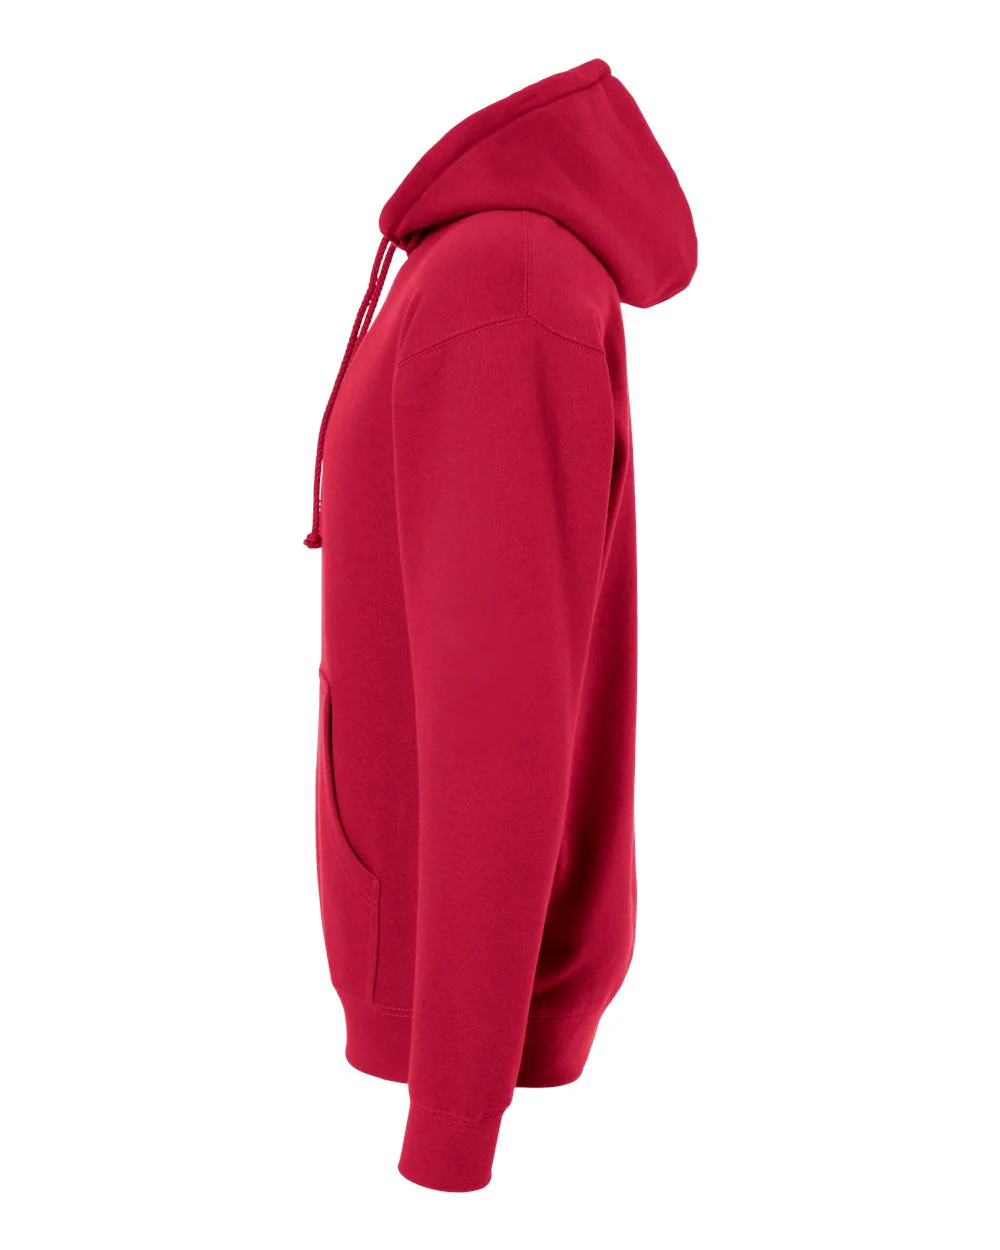
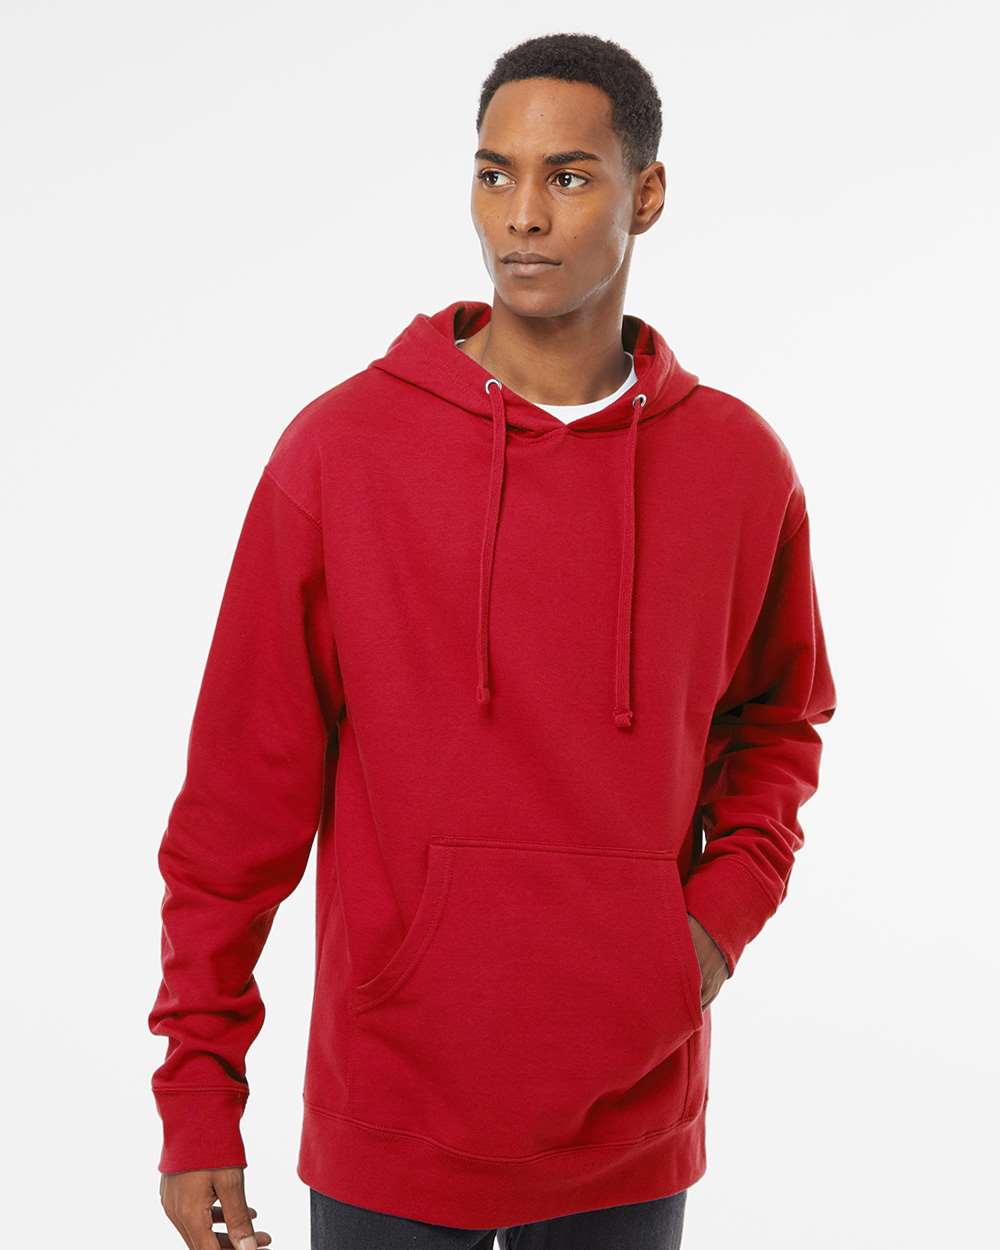
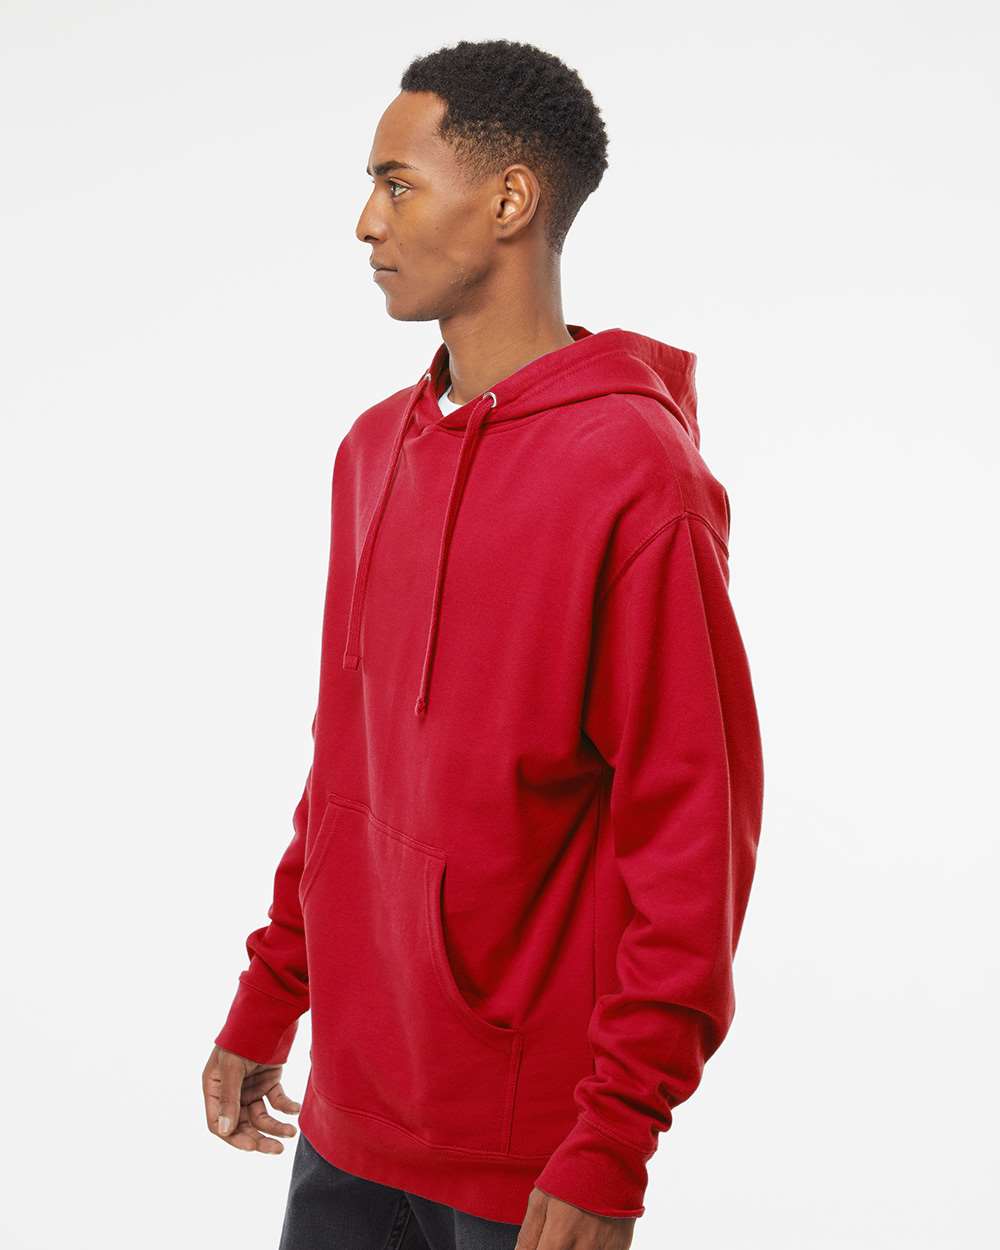
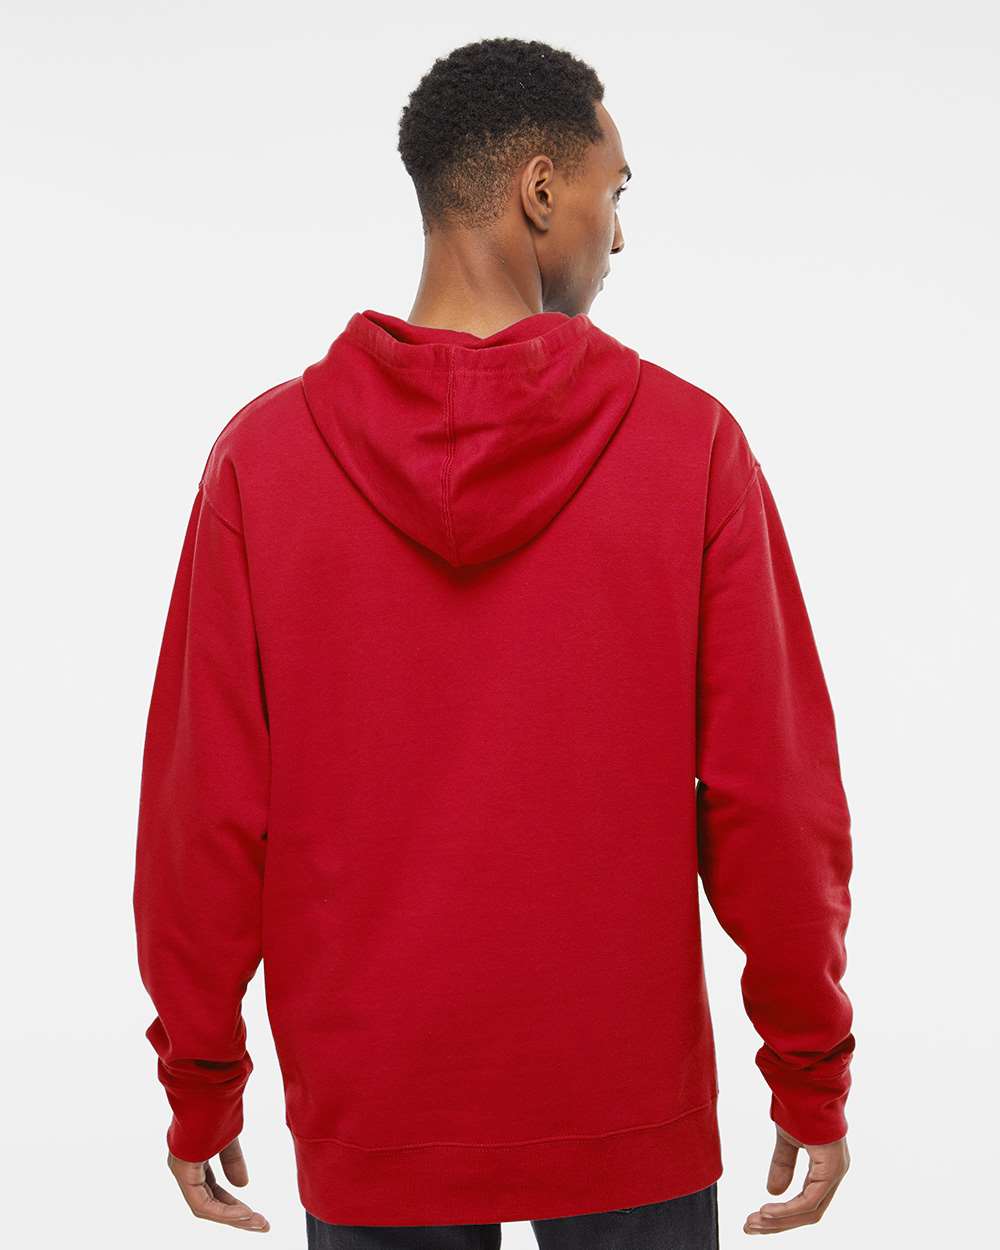
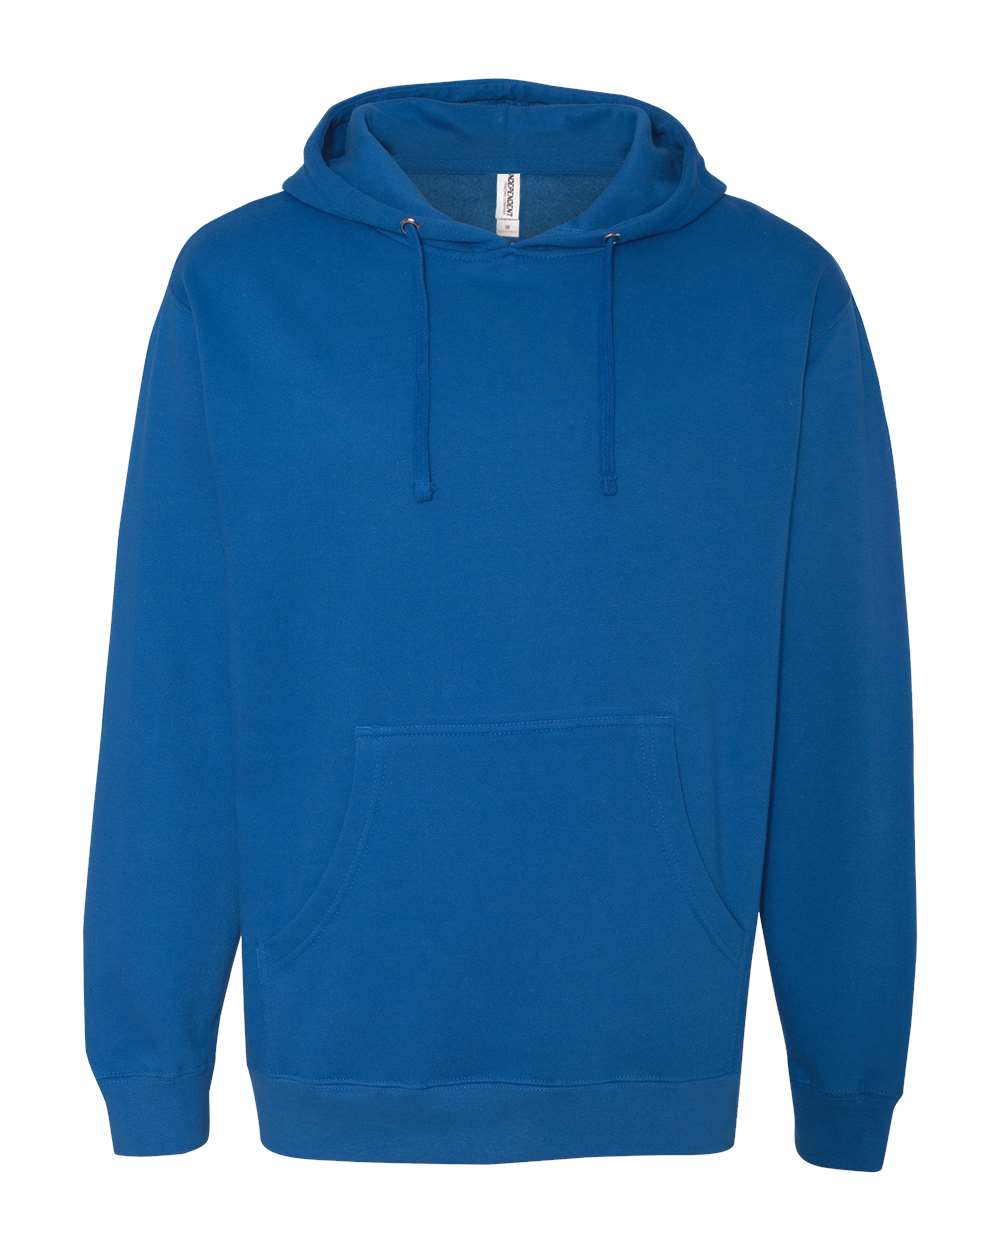
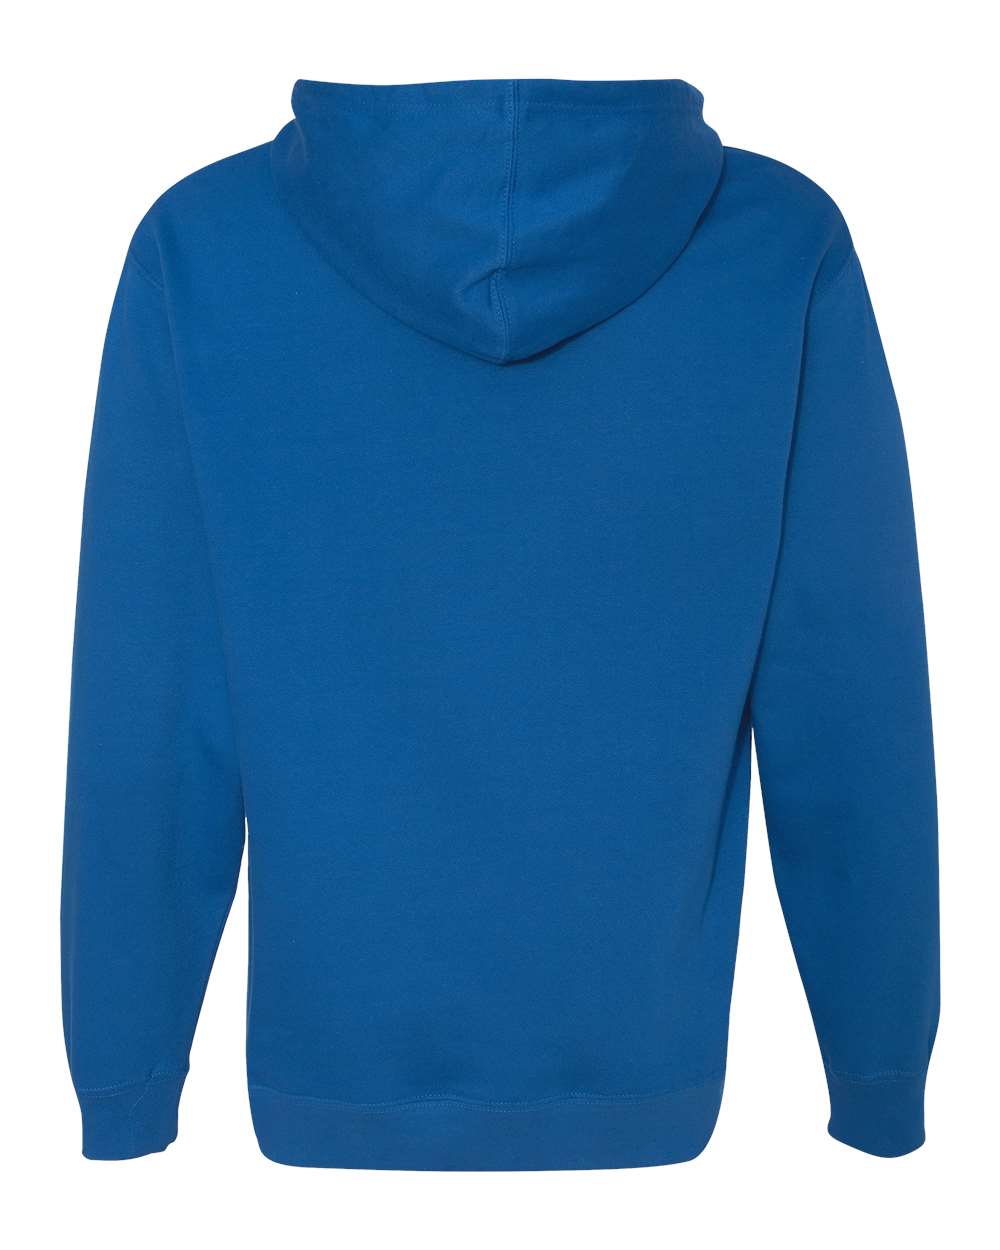
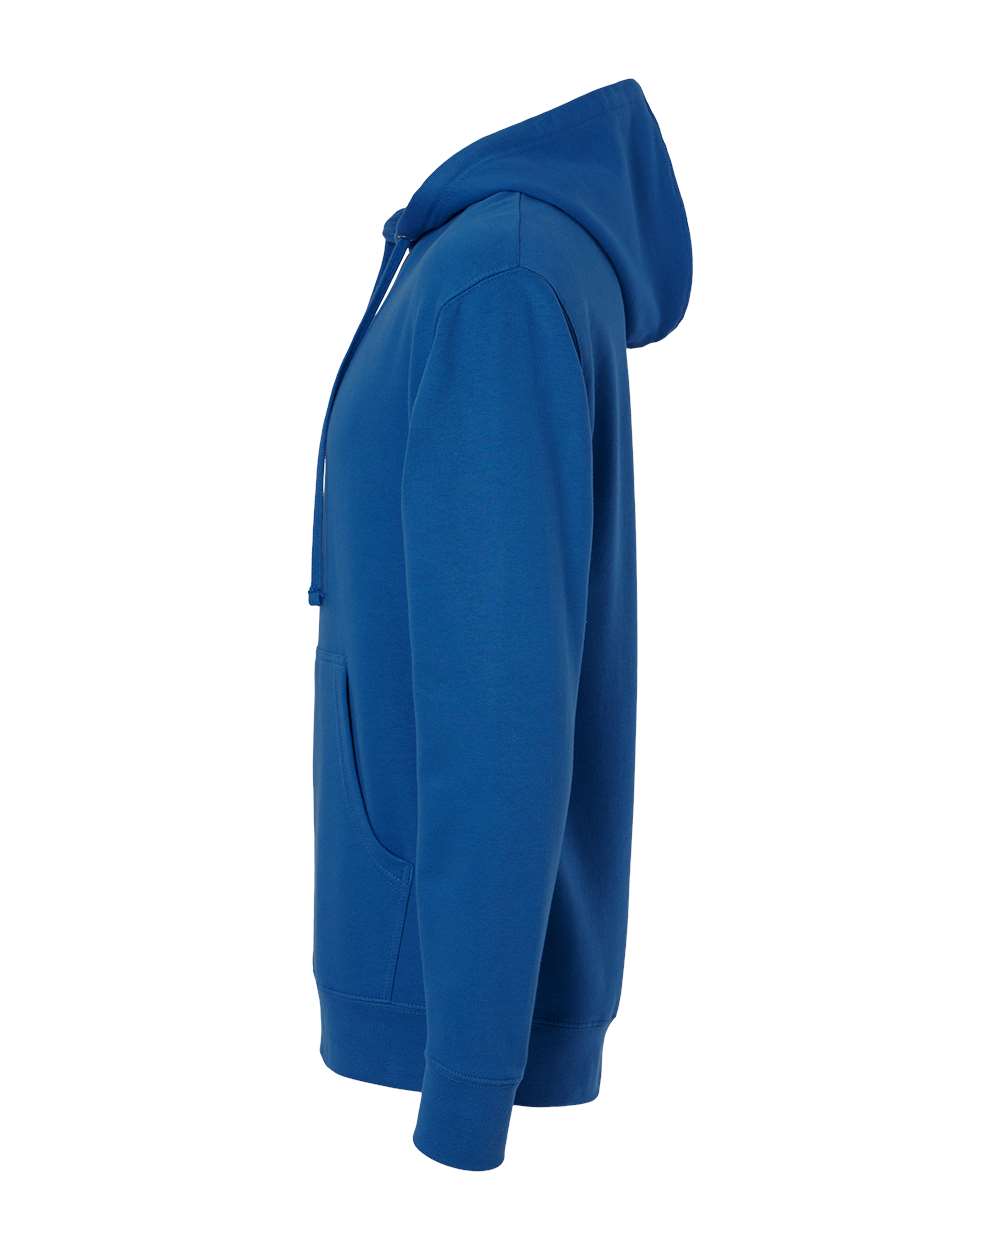
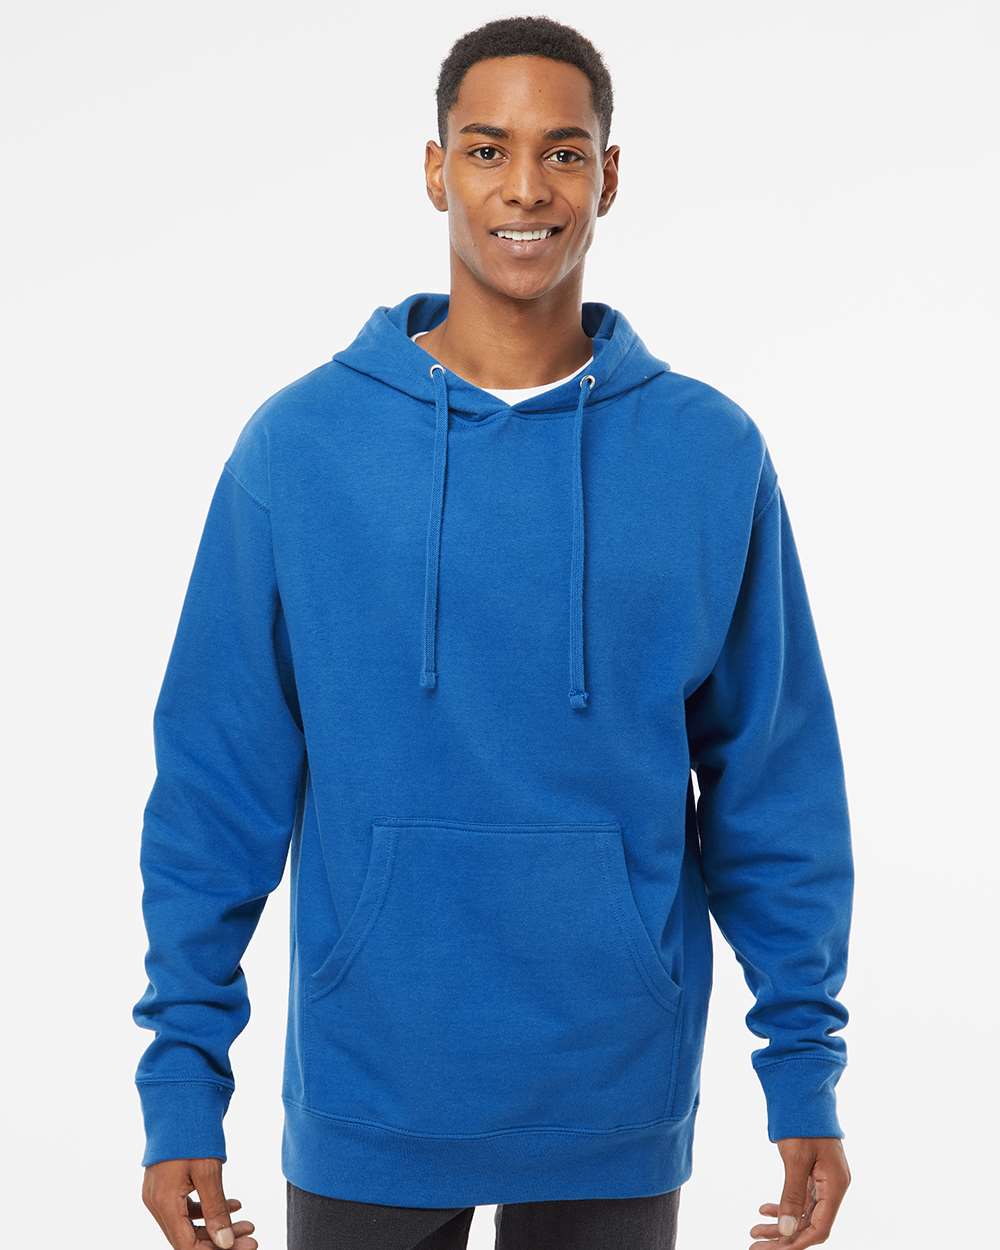
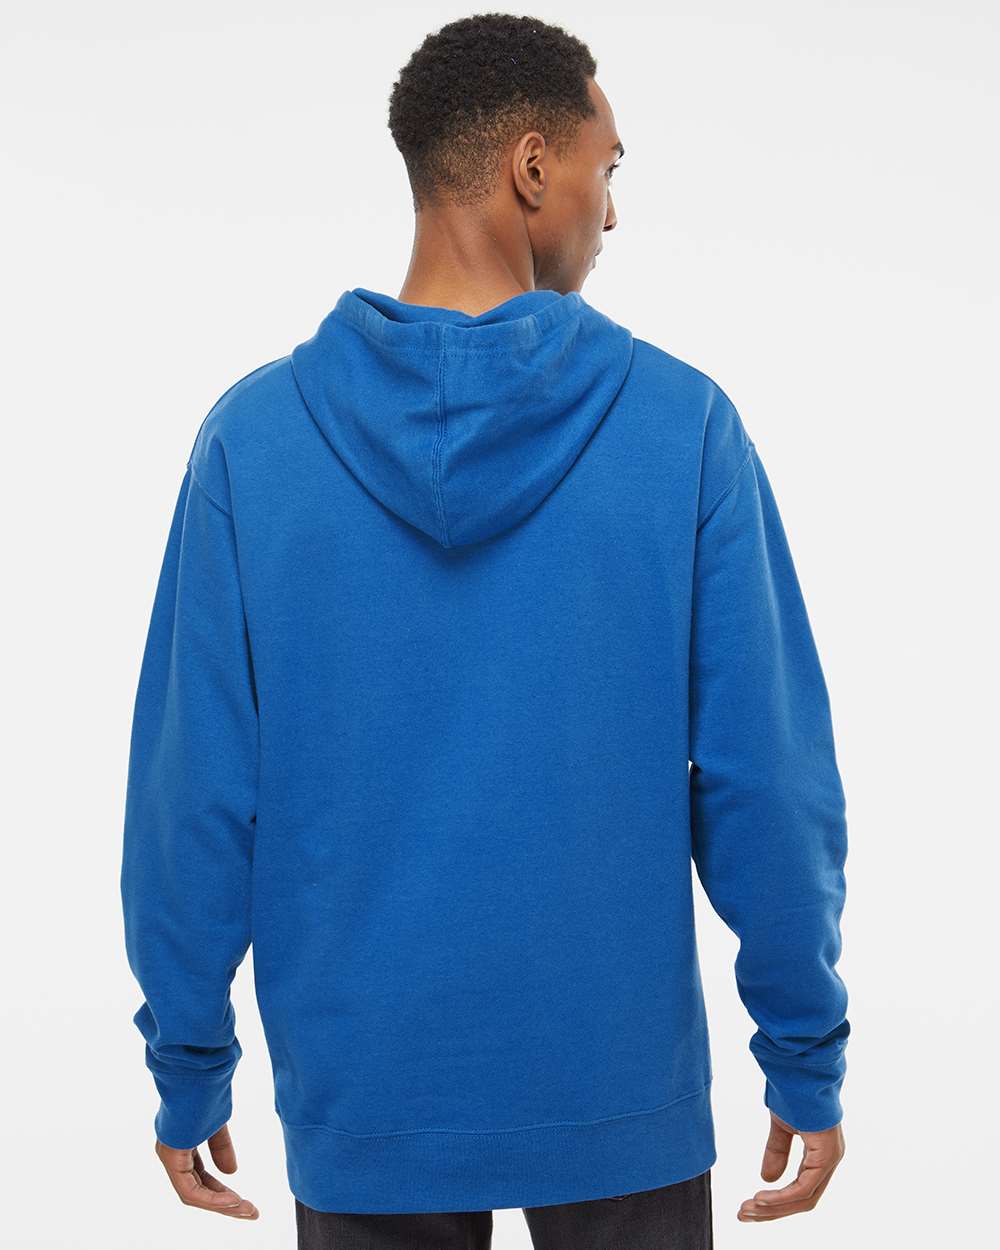
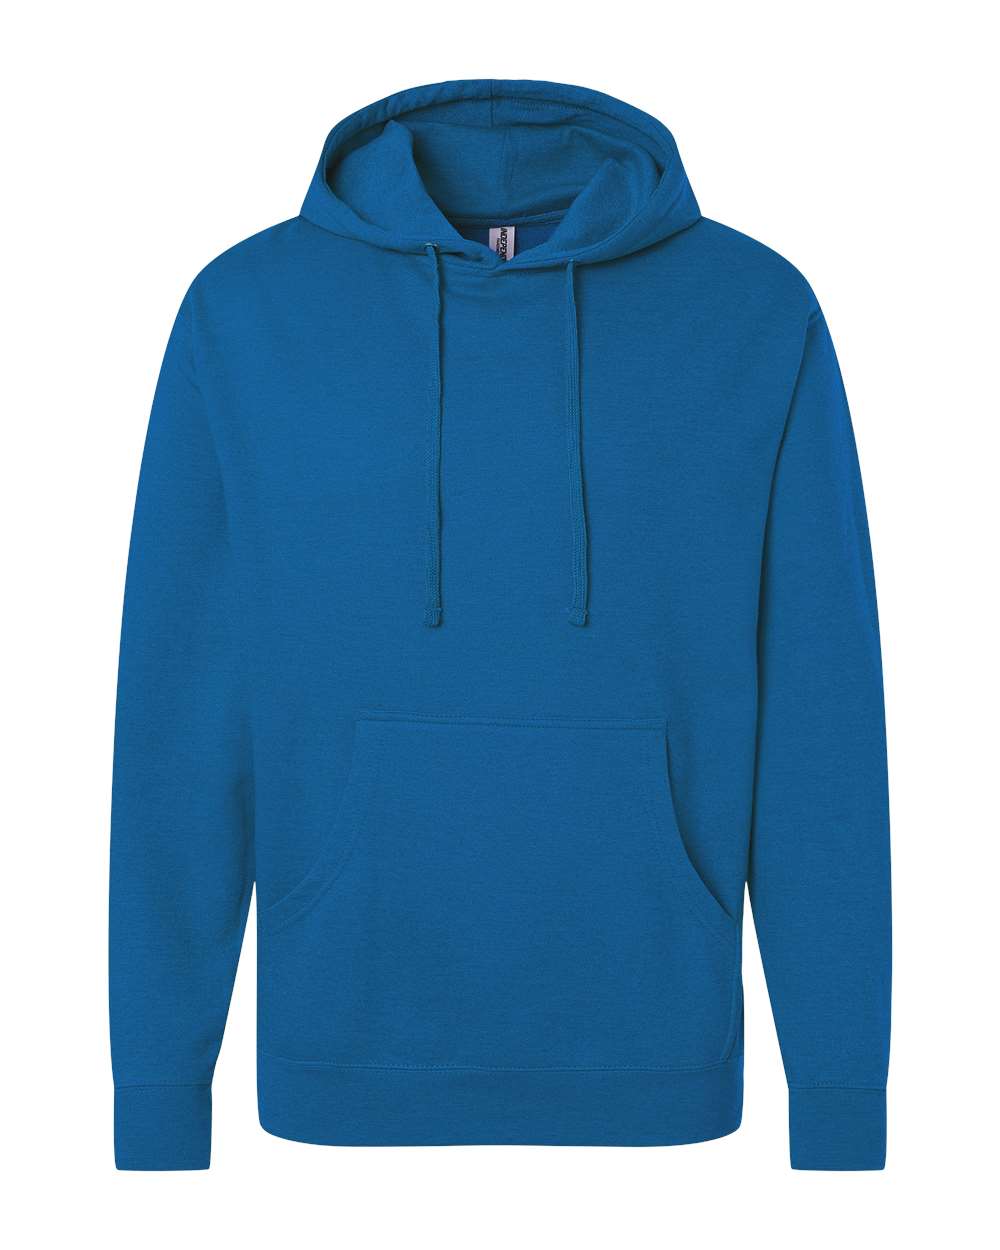
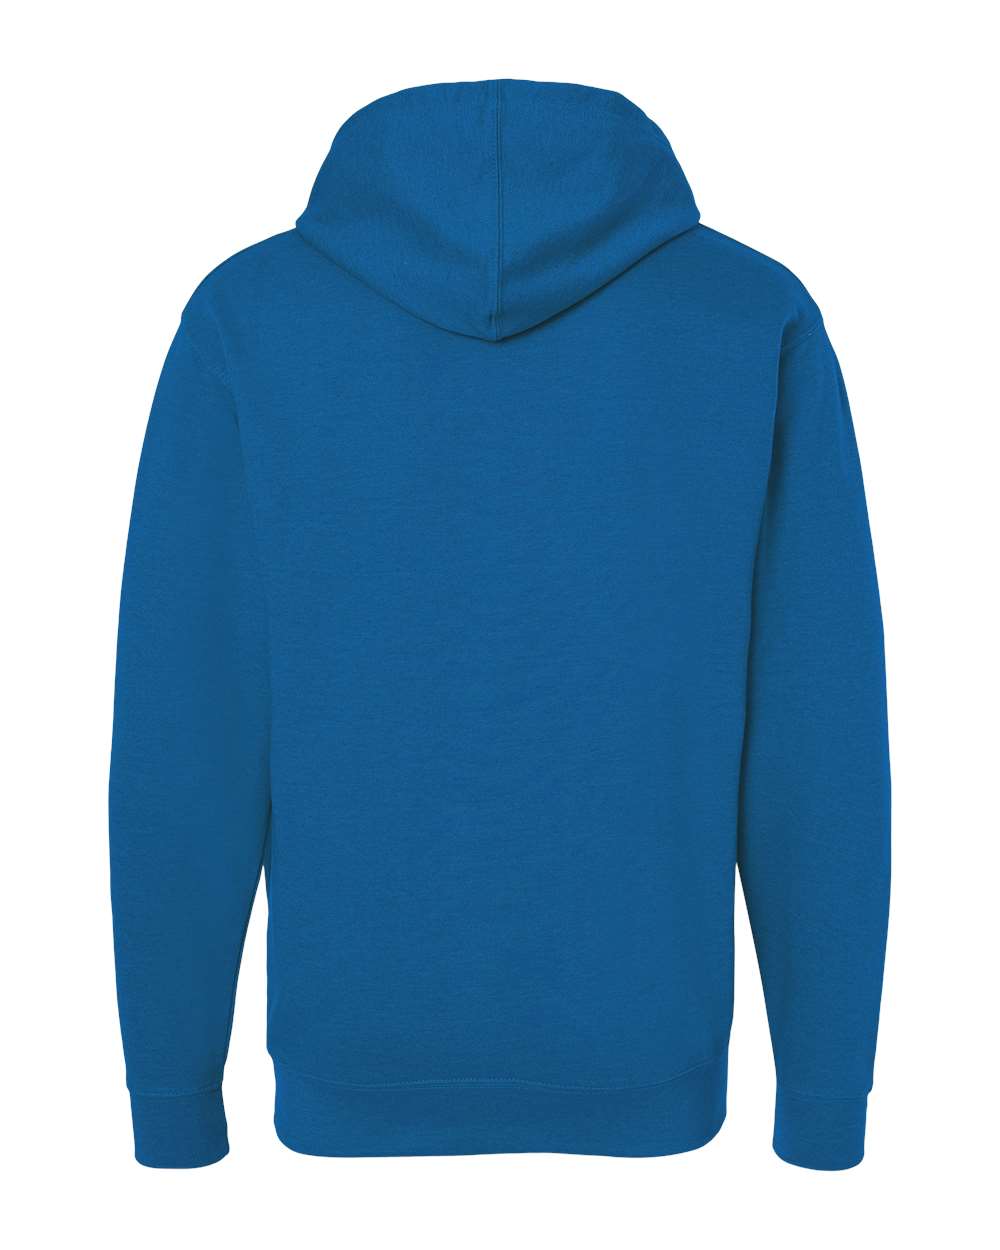
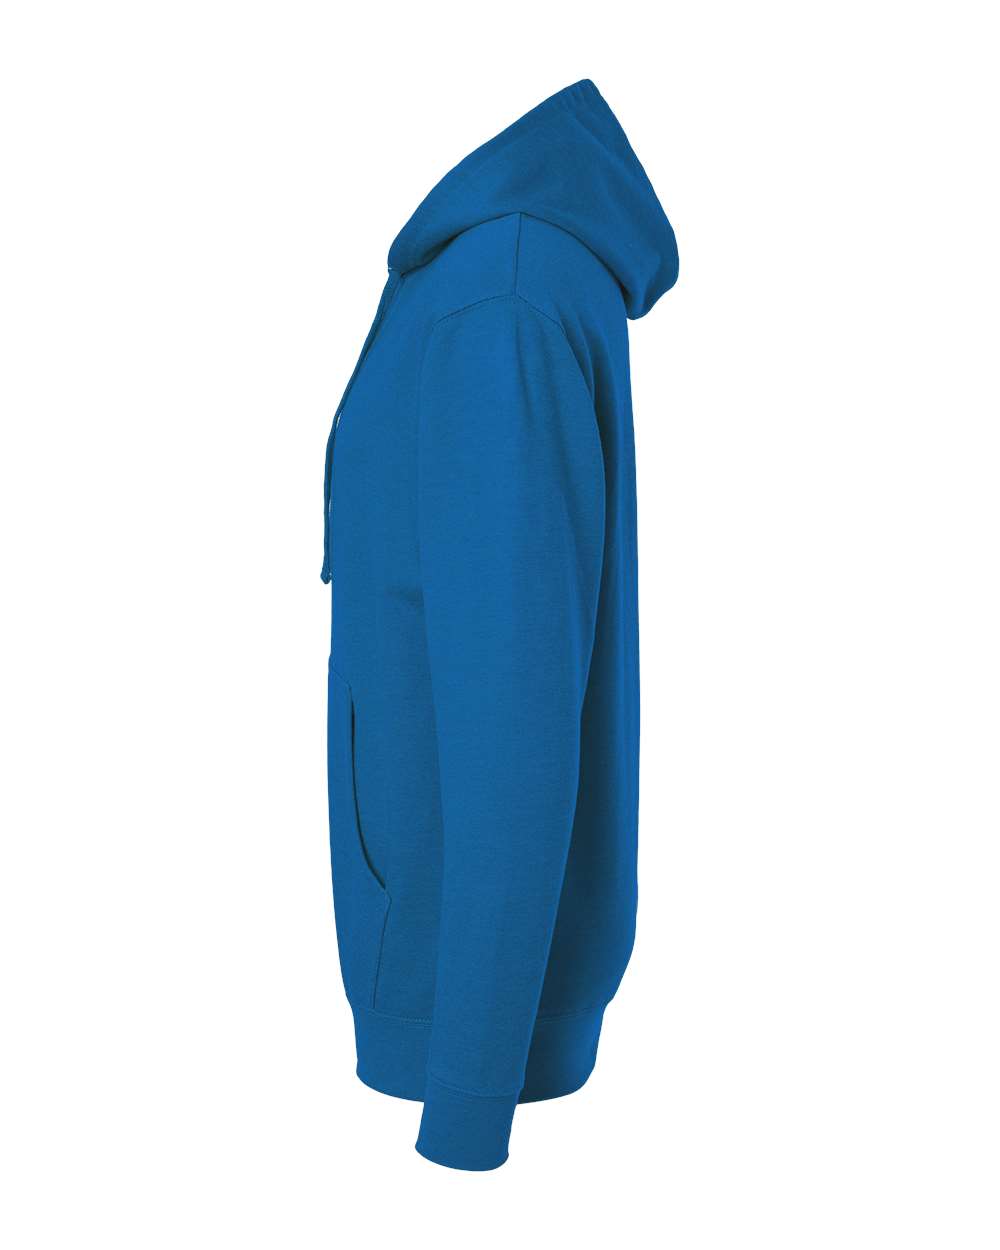
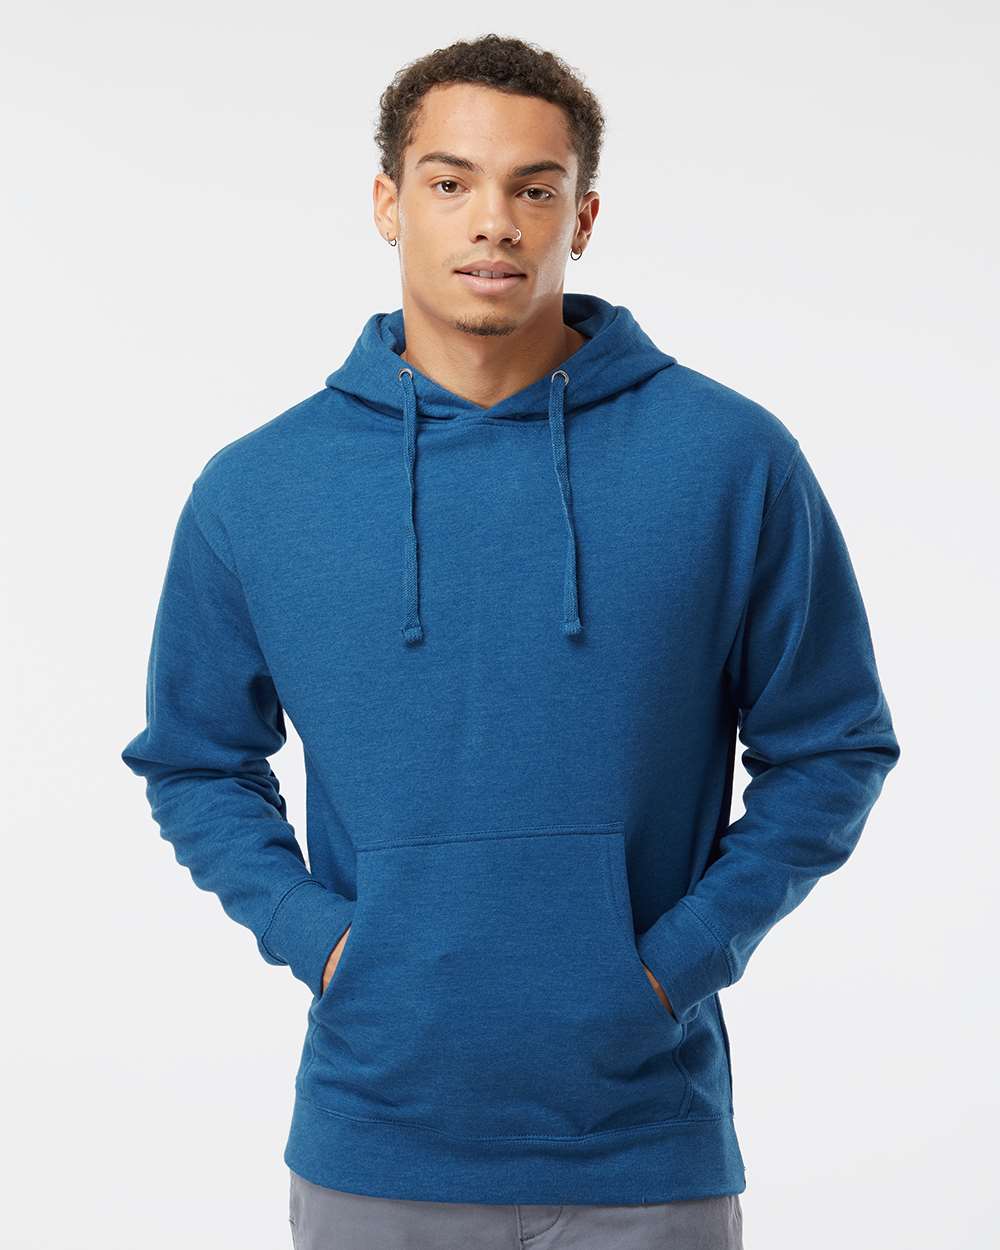
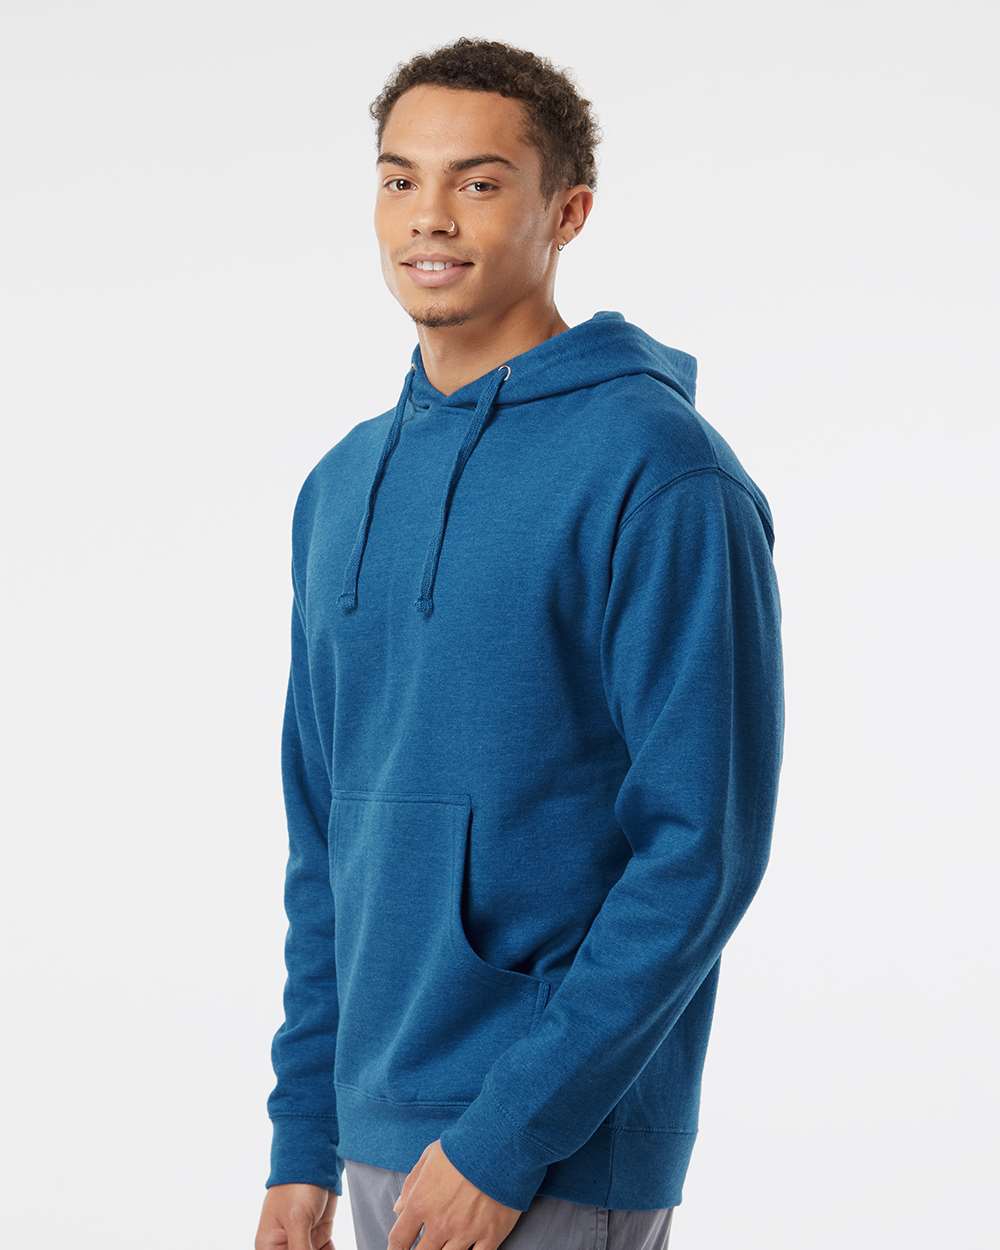
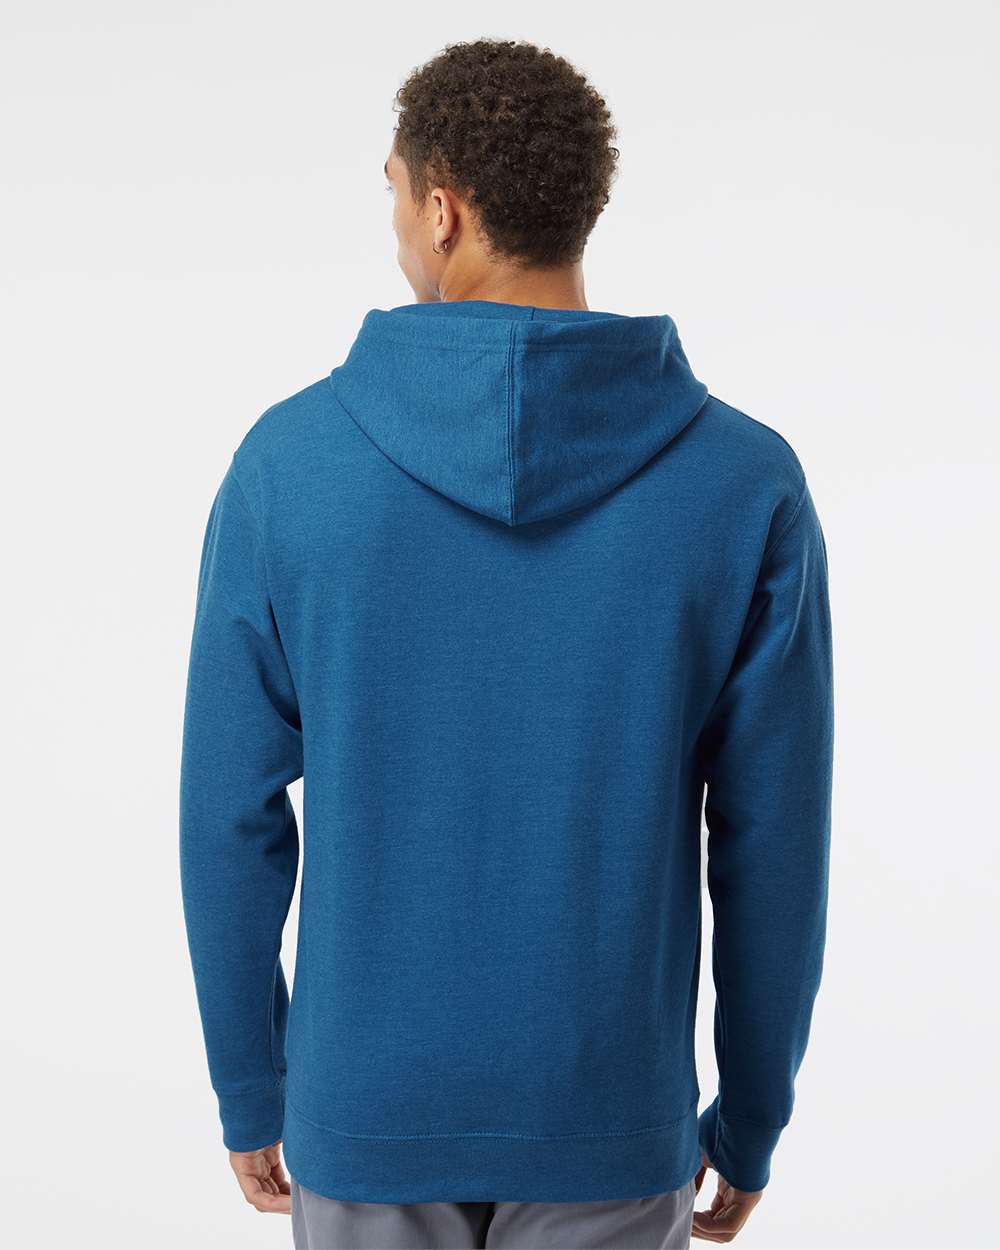
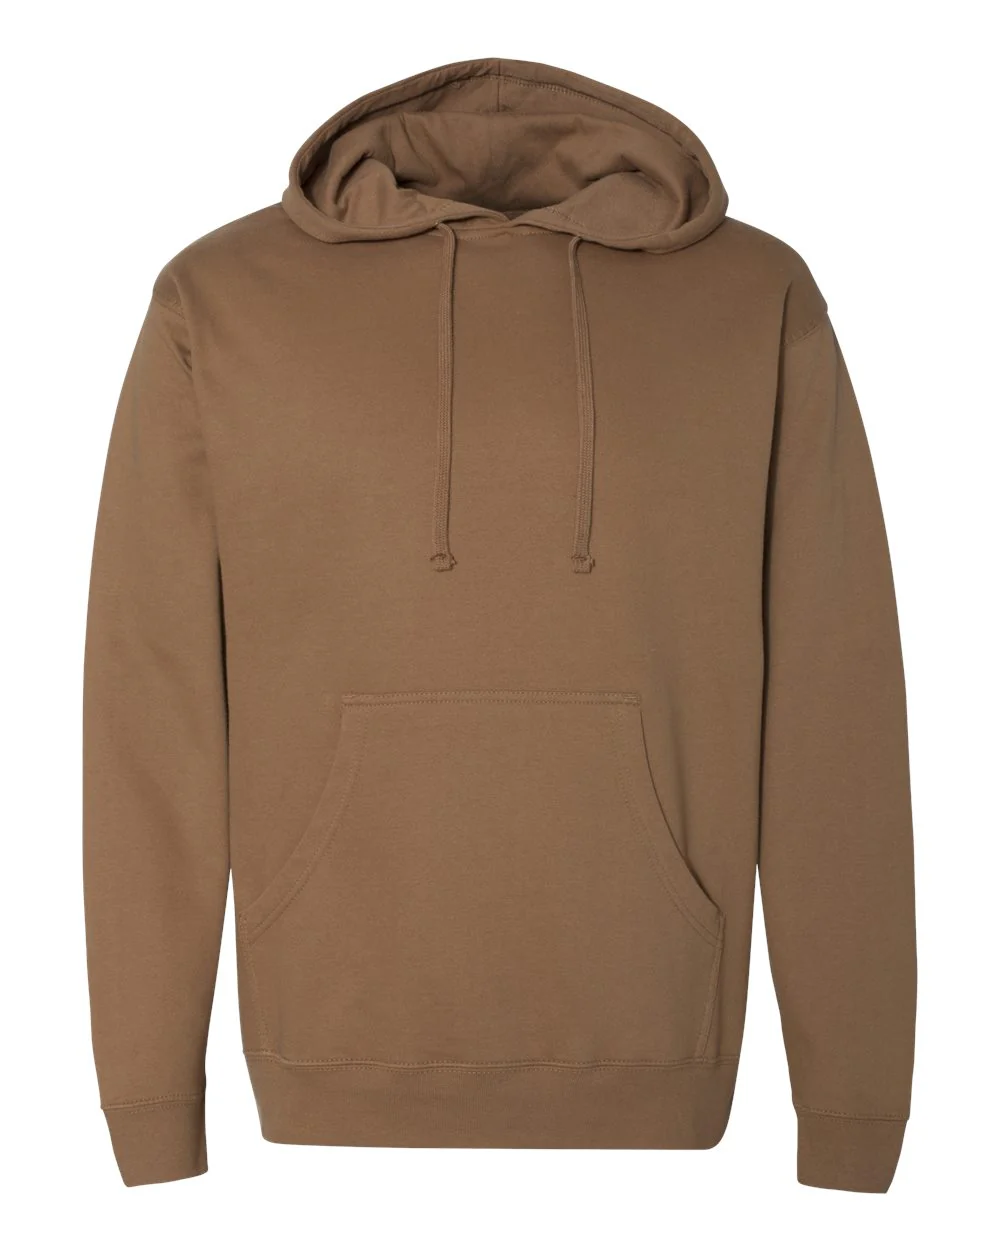
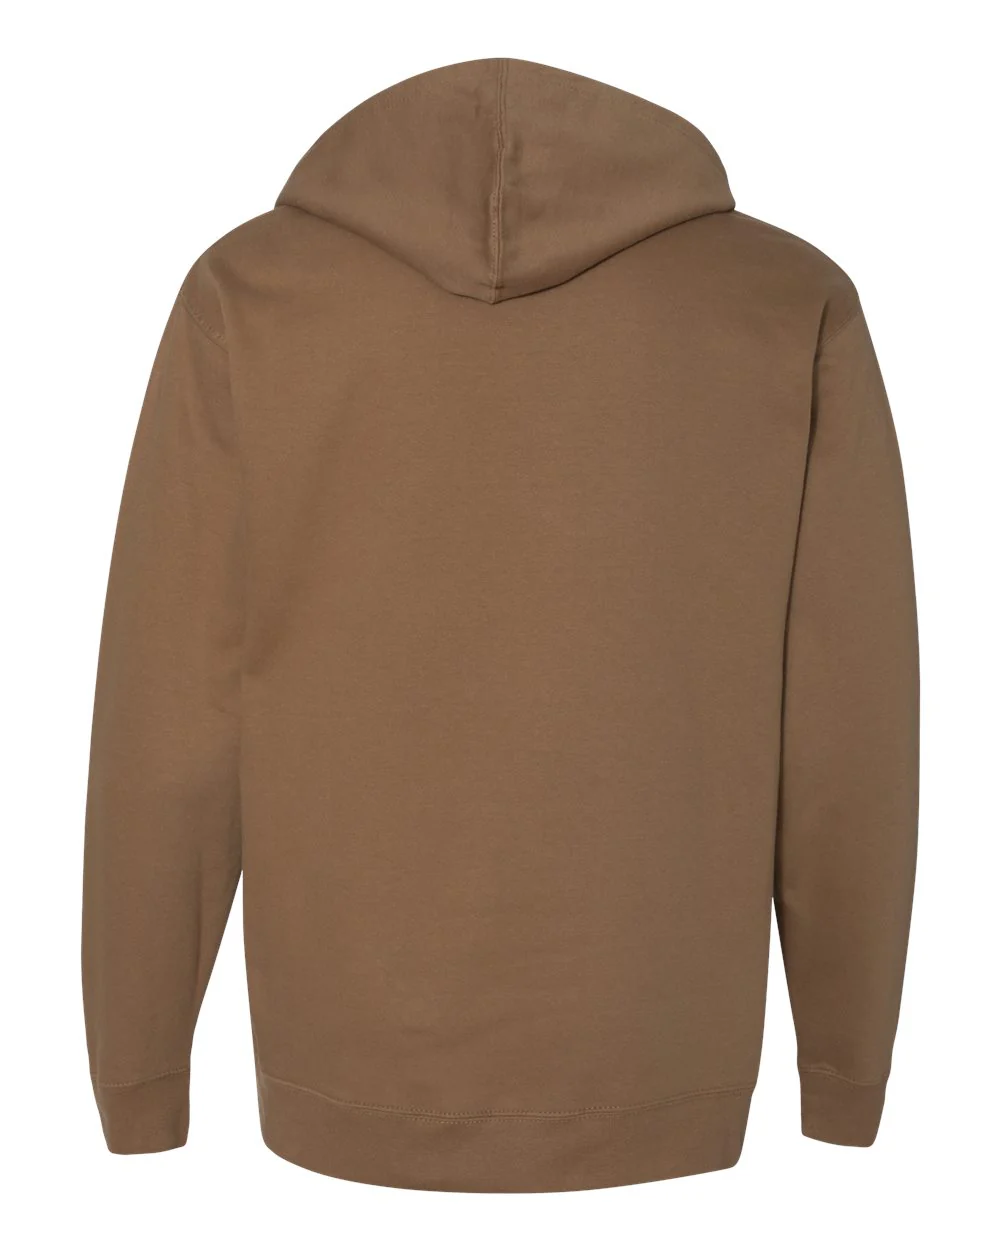
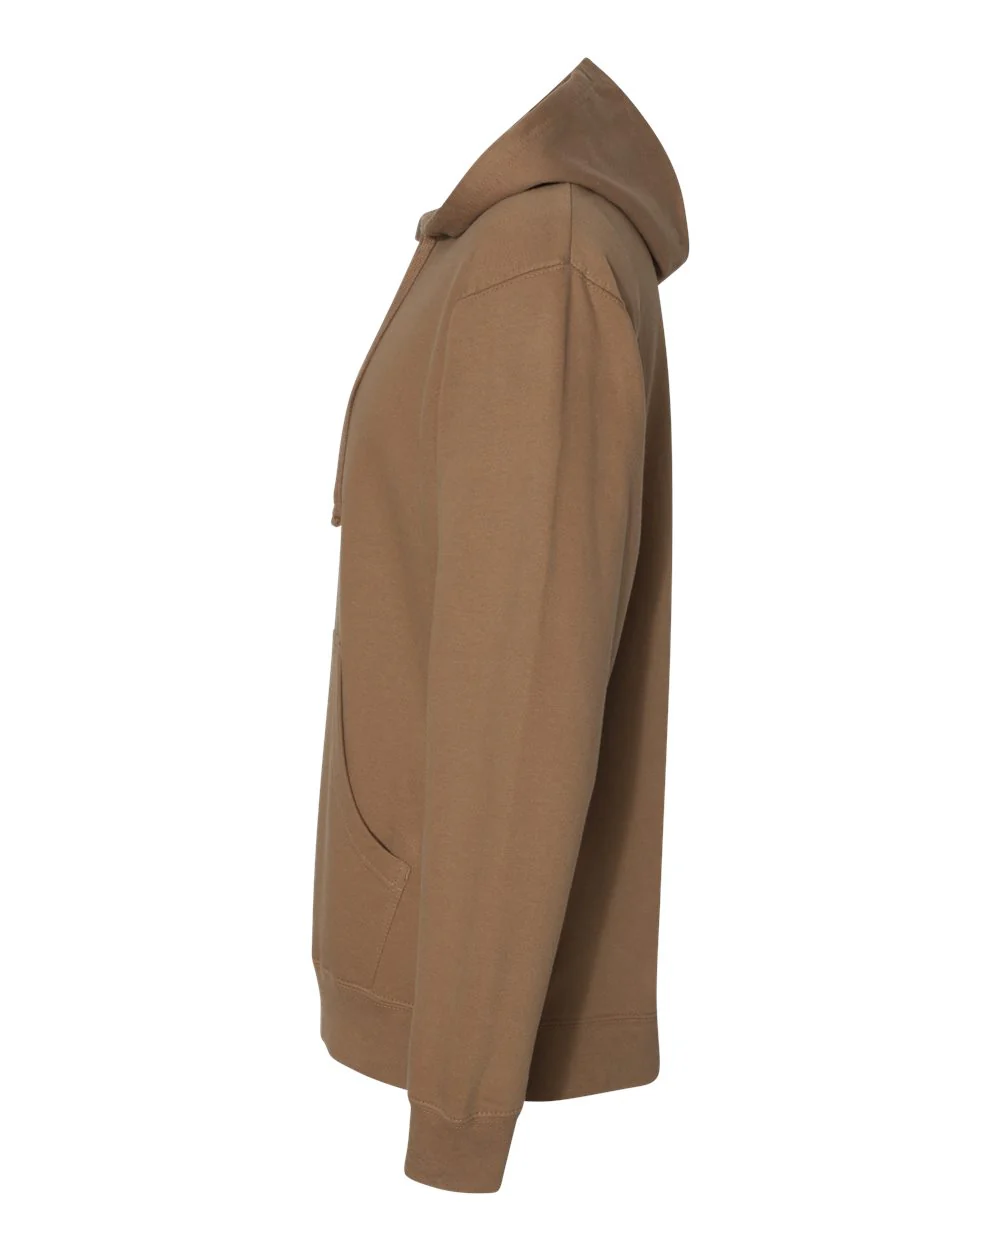
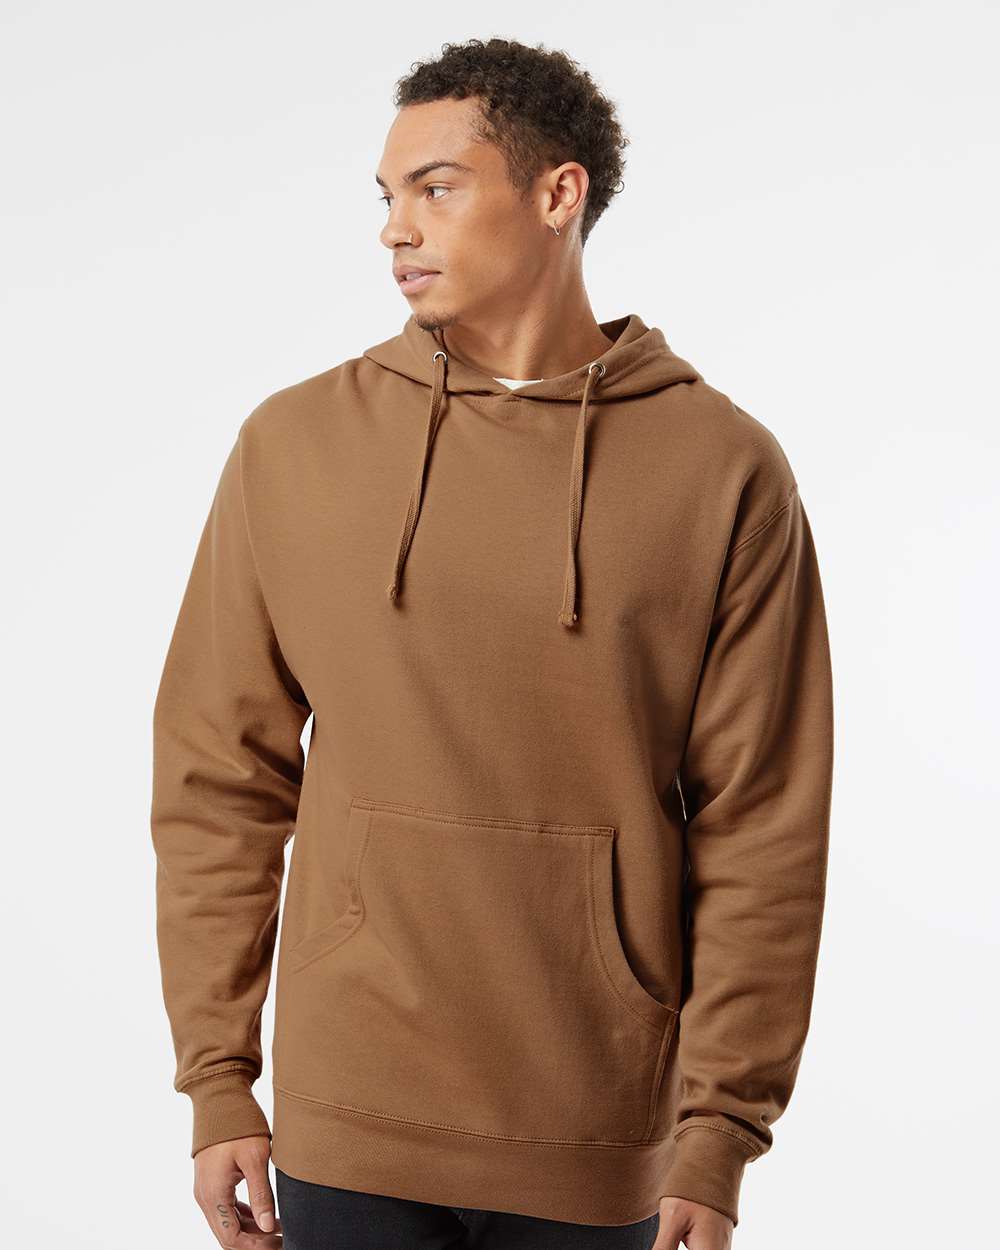
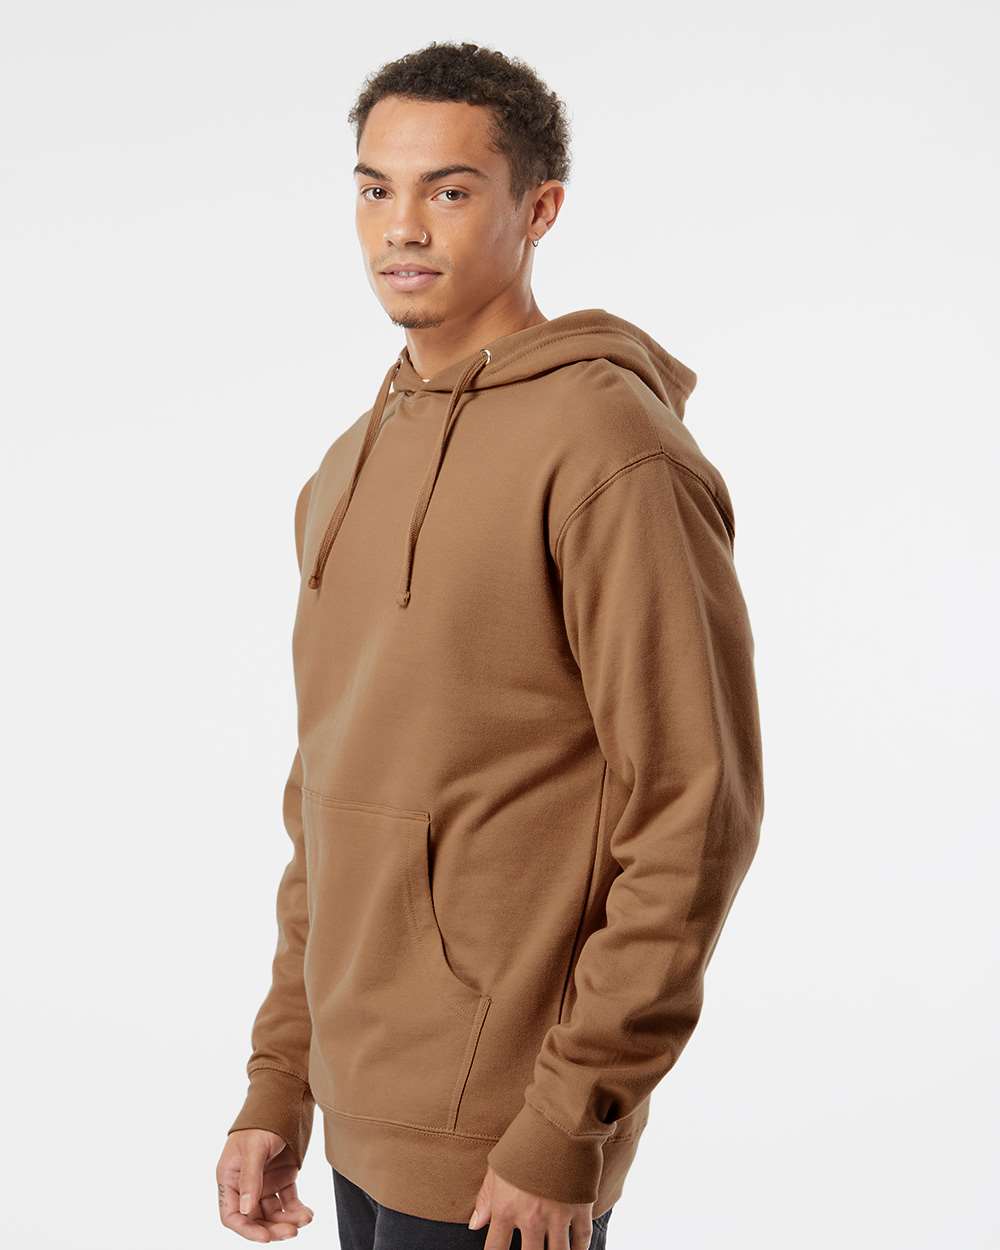
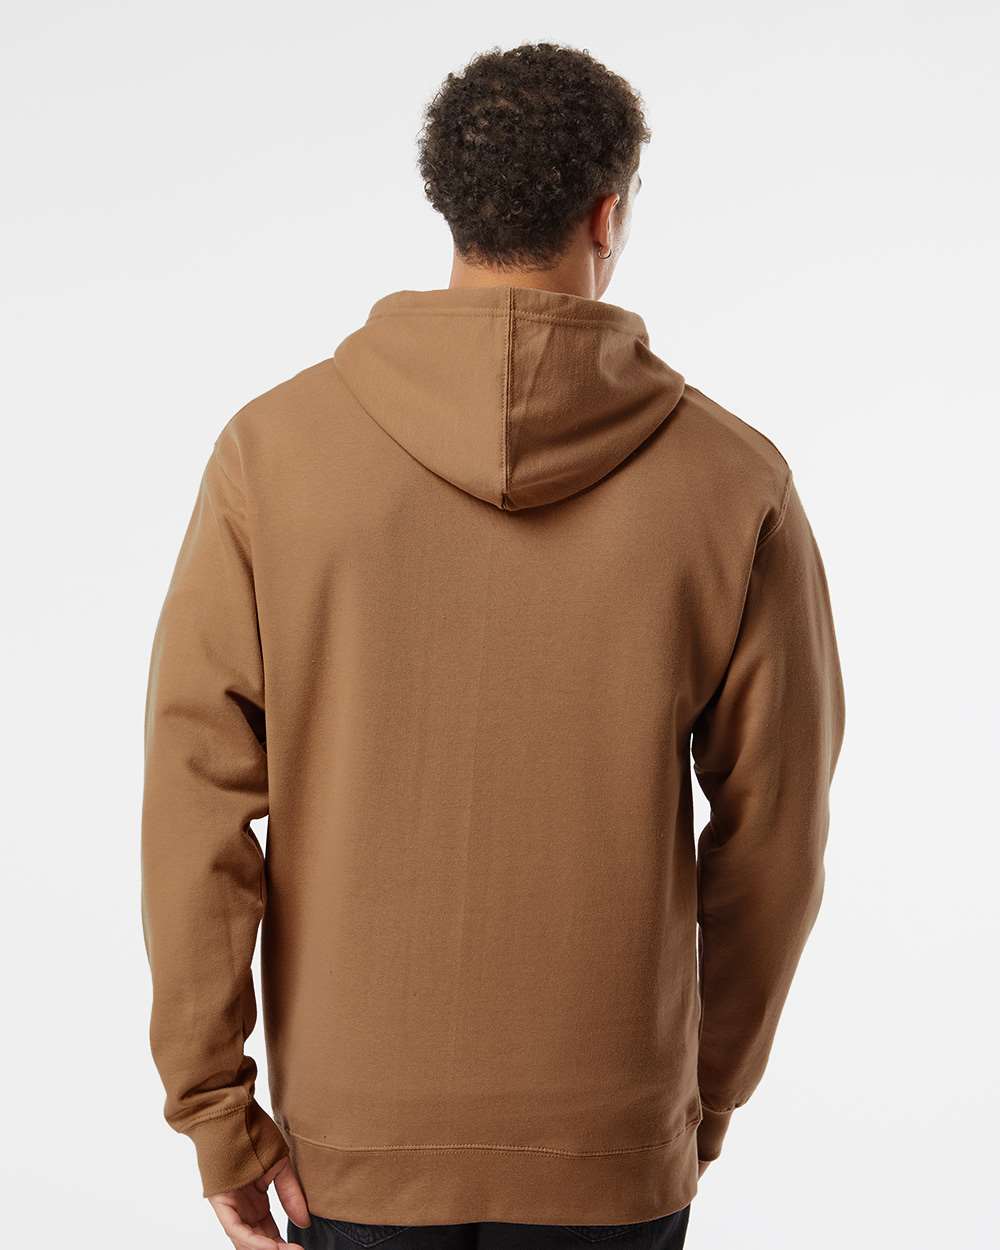
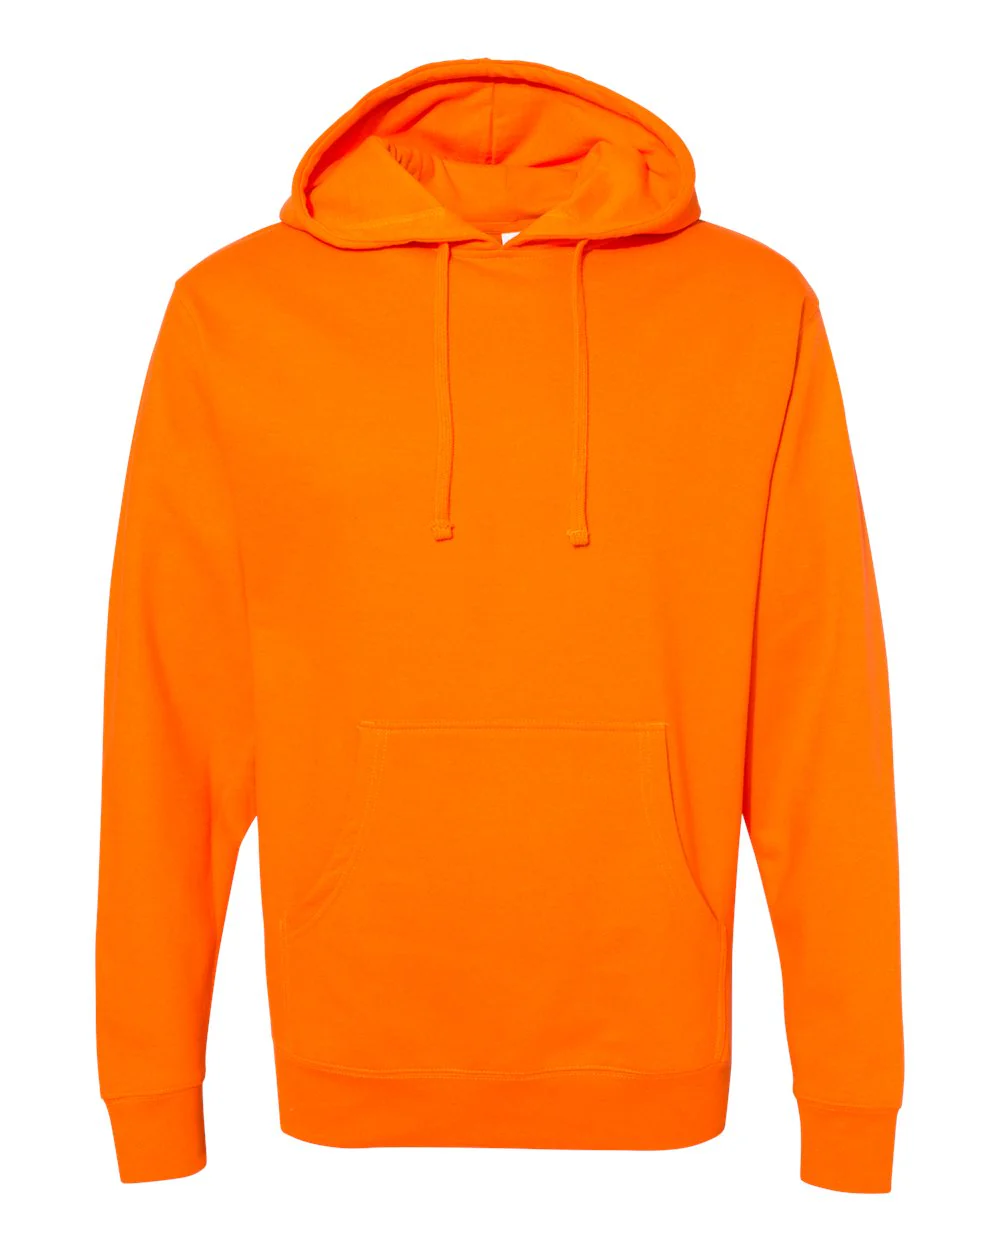
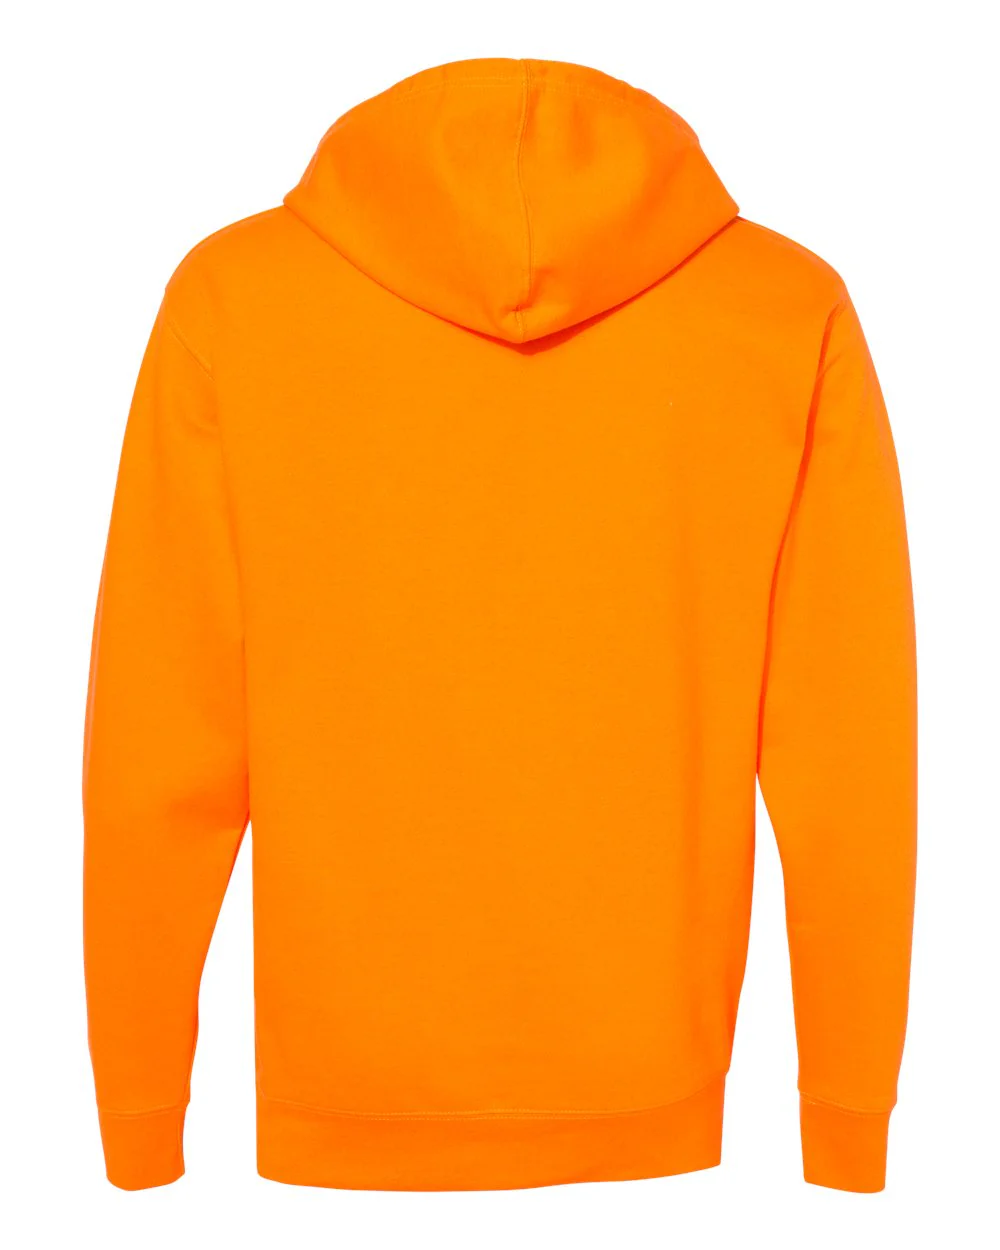
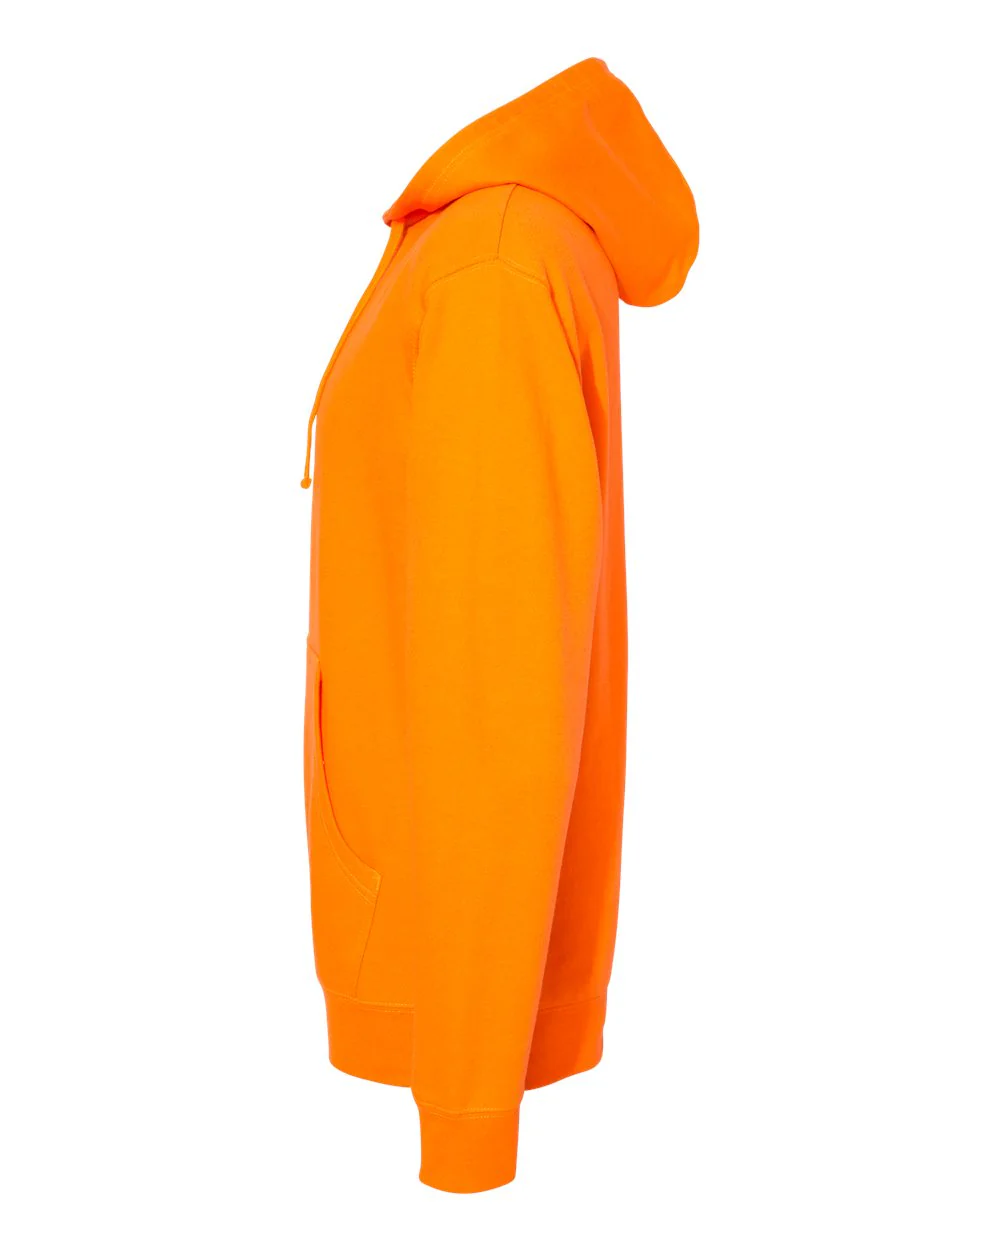
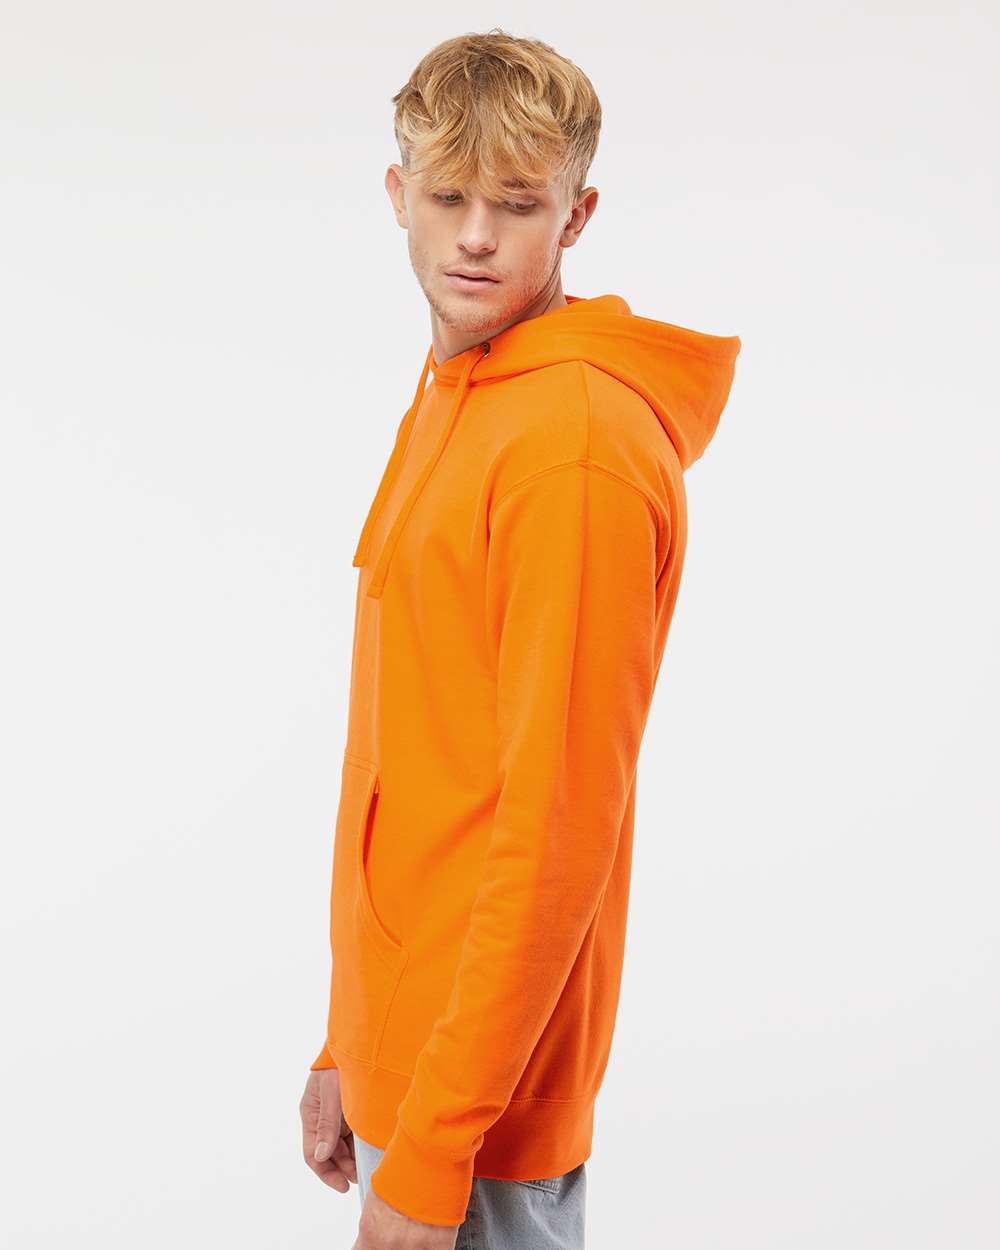
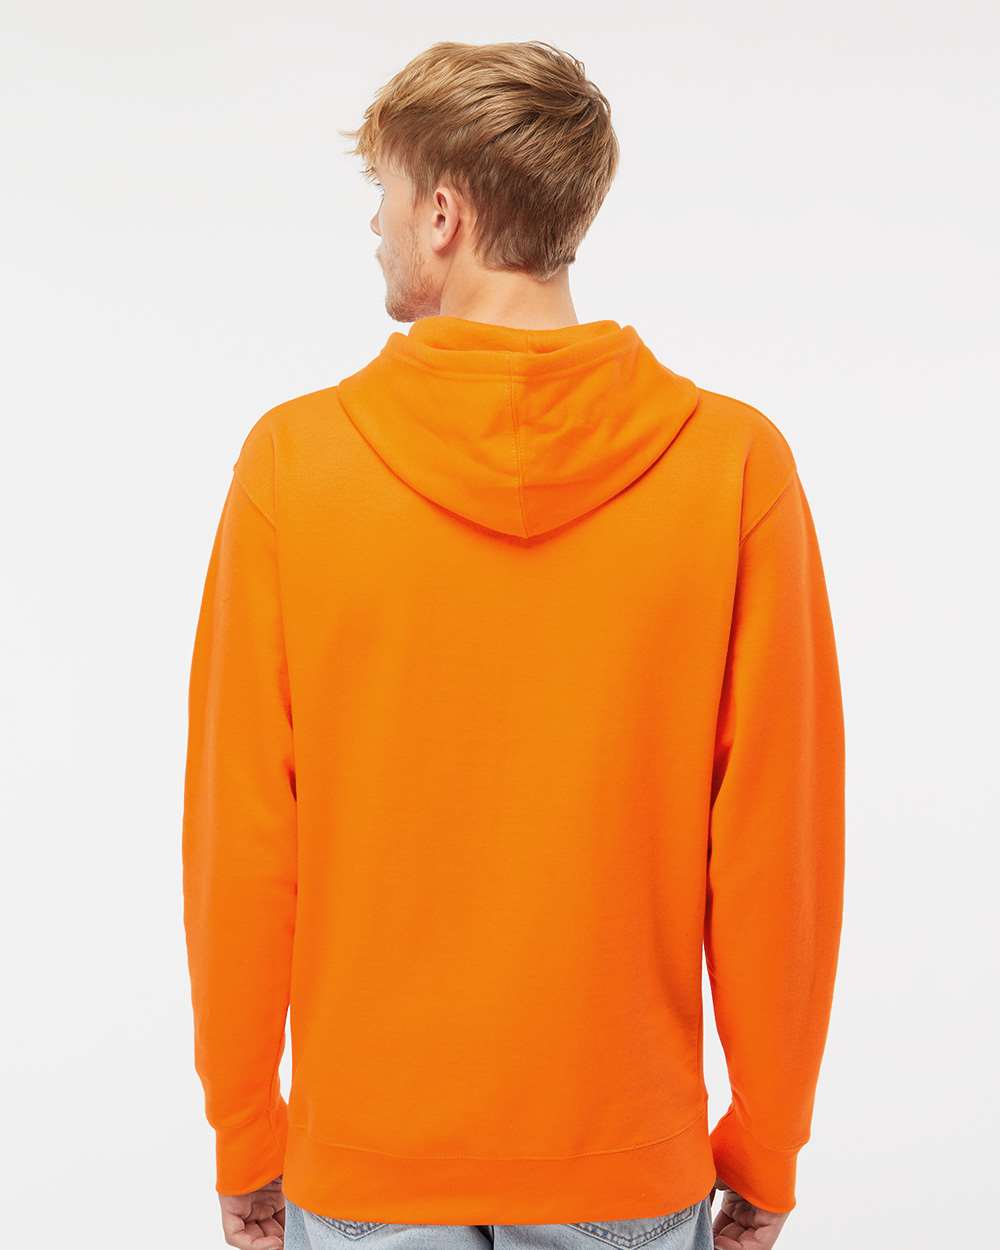
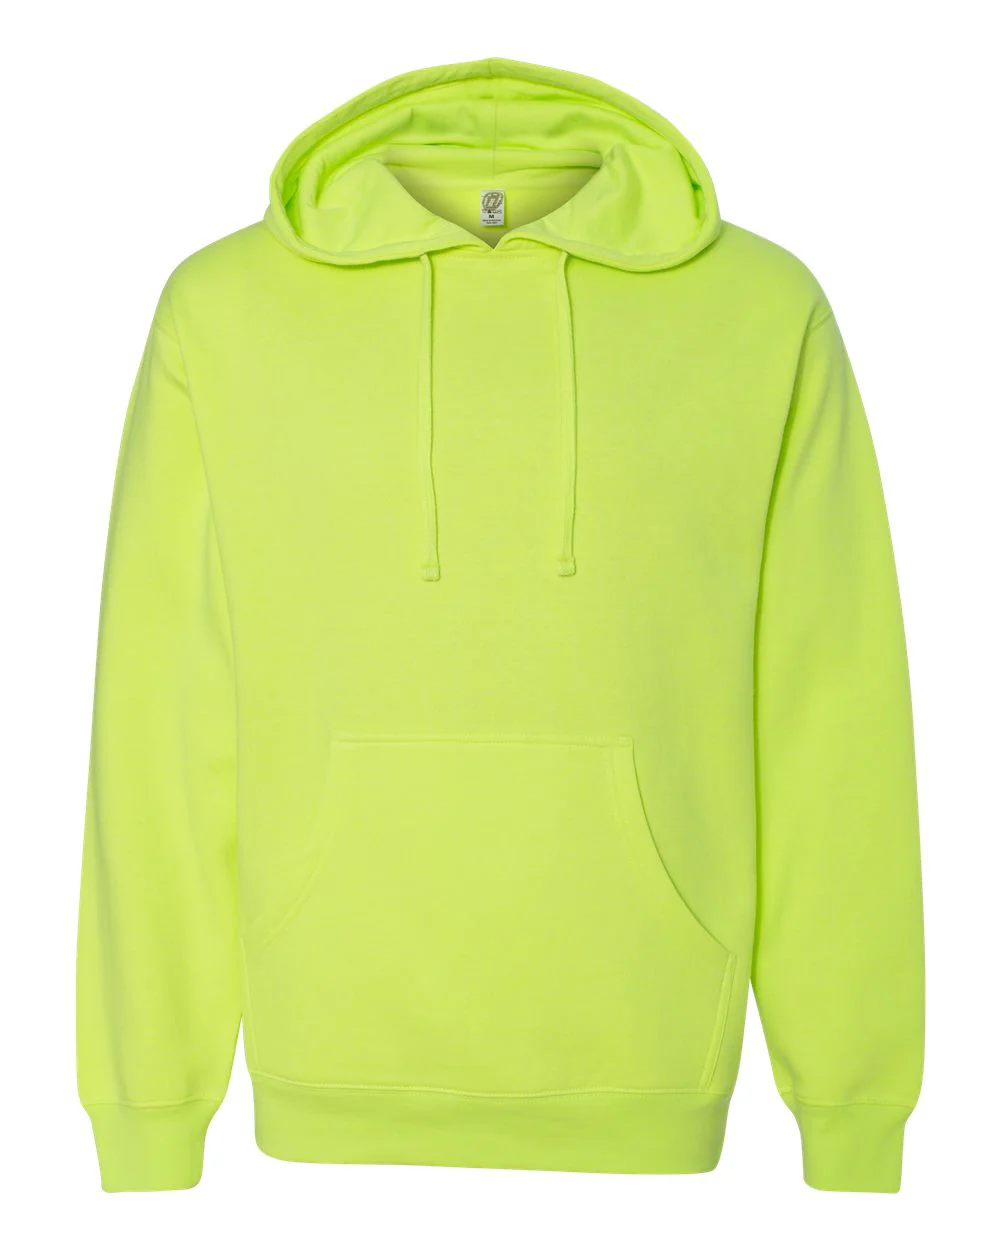
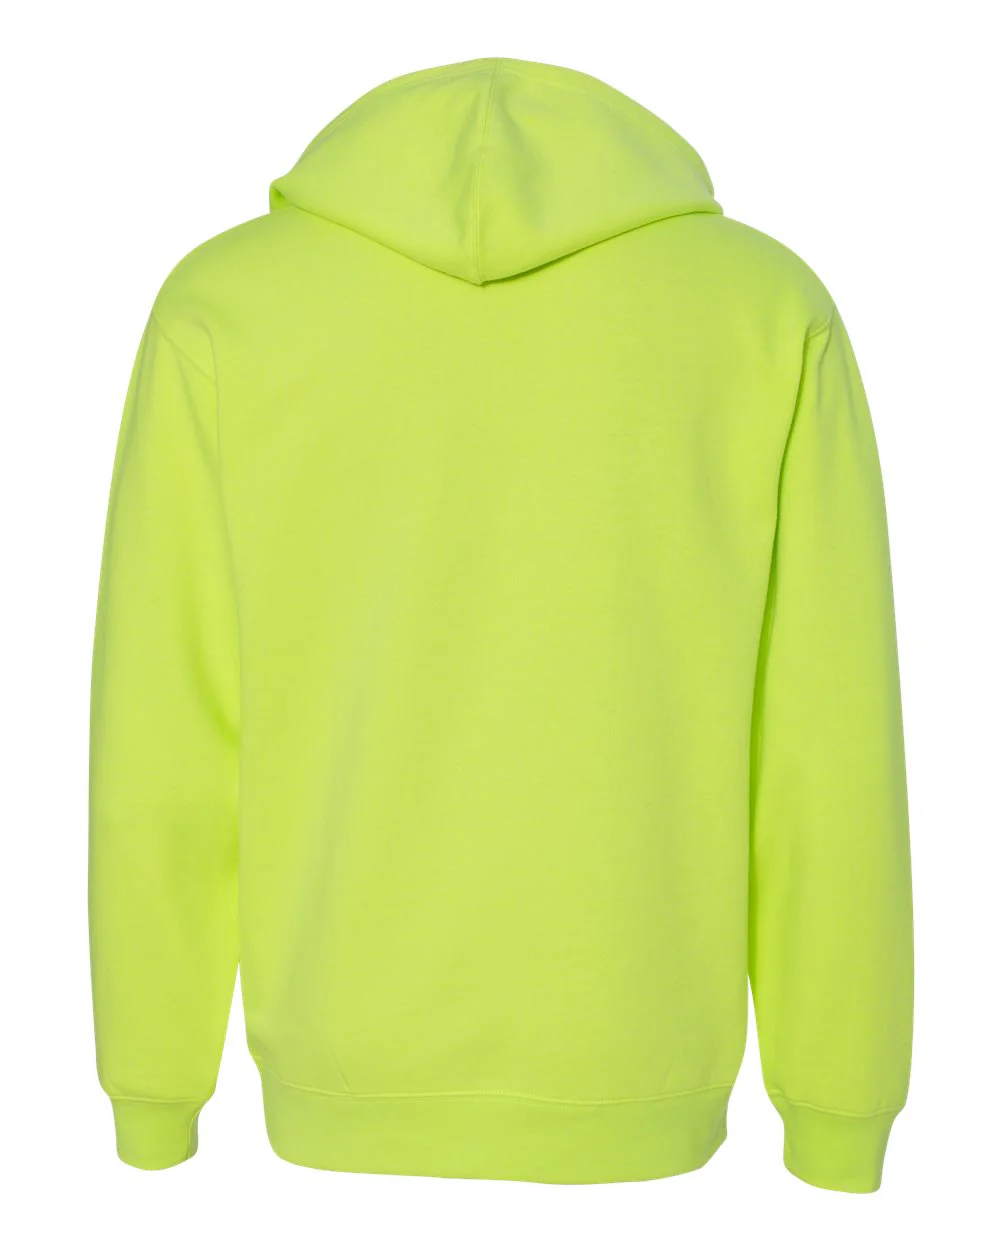
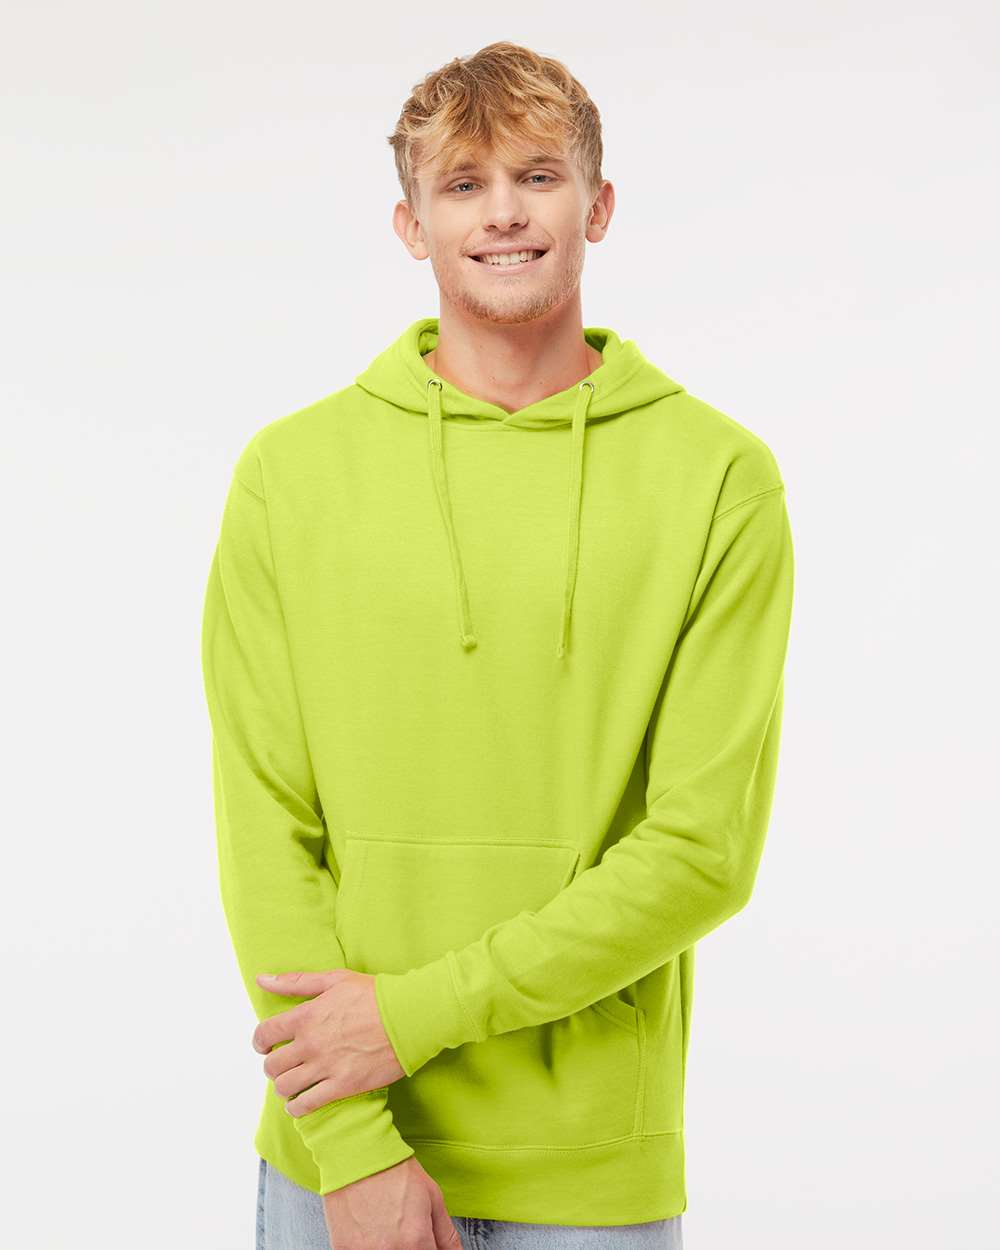
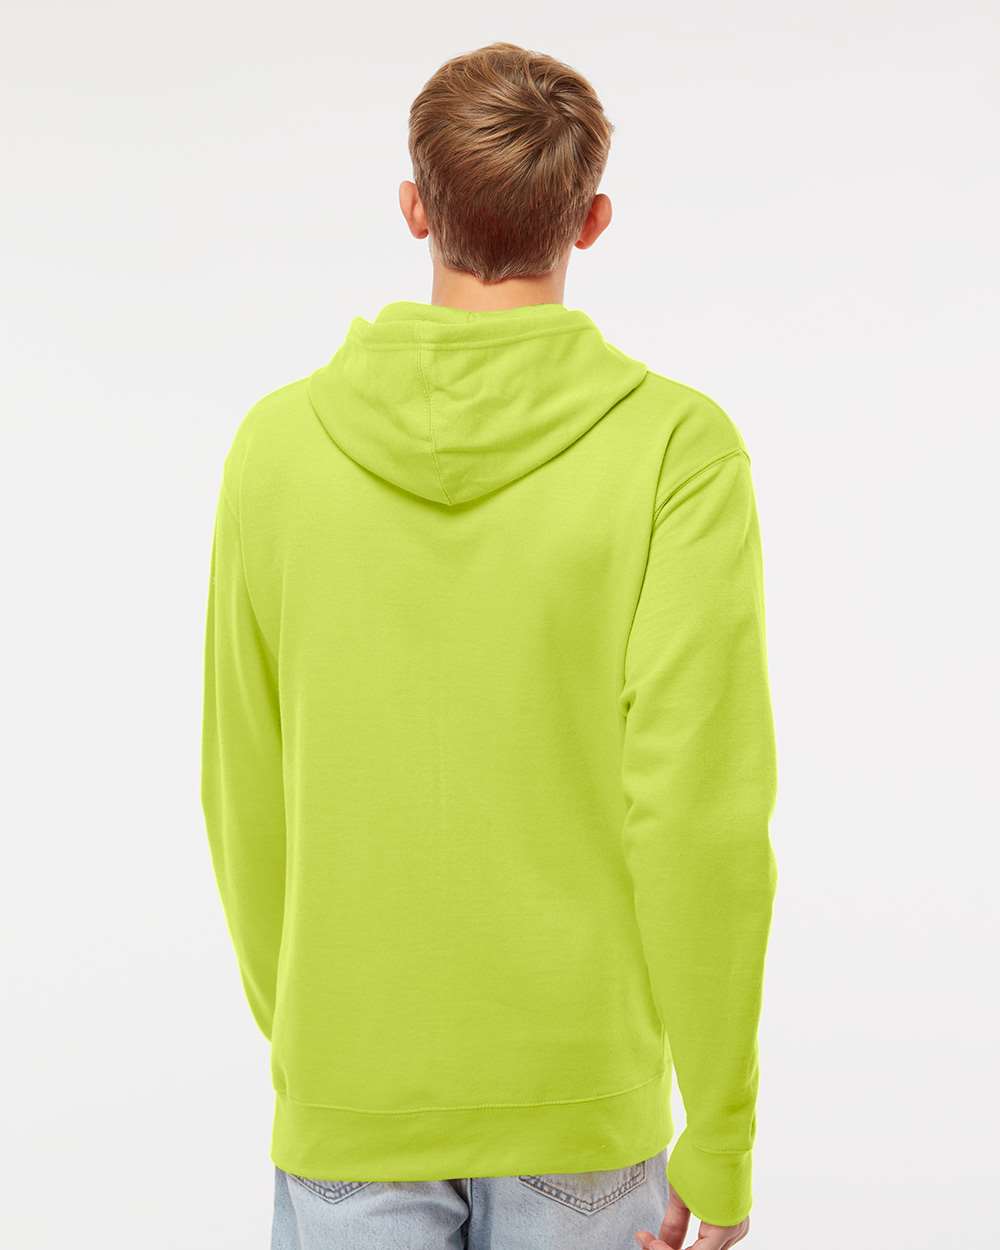
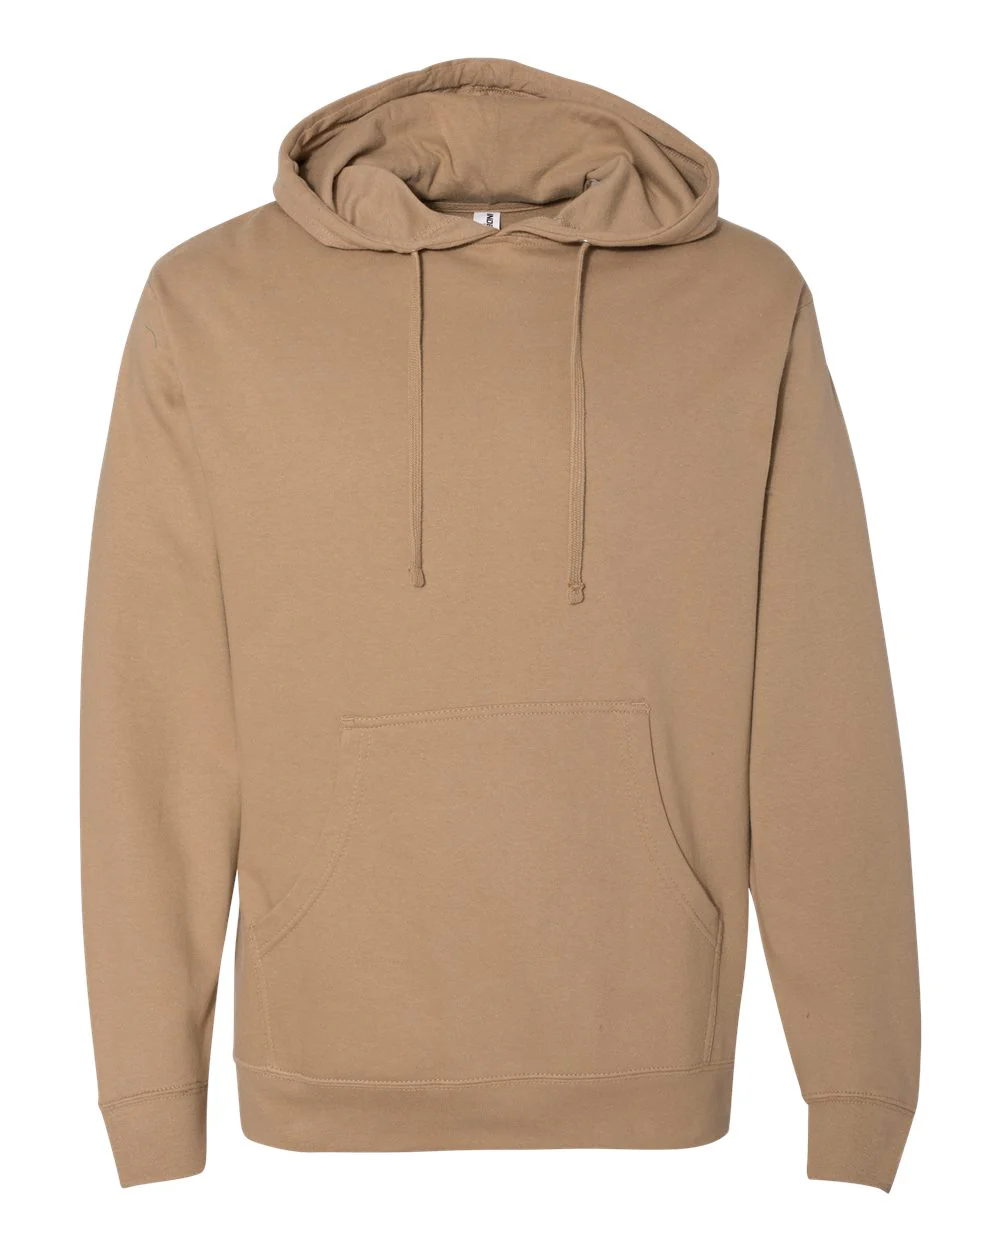
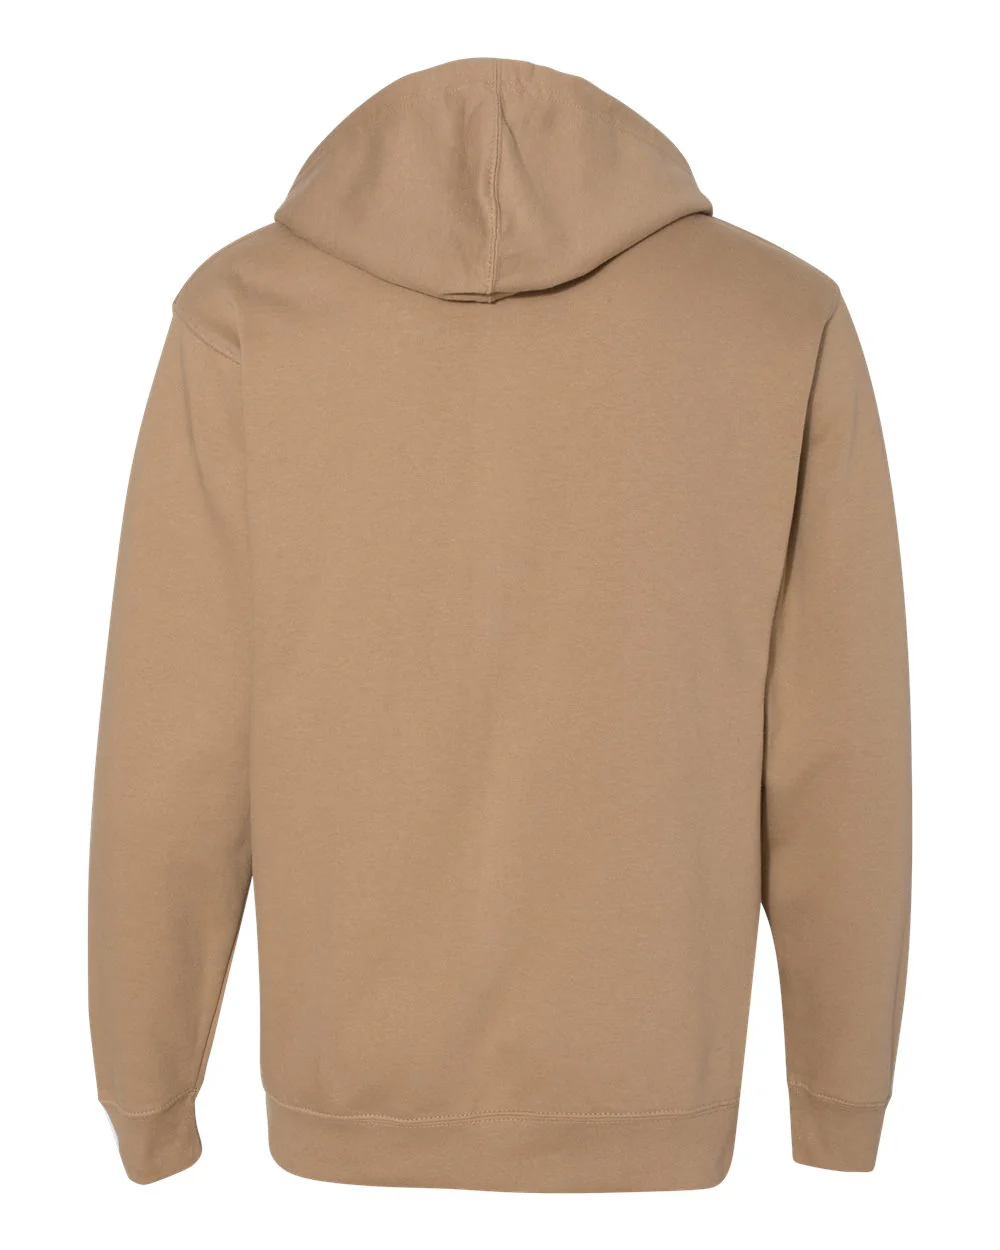
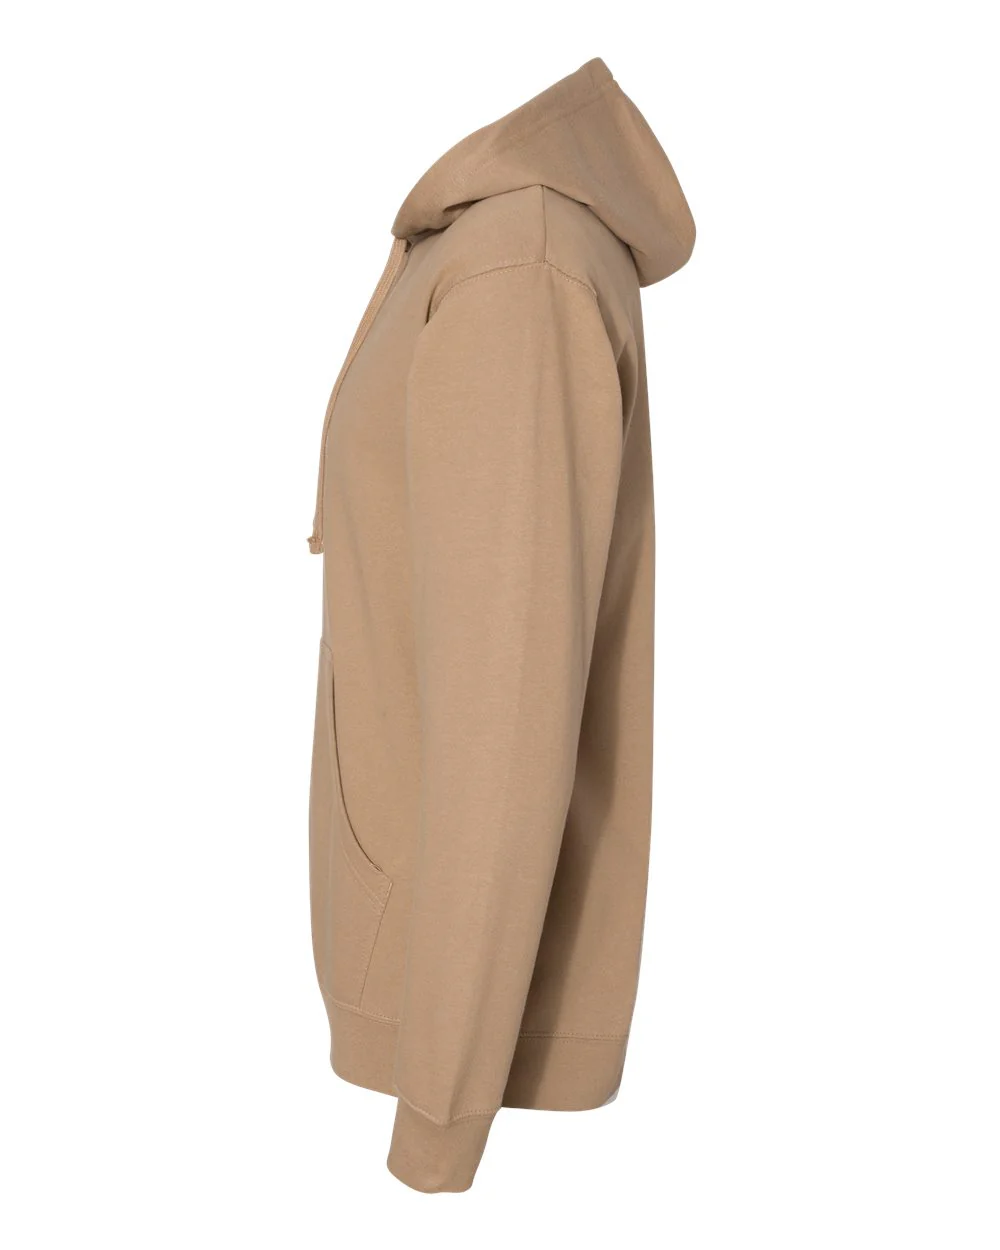
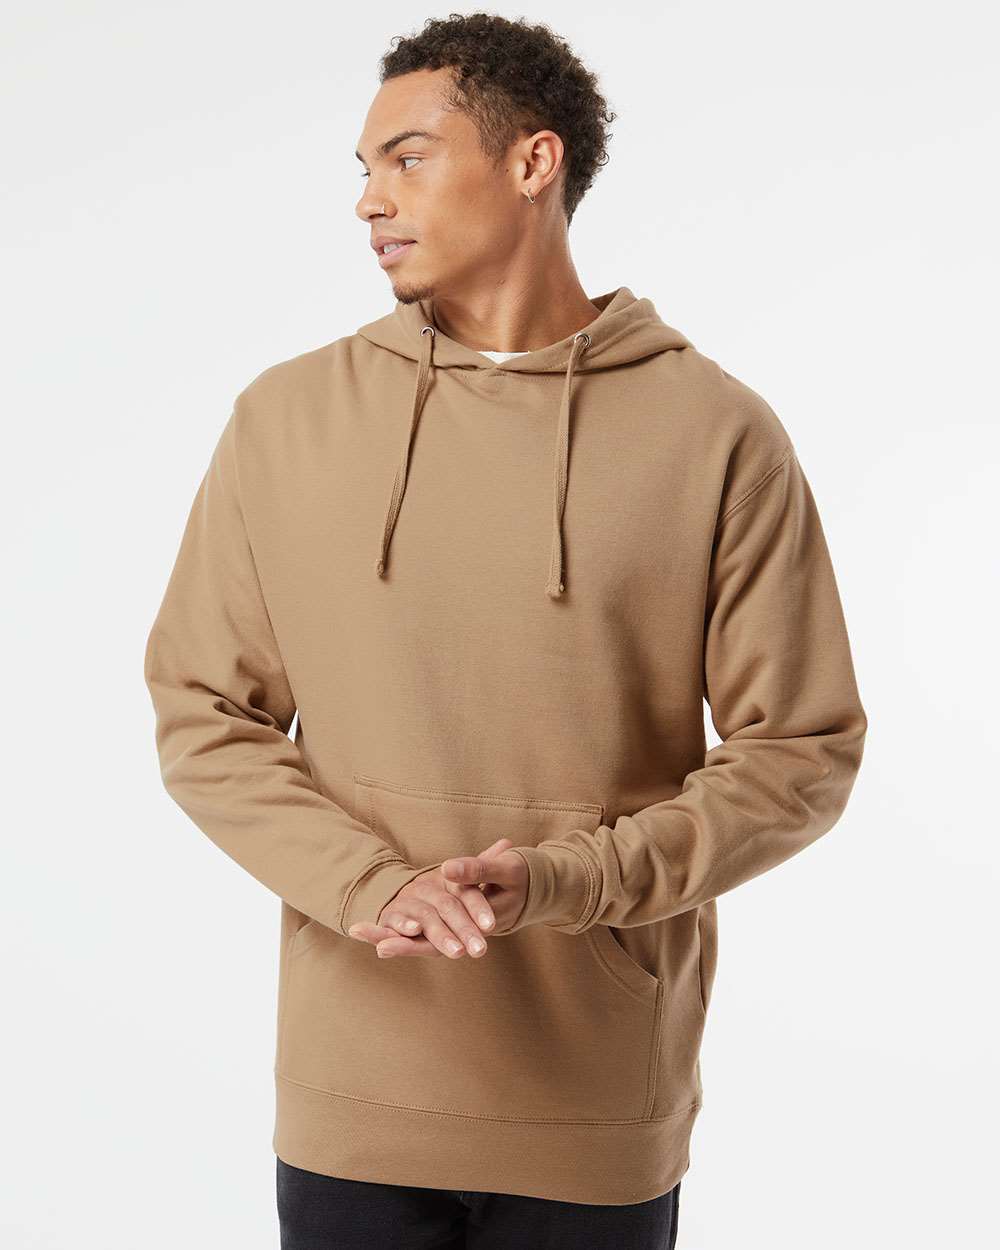
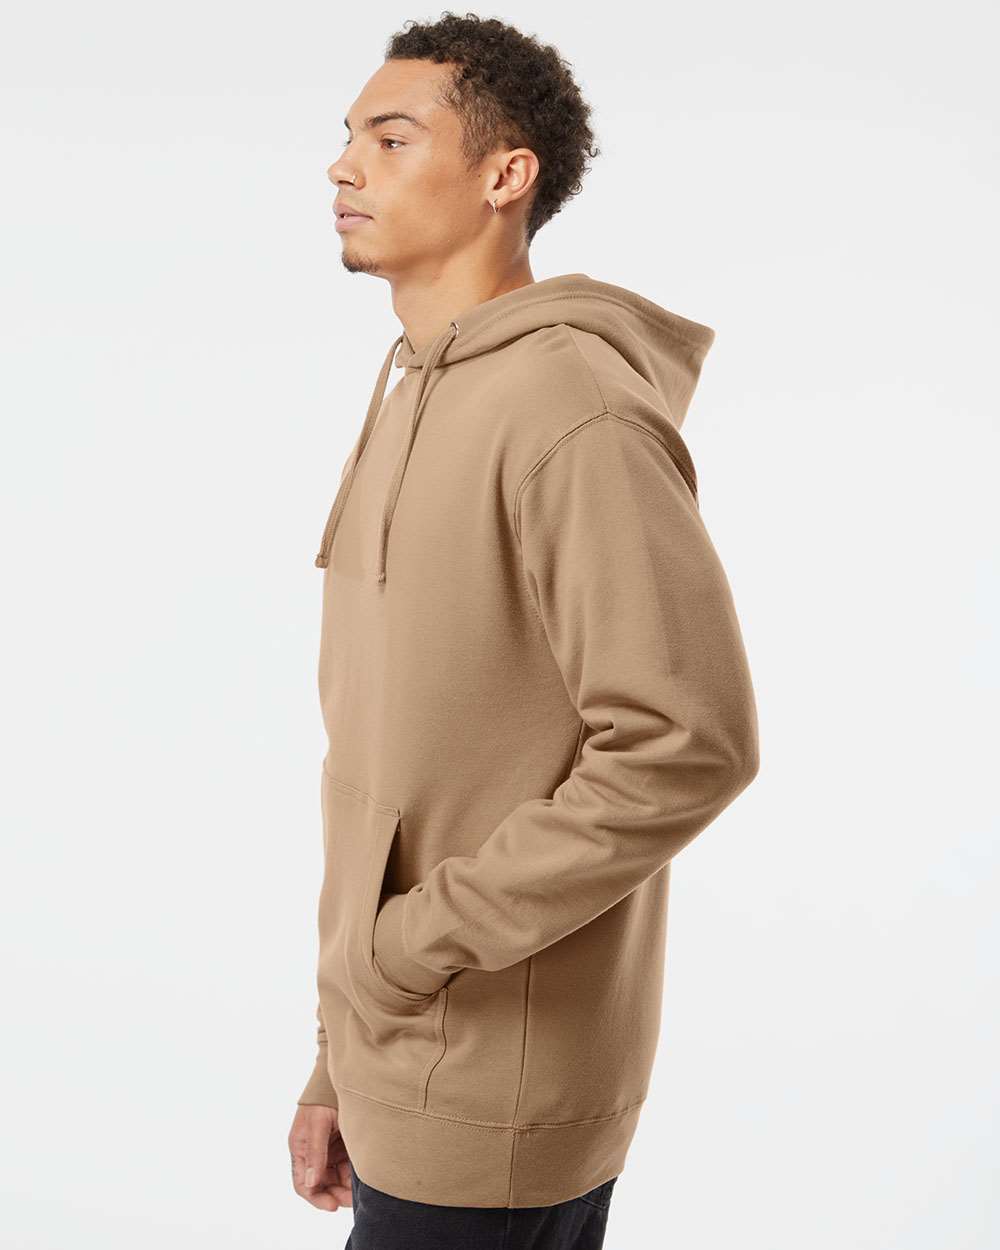
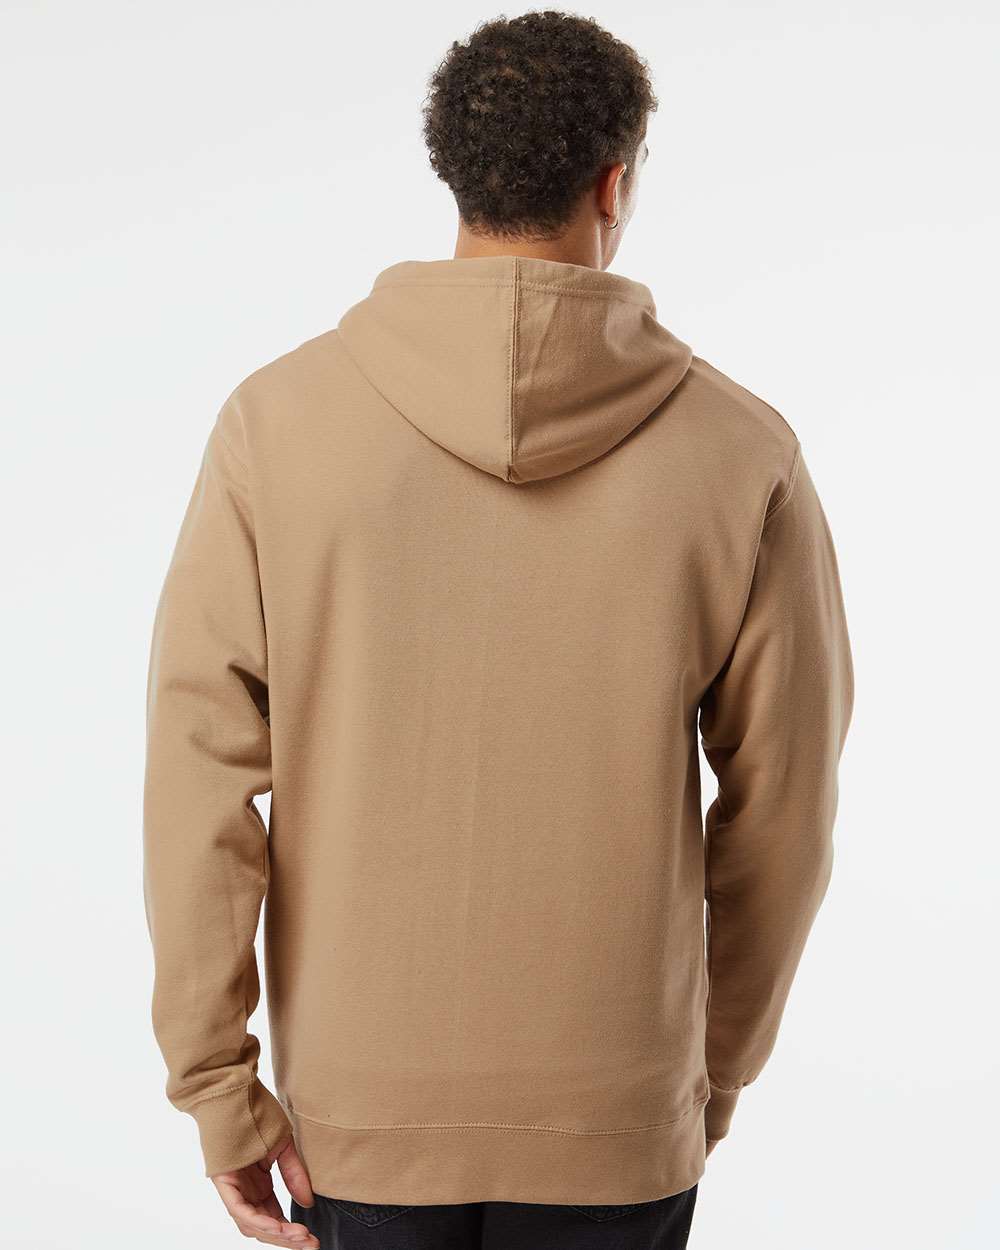
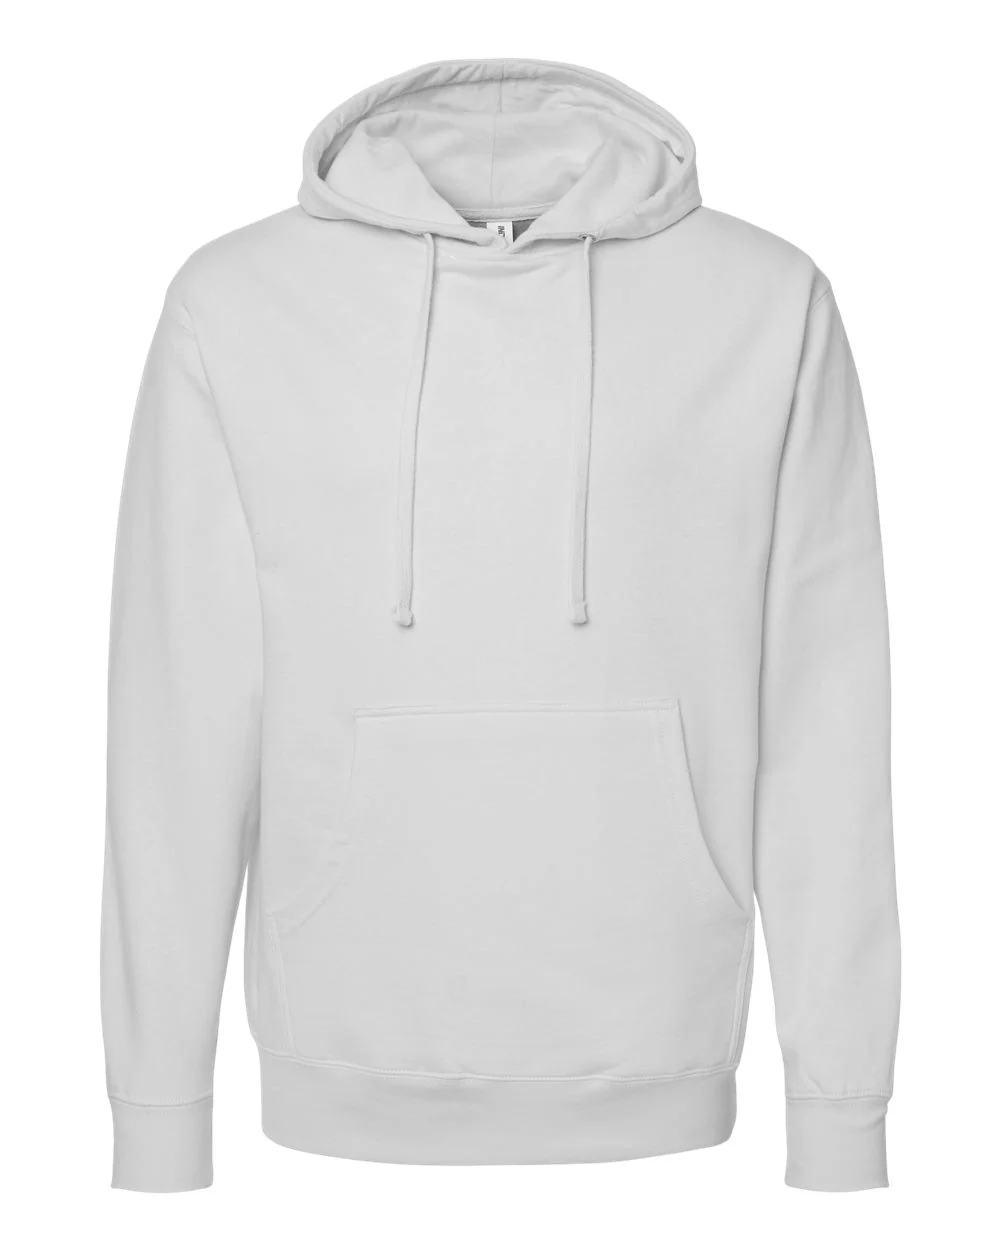
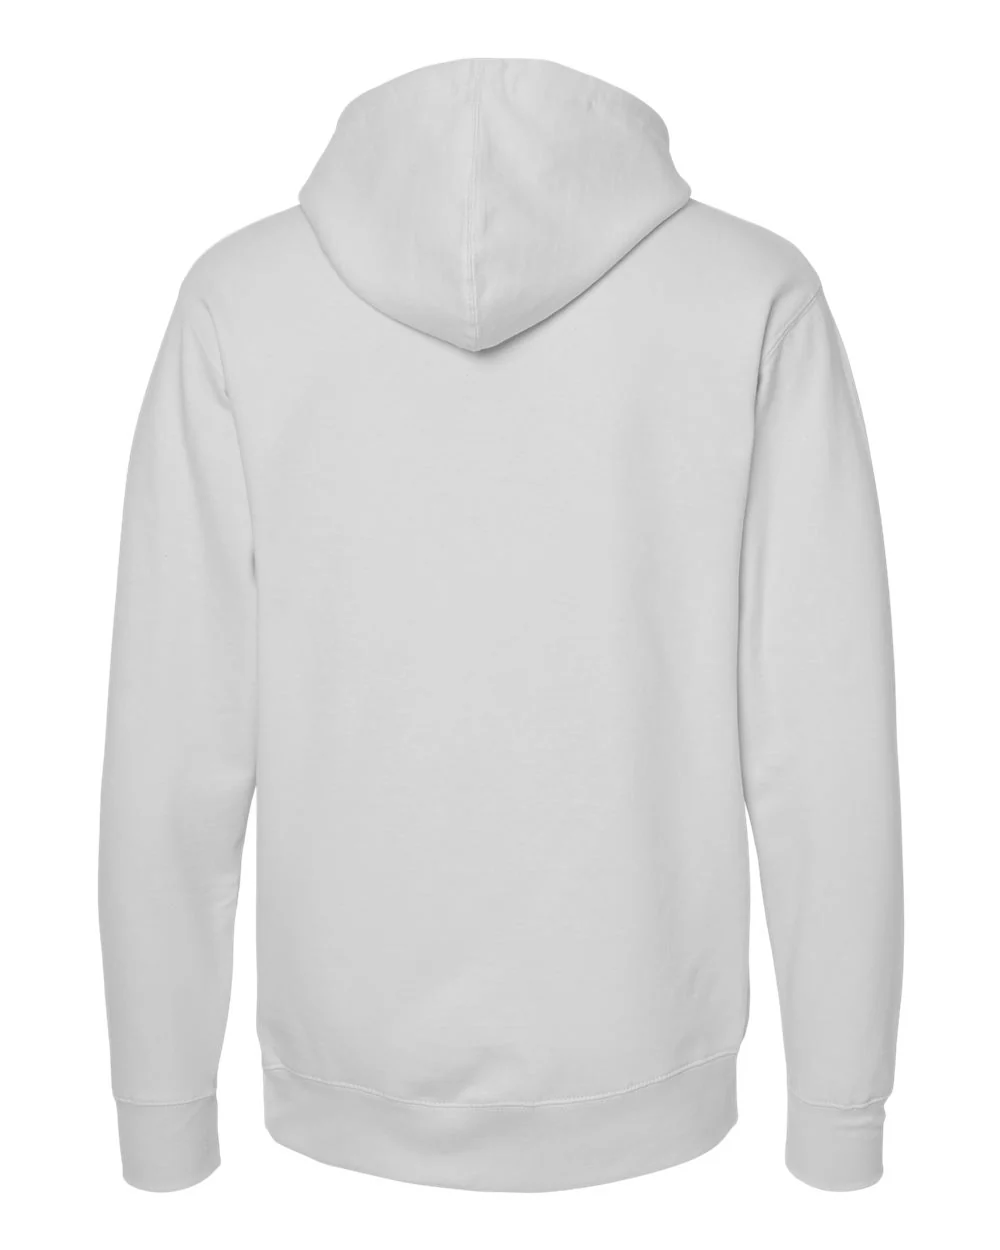
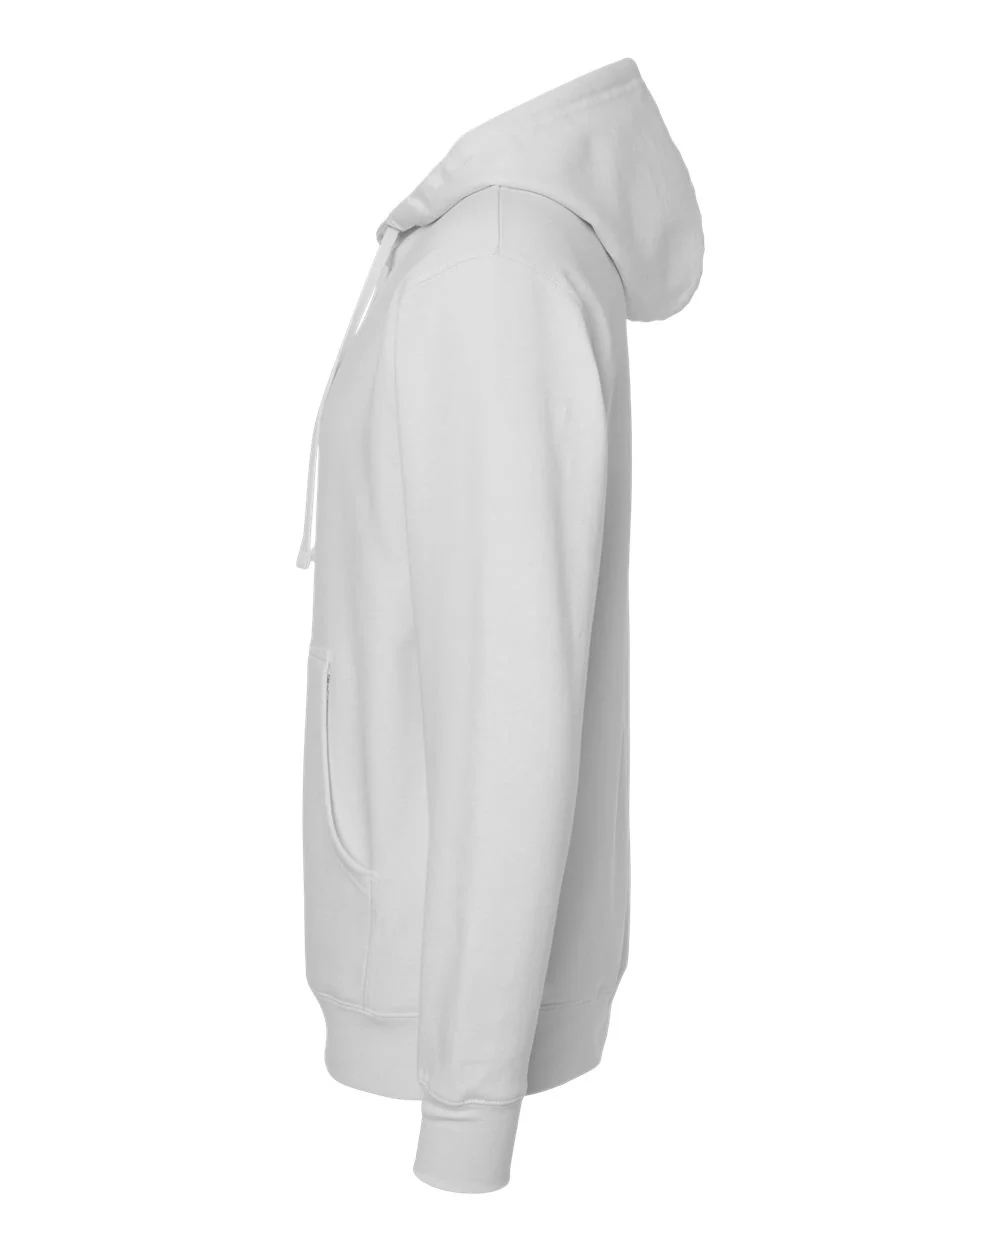
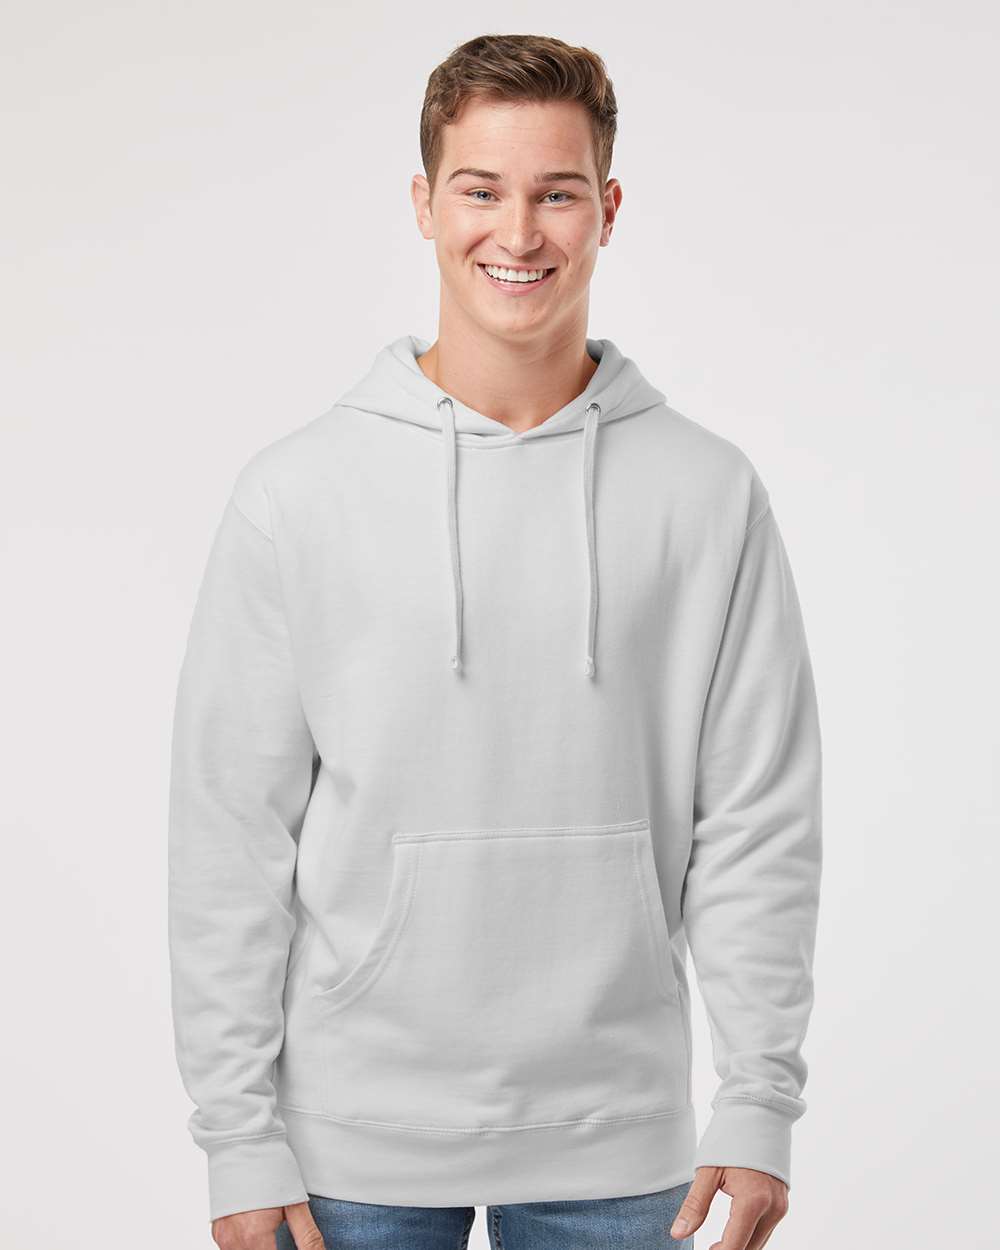
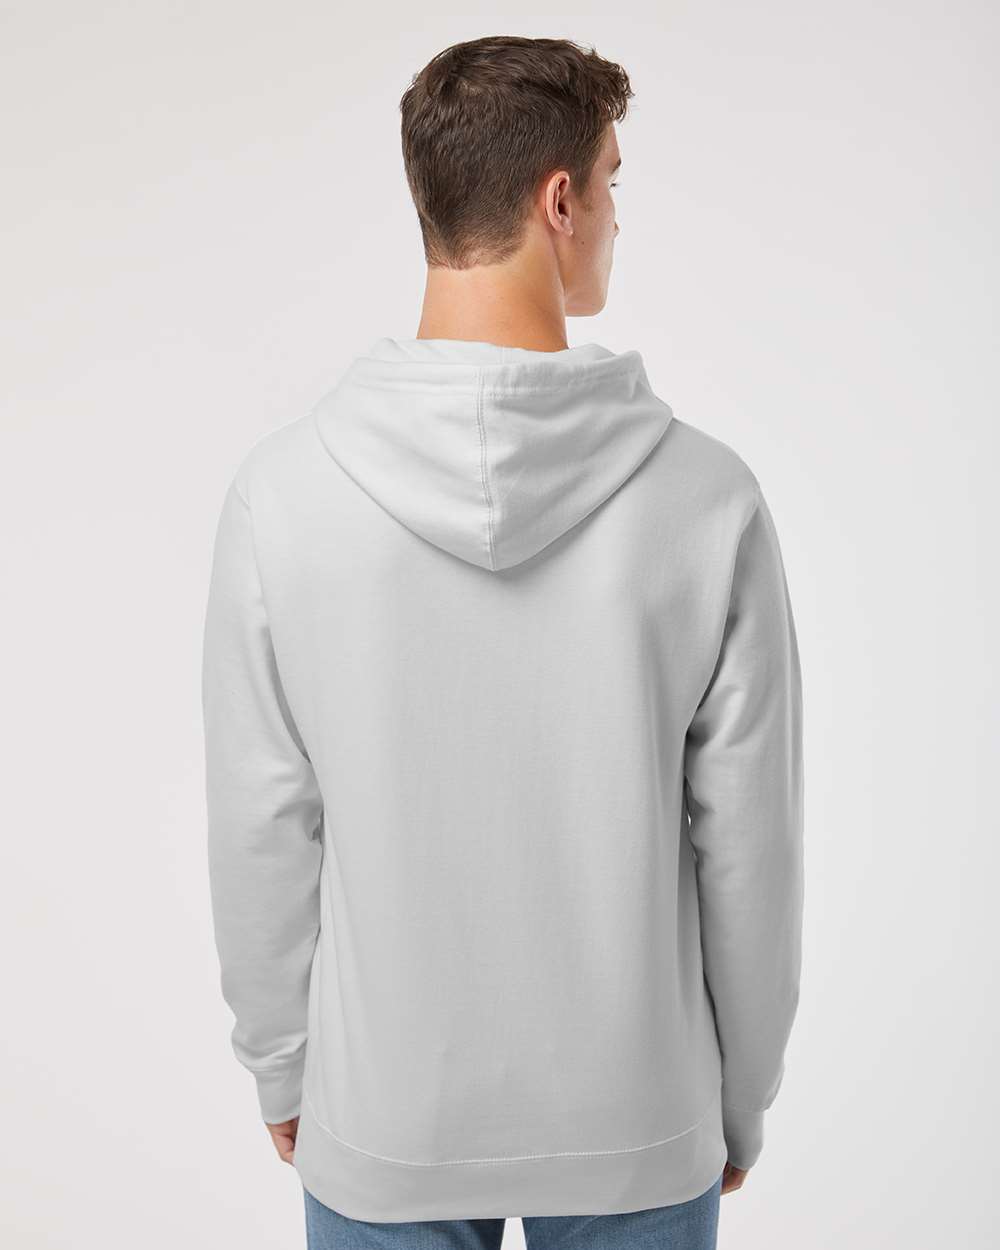
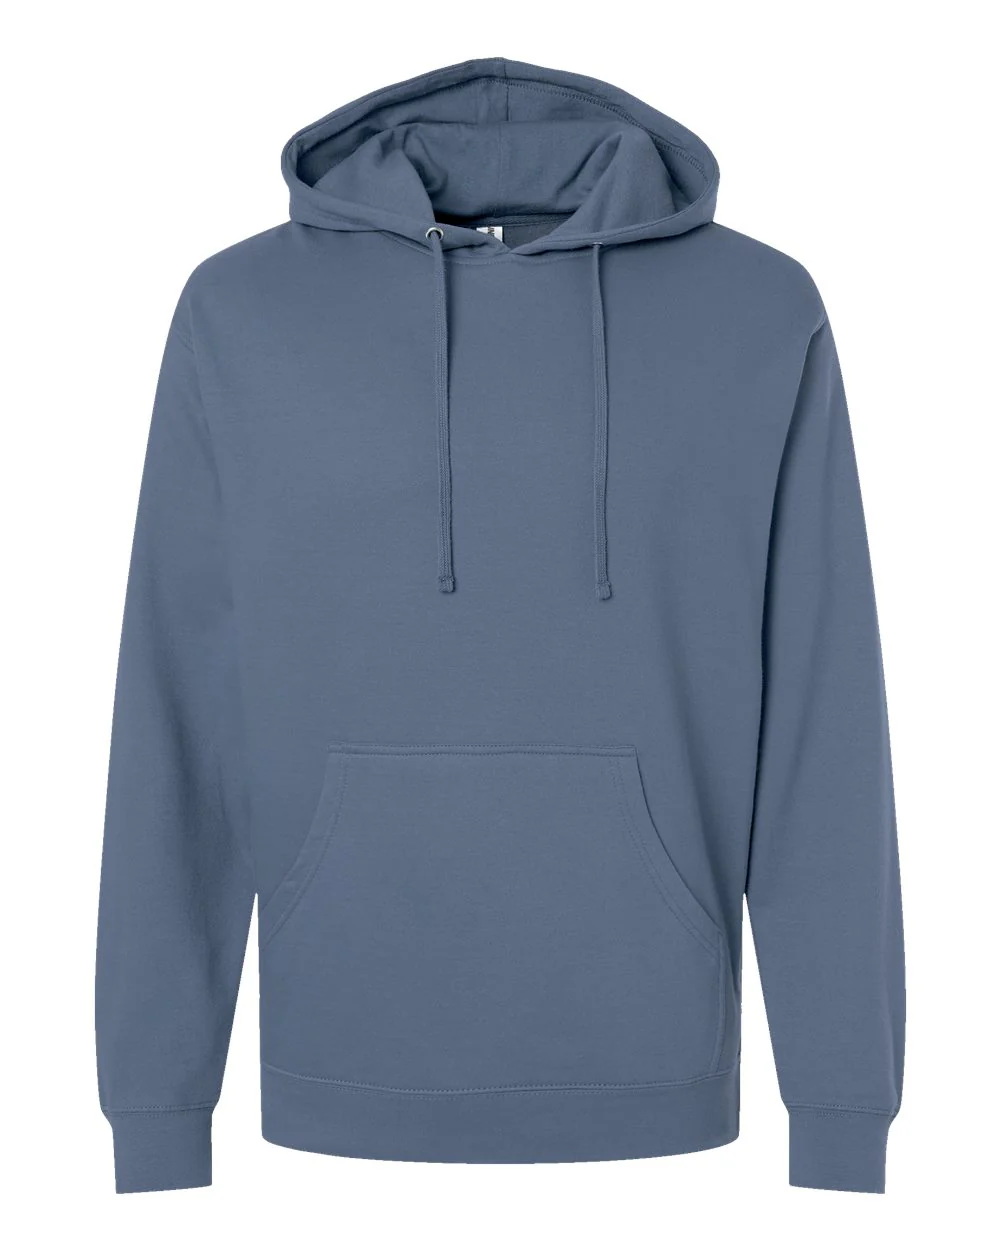
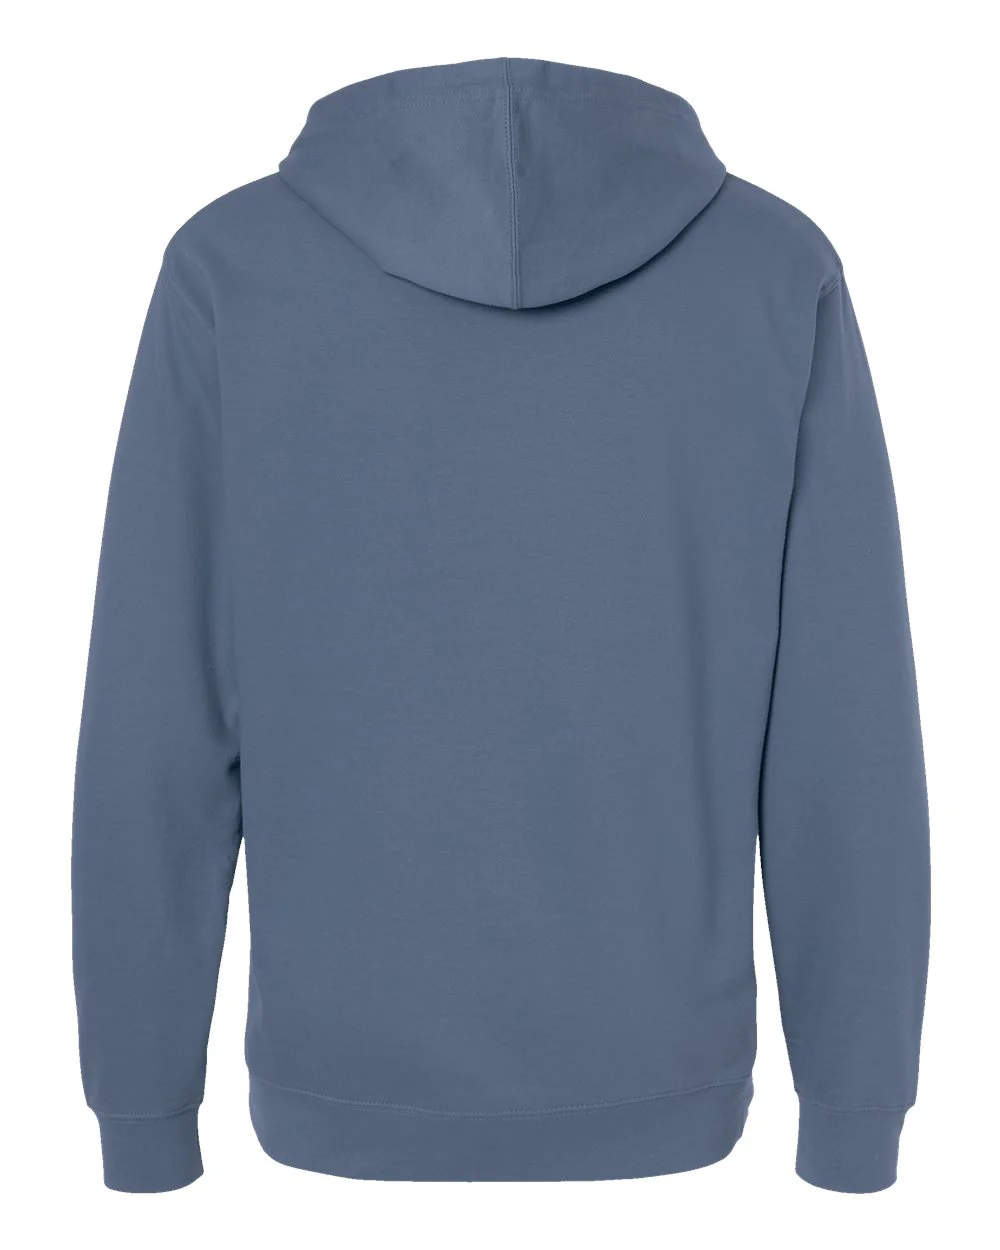
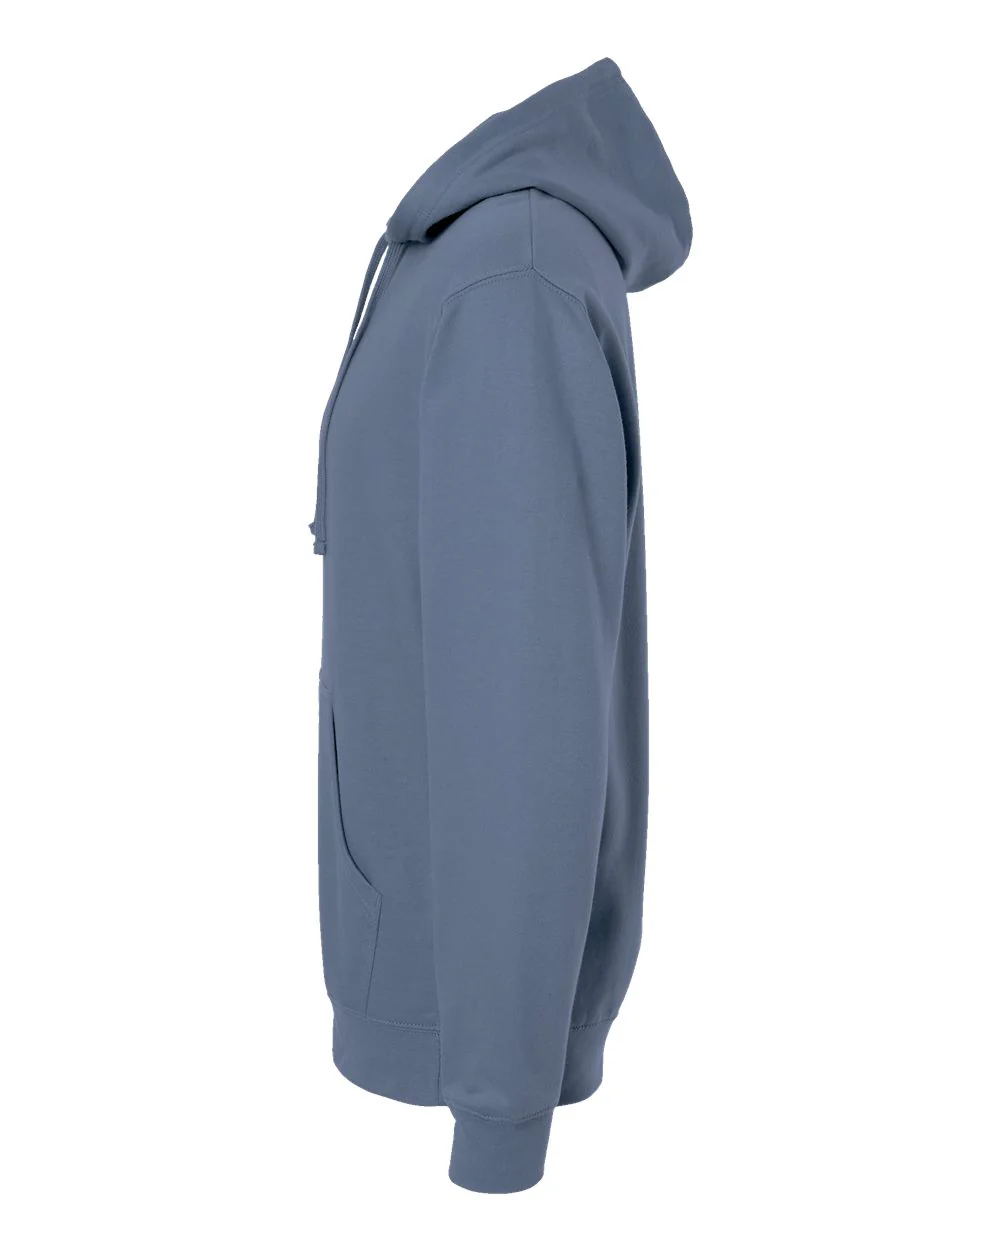
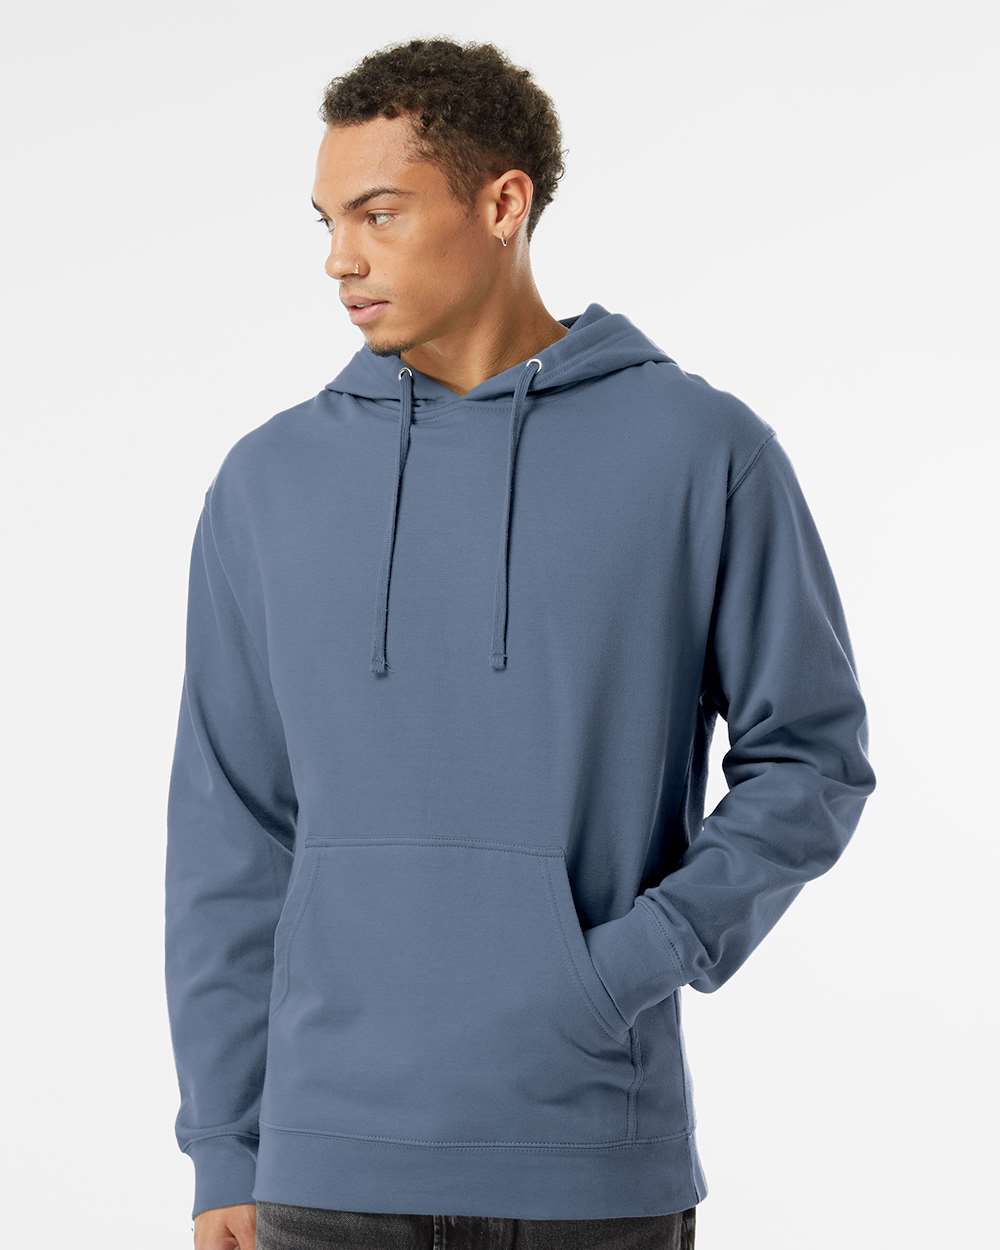
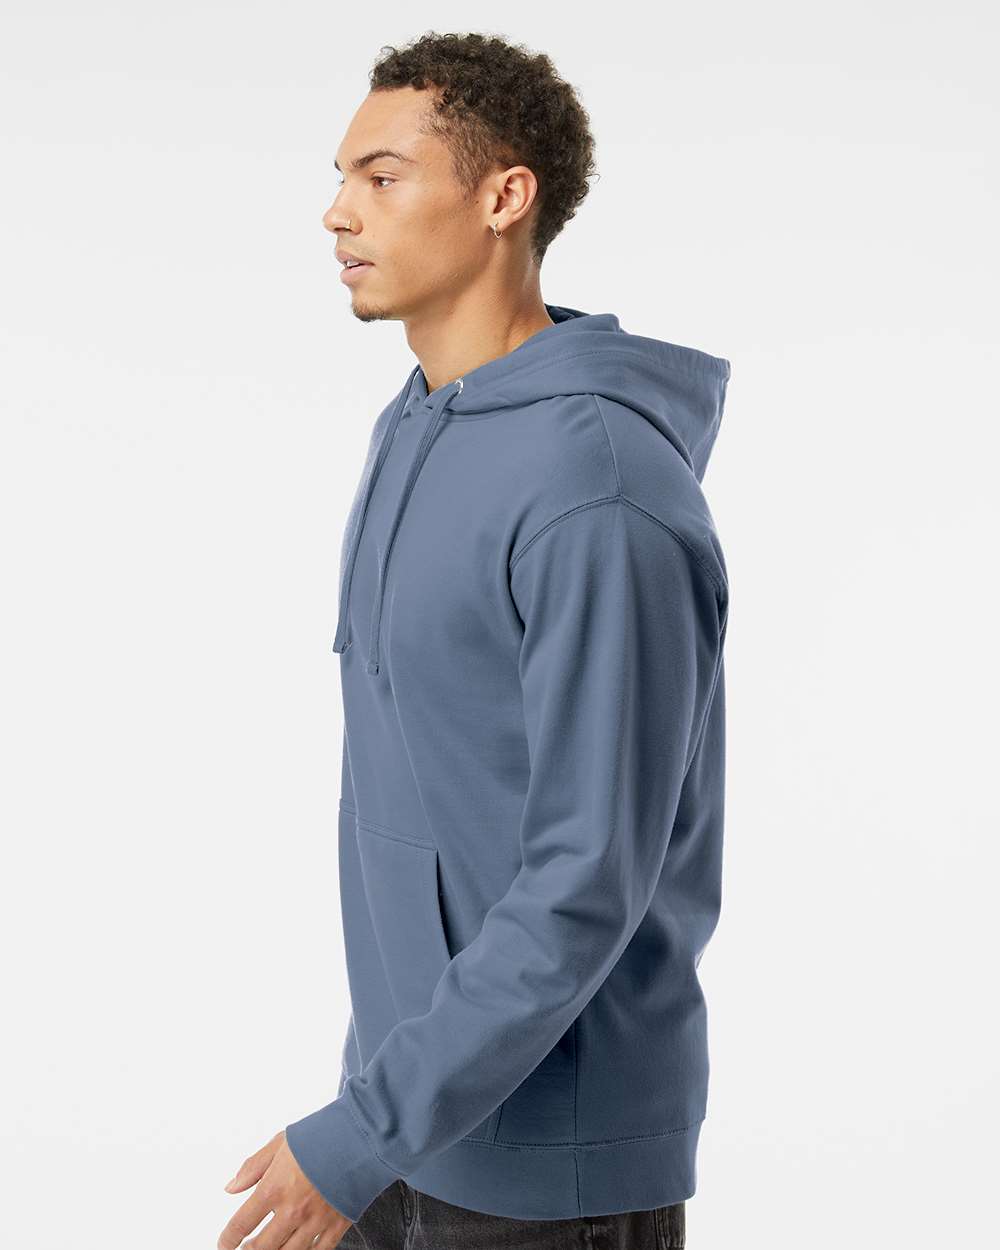
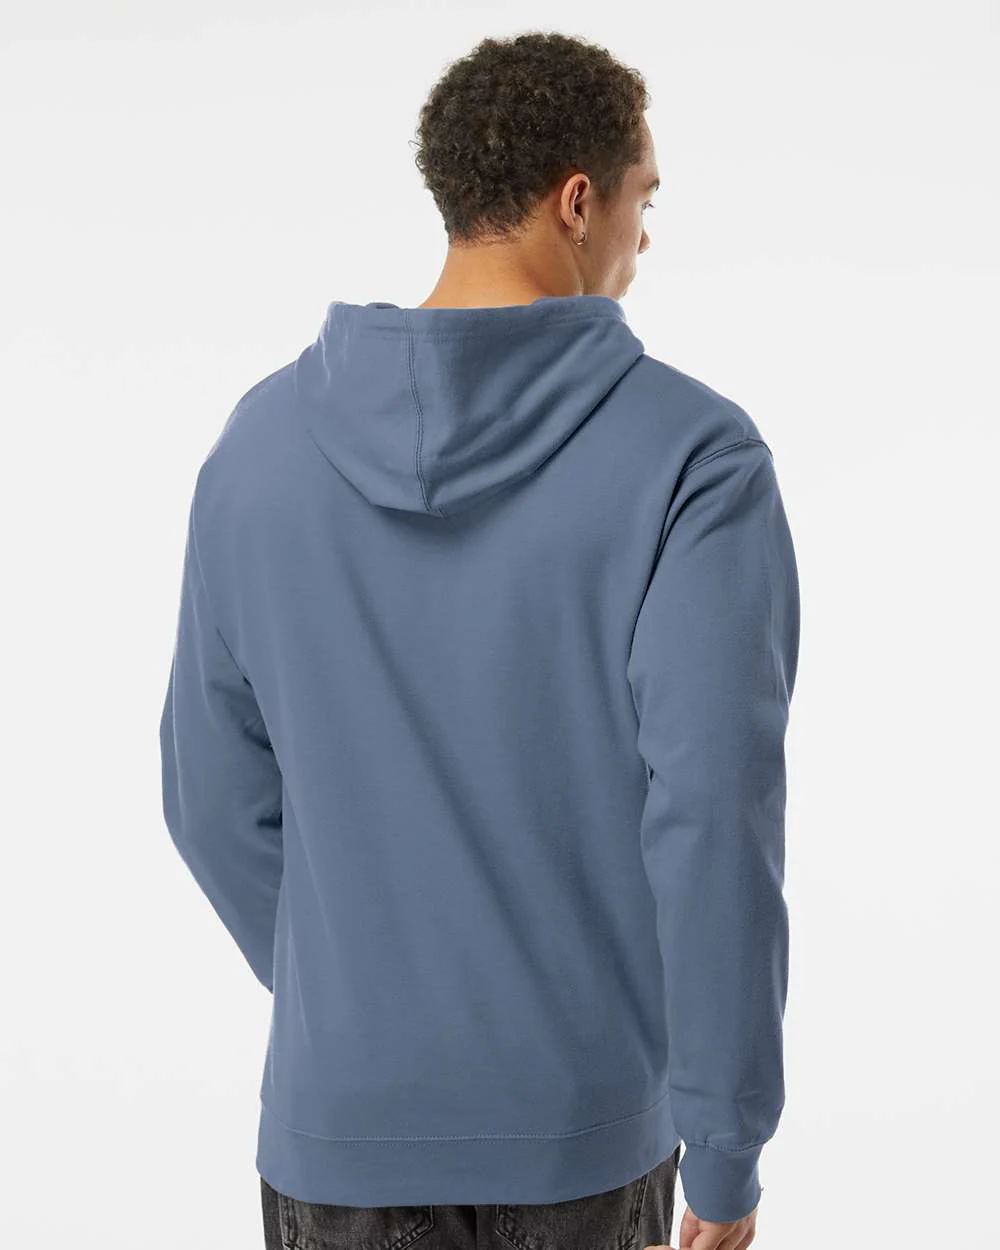
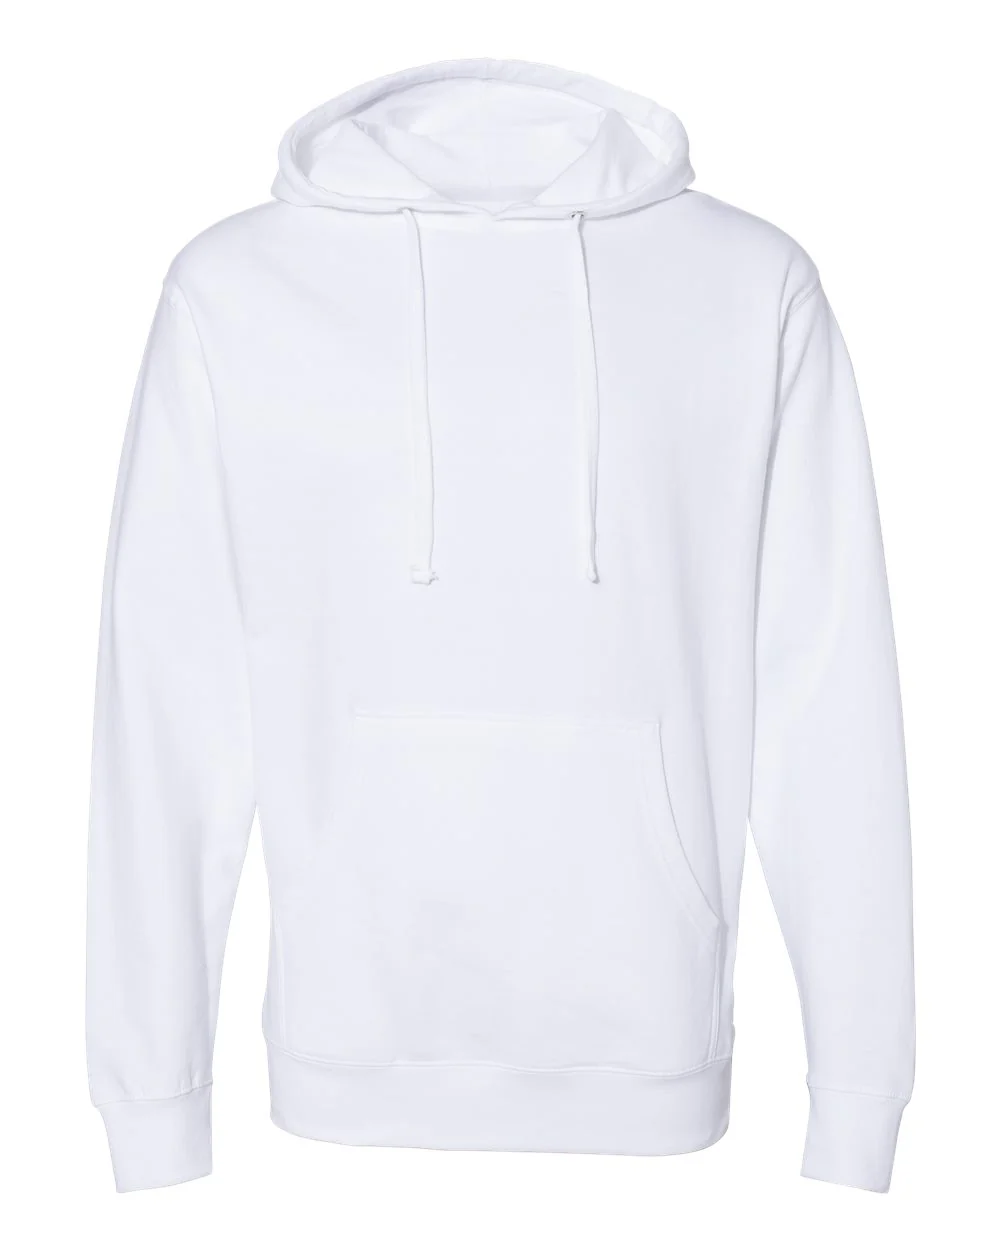
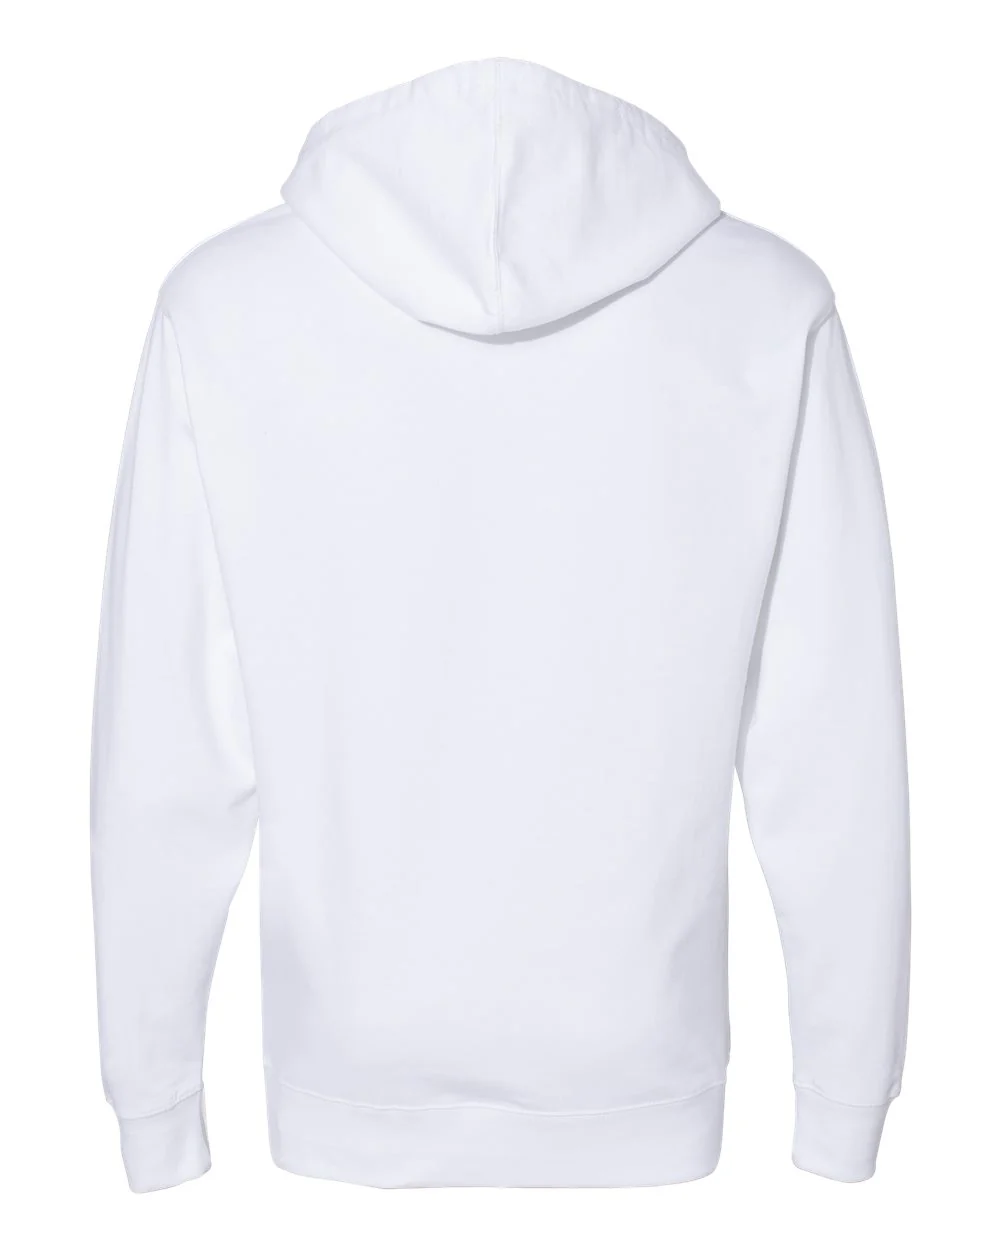
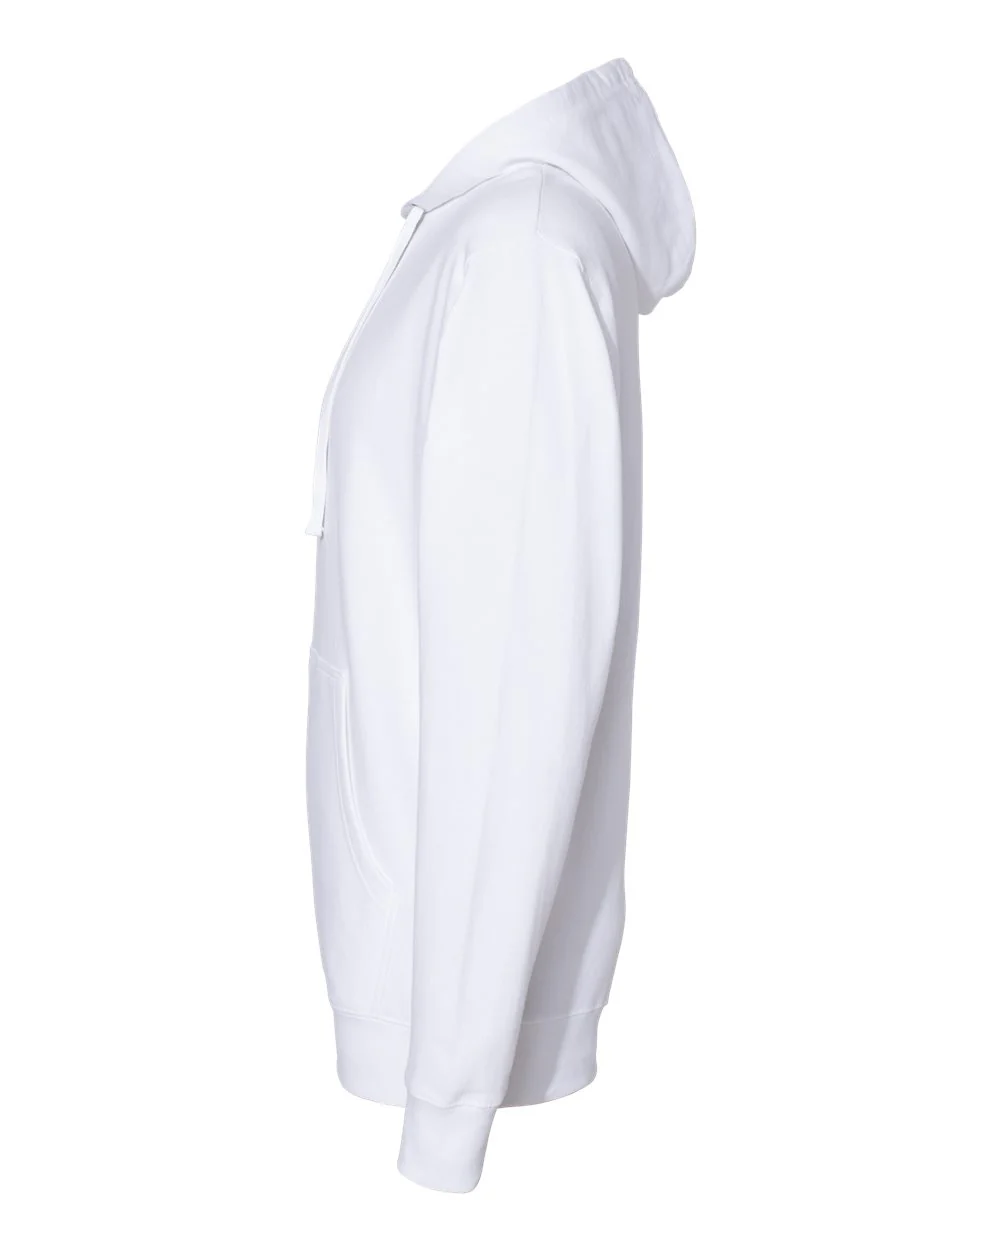
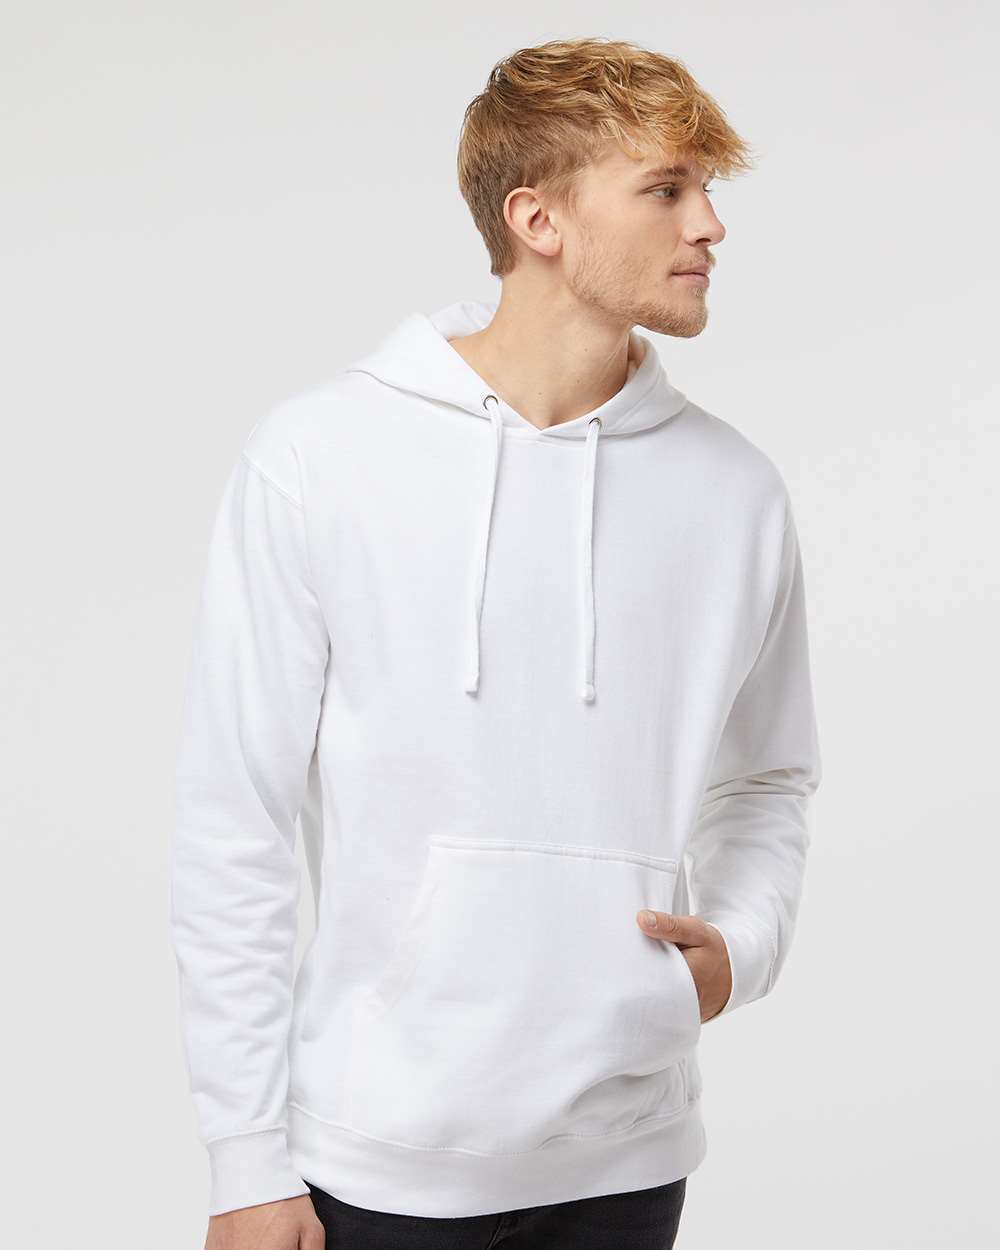
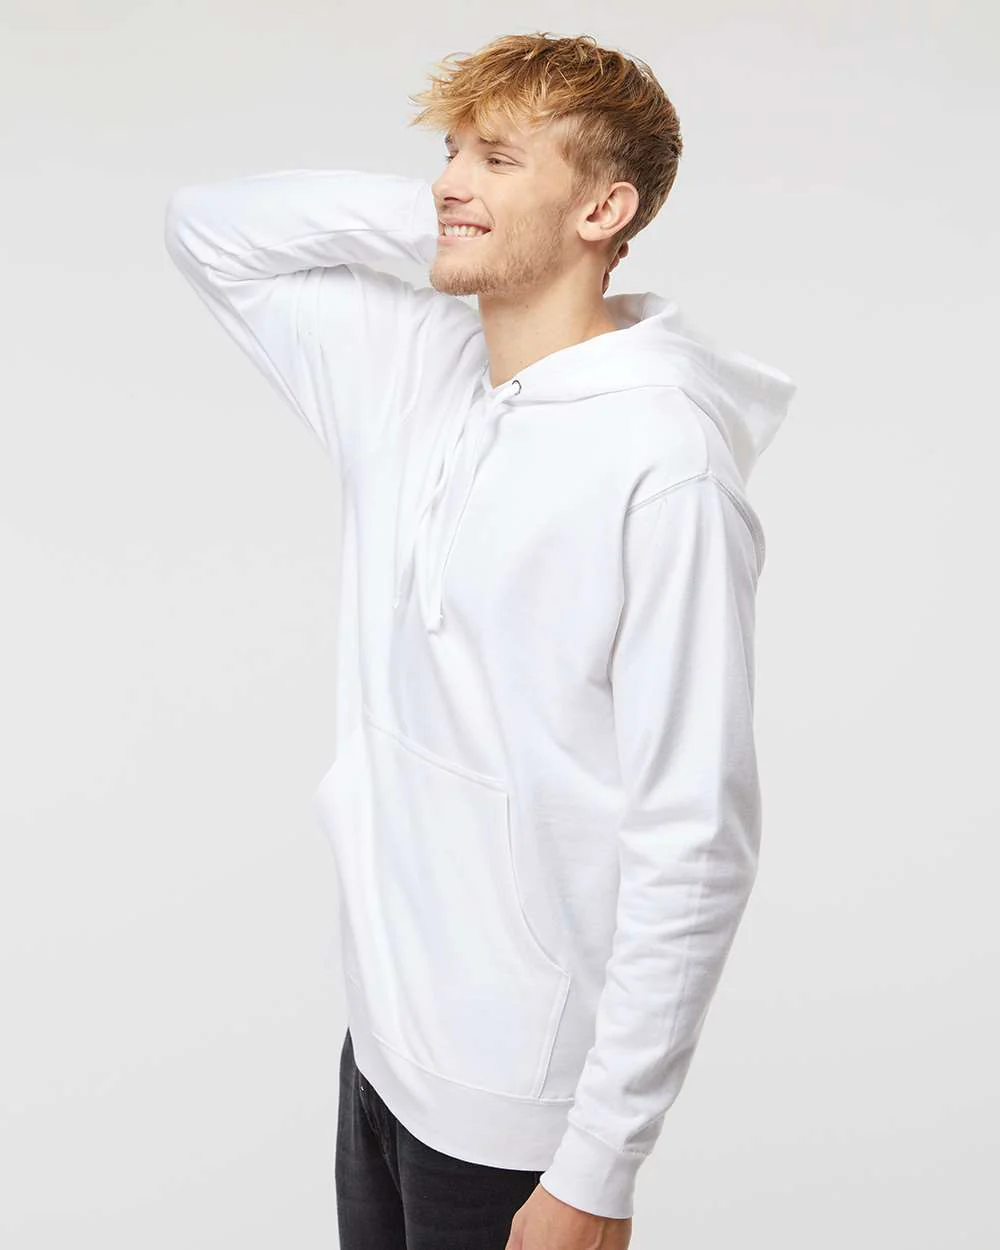
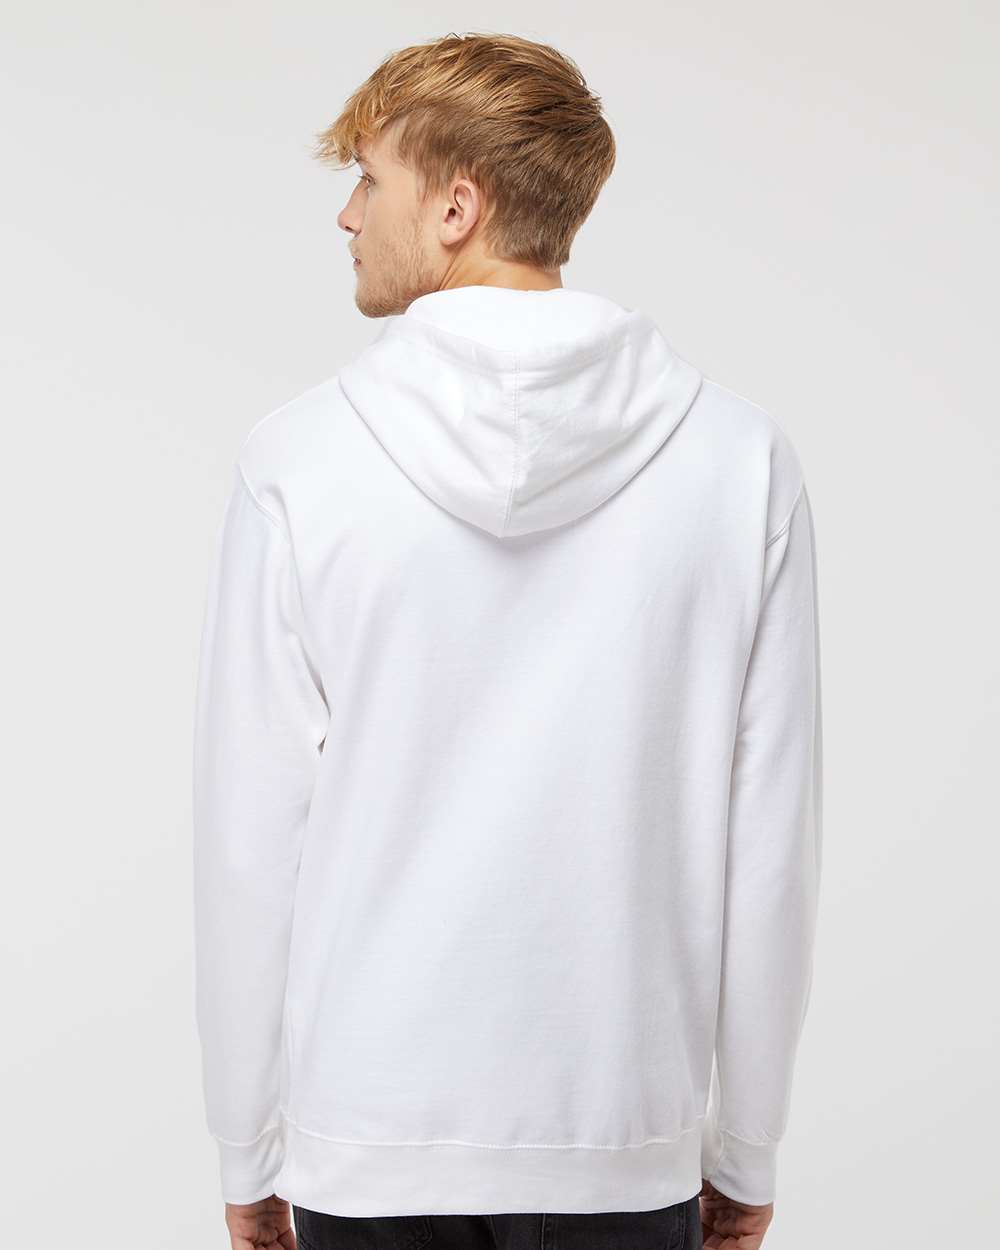
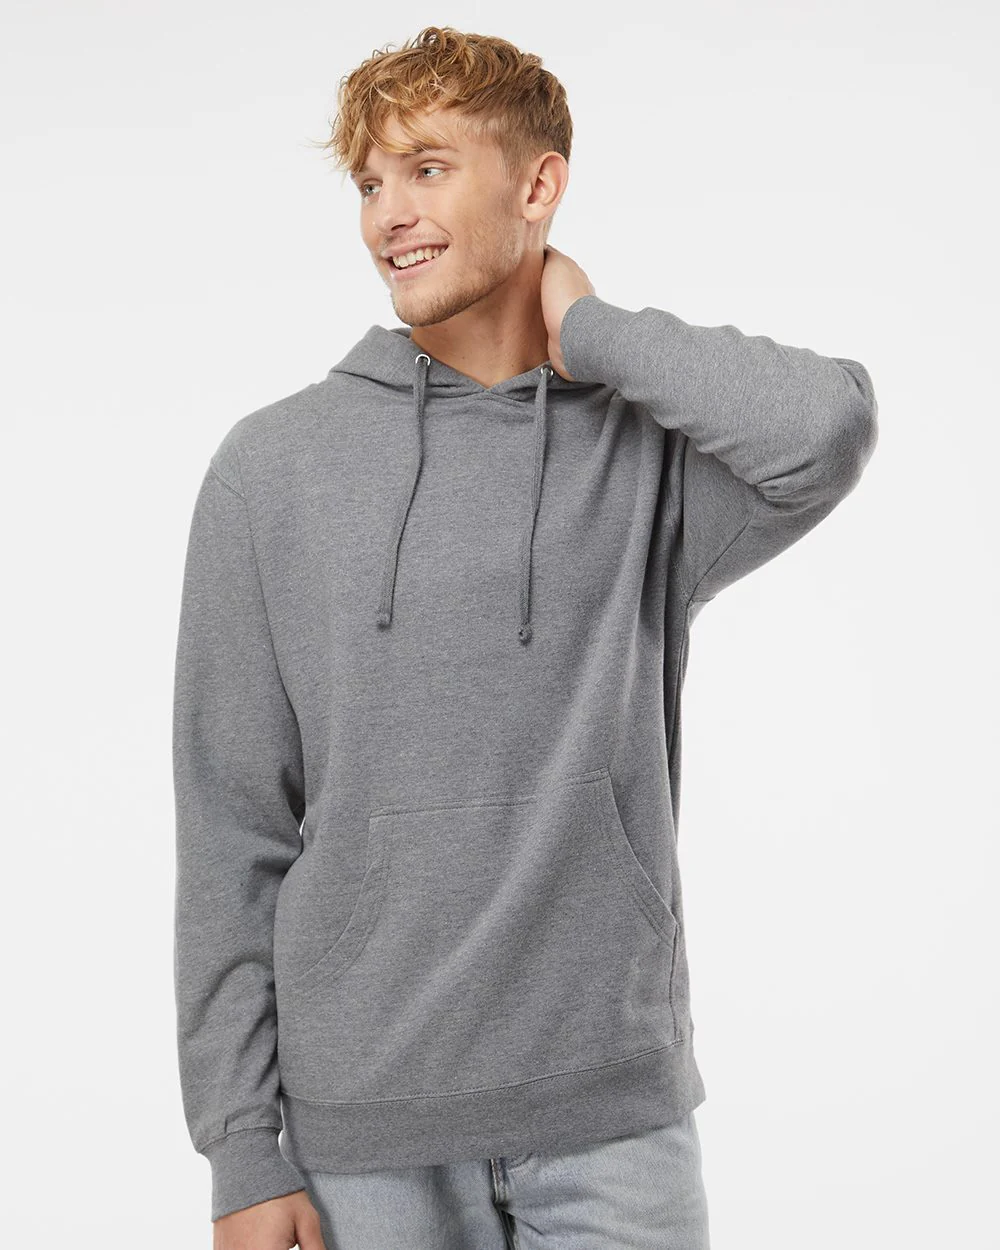
Independent Trading Co.-SS4500-Midweight Hooded Sweatshirt
- 8.5 oz./yd² (US) 14.1 oz./L yd (CA), 80/20 ring-spun cotton/polyester blend fleece with 100% cotton face, 20 singles (Solid &Camo Colors)
- Earth tones are 70/30 cotton/polyester (Plum, Cement, Dusty Sage, Dusty Pink & Storm Blue)
- All other Heathers, Safety colors, Neon Pink are 55/45 cotton/polyester
- Grey Heather & Gunmetal Heather are 75/25 cotton/polyester
- Classic fit
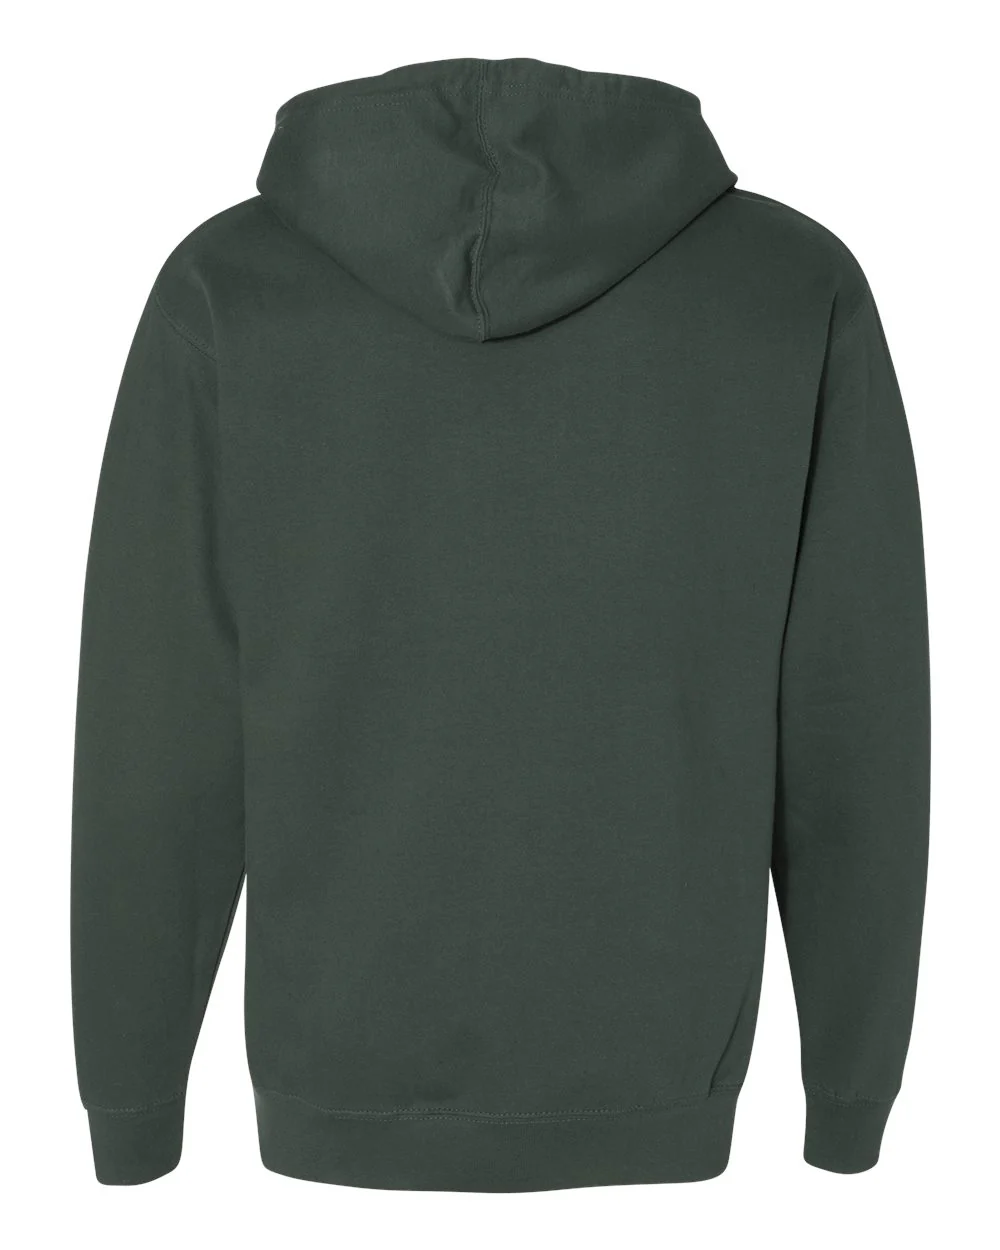
- Jersey lined hood
- Split-stitched double-needle sewing on all seams
- Twill neck tape
- 1x1 ribbing at cuffs & waistband
- Metal eyelets
- Pouch pocket
- Tear away label
This product meets the following Sustainable Style subcategory:
Socially Conscious Manufacturing: This product is made in a facility that is WRAP certified.
Select Size
Select Color
From $4.03
Original: $13.45
-70%Independent Trading Co.-SS4500-Midweight Hooded Sweatshirt—
$13.45
$4.03More Images


Independent Trading Co.-SS4500-Midweight Hooded Sweatshirt
- 8.5 oz./yd² (US) 14.1 oz./L yd (CA), 80/20 ring-spun cotton/polyester blend fleece with 100% cotton face, 20 singles (Solid &Camo Colors)
- Earth tones are 70/30 cotton/polyester (Plum, Cement, Dusty Sage, Dusty Pink & Storm Blue)
- All other Heathers, Safety colors, Neon Pink are 55/45 cotton/polyester
- Grey Heather & Gunmetal Heather are 75/25 cotton/polyester
- Classic fit
- Jersey lined hood
- Split-stitched double-needle sewing on all seams
- Twill neck tape
- 1x1 ribbing at cuffs & waistband
- Metal eyelets
- Pouch pocket
- Tear away label
This product meets the following Sustainable Style subcategory:
Socially Conscious Manufacturing: This product is made in a facility that is WRAP certified.
Product Information
Product Information
Shipping & Returns
Shipping & Returns
Description
- 8.5 oz./yd² (US) 14.1 oz./L yd (CA), 80/20 ring-spun cotton/polyester blend fleece with 100% cotton face, 20 singles (Solid &Camo Colors)
- Earth tones are 70/30 cotton/polyester (Plum, Cement, Dusty Sage, Dusty Pink & Storm Blue)
- All other Heathers, Safety colors, Neon Pink are 55/45 cotton/polyester
- Grey Heather & Gunmetal Heather are 75/25 cotton/polyester
- Classic fit
- Jersey lined hood
- Split-stitched double-needle sewing on all seams
- Twill neck tape
- 1x1 ribbing at cuffs & waistband
- Metal eyelets
- Pouch pocket
- Tear away label
This product meets the following Sustainable Style subcategory:
Socially Conscious Manufacturing: This product is made in a facility that is WRAP certified.